This post is sponsored by The Incredible Egg. All content and opinions are my own. Visit The Incredible Egg for Easter recipes and inspiration!
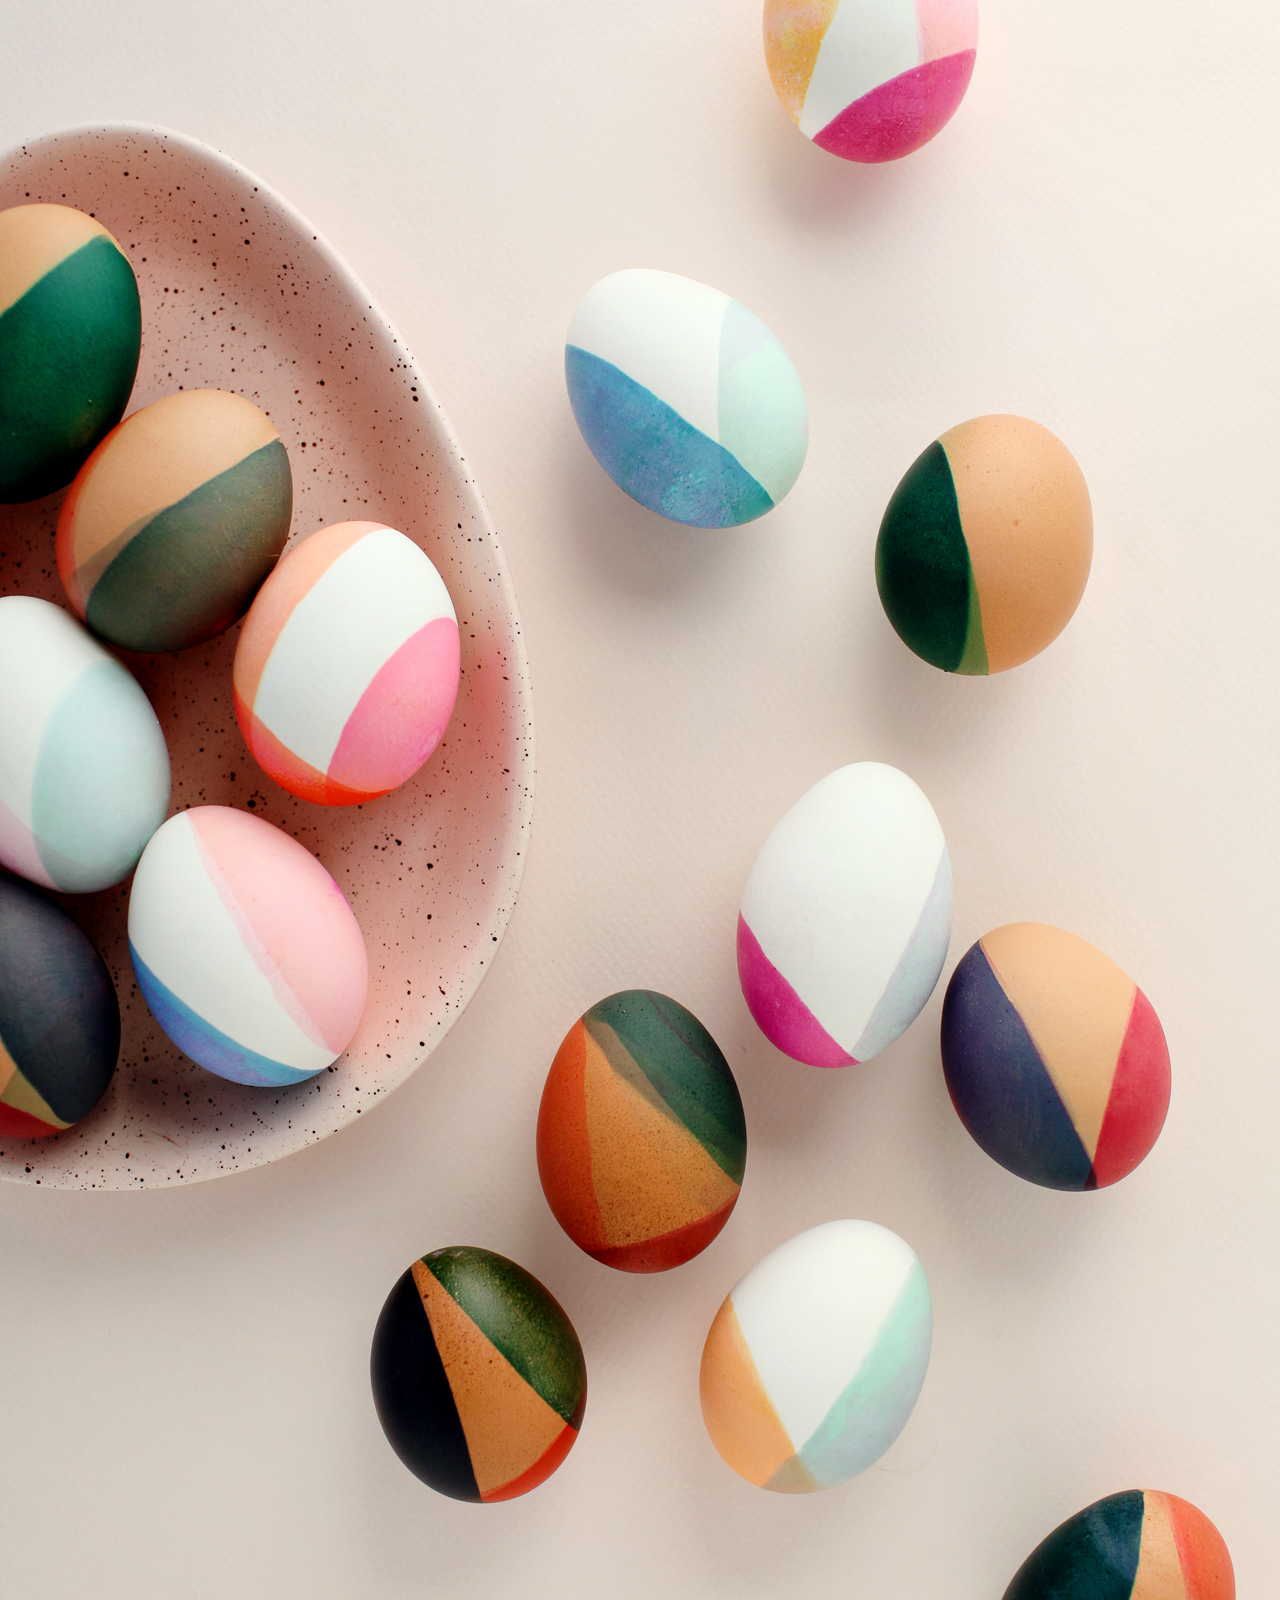
Easter is such a fun holiday, don’t you think?? I’m partial to any holiday that involves decorating – and eggs are the cutest little canvases that can be decorated in so many fun and colorful ways. And now that my kids are old enough to join in on the Easter egg decorating fun, it’s even better! I love coming up with new Easter egg decorating ideas each year, and this year I’m really feeling inspired to experiment with new color palettes and color combinations. So today I’m partnering with The Incredible Egg to share these fun DIY modern, color-blocked Easter eggs!
My family looks forward to decorating Easter eggs all year long. We typically spend the holiday with my husband’s family, so we gather everyone around the kitchen table on Easter morning to dye eggs together. I love seeing the colors (and color combinations!) everyone chooses for their eggs and all the ways they express themselves creatively. Plus my kids absolutely love both getting to decorate eggs and then hunt for them with their cousins several times in the afternoon!
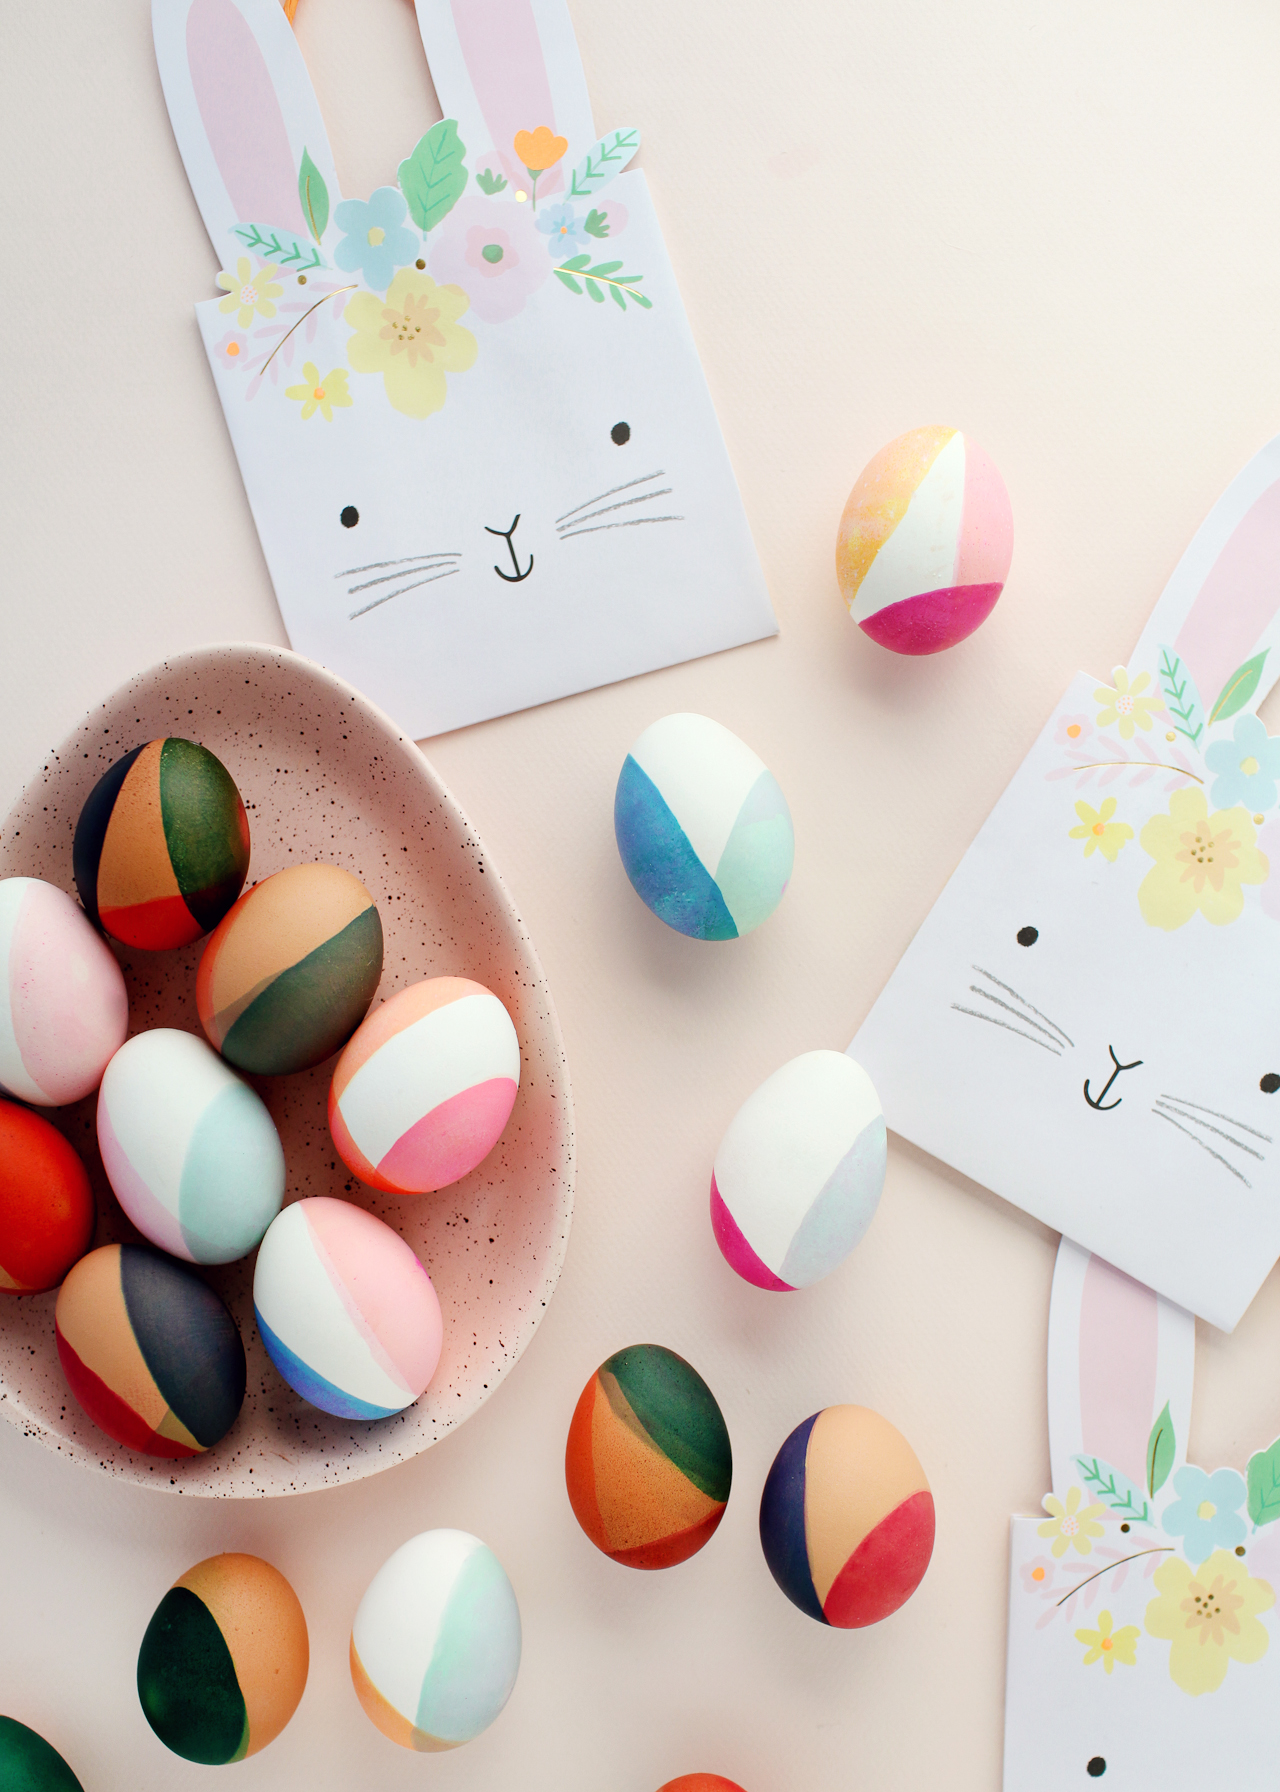
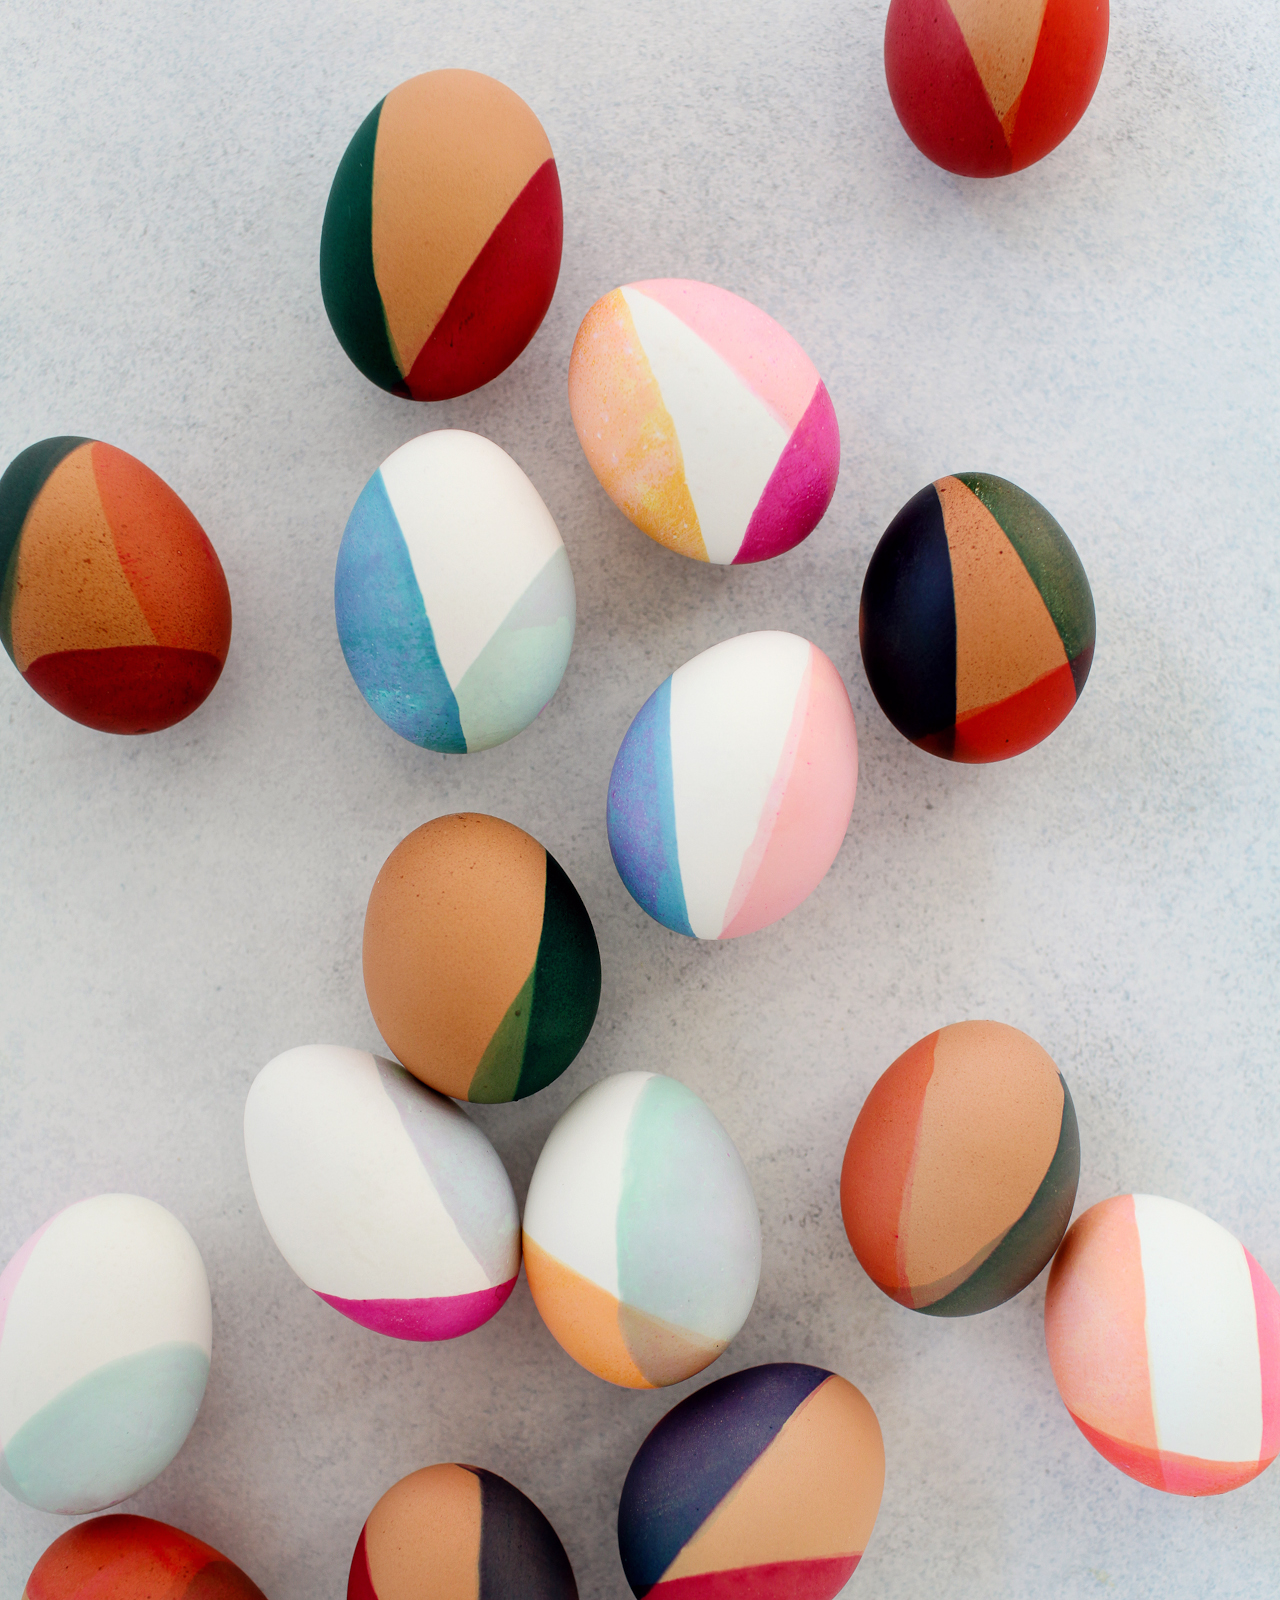
I’ve been feeling really inspired by earthy tones and neutral pastels this year – from bold burgundy and yellow tones to soft pinks and sage green hues. I am especially loving terra cotta paired with navy blue and soft pink paired with mustard yellow. I knew these color pairings would be a beautiful and unexpected application on Easter eggs, especially with a modern, color-blocked dip-dye treatment.
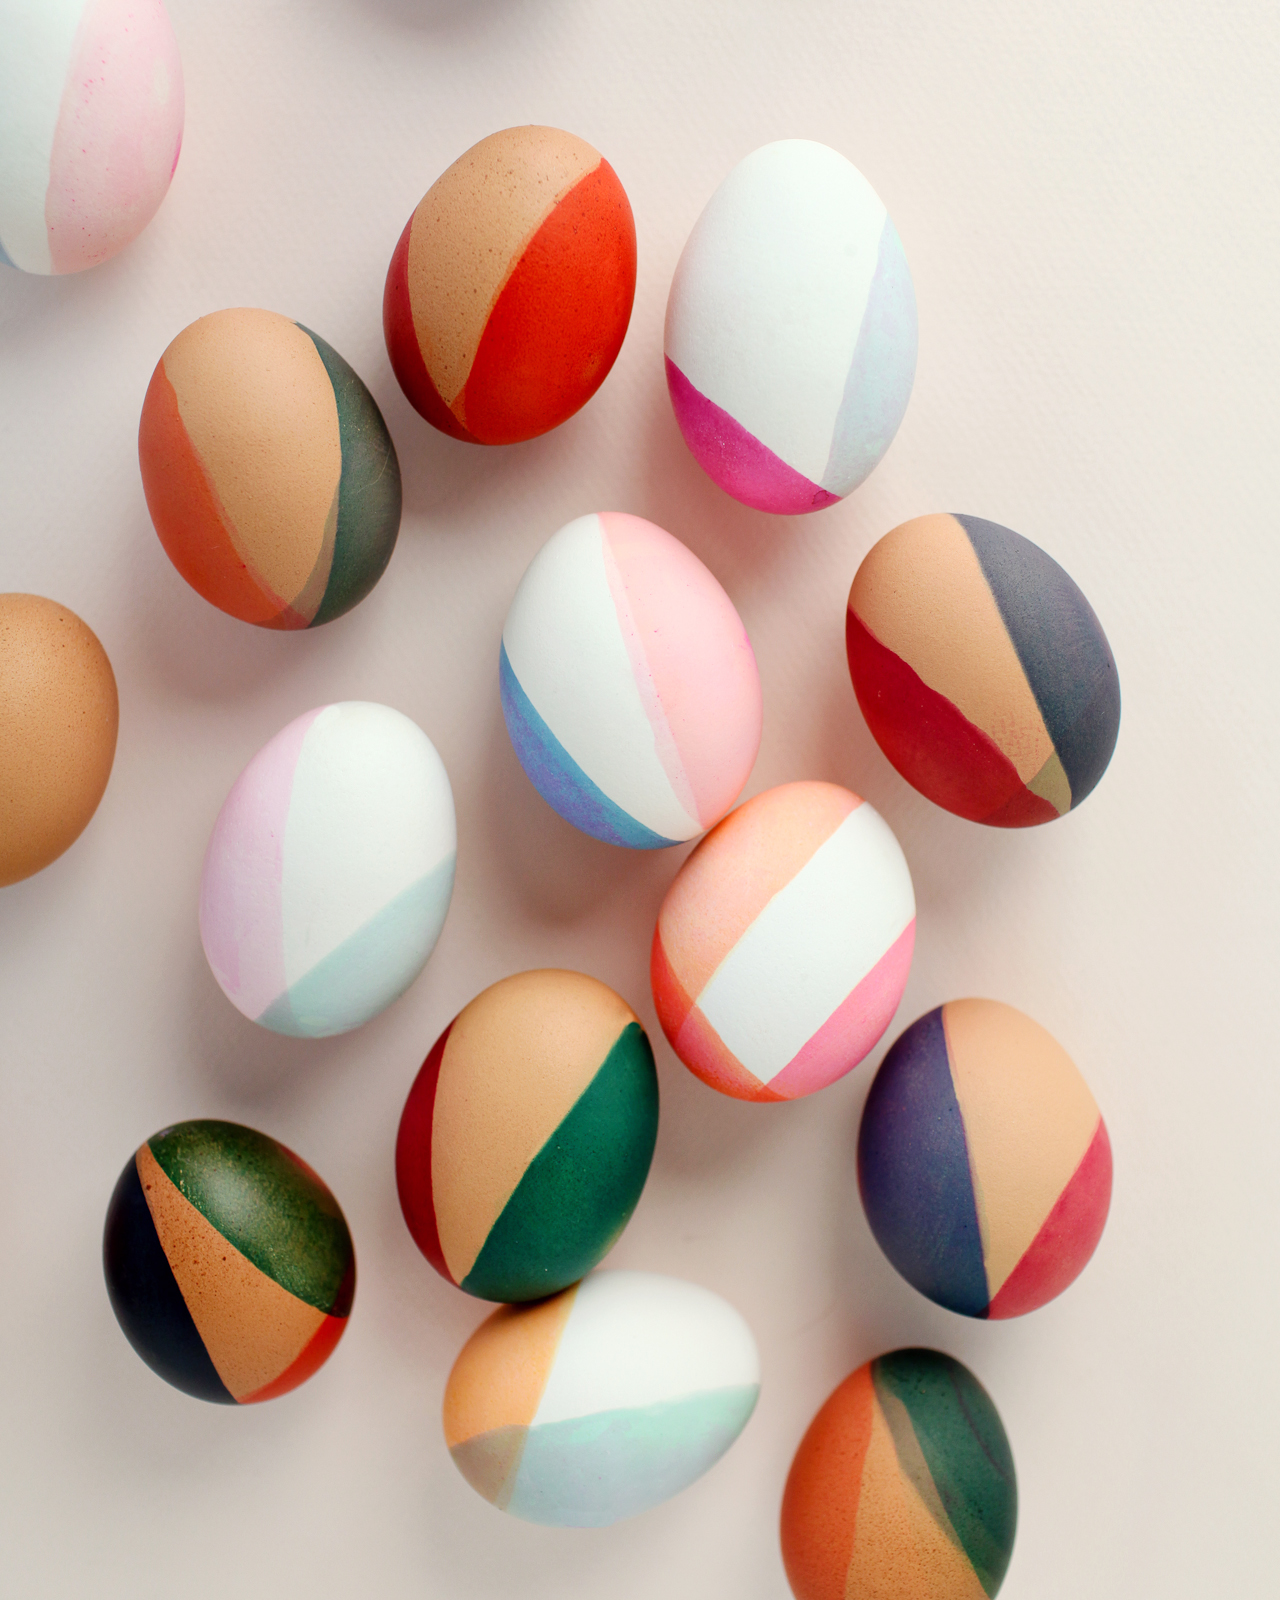
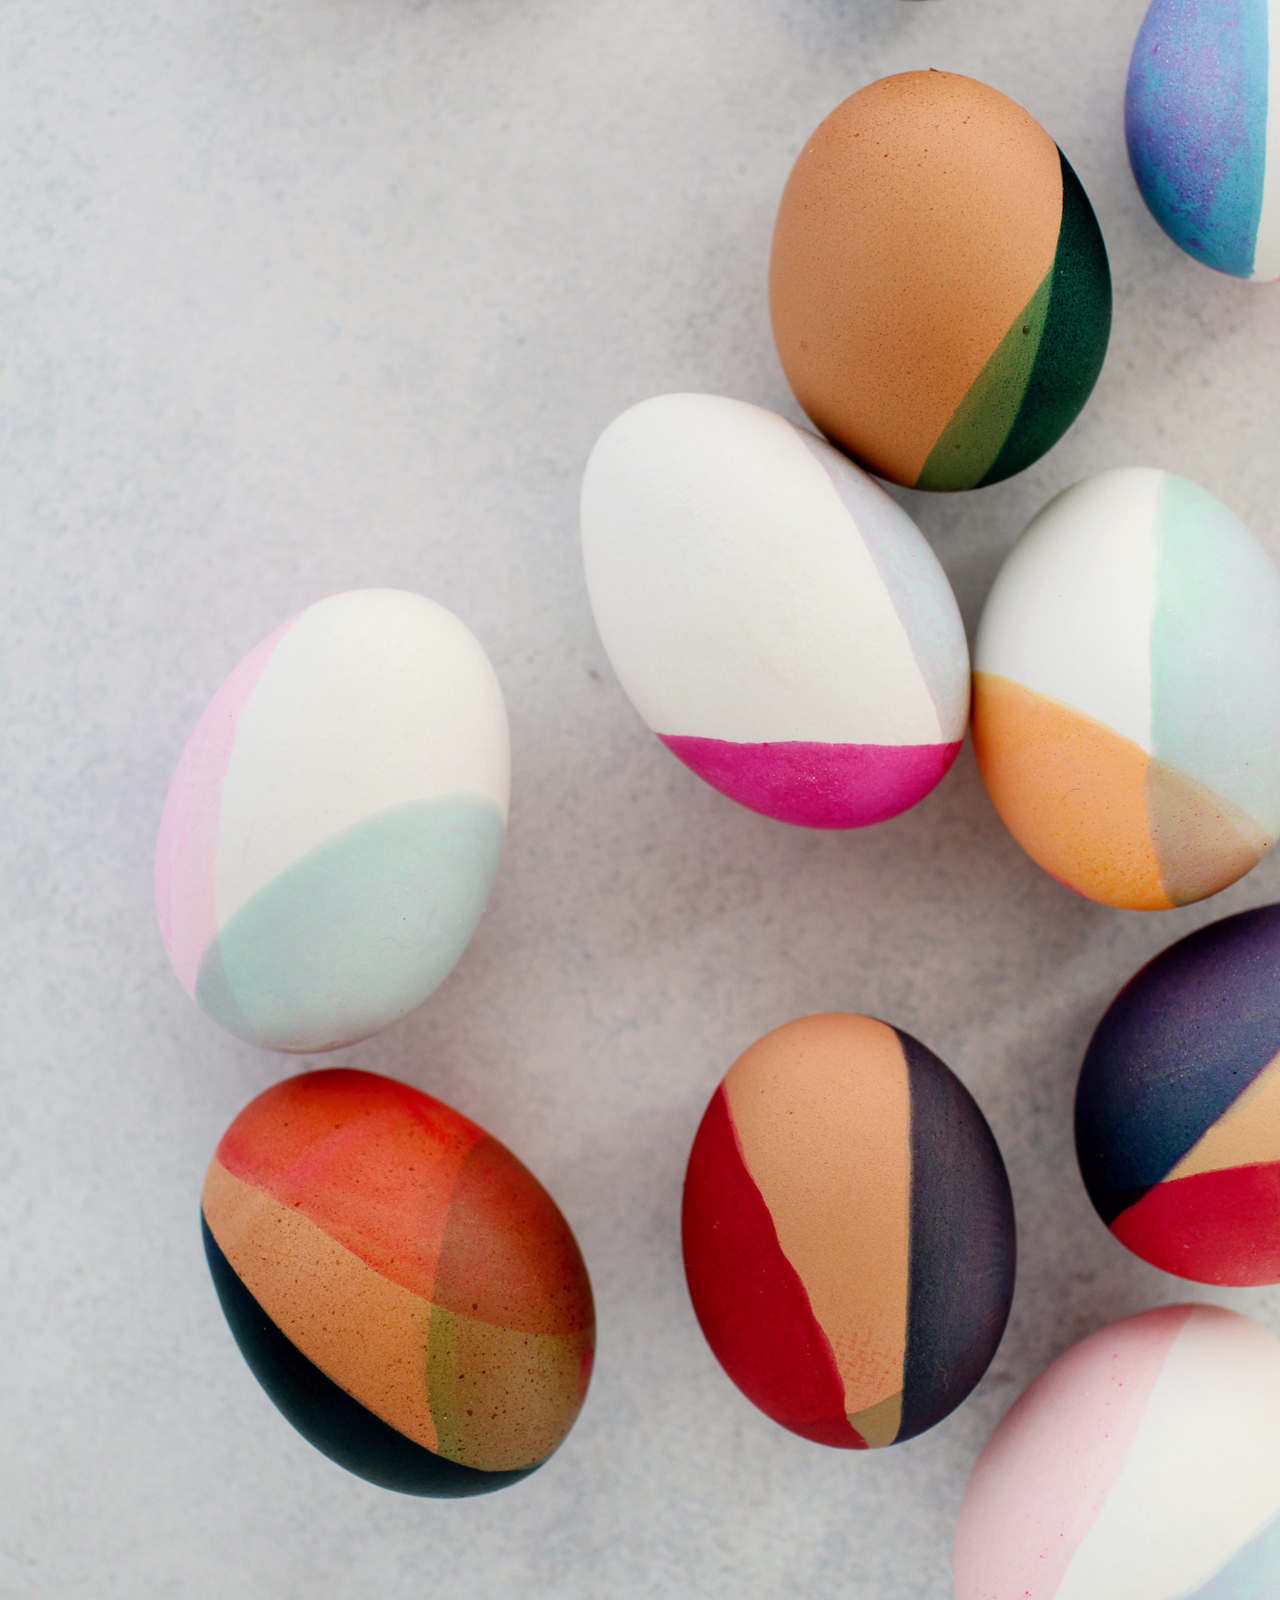
Another exciting development? As you may have noticed, I’m using both white and brown eggs this year! I’ve always dyed white eggs in the past, but brown eggs work so beautifully with the deeper earth tones that I just couldn’t resist. Aren’t they just absolutely DREAMY with the color blocked dip dye?? I also loved the idea of creating different colors and tones using the same color dyes on both brown and white eggs. The lighter pastel tones produced a beautiful color wash effect on the brown eggs, while the deeper hues produced rich jewel tones by leaving the eggs in the dye bath for a longer period of time.
Here’s the color palette that I used as my starting point, along with the food coloring dye formulas that I used to dye the eggs:
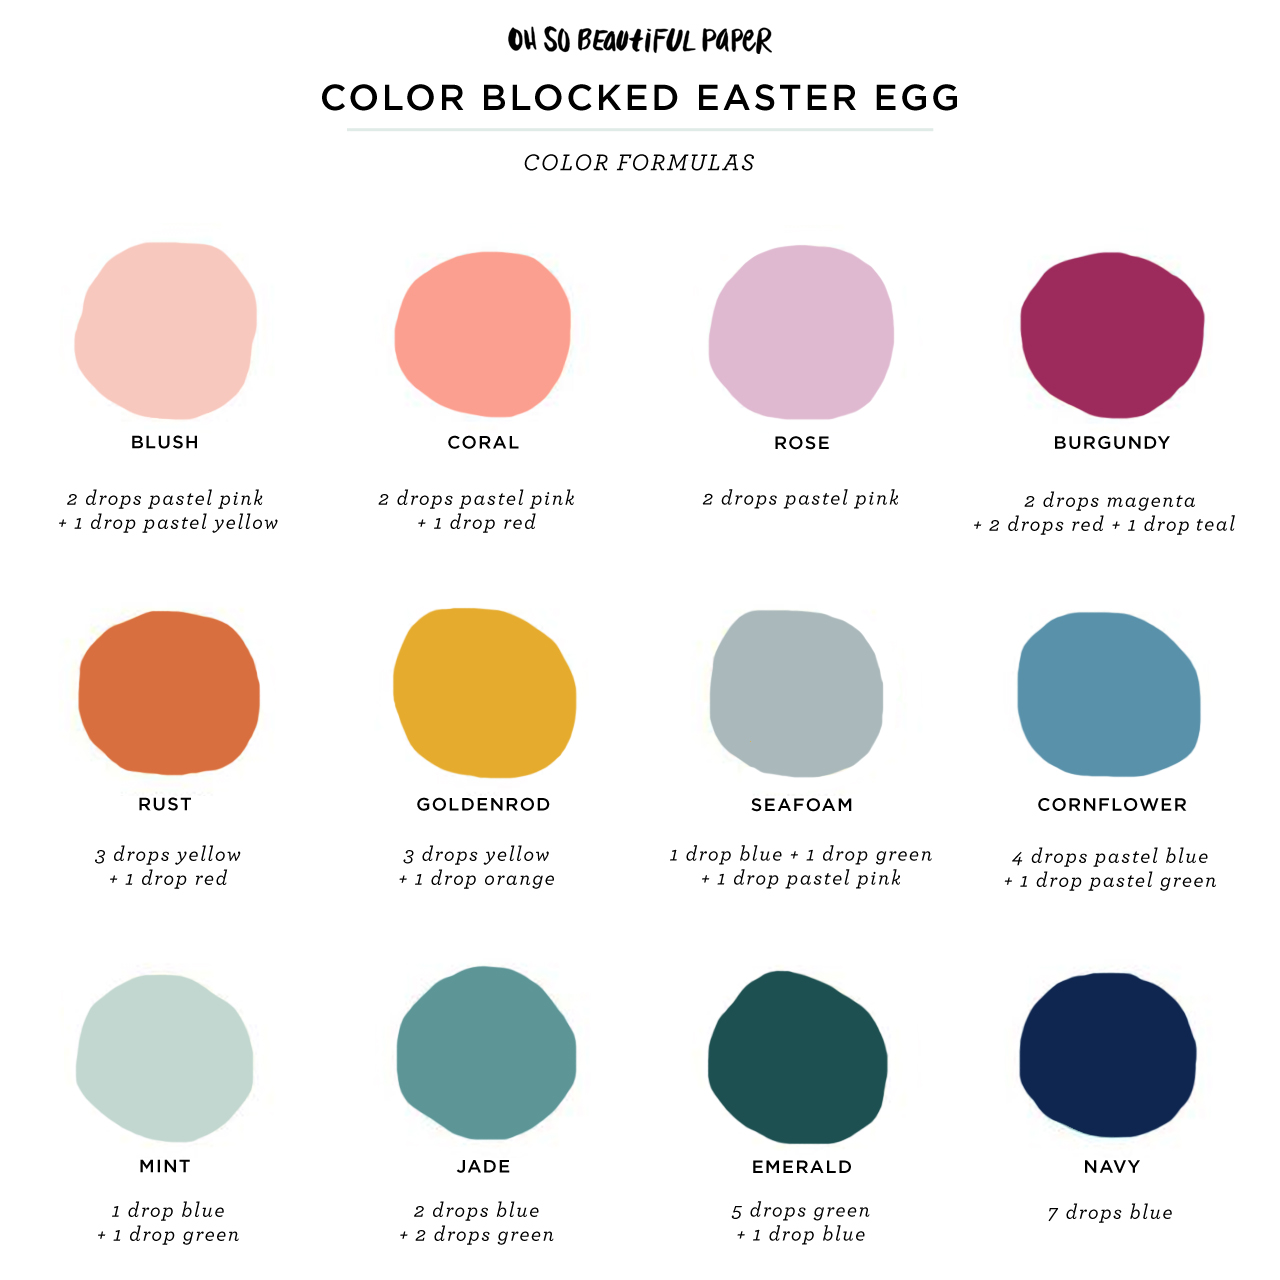
A quick note: The color formulas above achieved *slightly* different results in person – but it’s pretty close to my original color palette objectives! When you make these color formulas at home, always test the colors with a napkin or paper towel before dyeing your eggs!
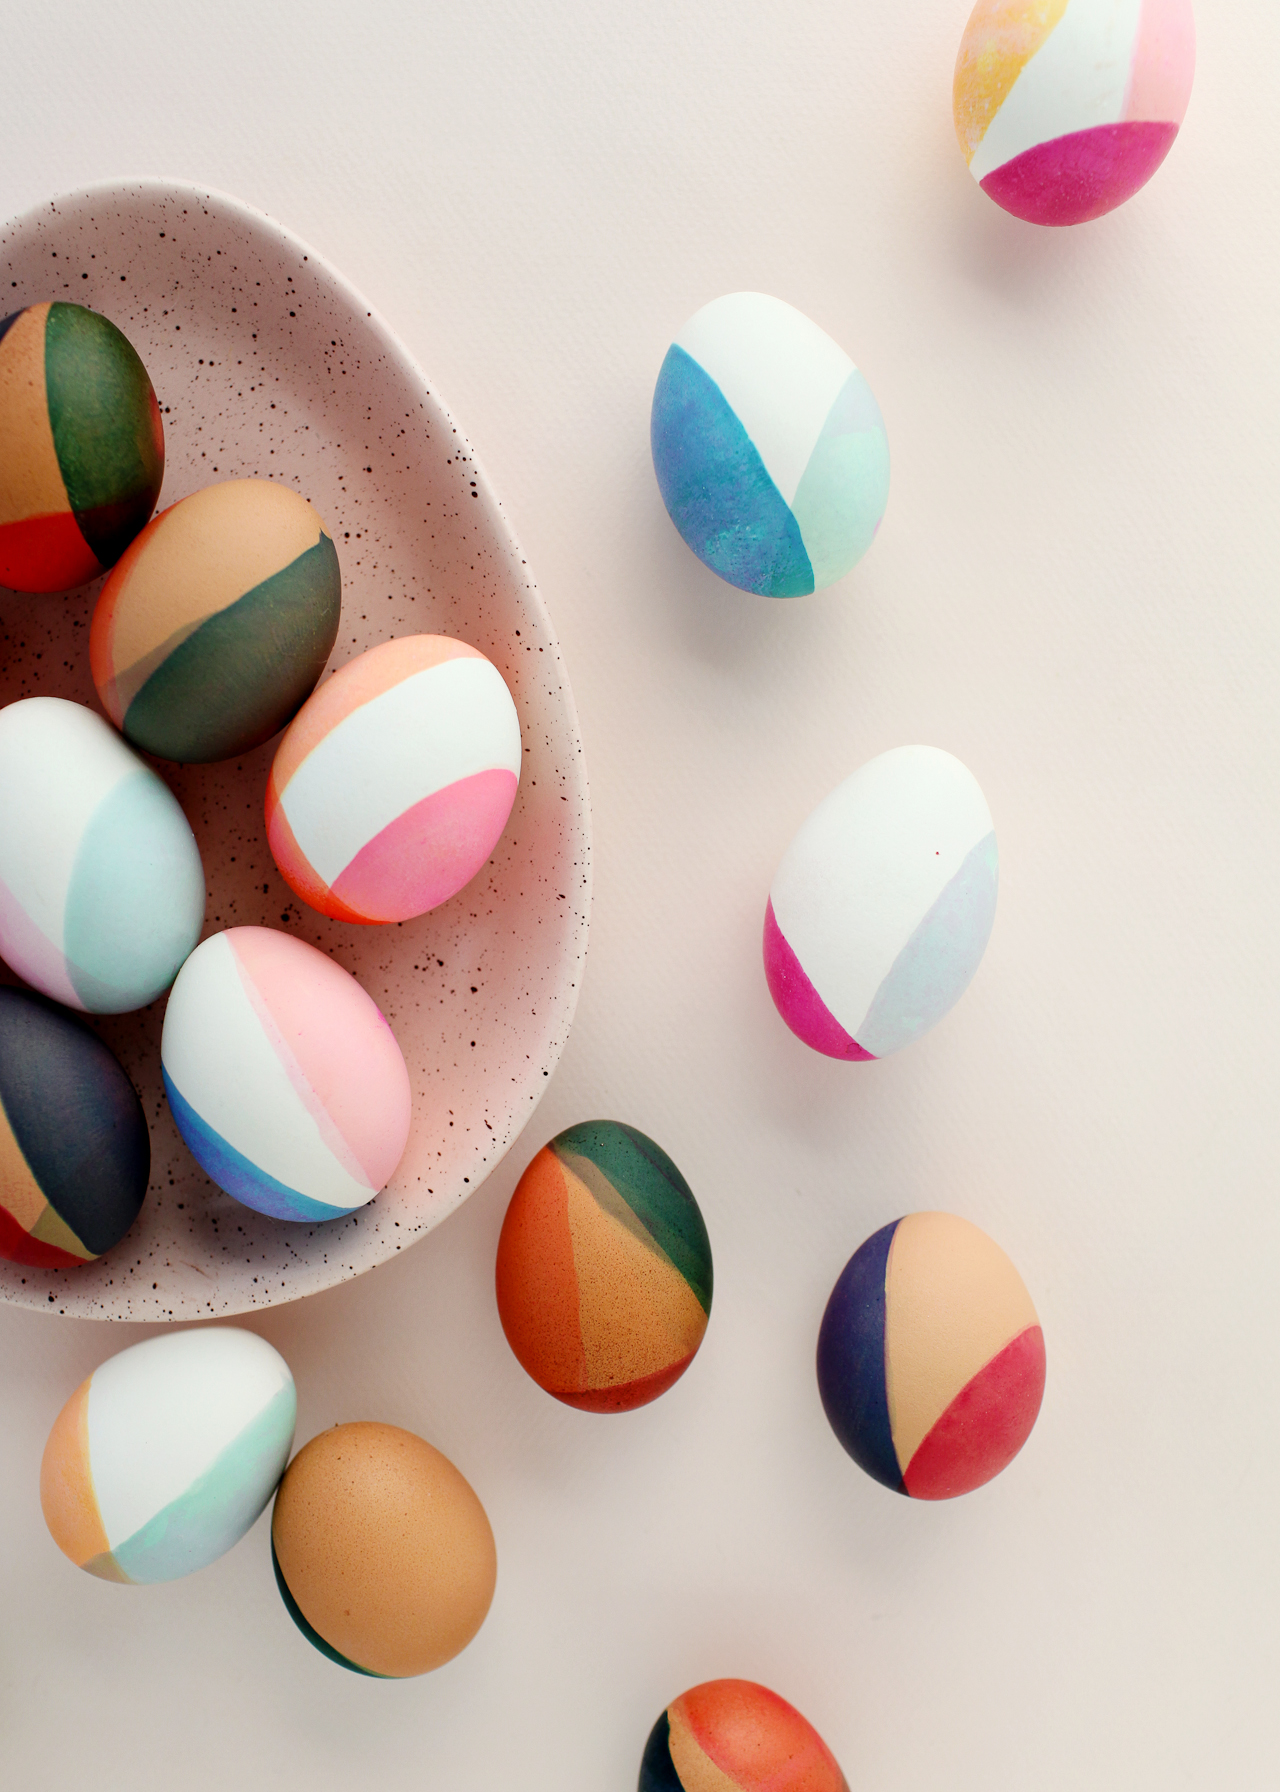
There are a million ways to decorate Easter eggs – from soft painterly pink and gold eggs to tissue paper eggs – and I love putting a modern twist on traditional decorating techniques. All you need is traditional food coloring dye to achieve the gorgeous colors in these DIY modern, color-blocked Easter eggs! Are you ready? Let’s get started!
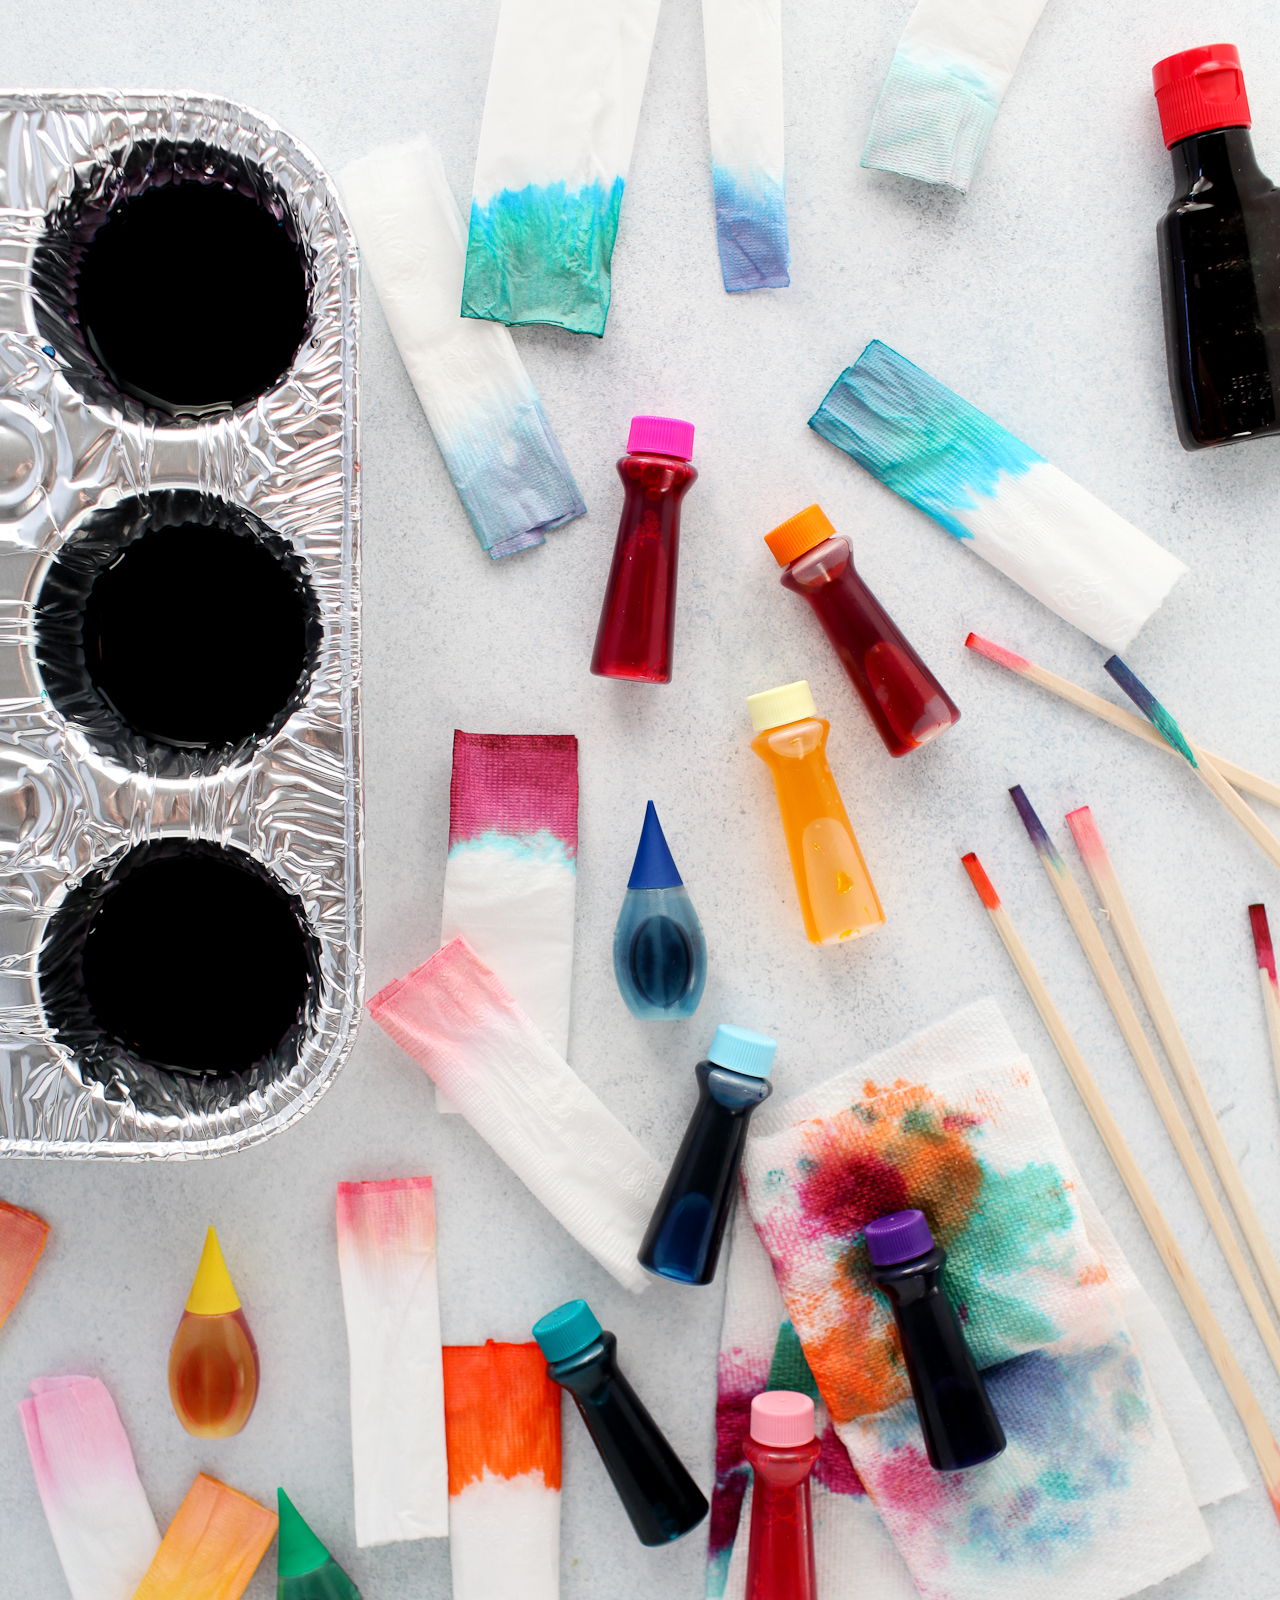
Supplies
White and Brown Hardboiled Eggs
Liquid Food Coloring
Muffin pan or small bowls for dyeing the eggs (note: the food coloring can leave permanent stains, so don’t use anything too precious!)
Vinegar
Tooth picks or wood chopsticks for stirring
Paper Towels
Disposable Gloves (optional)
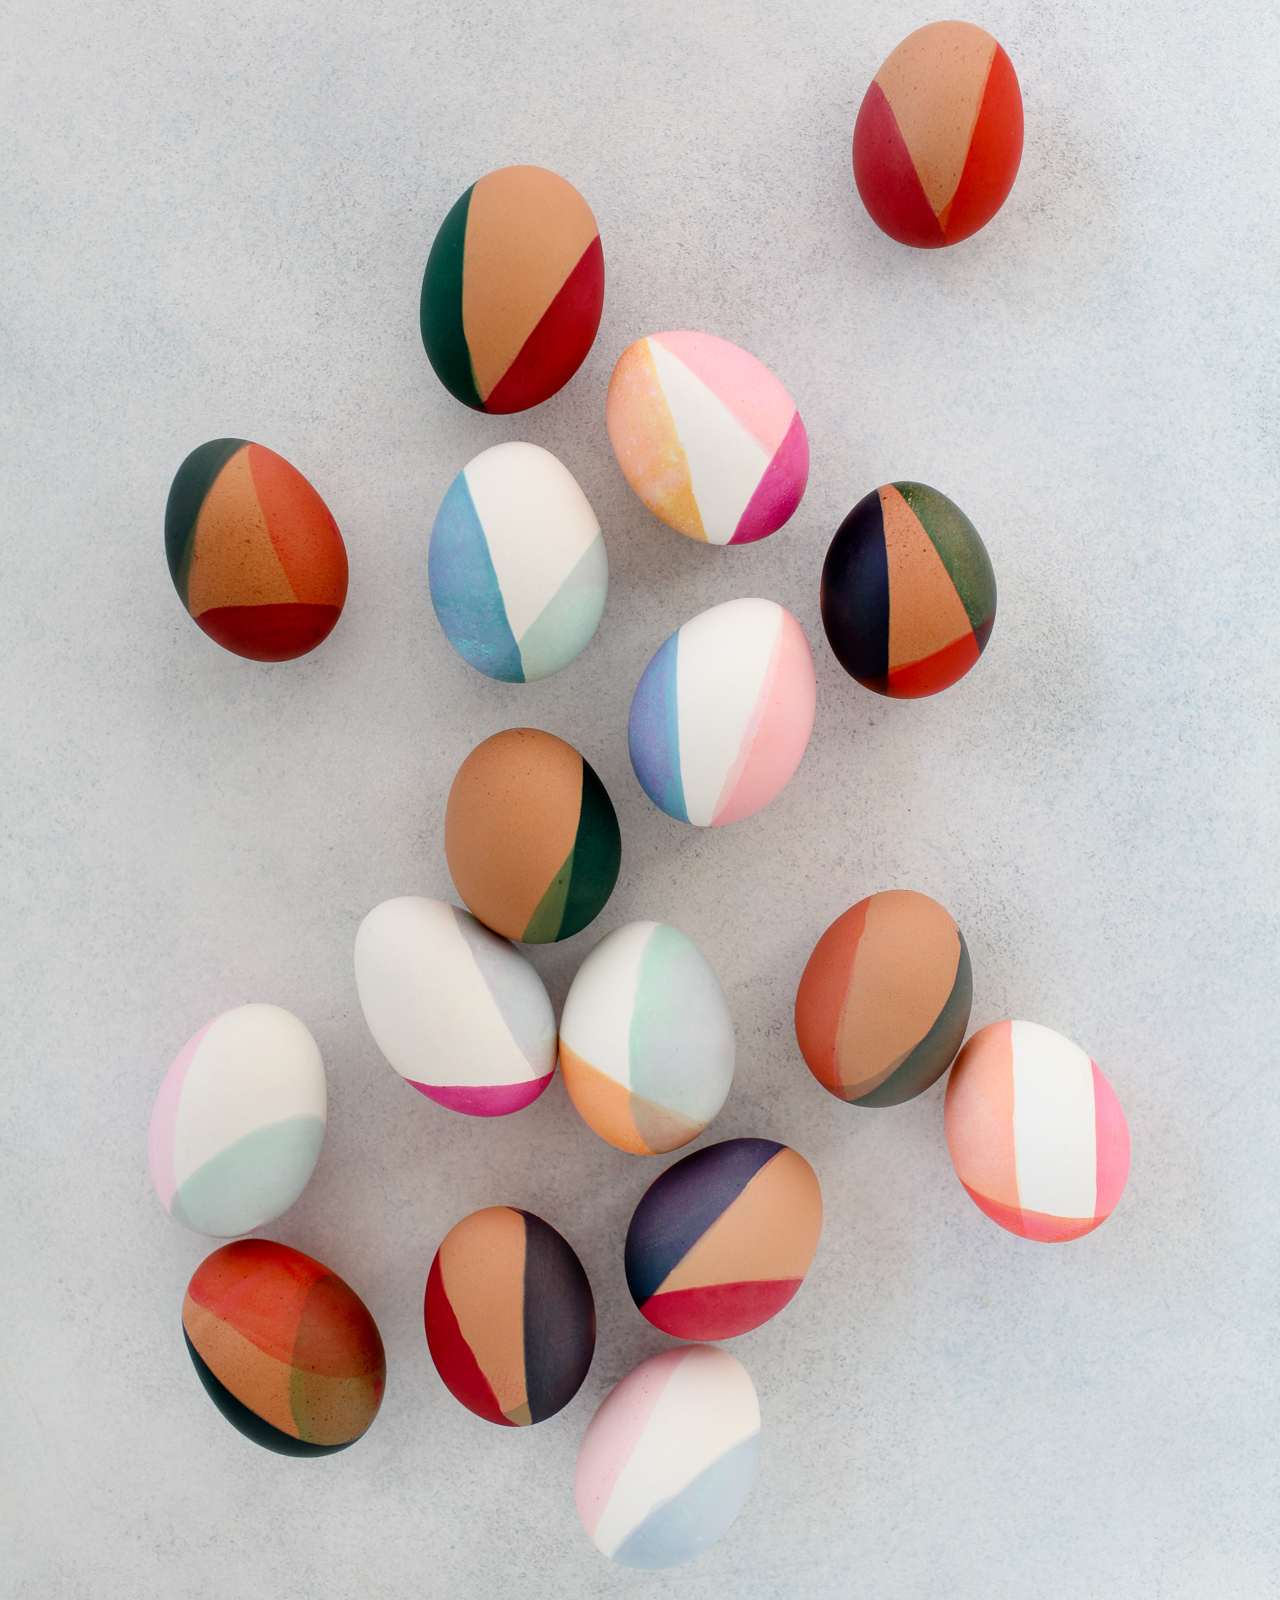
To make the DIY modern color-blocked Easter eggs:
Step 1. Boil two cups of water, then add two tablespoons of vinegar to the hot water. Fill the cups of a muffin pan or a small bowl with about half an inch of the hot water. Add liquid food coloring based on the color formulas above or to achieve your own desired color palette. I used a variety of store-bought food coloring to create my dye colors, including standard red, yellow, green, and blue liquid food coloring, pastel gel food coloring, and bright magenta, teal, and orange gel food coloring. Use a toothpick or spoon to stir the food coloring together until completely blended, then give it another quick stir before dipping your egg into the dye bath.
Tip: Test the dye color with a paper towel before submerging your eggs, but keep in mind that a paper towel will absorb the dye much faster than an egg, so you’ll need to leave the egg in the dye bath for a minute or two if you’re hoping to achieve brighter/more saturated colors.
Step 2. Wearing disposable gloves, pick up your egg and gently dip one side of the egg into the dye bath. The dye should not cover the entire egg and you should continue to hold the egg in place while it’s in the dye bath so it doesn’t roll over. Hold the egg in place for several seconds for lighter colors or around a minute for deeper/more saturated colors.
Step 3. Remove from the dye bath and pat dry with a paper towel.
Step 4. Repeat steps 2 and 3 with a second and third dye color (if desired), covering a different portion of the egg with each new dye color.
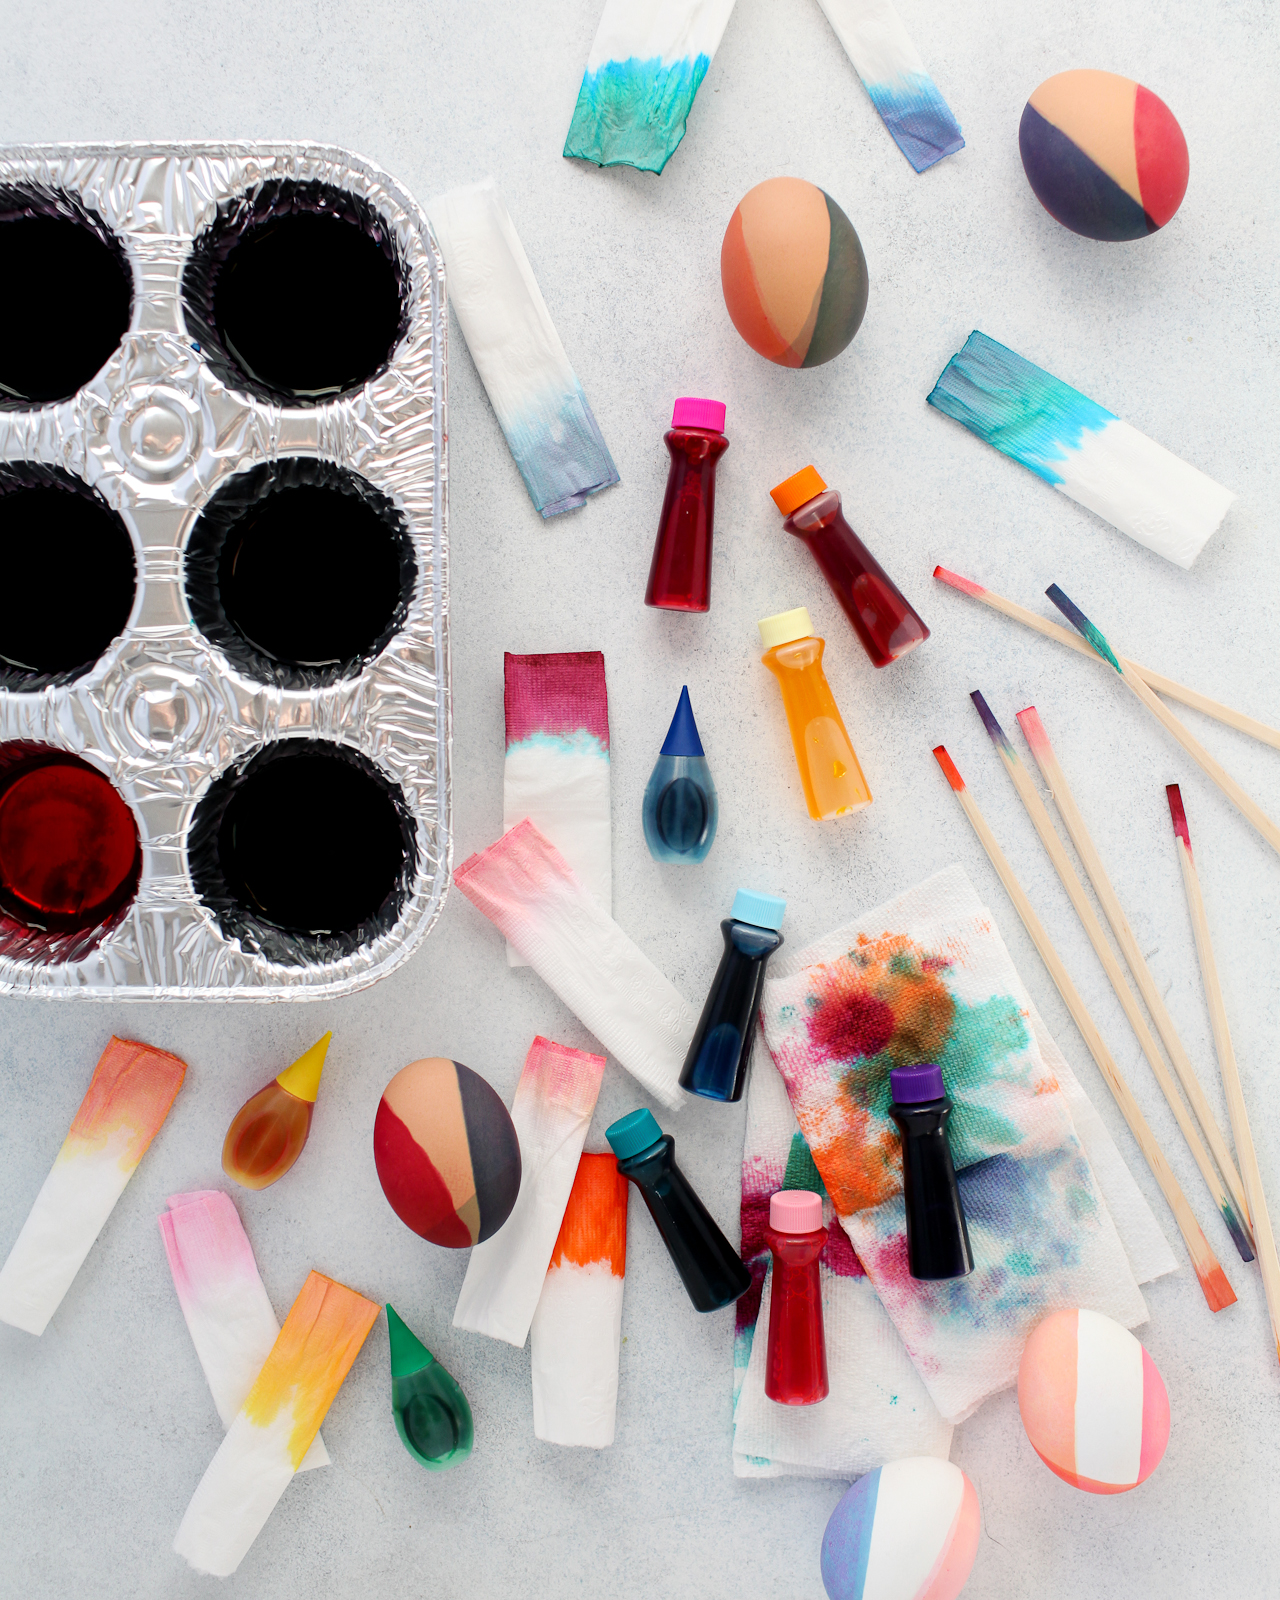
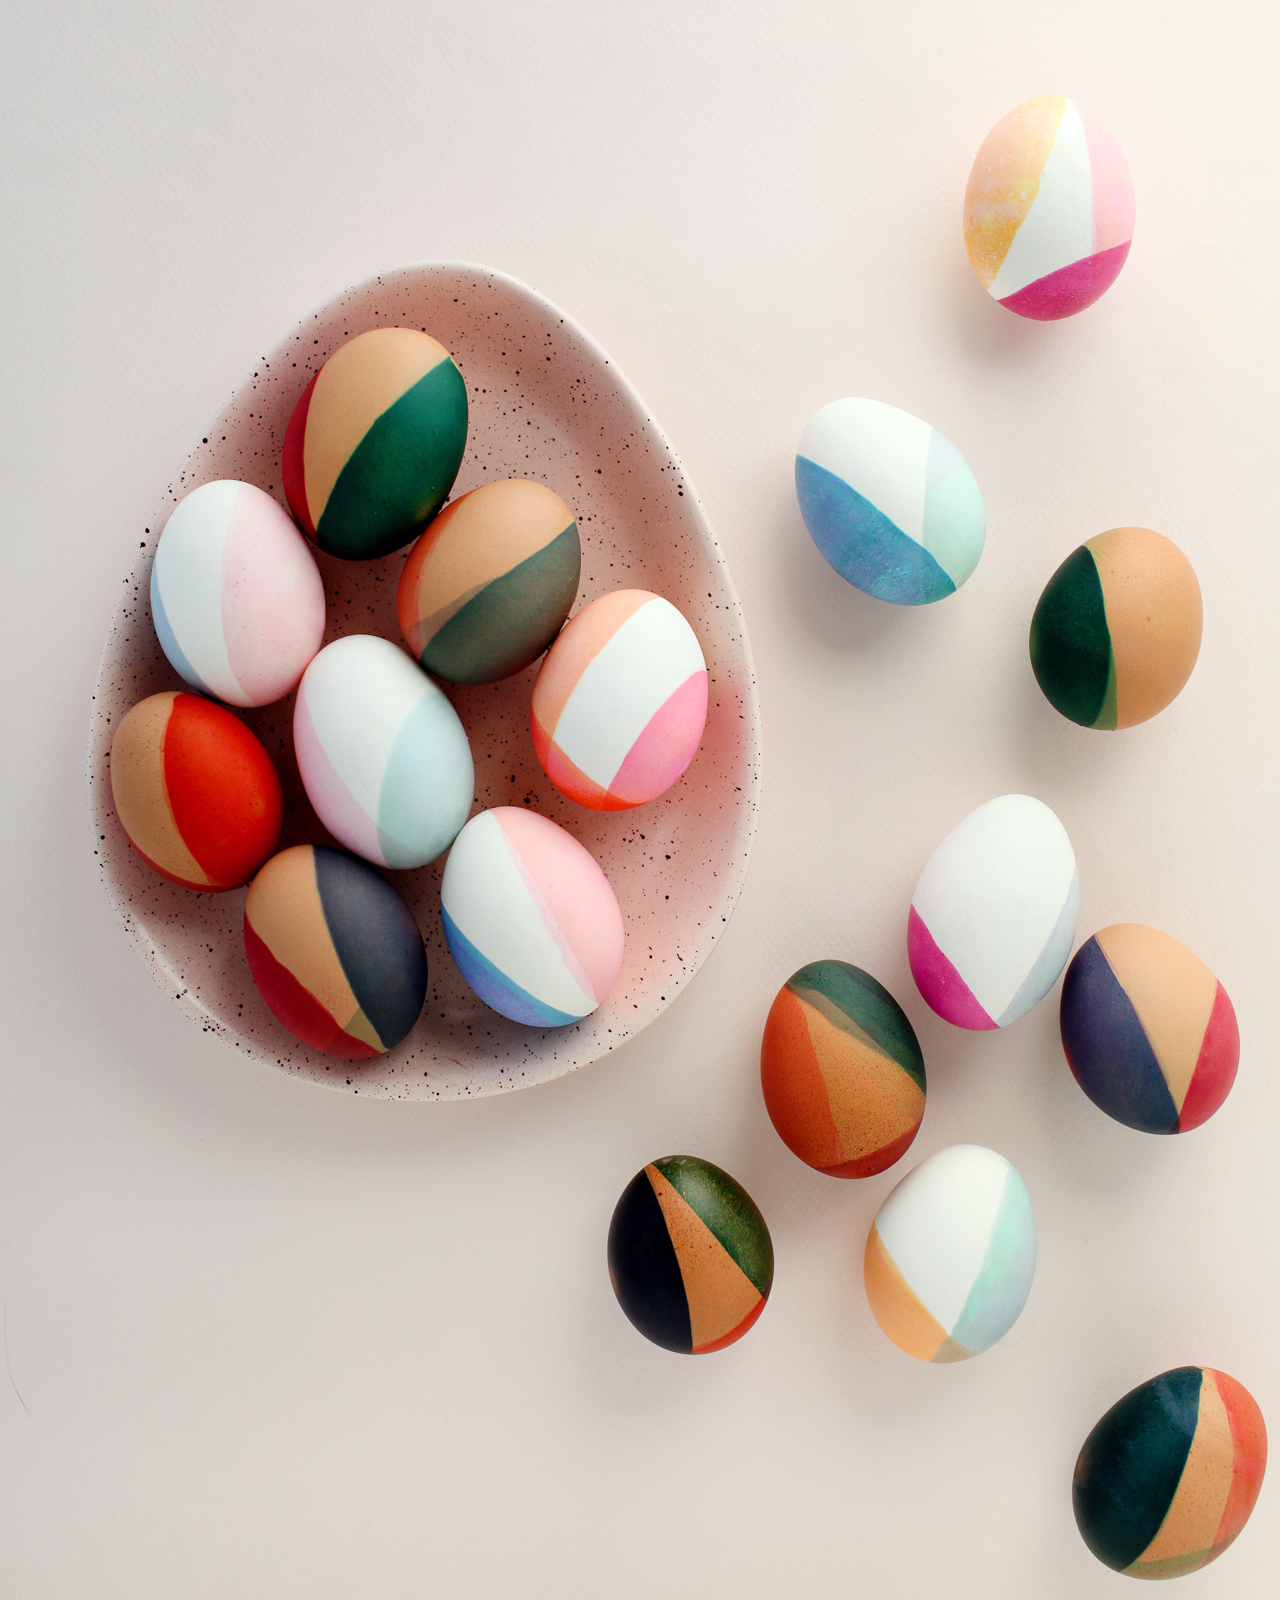
I just can’t stop staring at these colors! I love all the subtle color variations between the white and brown eggs and the different overlapping tones. The non-traditional color combinations are so special and unique!
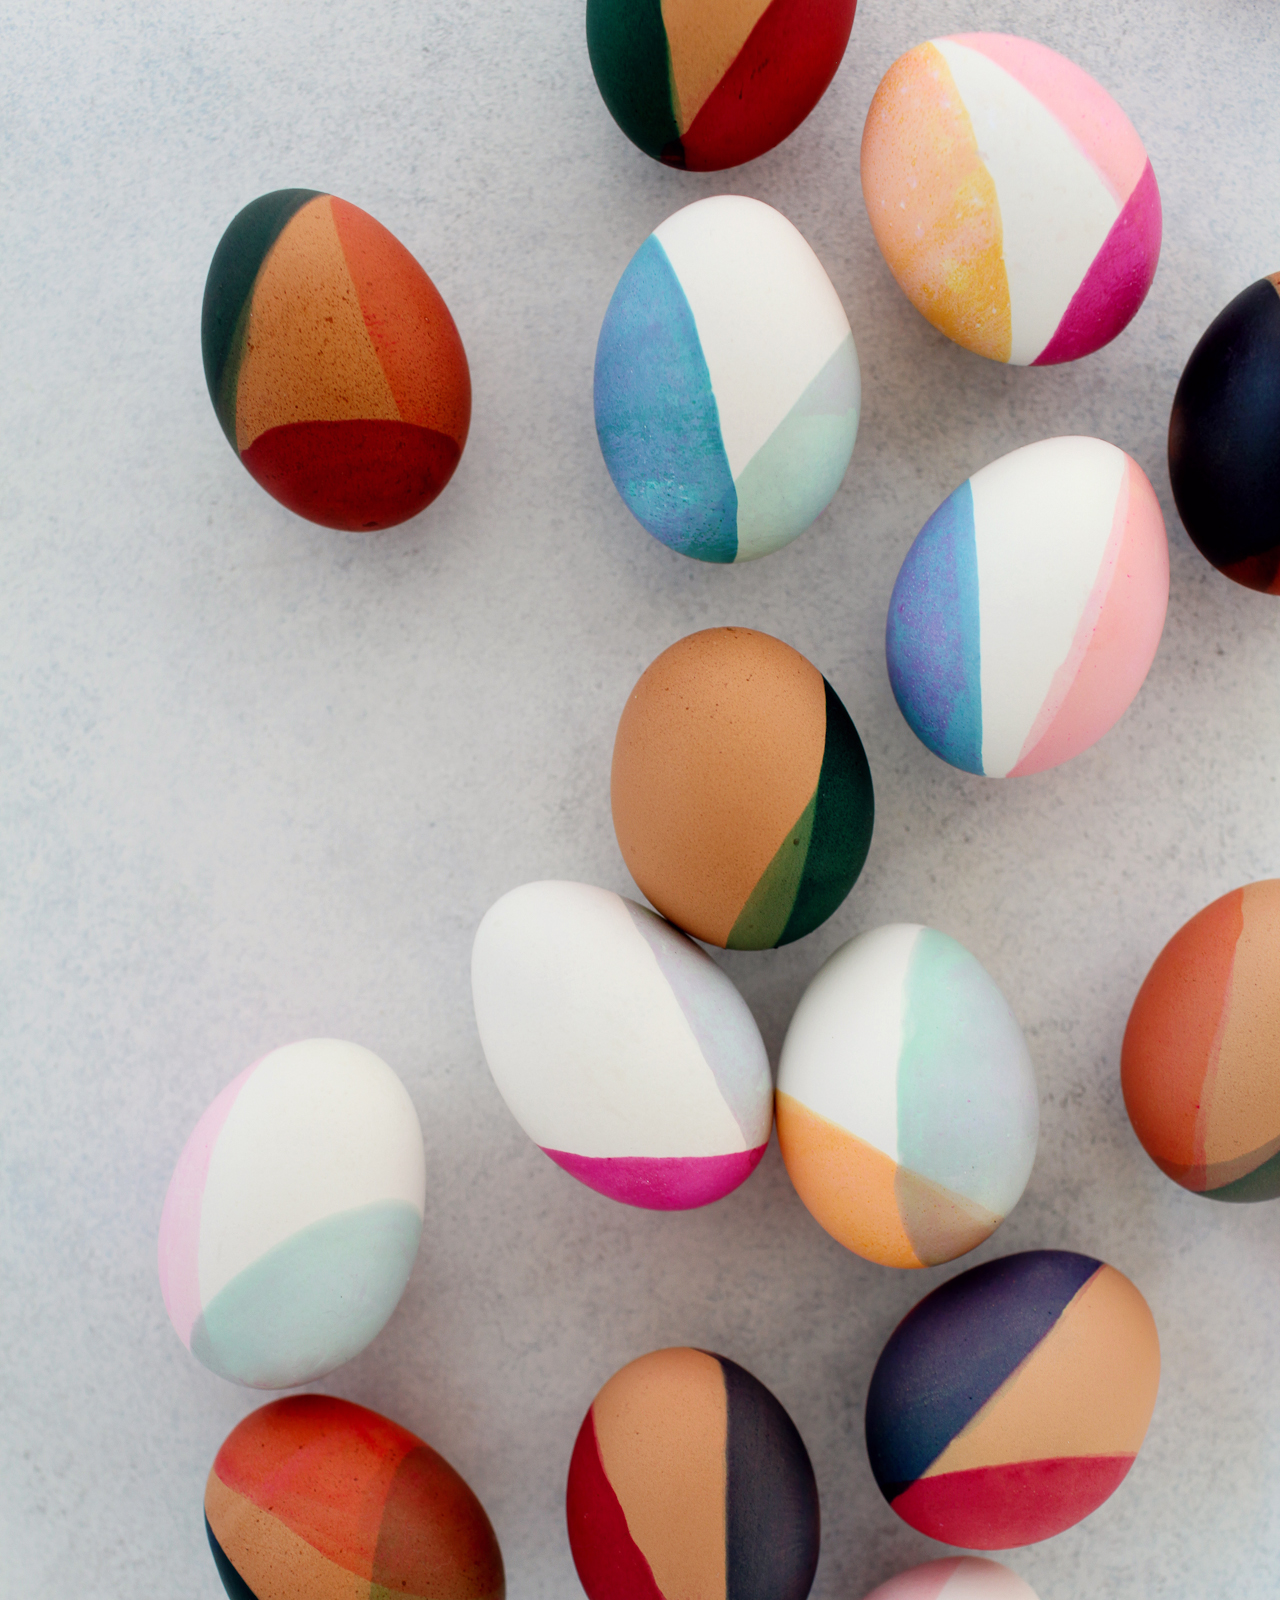
Neutral pastels! Earth tones! Jewel tones! Gah, I just love these eggs SO much! Do you love this color palette as much as I do? Will you be making color-blocked eggs this year?? Let us know if you do! And don’t forget to head over to The Incredible Egg for more Easter inspiration and recipe ideas!
This post was created in partnership with The Incredible Egg. All content and opinions are my own. Thank you for supporting the sponsors that make Oh So Beautiful Paper possible!
