Seasonal Stationery: Mother’s Day Cards, Part 3

Happy Monday everyone! I hope you had a wonderful weekend – let’s start the week off with a few more Mother’s Day cards!

2015-Mothers-Day-Cards-Part5

1. Ashkahn

2. Hello!Lucky

3. Amy Heitman

4. Happy Cactus Designs

5. Thimblepress

6. Hairpin Letterpress

2015-Mothers-Day-Cards-Part6

7. E. Frances Paper

8. Grey Moggie

9. Egg Press

10. Dear Hancock

11. The Good Twin Co

12. Hennel Paper Co.

If you’re looking for something else – you can find 200+ beautiful Mother’s Day cards in the OSBP Market List right here!

The Singapore Sling

Gin sometimes gets pigeonholed into Martinis and Gin & Tonics, but it’s actually a very versatile spirit. It even finds its way into the occasional Tiki drink. This is one of the oldest and the best, and probably one of the most abused recipes, the Singapore Sling. – Andrew

Singapore-Sling-Cocktail-Recipe-Liquorary-OSBP-14

Singapore-Sling-Cocktail-Recipe-Card-Shauna-Lynn-Illustration-OSBP

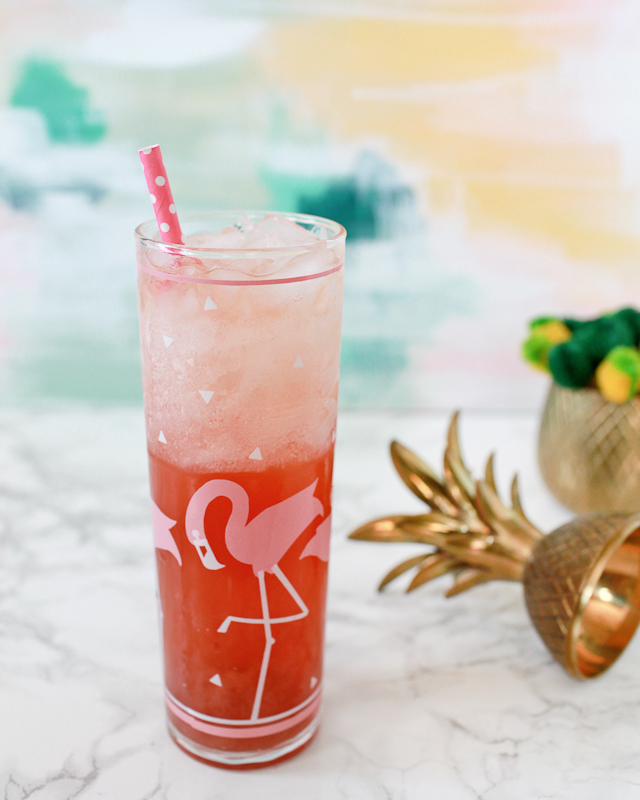
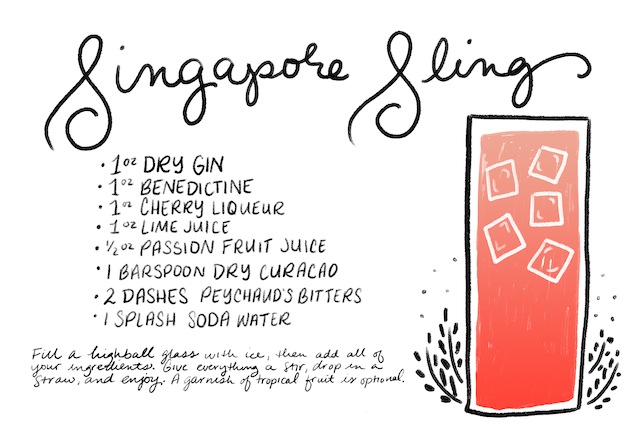
Illustration by Shauna Lynn for Oh So Beautiful Paper

The Singapore Sling

1 oz Dry Gin
1 oz Benedictine
1 oz Cherry Liqueur
1 oz Lime Juice
1/2 oz Passion Fruit Juice
1 barspoon Dry Curacao
2 dashes Peychaud’s Bitters

1 splash Soda Water

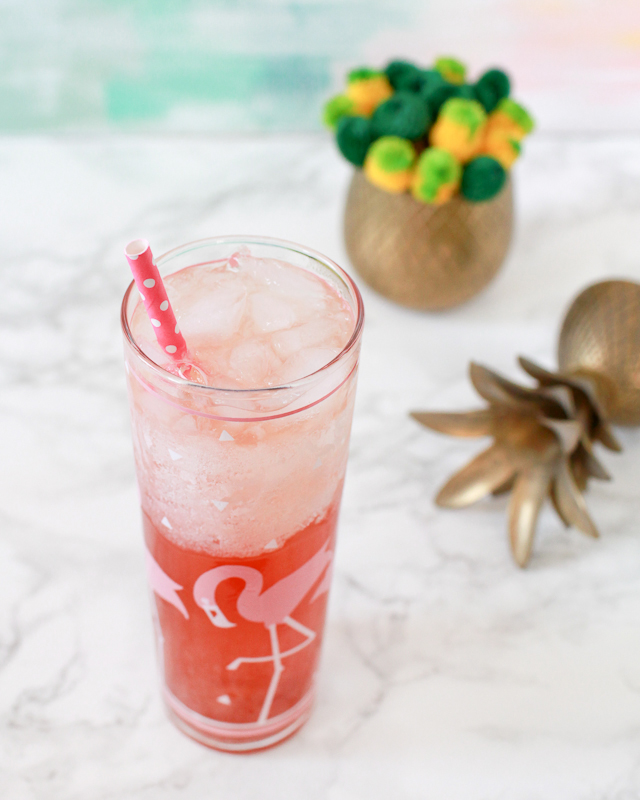
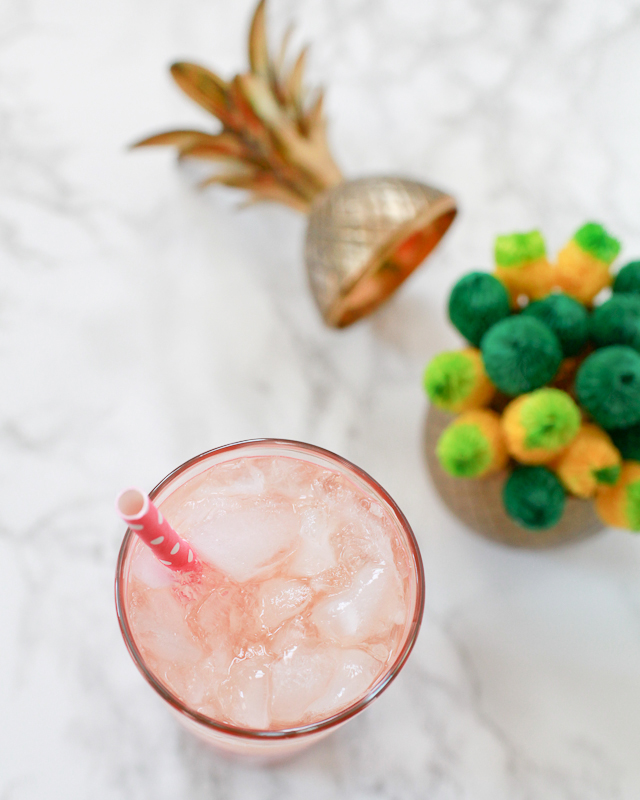
Fill a highball glass with ice, then add all of your ingredients. Give everything a stir, drop in a straw, and enjoy. A garnish of tropical fruit is optional.

The Singapore Sling has a murky origin in the late 19th Century in southeast Asia but eventually came to be associated with the Raffles Hotel in (of course) Singapore in the 1910s. Near as anyone can tell, the original recipe called for equal measures of dry gin, Benedictine, Cherry Heering liqueur, and lime juice. That version definitely stands out as unusual to a modern palate, and the Benedictine and cherry liqueur can make it feel a bit medicinal. But it’s actually pretty good just as it is.

Singapore-Sling-Cocktail-Recipe-Liquorary-OSBP-26

Unfortunately, that simple and solid recipe has been twisted and warped over time. Order a Singapore Sling at two different bars and you’re likely to find three different recipes. I’ve seen orange liqueur, pineapple juice, and grenadine, all of which are fine additions to this recipe, but also sour mix and other unnecessary, artificial ingredients. I’ve heard that you can get Singapore Slings on tap at the Raffles, but they won’t actually include most of the original ingredients.

Singapore-Sling-Cocktail-Recipe-Liquorary-OSBP-22

So I updated the recipe a bit to plant it more squarely in the modern realm of Tiki drinks without changing the character of the drink. Start with a dry gin, like Plymouth, herbaceous Benedictine, and a quality cherry liqueur–we like Haus Alpenz Orchard Cherry liqueur. Lime, the fresher the better, is essential, and passion fruit juice adds a zippy, citrusy punch. Dry curacao is one of those ingredients that I never thought of as particularly Tiki, but it very solidly is–citrusy but in a really exotic way. The Peychaud’s bitters help bind all those other ingredients together into a complex drink, layered with spicy and herbal and sweetly citrusy flavors, that’s way more than the sum of its parts.

Singapore-Sling-Cocktail-Recipe-Liquorary-OSBP-11

There’s a lot going on in this drink, which can seem a bit intimidating to people just starting to build a home bar. But it’s actually quite easy to make once you have your ingredients, and really just the gin, Benedictine, and cherry liqueur are critical spirits. Once you have those and some fresh citrus, you can make a great Singapore Sling – and all you have to do is pour your ingredients straight into the glass and stir. Easy!

(Don’t forget to follow us on Instagram, where we’ve been posting our experiments before they make their way onto this column!)

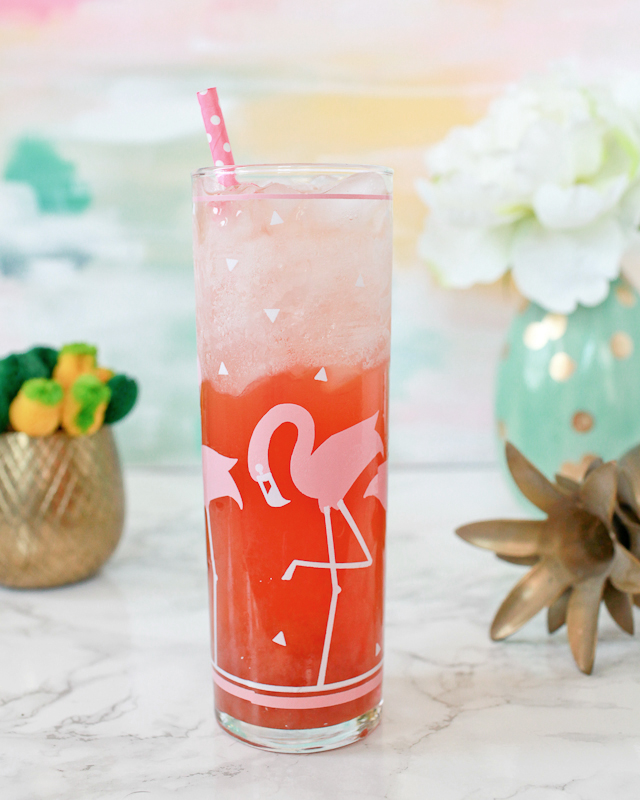
Glassware by Liquorary – these flamingo glasses are available right here!

Photo Credits: Nole Garey for Oh So Beautiful Paper

Happy Weekend!

Happy Friday everyone! The last couple of weeks have been busy busy busy preparing for my annual Paper Party during the National Stationery Show in May – I’ve been sharing some sneak peeks and our amazing party sponsors on Instagram and Facebook and can’t wait to share more as we get closer! This weekend I’m hoping to take at least one day off and enjoy all these beautiful spring flowers – it’s lilac season now! But in the meantime…

Moglea-Hand-Painted-Patterns-Instagram

Beautiful hand painted patterns by Moglea via Instagram

…a few links for your weekend!

This week on Oh So Beautiful Paper:

Pretty Paper in the Office: Measuring Tape

One of my most handy purchases to date has got to be my Hoechstmass tape measure from Crate & Barrel years ago. It tucks away in any and all bags and comes to my rescue on most days – whether at work or on a thrifting/antiquing excursion over the weekend. Now that garage sale and flea market weather is…almost certainly back, I thought I would put together a round up of some of the most clever and colorful tape measures that will ensure you always get the right fit. – Julie
Pretty Paper in the Office - Measuring Tape - Oh So Beautiful Paper

1. Nappa Dori

2. Blomus

3. Lost & Found

4. Hoechstmass

5. Cath Kidston

6. Roost

DIY Hand Lettered Wall Art

We’re in the middle of prepping for the National Stationery Show in May, which for us means finalizing our latest product designs and finishing the catalogs. In the process, we have been designing new art prints for our line and shop – so we definitely have wall art on the brain! Our tutorial today is a break down of how to make your very own, one-of-a-kind hand lettered wall art for your house or to give as a gift. Just find your favorite quote and get pencil to paper! –Bailey and Emma of Antiquaria

DIY Hand Lettered Wall Art by Antiquaria for Oh So Beautiful Paper

Materials

High quality archival paper, such as Arches Watercolor Paper Hot Press

Pencil

Kneaded Eraser

Brush Pen

Fine Felt Tipped Pen

Gouache (optional)

Copy Paper (to draft layout)

DIY Hand Lettered Wall Art by Antiquaria for Oh So Beautiful Paper

DIY Hand Lettered Wall Art by Antiquaria for Oh So Beautiful Paper

Step One: Using sheets of copy paper, sketch out your quote in a variety of different layouts/styles. Look at some of your favorite fonts for letter-shape inspiration if you feel stuck about how to make the letters go together. Once you’ve settled on a layout that you like, re-draw it on your nice archival paper. So that it pressure isn’t too high, make sure that you have a couple of sheets of the nice paper-in case you need to make a couple of drafts of the piece.

DIY Hand Lettered Wall Art by Antiquaria for Oh So Beautiful Paper

Step Two: Before putting any ink down onto your piece, you want to lift up the pencil lines so that they can act as a light guide for you but will not require heavy force once the ink is in place. A kneaded eraser does this job easily by rolling over the pencil and picking up the excess lead, as shown above.

DIY Hand Lettered Wall Art by Antiquaria for Oh So Beautiful Paper

Step Three: Take a deep breath and do your lettering with ink using your very light pencil lines as a guide. You can use a brush pen as we did here, a brush and ink, a felt tipped pen or a calligraphy pen. Each of these will yield a different looking result so it’s worth figuring out what you like best (a great thing to do while your drafting your design on copy paper). We like the boldness that a brush pen gives, especially when it meant to be viewed from a distance, which it will be when hanging on the wall!

DIY Hand Lettered Wall Art by Antiquaria for Oh So Beautiful Paper

Step Four: To give some polish to the lettering, we like to go in with a fine tipped felt pen and do “touch-ups” to the outline. We typically smooth out any ending flourishes, tops of letters (like the “t”) and light areas that the brush didn’t get. The step is optional. You may achieve exactly the look you’re going for in step three! Once you’re happy with the lettering, gently erase the remaining light pencil lines.

DIY Hand Lettered Wall Art by Antiquaria for Oh So Beautiful Paper

Step Five: We added a pop of color with a hot pink heart painted with gouache (opaque water color). This step is also optional and will depend on your design!

We hope that you have fun creating your own pieces and that you let your imagination run wild! If you’re new to lettering, it’s probably best to start with one word or a short phrase so that you can practice the process without the layout being too difficult. Have fun and Happy Lettering!

All artwork © 2015 Antiquaria, with DIY tutorials created exclusively for Oh So Beautiful Paper and intended for personal, non-commercial use only.

Photo Credits: Antiquaria for Oh So Beautiful Paper