DIY Printed Fabric with Rubber Stamps

We had a ton of fun experimenting with today’s tutorial. After hearing feedback from clients over the years that have used screen printing ink and an ink brayer to print with their stamps vs. using a stamp pad, we figured that it was high time to try it for ourselves. The process and results are fun and the options for using the technique are endless. Today, we’re using three of our pattern stamps on linen fabric to make a gorgeous, custom floral print! –Bailey and Emma of Antiquaria

DIY Printed Fabric with Rubber Stamps / Antiquaria for Oh So Beautiful Paper

DIY Printed Fabric with Rubber Stamps / Antiquaria for Oh So Beautiful Paper

Materials

Fabric (we used linen – but cotton fabric would also work)

Camellia Pattern Stamp

Daisy Pattern Stamp

Small Leaves Pattern Stamp

Ink

Brayer

Disposable spoon (or one you don’t plan to eat with again)

Disposable Palette

Scrap Paper

Iron & Scrap of Cloth

DIY Printed Fabric with Rubber Stamps / Antiquaria for Oh So Beautiful Paper

Step 1. Spoon some of ink onto the disposable palette. With the back of the spoon, smear the ink in a rectangle, down the center. Using the brayer, roll the ink onto the palette until you get a thin film of ink in the center. Now you’re ready to start printing!

Step 2. First test your overall pattern on a small piece of fabric. Lay the fabric over a scrap piece of paper to protect the table from ink stains. Lightly use the brayer to roll ink onto your stamp. Start with the largest (most dominant) stamp, before using smaller stamps to fill in the pattern. Place the stamp down, and stamp it as if you were printing on a sheet of paper using moderate and even pressure. Lift the stamp and re-apply ink.

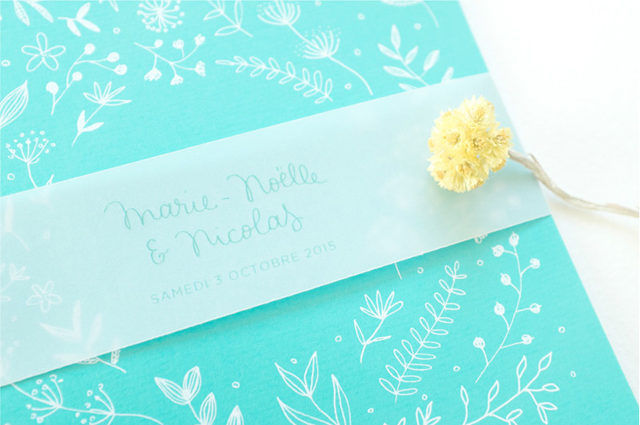
Step 3. Begin stamping on your fabric. Start with the largest stamp (we used our Camellia pattern stamp) until you’ve covered your entire piece of fabric. Use the next smallest stamp (we used our Daisy pattern stamp) to start filling in the negative spaces. The last stamp was our Small Leaves Pattern stamp. Because it’s small, it make a wonderful filler and allows you to really balance the overall design. We found that dipping into the thin layer of ink works best for the small stamps vs. using the brayer.

Step 4. Heat set the ink once you’ve finished printing all of your fabric according to the manufacturers instructions. In our case, we used a dry iron and a scrap piece of fabric.

DIY Printed Fabric with Rubber Stamps / Antiquaria for Oh So Beautiful Paper

DIY Printed Fabric with Rubber Stamps / Antiquaria for Oh So Beautiful Paper

DIY Printed Fabric with Rubber Stamps / Antiquaria for Oh So Beautiful Paper

DIY Printed Fabric with Rubber Stamps / Antiquaria for Oh So Beautiful Paper

DIY Printed Fabric with Rubber Stamps / Antiquaria for Oh So Beautiful Paper

DIY Printed Fabric with Rubber Stamps / Antiquaria for Oh So Beautiful Paper

DIY Printed Fabric with Rubber Stamps / Antiquaria for Oh So Beautiful Paper

DIY Printed Fabric with Rubber Stamps / Antiquaria for Oh So Beautiful Paper

DIY Printed Fabric with Rubber Stamps / Antiquaria for Oh So Beautiful Paper

DIY Printed Fabric with Rubber Stamps / Antiquaria for Oh So Beautiful Paper

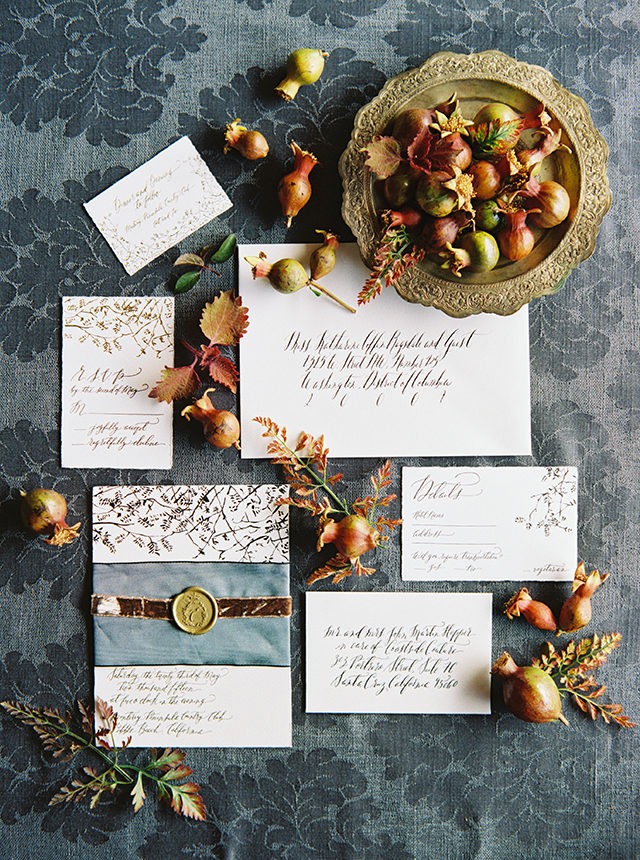
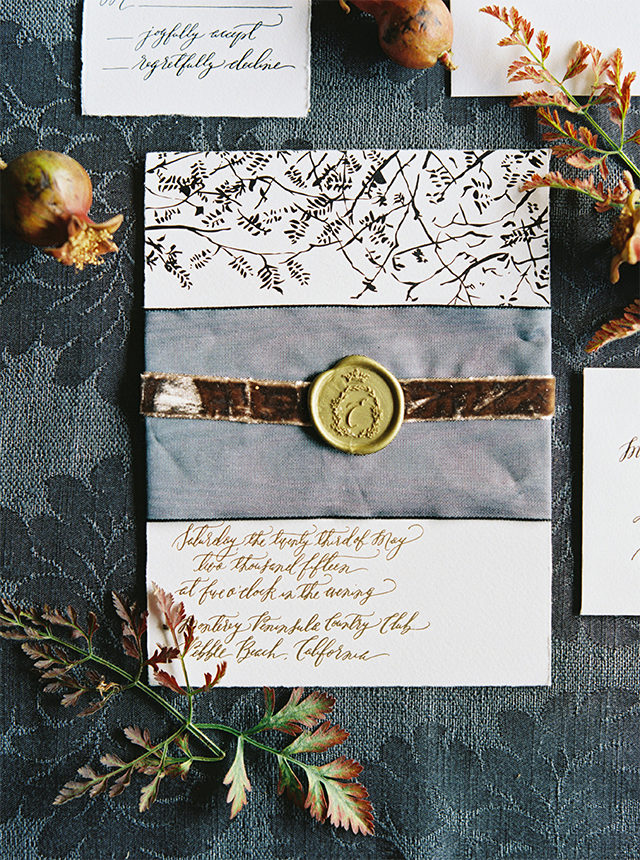
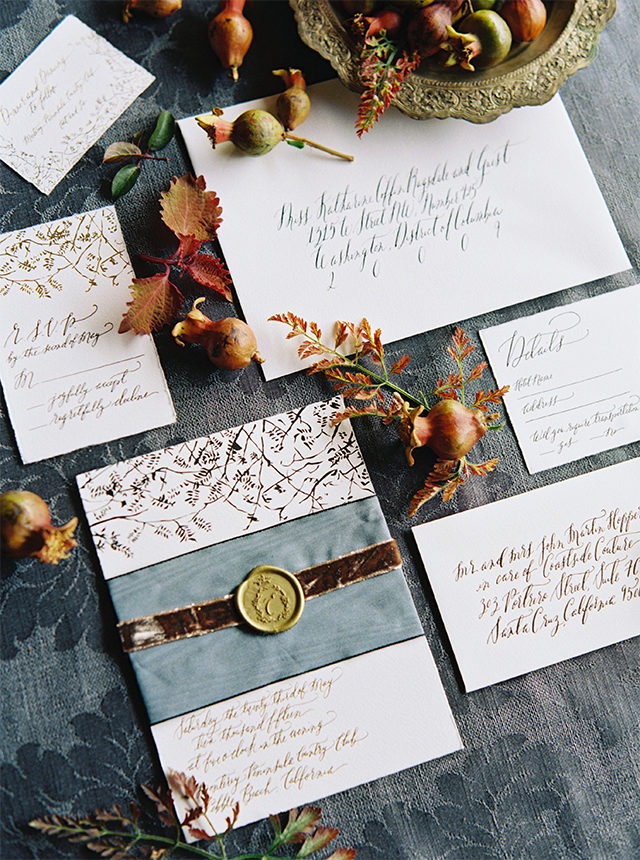
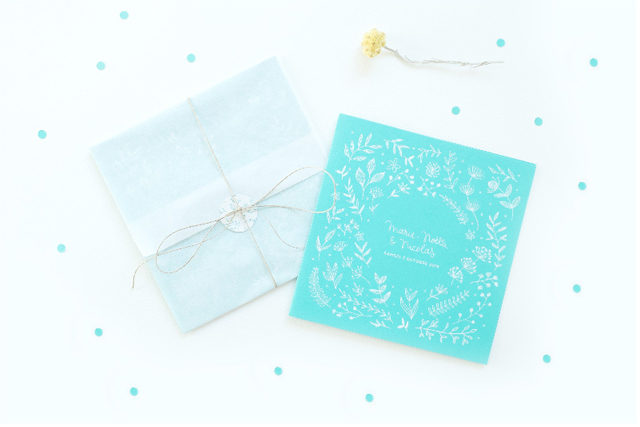
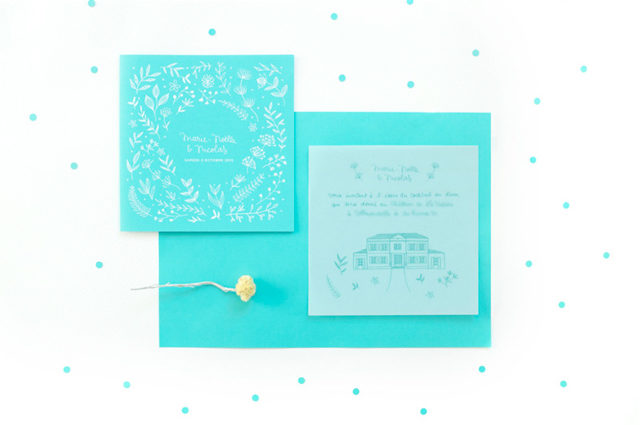
This technique excites us so much and we can’t help thinking of all of the possible uses for our very own customized fabric! Imagine stamping your monogram onto linen napkins for your wedding, making tote bags for your bridesmaids, incorporating the print into your handmade wardrobe or even making custom print fabric envelopes for your invitation!

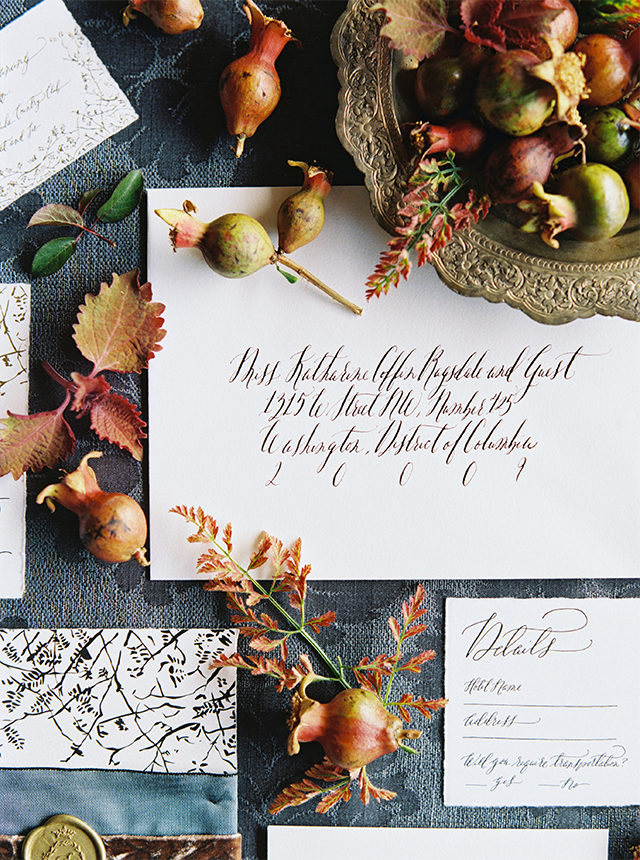
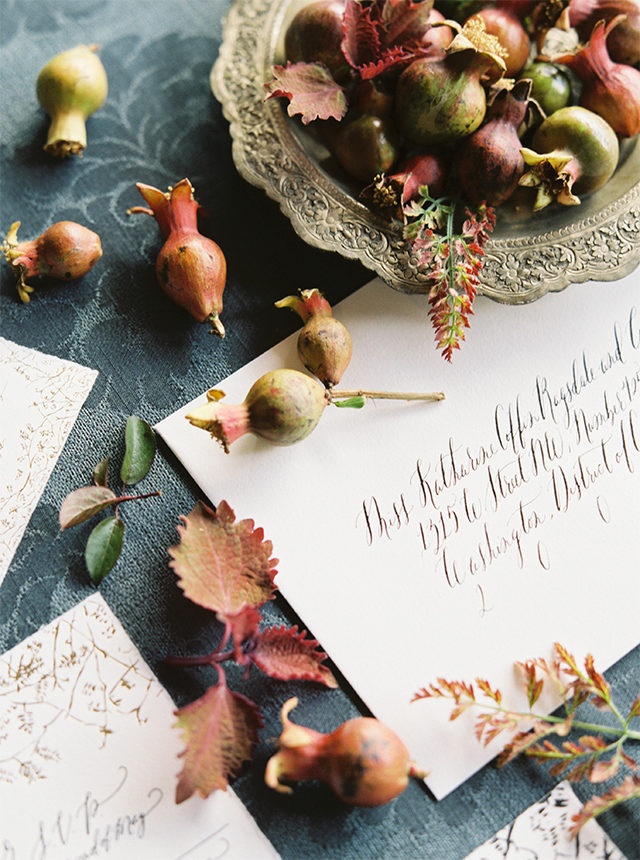
Photo Credits: Antiquaria for Oh So Beautiful Paper

Ginny + Andrew’s Elegant Old World Wedding Invitations

Wow. Just wow. These elegant wedding invitations from Lily of Lavender and Mint are just stunning! With matte gold foil and classic black letterpress, calligraphy by Signora e Mare, and deckled edge paper, these invitations evoke an Old World feel and the natural beauty of northern California. I can’t stop staring at all the beautiful details in this wedding invitation suite!

Elegant Old World Wedding Invitations / Lavender and Mint with Signore e Mare Calligraphy / Oh So Beautiful Paper / Photo by  Erich McVey

From Lily: This wedding suite, and the successive day-of stationery, is without a doubt my all-time favorite project. The bride, Ginny, is the type of client every designer dreams of; an effortlessly stylish woman with a love and appreciation for the creative process. She is herself a floral designer and was an absolute pleasure to collaborate with. We spent months looking at inspiration in fashion, interiors, and florals to refine the creative direction before we even began to design.

Elegant Old World Wedding Invitations / Lavender and Mint with Signore e Mare Calligraphy / Oh So Beautiful Paper / Photo by  Erich McVey

The wedding was in Carmel, California and she wanted to harness the natural beauty of northern California and evoke the feeling of being in that environment. She wore a stunning bohemian inspired Jenny Packham dress and we drew on that aesthetic to design a suite that was old world with the unrefined organic feeling that reminded her of California.

Elegant Old World Wedding Invitations / Lavender and Mint with Signore e Mare Calligraphy / Oh So Beautiful Paper / Photo by  Erich McVey

Elegant Old World Wedding Invitations / Lavender and Mint with Signore e Mare Calligraphy / Oh So Beautiful Paper / Photo by  Erich McVey

We collaborated with Katie from Signora e Mare for her beautiful calligraphy and chose to print on Arturo Fine Stationery. The illustration bled off the page, not something I would typically do with a deckled edge stock, however this subtle accent added to the natural quality of the invitation. We combined matte gold foil stamping and black letterpress for the printing and added a 3” French Blue Dupioni silk ribbon and 5/8” raw velvet rose ribbon to secure the invitation.

Elegant Old World Wedding Invitations / Lavender and Mint with Signore e Mare Calligraphy / Oh So Beautiful Paper / Photo by  Erich McVey

Both colors were a nod to what would be used as accent colors on the day of. The final touch was a custom antique gold wax seal with the couple’s monogram. The suite was comprised of an invitation, reply card, details card, reception card and both an inner and outer envelope. Each piece was printed with either a combination of black letterpress and matte gold foil or with a single print process – either letterpress or foil stamping. The result was a full suite that told a story. Erich McVey captured the essence of the suite beautifully and I am so thrilled to share his photos with you here!

Elegant Old World Wedding Invitations / Lavender and Mint with Signore e Mare Calligraphy / Oh So Beautiful Paper / Photo by  Erich McVey

Thanks Lily!

Creative Direction & Design: Lily Lasuzzo of Lavender & Mint

Calligraphy: Signora e Mare

Print Shop: Littleford Letterpress

Check out the Designer Rolodex for more tal­ented wed­ding invi­ta­tion design­ers and the real invi­ta­tions gallery for more wedding invitation ideas!

Photo Credits: Erich McVey

Fresh Cut Paper Flowers: DIY Paper Flower Wedding Bouquet

Paper flowers are such a practical alternative for any special event or wedding! Luckily, keeping a close eye on your budget doesn’t mean you have to turn your dream bouquet into a “I wish…” on your wedding day. With the right folds and snips of your scissors, paper can be transformed into a stunning bouquet! Enjoy the tutorial below – and you know where to find me if you have any questions at all! – Rachael of Appetite Paper

Paper Flower Wedding Bouquet / Appetite Paper for Oh So Beautiful Paper

Materials

Italian Crepe Paper

Polystyrene Spheres

Scissors

Glue Gun

Floral Stem Wire

Floral Tape

Wire Cutters

Fresh Foliage or Silk Foliage

To create this paper flower bouquet, follow the recipe below using the paper flowers below – you can find the Paper Flower Guides right here!

Paper Flower Wedding Bouquet / Appetite Paper for Oh So Beautiful Paper

Instructions

Step 1. Begin with four paper Garden Roses. Using floral tape combine the stems and create a cross pattern.

Step 2. Add in the Sweet Pea Anemones, alternating within the Garden Roses and securing the stems at the base with floral tape. Secure another Garden Rose in the center of your bouquet using floral tape.

Step 3. Around the center Garden Rose, alternate two baby pink and white anemones and secure the stems with floral tape. Place three Bubble Gum Anemones around the center Garden Rose and secure the stems with floral tape. Add in the remaining Two White and Two Baby Pink anemones at the bottom of your bouquet. Secure the stems with floral tape.

Step 4. Trim the stems with wire cutters for a clean finish at the bottom of the bouquet. Add in fresh foliage from your garden or local florist – or add in silk greens for less maintenance. Simply secure the foliage with floral tape at the base of your bouquet and add fabric and/or silk ribbon for the finishing touch!

Paper Flower Wedding Bouquet / Appetite Paper for Oh So Beautiful Paper

Paper Flower Wedding Bouquet / Appetite Paper for Oh So Beautiful Paper

Paper Flower Wedding Bouquet / Appetite Paper for Oh So Beautiful Paper

Paper Flower Wedding Bouquet / Appetite Paper for Oh So Beautiful Paper

Paper Flower Wedding Bouquet / Appetite Paper for Oh So Beautiful Paper

Photo Credits: Appetite Paper for Oh So Beautiful Paper

Marie-Noelle + Nicolas’s Boho Chic Illustrated Wedding Invitations

Illustrator Nathalie Ouederni of Studio Kalumi created these lovely boho chic wedding invitations for her best friend’s wedding – and I’m so thrilled she’s here today to share them with you! Nathalie combined wildflower illustrations inspired by the French village where the bride and groom grew up with hand written text throughout the invitations. And I LOVE the screen printed white ink over turquoise paper!

Boho Chic Illustrated Wedding Invitations by Nathalie Ouederni / Oh So Beautiful Paper

From Nathalie: When my best friend announced me she was getting married, it was a bit of a shock. We have known each other for more than ten years now and she has been with her fiancé for almost fifteen years, but this news seemed very unreal! I was very excited to design her wedding invitation suite, but also a bit terrified!

Boho Chic Illustrated Wedding Invitations by Nathalie Ouederni / Oh So Beautiful Paper

She gave me complete freedom regarding the colors, theme and technique. The only guidelines the couple gave me were that they wanted something modern, chic, handmade, romantic, and a little bohemian without being too girly. Marie-Noëlle also told me she wanted something in the line of the floral and vegetal patterns I usually make, so these were my starting points.

Boho Chic Illustrated Wedding Invitations by Nathalie Ouederni / Oh So Beautiful Paper

I started doodling some flowers with watercolors and made a proposal going this way, but I felt like it was a bit too much old fashioned and ‘heavy’. I wanted something fresh and more original. The floral pattern is inspired by the wildflowers that you can find where the couple comes from (a cute village close to Toulouse, France).

Boho Chic Illustrated Wedding Invitations by Nathalie Ouederni / Oh So Beautiful Paper

Some time before, I had found a turquoise card stock in a paper shop and instantly fell in love with the color. I knew  white screen printing would look amazing with the turquoise paper for these invitations. This printing process also fitted the couple’s desire to have something ‘handmade’.

Boho Chic Illustrated Wedding Invitations by Nathalie Ouederni / Oh So Beautiful Paper

The text on these invitations is also handwritten, which adds to the handmade and bohemian feel. I had a lot of fun creating the seamless pattern for the envelope liner and the stickers to close the envelopes, the different monogram logos, the wedding map, and more. The printing studio did an amazing job with all the details of these invitations, and were so easy to work with!

Boho Chic Illustrated Wedding Invitations by Nathalie Ouederni / Oh So Beautiful Paper

Boho Chic Illustrated Wedding Invitations by Nathalie Ouederni / Oh So Beautiful Paper

Thanks Nathalie!

Check out the Designer Rolodex for more tal­ented wed­ding invi­ta­tion design­ers and the real invi­ta­tions gallery for more wedding invitation ideas!

Photo Credits: Nathalie Ouederni / Studio Kalumi