We design lots of calligraphy frames in the studio for wedding invitations, art prints, stamps… we just can’t get enough! We thought it would be fun today to show you a little bit about the process of making a frame with a pointed calligraphy pen and a brush pen. You can really explore this topic in so many variations, which is what makes it so much fun! We hope that this little lesson helps springboard you into making designs that are your own! –Bailey and Emma of Antiquaria

Materials
Calligraphy pen, pointed nib, and Sumi ink
Monogram Rubber Stamp – we used our Handwritten Calligraphy Names Monogram
Pencil
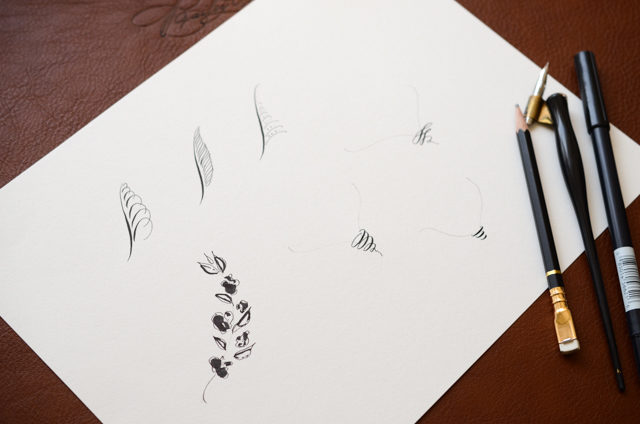
There are endless techniques you can use to make illustrated borders, and today we’re only going to dip into a few of the basics. We recommend taking a few minutes (or hours) to peruse IAMPETH, which has amazing resources and inspirations for pointed pen work, since that is the tool that we’re going to primarily use today. Most of these decorations start with a compound curve (the main stem that will border your image) and are decorated off of that curve. Here’s a little bit about each decoration:
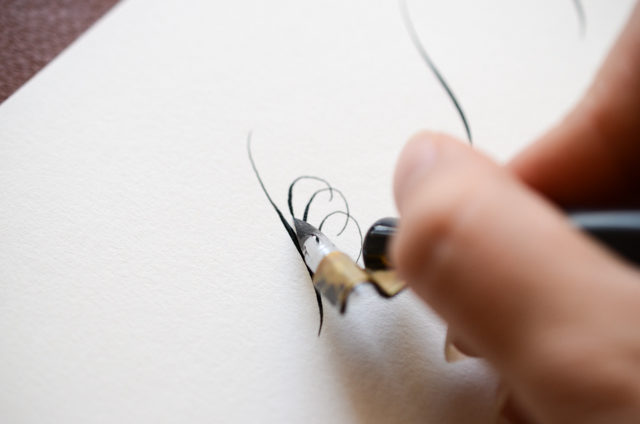
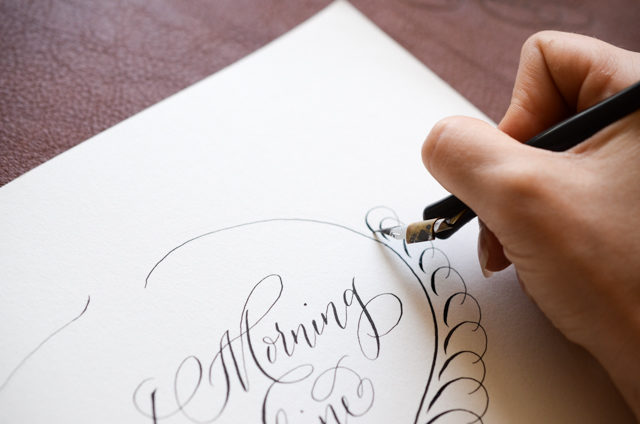
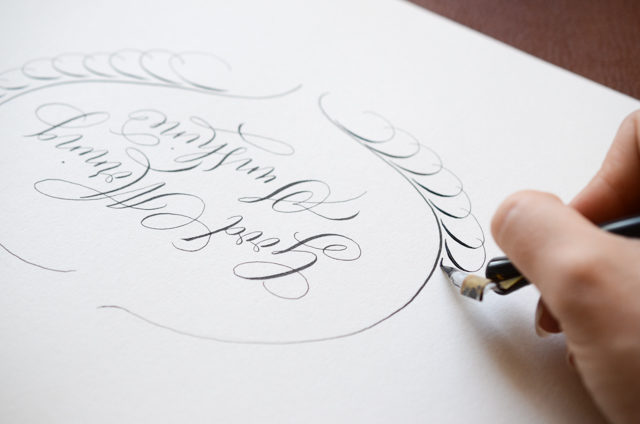
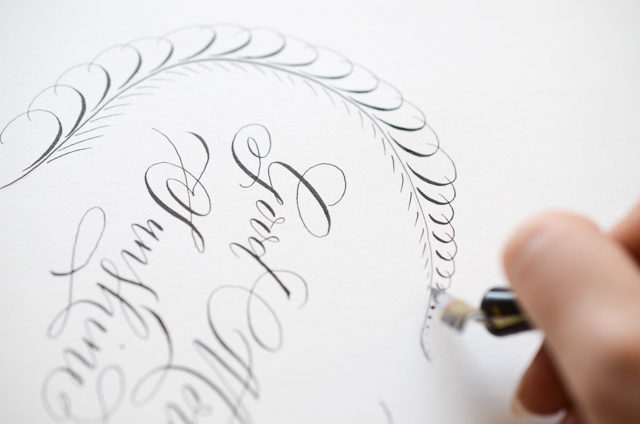
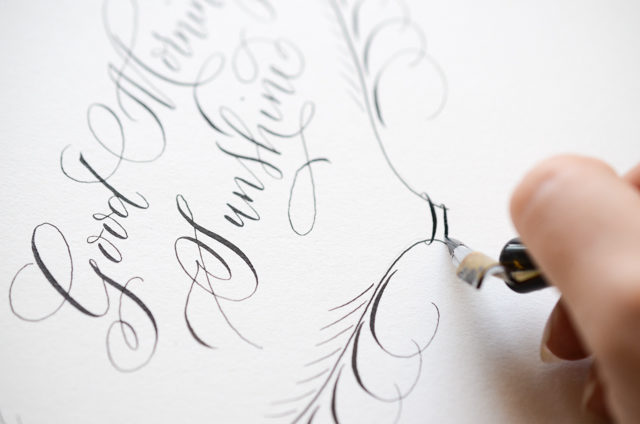
For this plume-like decoration, you want the thick stroke (using pressure) to be on the inside, next to the main stem, as shown above. Make the little loops smaller as you go up the stem.
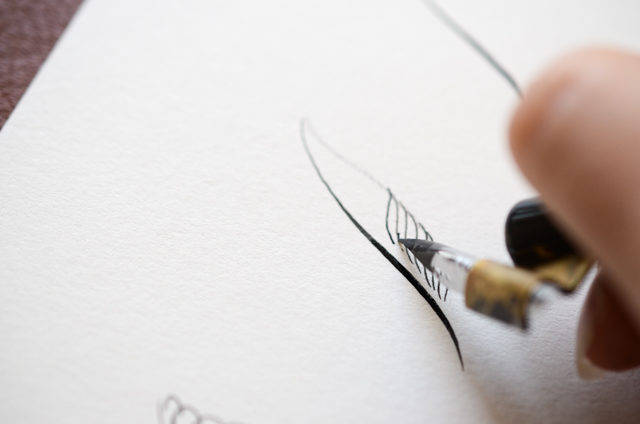
This decoration resembles a feather. With a pencil, draw a shape on the side of your main stem, as a guide. Then fill in the shape with light compound curves, moving up the stem.
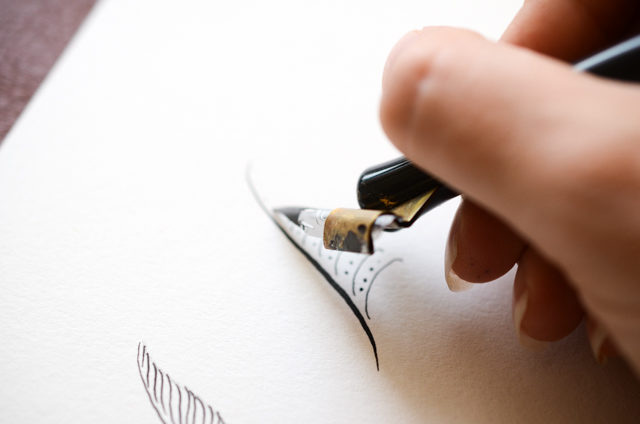
This simple little leaf decoration just has arches up the side of the stem. In the middle of each, we drew in little dots.
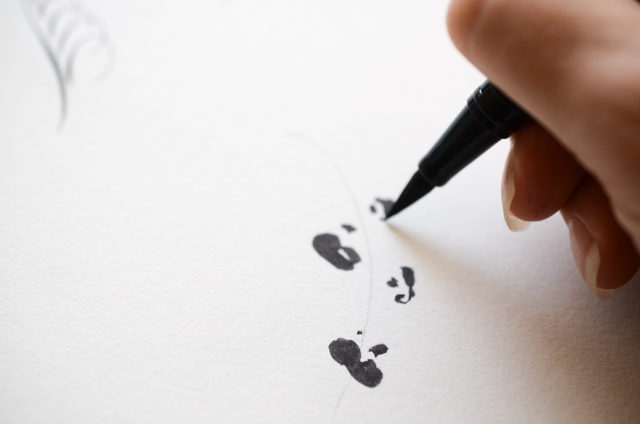
The abstract floral border is done off of a pencil line, with no main stem. Start with a pencil line. Then, using a brush pen, or a small paint brush and ink, make little petal shapes up the pencil line.
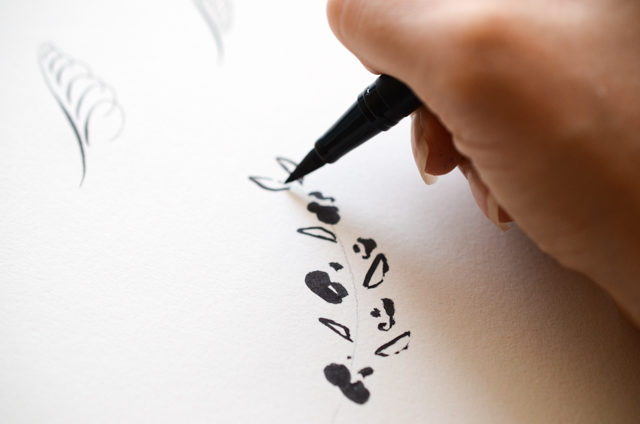
Next, add in your leaves.

Lastly, add in some details with your calligraphy pen. Outline around the shapes to define them and add the centers of the abstract flowers.
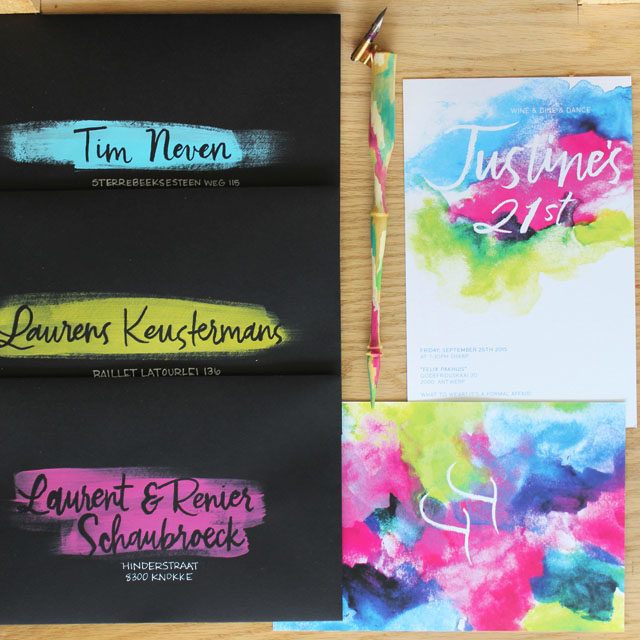
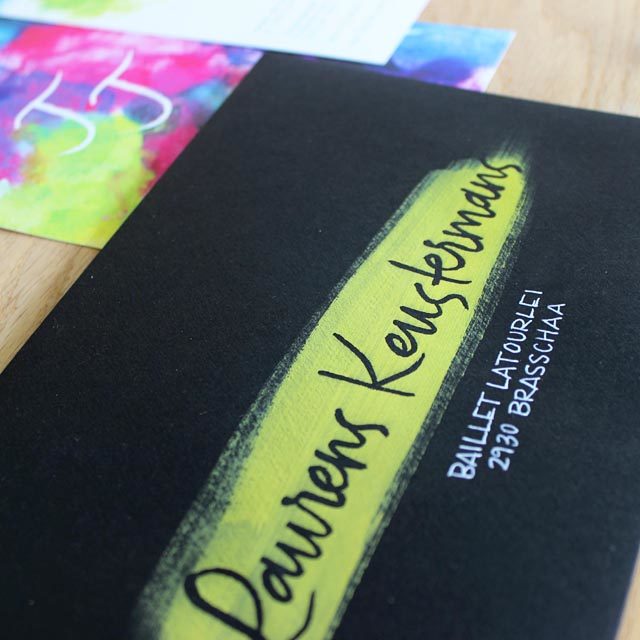
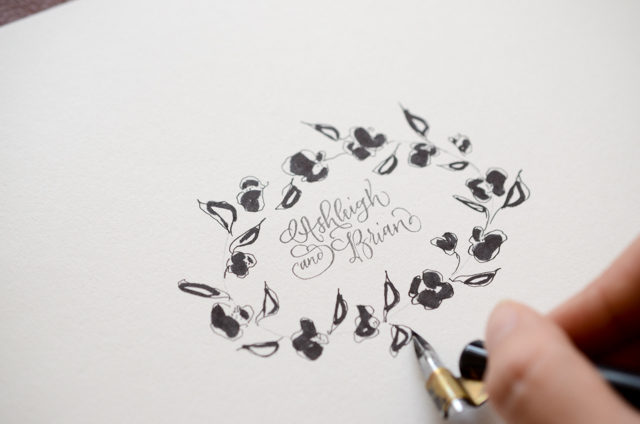
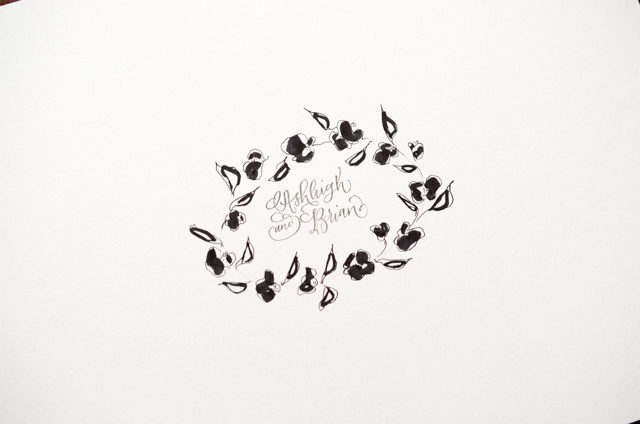
Decorated Monogram. In the series of pictures below, we use the above techniques (specifically the abstract floral border) to embellish one of our Monogram Stamps (our Handwritten Calligraphy Names Monogram). You could do the same thing around an invitation, single initial monogram or to address an envelope!
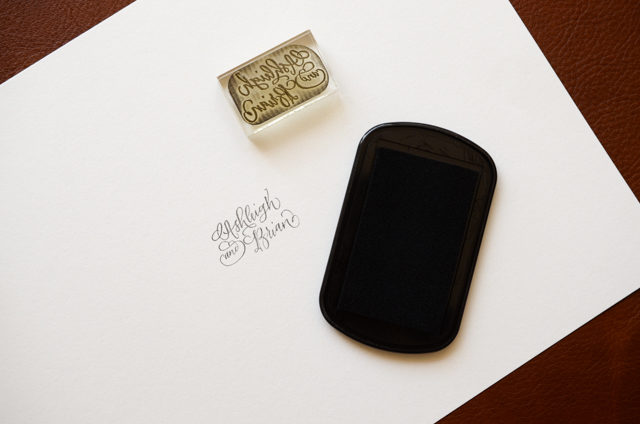
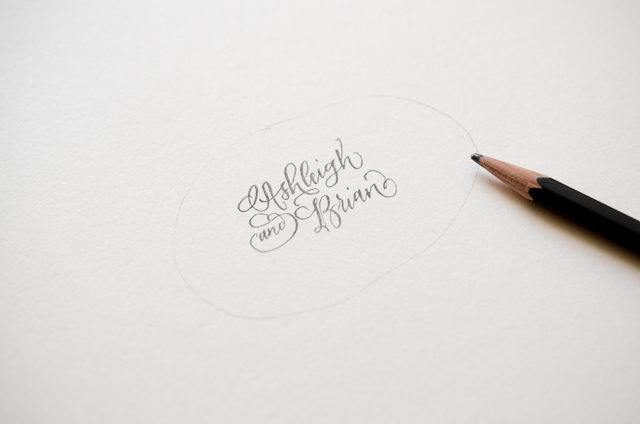
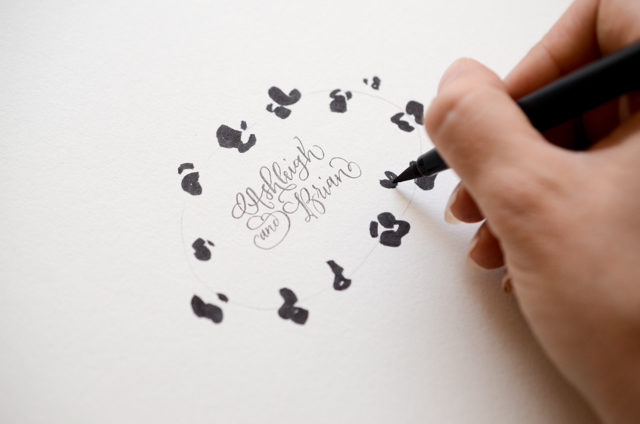
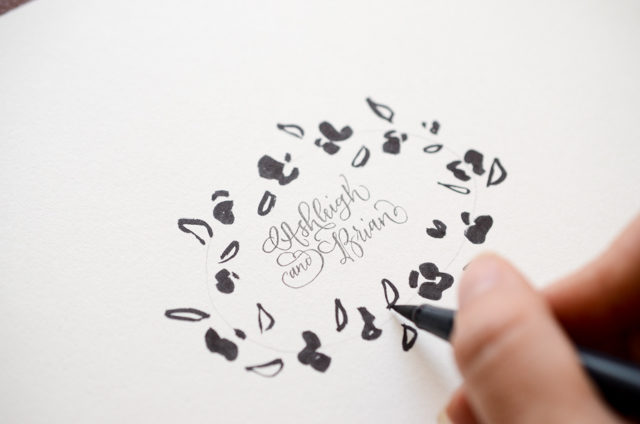
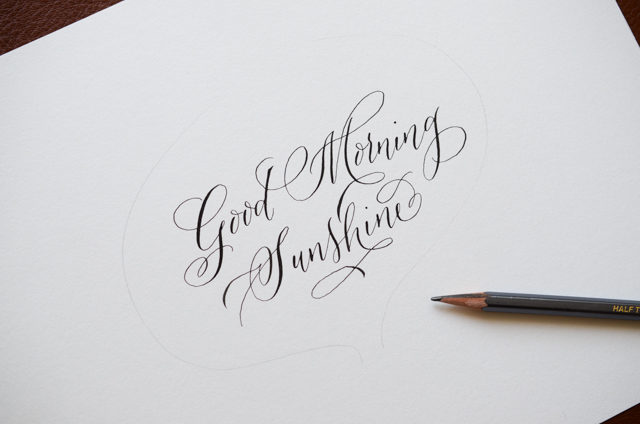
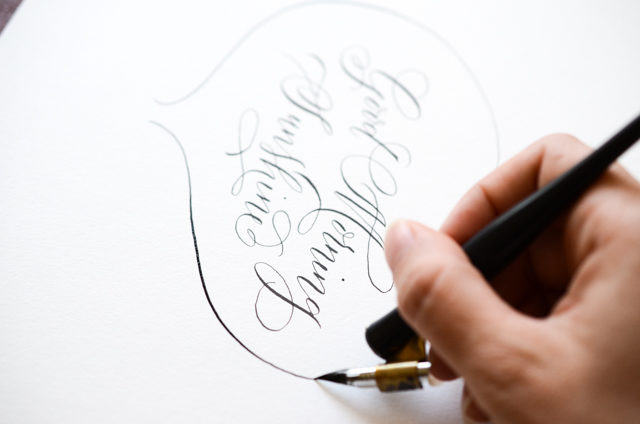
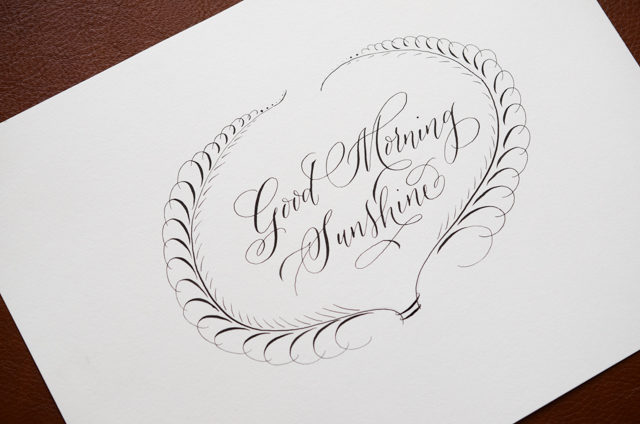
Calligraphy Wall Art. After lettering a phrase, we decorated the border using the same pointed pen that it was written with (mainly the plume technique). Alternatively, you could use a fine tip Micron pen to draw any of the lettering or borders that we’ve shown here. You could also use color or gold to embellish your work!

We hope you have tons of fun playing around with the techniques! Be sure to show us your interpretation on Instagram by tagging us @antiquariadesign! We can’t wait to see what you come up with.

