DIY Tutorial: Modern Washi Tape Save the Dates

Who doesn’t love washi tape? Ever since this awesome product arrived state side, we’ve been on board. We typically use it to seal envelopes, paper or belly bands but lately, we’ve had a desire to make it the real star. In this DIY, we use different tapes to add a bit of graphic drama to our stamped save the date cards. The effect you get is so much fun, especially considering it’s humble beginnings as tape! – Bailey and Emma of Antiquaria

DIY Tutorial: Modern Washi Tape Save the Dates by Antiquaria for Oh So Beautiful Paper

Each save the date is its own, unique piece of art. The best part is that you can make it as simple or tricked out as you like!

DIY Tutorial: Modern Washi Tape Save the Dates by Antiquaria for Oh So Beautiful Paper

Step One: Before you decorate, you’ll need to stamp your save the date (we used our Art Deco Save the Date stamp) on the bottom of a blank, cream A7 card. Choose an ink color that will coordinate nicely with the tape that you’ve selected. For a step-by-step video tutorial about this printing process go here.

DIY Tutorial: Modern Washi Tape Save the Dates by Antiquaria for Oh So Beautiful Paper

Step Two: Let your creative flag fly! Adorn the top of the card with washi tape in any pattern you like. We used a simple design with straight line and pop of diagonal tape for this example.

DIY Tutorial: Modern Washi Tape Save the Dates by Antiquaria for Oh So Beautiful Paper

Step Three: Next, you’ll need to square up the tape so that you have a clean, professional look. Using a straight edge metal ruler and a craft knife, carefully cut the tape, making sure not to press so hard that it cuts the paper as well.
DIY Tutorial: Modern Washi Tape Save the Dates by Antiquaria for Oh So Beautiful Paper

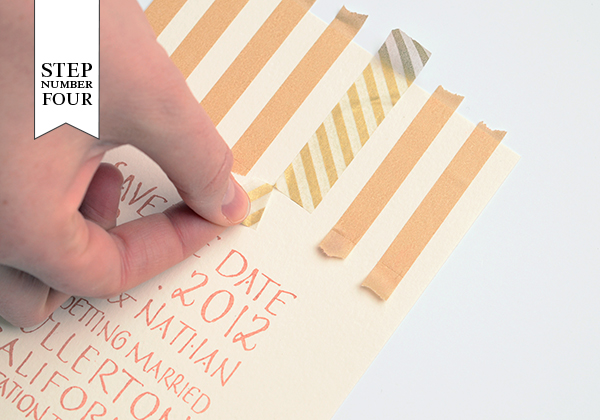
Step Four: Peel off the tape and press down the cut edge. Repeat the process on the top.

DIY Tutorial: Modern Washi Tape Save the Dates by Antiquaria for Oh So Beautiful Paper

There are an infinite amount of possibilities for the tape designs. Get creative and experiment with tape colors and patterns. We love the way that they all look together, so don’t feel limited to one design!
DIY Tutorial: Modern Washi Tape Save the Dates by Antiquaria for Oh So Beautiful Paper

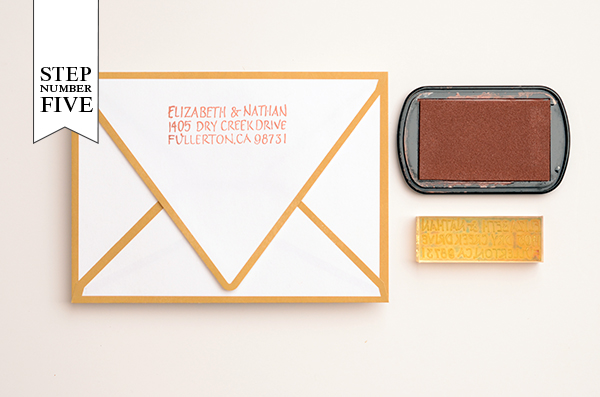
Step Five: Next, you’ll need to stamp your return address (we used our Art Deco Return Address stamp) on the back flap of your envelopes. Now all that’s left is to address them, add postage and send them on their merry way!

Materials:

Art Deco Save the Date Stamp

Art Deco Return Address Stamp

Stamp Pad in Cocoa

Washi Tape

A7 Cream Cards

A7 Envelopes

Metal Ruler and Craft Knife

Anti­quaria is a mem­ber of the Designer Rolodex – you can see more of their beau­ti­ful work right here or visit the real save the dates gallery for more save the date ideas!

Photography: Antiquaria for Oh So Beautiful Paper

Friday Happy Hour: The Danish Mary

Here’s a confession: I’m not the biggest fan of the Bloody Mary for two big reasons. First, all that tomato juice: I’m not crazy about savory drinks. Second, all that vodka: there’s no room in my bar for a neutral spirit that basically exists to liquor up a drink without adding any flavor. So for those of you desperately searching for a post-New Year hangover cure looking for a delicious brunch cocktail, here’s a slight variation that’s even better than the Bloody Mary: the Akvavit-based Danish Mary. – Andrew

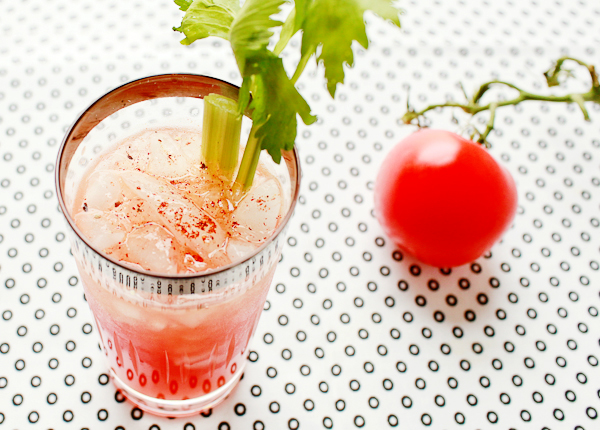
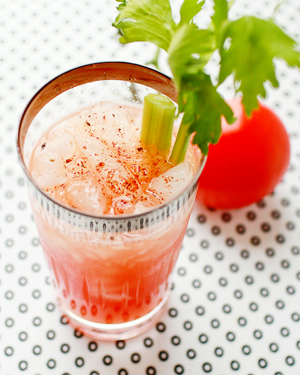
OSBP-Signature-Cocktail-Recipe-Danish-Mary-50

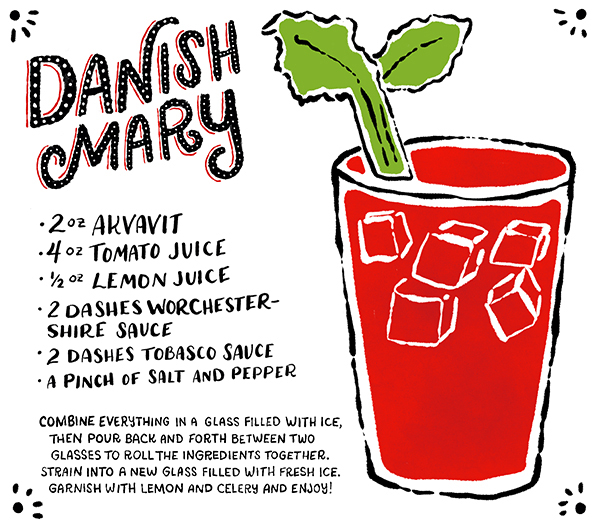
OSBP-Signature-Cocktail-Recipe-Card-Danish-Mary-Shauna-Lynn-Illustration

Illustration by Shauna Lynn for Oh So Beautiful Paper

Danish Mary

2 oz Akvavit
4 oz Tomato Juice
1/2 oz Lemon Juice
2 Dashes Worcestershire Sauce
2 Dashes Tabasco Sauce
A Pinch of Salt + Pepper

Combine everything in a glass filled with ice, the pour back and forth between two glasses to roll the ingredients together. (Tomato juice foams a lot when shaken; this is a much gentler method of mixing.) Strain into a new glass filled with fresh ice. Garnish with lemon and/or celery and enjoy!

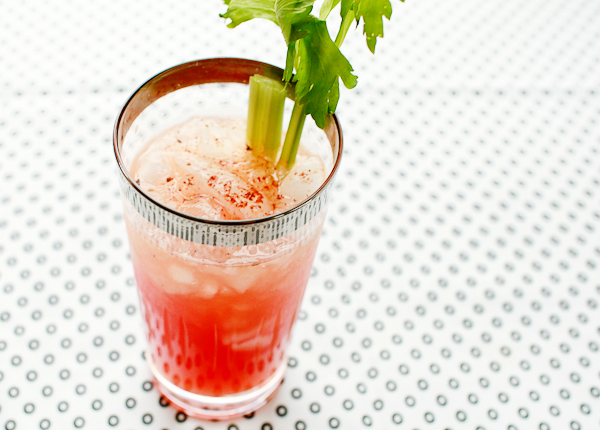
OSBP-Signature-Cocktail-Recipe-Danish-Mary-33

The Danish Mary is rich and savory, with a touch of spicy heat, just like a Bloody Mary, but even more complex, thanks to the herbaceous spiciness of the Akvavit. Akvavit (also Akevitt or Aquavit) is, as we’ve mentioned before, is a Scandinavian liquor flavored with spices and herbs, primarily flavors like caraway and dill, but also lemon, mint, ginger, cardamom, allspice and the like. It imparts a depth of flavor to the Danish Mary that vodka can’t match.

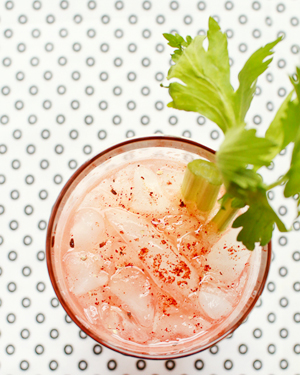
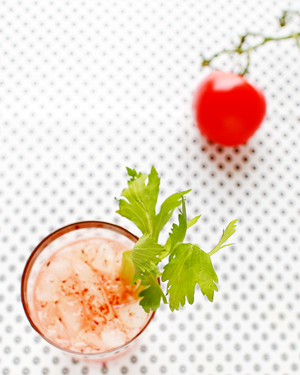
OSBP-Signature-Cocktail-Recipe-Danish-Mary-40 OSBP-Signature-Cocktail-Recipe-Danish-Mary-1

The easiest way to make a Danish (or Bloody) Mary is with bottled tomato juice. No one will judge you if you use this. But fresh juice really does make a difference, in this drink and every other. I muddled three medium tomatoes on the vine to get about 5 oz of juice; just make sure to filter the juice through a fine sieve or cheesecloth, or your Danish Mary will be pulpy. If you’re feeling extra fancy, try heirloom tomatoes. Modern tomatoes are bred for their color, firmness, and smoothness, but definitely not for taste, so heirloom tomatoes will give your drink a much richer tomato flavor. If that’s your thing.

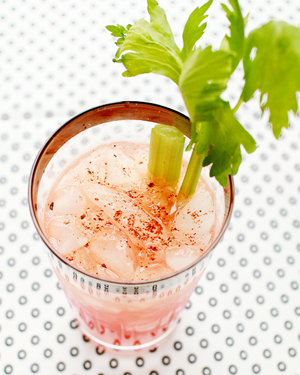
OSBP-Signature-Cocktail-Recipe-Danish-Mary-8 OSBP-Signature-Cocktail-Recipe-Danish-Mary-13

The origins of the Bloody Mary are a little murky, but may have been invented at the New York Bar in Paris – the same bar at which the French 75 was invented – in the early 20th century. It makes sense that no one really remembers who first mixed one up, since it was invented as a hangover cure. Everyone around was probably too drunk, or too hungover, to write down or remember the details.

Just make sure to finish your Danish Mary before brunch ends. I’m pretty sure it’s against the law to drink one of these at any other time of day.

Photo Credits: Nole Garey for Oh So Beautiful Paper

DIY Tutorial: Snowy Tree Wine Stoppers

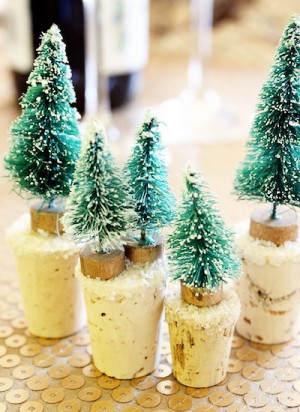
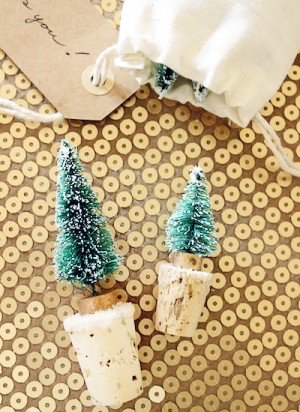
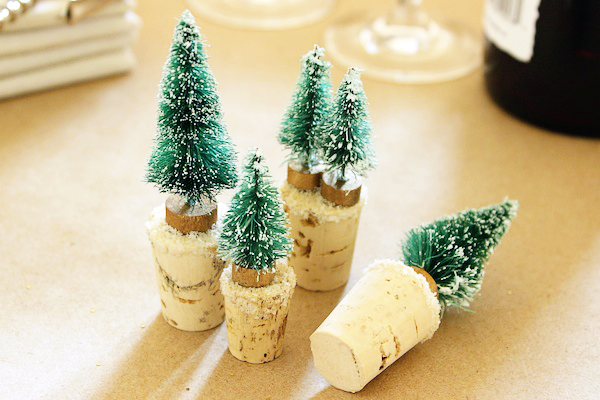
Whether you’re looking to make your own wine collection a little more festive or you’re searching for an easy hostess gift for the holiday party season, I have you covered today.  We are using the cutest little bottle brush trees and a dash of white glitter to create the most whimsical little wine stoppers!  – Mandy of Fabric Paper Glue

DIY-Snowy-Tree-Wine-Stoppers-Fabric-Paper-Glue-OSBP1DIY-Snowy-Tree-Wine-Stoppers-Fabric-Paper-Glue-OSBP2

DIY-Snowy-Tree-Wine-Stoppers-Fabric-Paper-Glue-OSBP-Materials

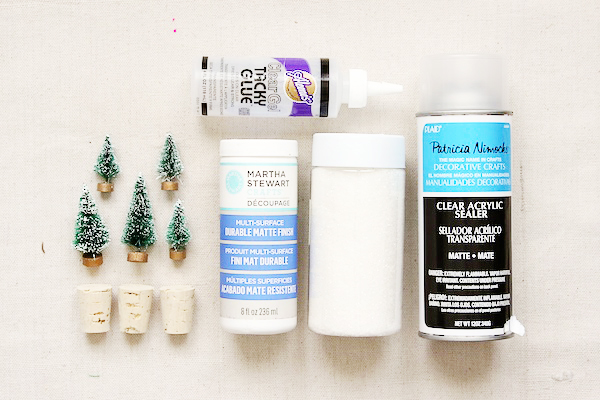
Materials:

Wine Corks

Painters Tape

Decoupage Glue

Paint Brush

White Glitter

Spray Sealer

Mini Bottle Brush Trees

Craft Glue

DIY-Snowy-Tree-Wine-Stoppers-Fabric-Paper-Glue-OSBP-Step1

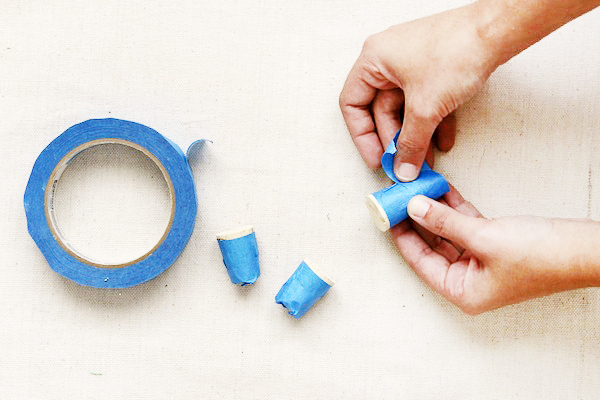
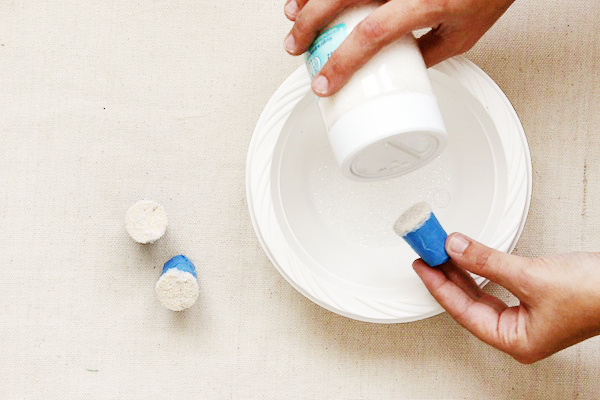
Step One: Cover each cork in painters tape leaving only the top tip untaped.

DIY-Snowy-Tree-Wine-Stoppers-Fabric-Paper-Glue-OSBP-Step2

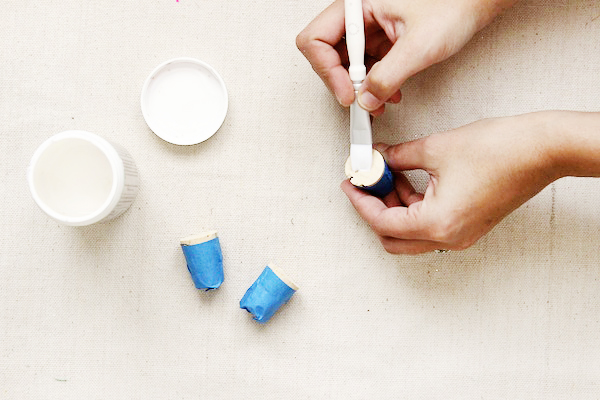
Step Two: Apply a layer of glue to the top of the cork with a small paint brush.

DIY-Snowy-Tree-Wine-Stoppers-Fabric-Paper-Glue-OSBP-Step3

Step Three:  Cover the glue in white glitter.

DIY-Snowy-Tree-Wine-Stoppers-Fabric-Paper-Glue-OSBP-Step4

Step Four: Before the glue has dried, spray sealer onto the glitter, and carefully remove the tape.

DIY-Snowy-Tree-Wine-Stoppers-Fabric-Paper-Glue-OSBP-Step5

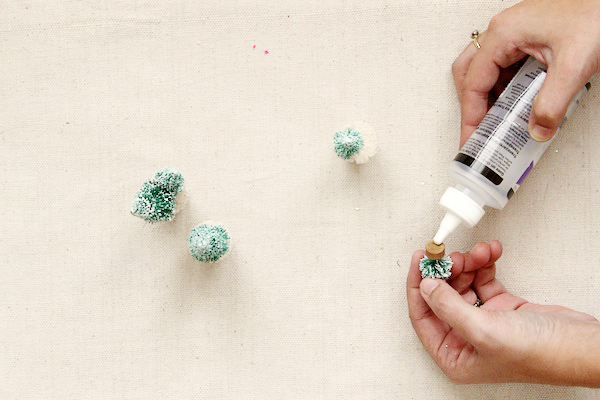
Step Five: Affix a tree or two to the top of each cork using craft glue.  Once dry, throw them in a little muslin drawstring bag for a great hostess gift. Or better yet, pop open a bottle of wine, and put your little winter wonderland into action!

DIY-Snowy-Tree-Wine-Stoppers-Fabric-Paper-Glue-OSBP3

Photo Credits: Mandy Pellegrin for Oh So Beautiful Paper

2013 Gift Guide: For An Almost-Toddler

Today we’re wrapping up our gift guides with a final post of ideas for a favorite little munchkin! Sophie is in an in-between stage: not really a baby, but not yet walking or doing more complex activities. She’s past a lot of the gift ideas for young babies, but not quite ready for some of the more intricate toys or physical games for toddlers. So today I thought I’d share a few things on my list for Sophie in case you’re also searching for ideas for an almost-toddler baby!

OSBP-2013-Gift-Guide-Baby-Toddler-Ideas

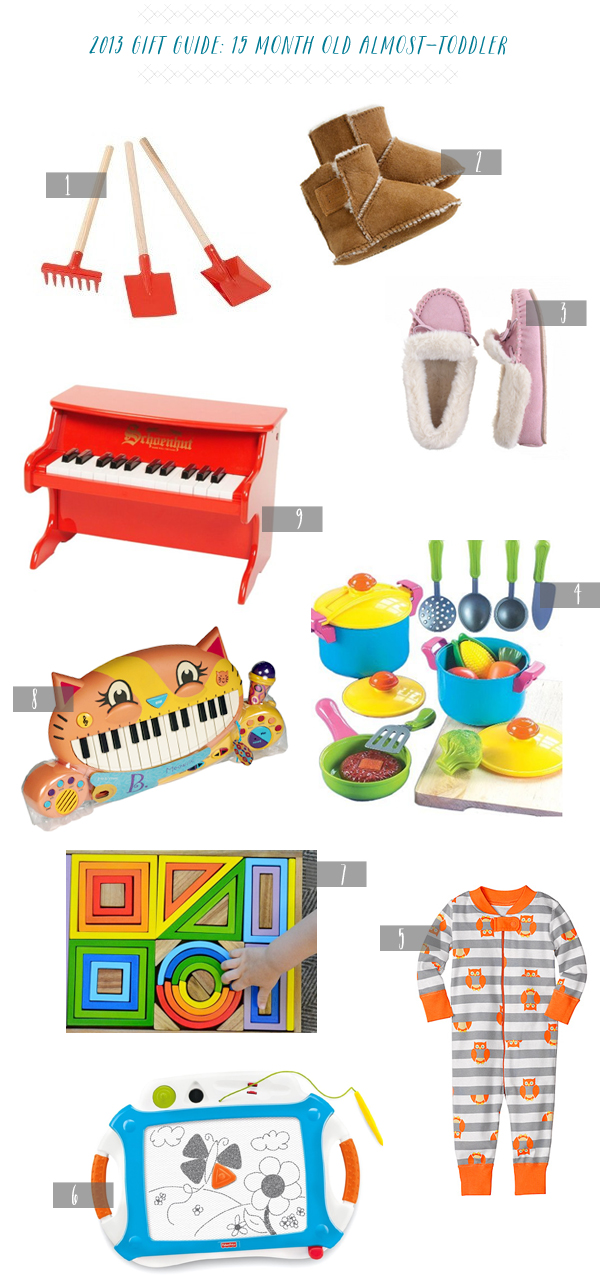
1. How We Montessori Garden Set; 2. Shearling Booties; 3. Moccasins (for older kids); 4. Kitchen Set; 5. Pajamas; 6. Magna Doodle; 7. Rainbow Block Set; 8. Meowsic Keyboard; 9. Toy Piano

OSBP-2013-Gift-Guide-Baby-Toddler-Ideas2

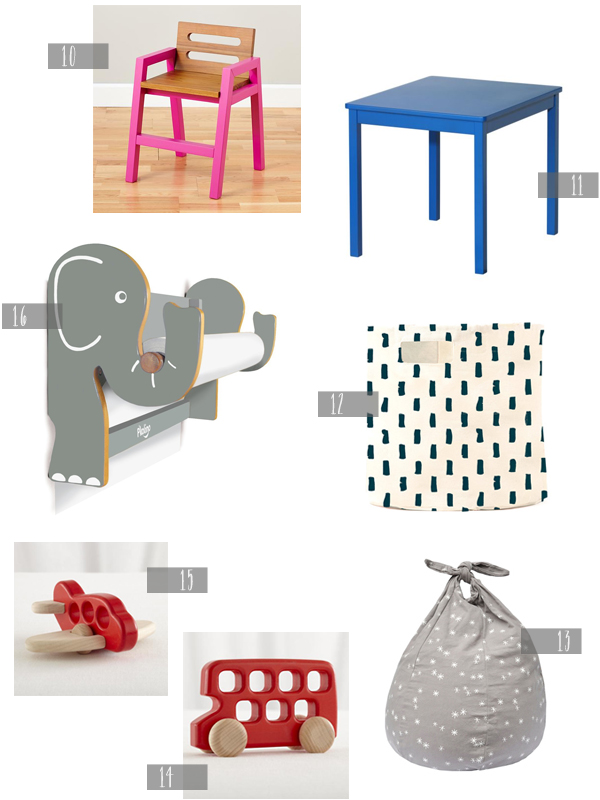
10. Magenta Play Chair; 11. Ikea Play Table; 12. Pehr Canvas Bucket; 13. Bean Bag; 14 + 15. Wooden Toys; 16. Elephant Wall Easel

1 + 7 I love all the practical tools and fun toys from How We Montessori! This garden set will be perfect for Sophie when we’re spending time out in the garden again this spring, and this colorful block set would keep her happily busy for a long time.

2 + 3 + 5 If you’re thinking about giving clothes, consider shoes or even PJs. Hanna Andersson pajamas are our favorites so far, and these shearling booties would be great for keeping tiny feet warm during the winter.

6 Sophie isn’t quite ready for crayons and markers, but she played with her cousins’ Magna Doodle over Thanksgiving and LOVED it!

8 + 9 Sophie loves anything musical. I love this tiny piano for something that doesn’t require batteries or this keyboard (also discovered through Sophie’s cousins, and yes it looks just as crazy in person!) for something a bit more portable.

12 These canvas buckets from Pehr are the perfect size for corralling toys and loose objects in the nursery!

{images via their respective sources}

2013 Gift Guide: The Cocktail Enthusiast

So here’s the thing. Up until now I’ve avoided doing gift guides. Both because I struggle just as much with finding the “perfect” gift for those on my list and because I consider this blog to be one giant gift guide for any paper-loving person. But after a couple of reader emails with questions about particular gift ideas, we thought it might be nice to share a few recommendations on a couple very specific topics. So without further ado – our very first gift guide! First up, some ideas for your favorite cocktail enthusiast!

OSBP-2013-Gift-Guide-Cocktail-Enthusiast

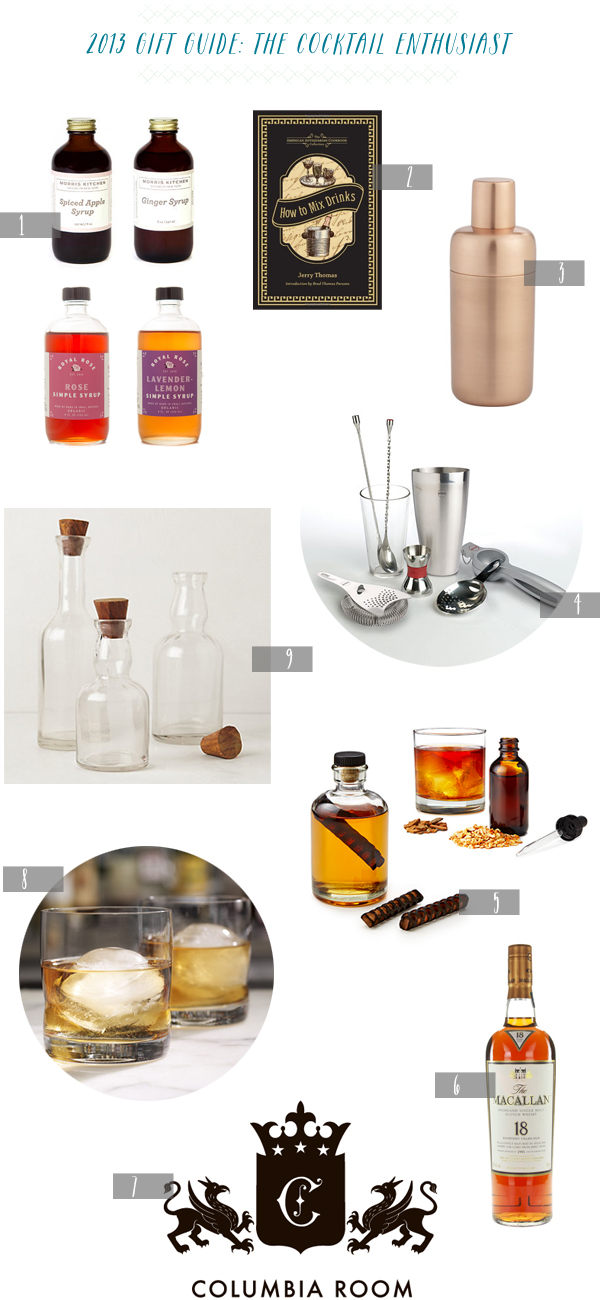
1. Simple Syrups from Morris Kitchen and Royal Rose; 2. Cocktail Book (also this, this, this, and this); 3. Copper Shaker; 4. Basic Bar Tool Set; 5. Cocktail Aging Kit and DIY Bitters Kit; 6. The Macallan 18; 7. Cocktail classes, like these at the Columbia Room; 8. Ice spheres; 9. Cork Decanters

OSBP-2013-Gift-Guide-Cocktail-Enthusiast-Part2

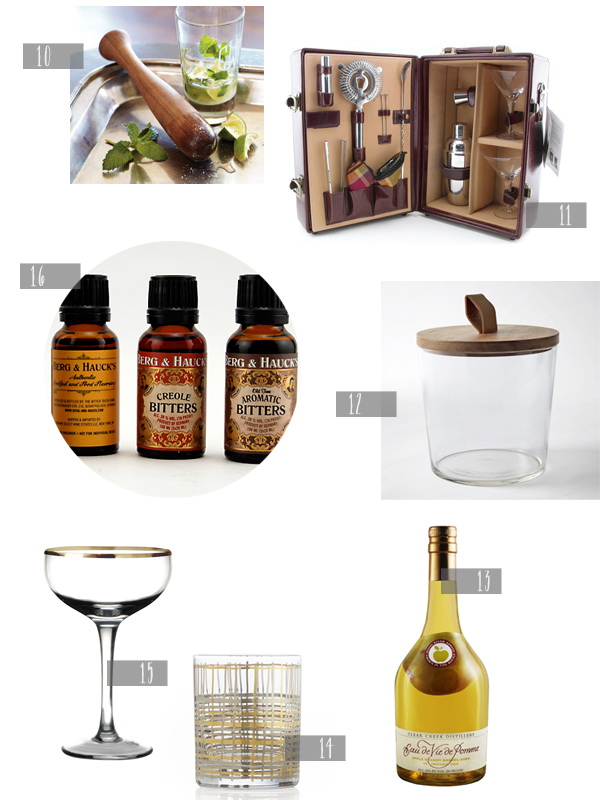
10. Walnut Muddler; 11. Portable Bar Kit; 12. Ice Bucket; 13. Clear Creek Distillery Apple Brandy; 14. Rocks Glass; 15. Gold Rim Cocktail Glass; 16. Cocktail Bitters (or this)

1 + 16: Simple syrups and bitters are essential ingredients of any well-stocked bar. We’re big fans of the syrups from Morris Kitchen and Royal Rose â€“ and the cocktail recipes that come with them!

6 + 13: A bottle of fine aged Scotch is a classic gift. When in doubt, look for a single malt Scotch – and the older, the better! Alternatively, a quality Apple Brandy, like Clear Creek‘s, is an excellent alternative gift to a Scotch or Cognac for fans of fine spirits. Plus, it makes for a great conversation piece: there’s an actual apple grown in the bottle.

7: Cocktail classes (like these at the Columbia Room here in DC) aren’t available everywhere, but they’re becoming increasingly popular in more cities and states. Classes are a wonderful way to establish a basic foundation in techniques, recipes, and learning how to pair various spirits and flavors!

14 + 15: When it comes to glassware, we prefer to use vintage whenever possible (eBay and Etsy are great resources, as are local flea markets and antique shops). But when we decide to buy brand new glassware, we always make sure to buy glasses that are close in size to their vintage cousins (typically between 3 and 6 oz). And we always always stay away the gigantic cocktail glasses that you frequently see these days.

And of course if you’re looking to gift someone with a favorite bottle of something, check out our How to Stock a Home Bar post for spirit and liqueur recommendations right here!

{images via their respective sources}