DIY Gold Foil Place Cards

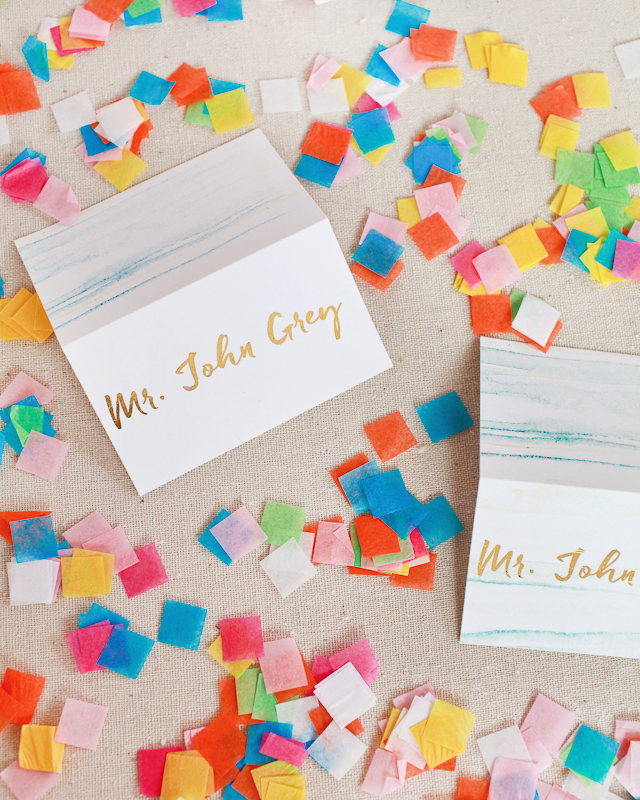
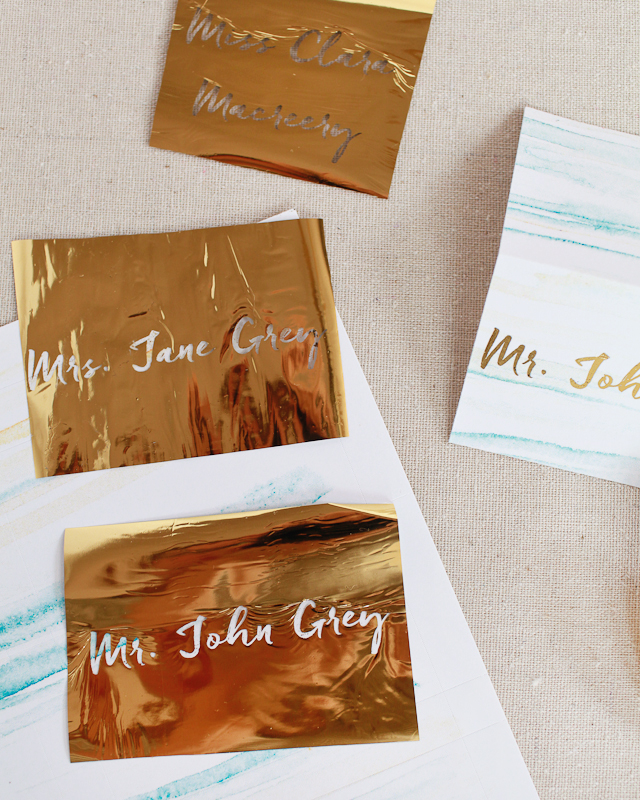
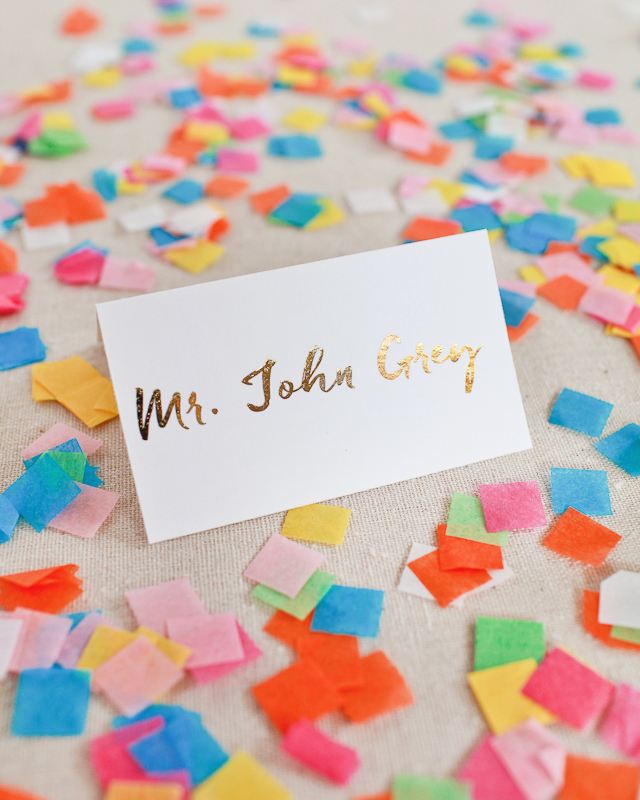
You heard me. DIY. Gold. Foil! At the National Stationery Show in May, I wandered upon a demo in the American Crafts booth of the amazing new Heidi Swapp Minc foil applicator – and I’m pretty sure my jaw dropped all the way to the floor. The Minc makes it possible to foil pretty much anything – you could even foil a spreadsheet if you wanted! Today I’m sharing the first in a series of projects using the Minc foil applicator: DIY gold foil place cards! Just think of all the new foil place card possibilities, from bridal showers to holiday dinners!

DIY Gold Foil Place Cards with Watercolor Background / Heidi Swapp Minc Foil Applicator / Oh So Beautiful Paper

The Minc works with a special type of reactive foil that adheres to toner ink. For custom designs, you need to be able to print the foil portion of your design on a laser printer or copier but you don’t need any special design software. You can use Photoshop, Illustrator, or even Word – as long as you can print it out using toner ink you can foil it with the Minc! Heidi Swapp also offers a range of products that you can use for non-custom designs!

DIY Gold Foil Place Cards with Watercolor Background / Heidi Swapp Minc Foil Applicator / Oh So Beautiful Paper

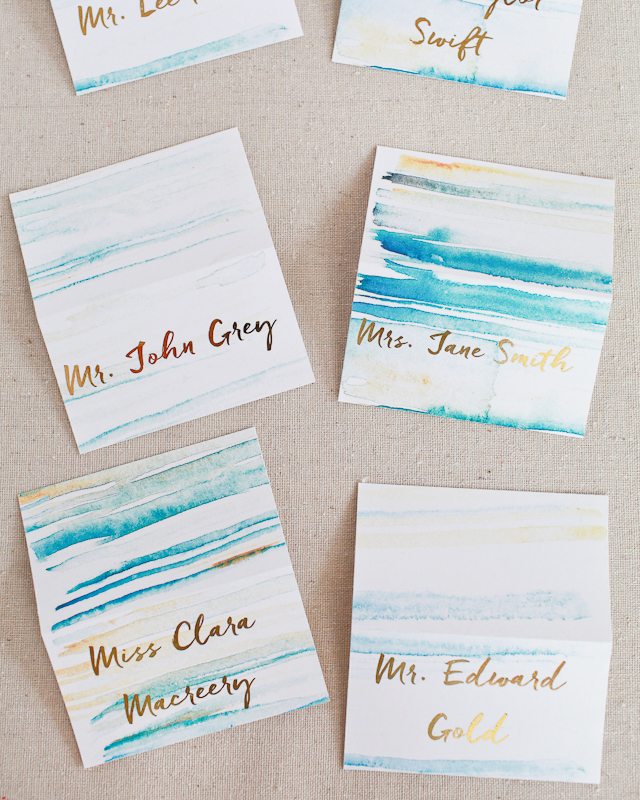
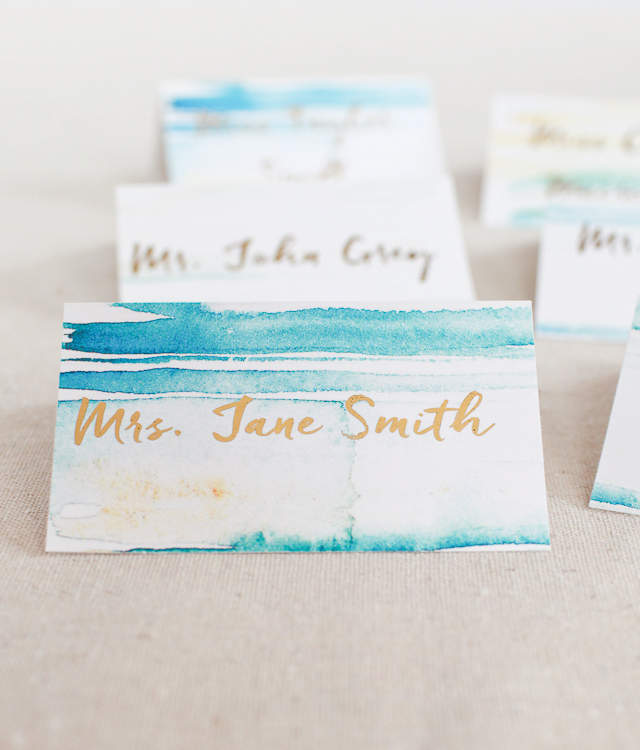
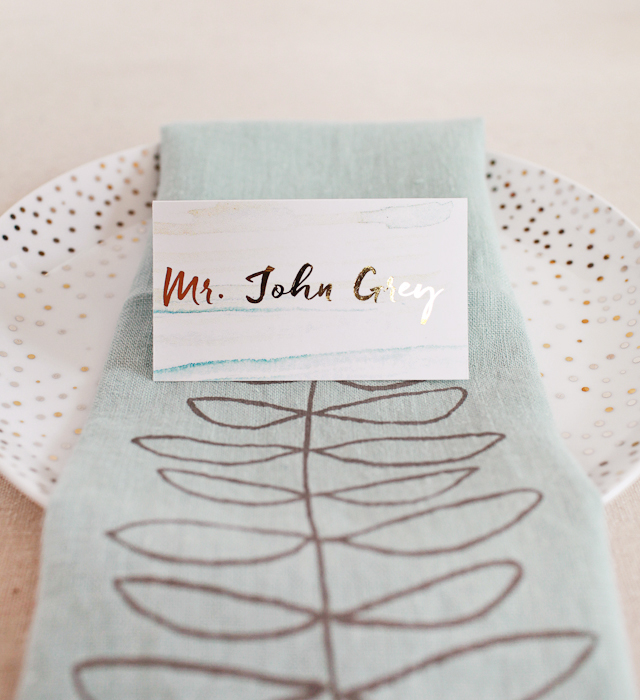
These place cards would look gorgeous and completely classic with just gold foil against white paper, but I decided to make things a bit more interesting with a whimsical watercolor background! I used a printable watercolor download from one of Antiquaria’s past DIY tutorials – you could also hand paint your watercolor background!

Supplies

Minc foil applicator and transfer folder

Reactive gold foil

Printable tent cards

DIY Gold Foil Place Cards with Watercolor Background / Heidi Swapp Minc Foil Applicator / Oh So Beautiful Paper

Instructions

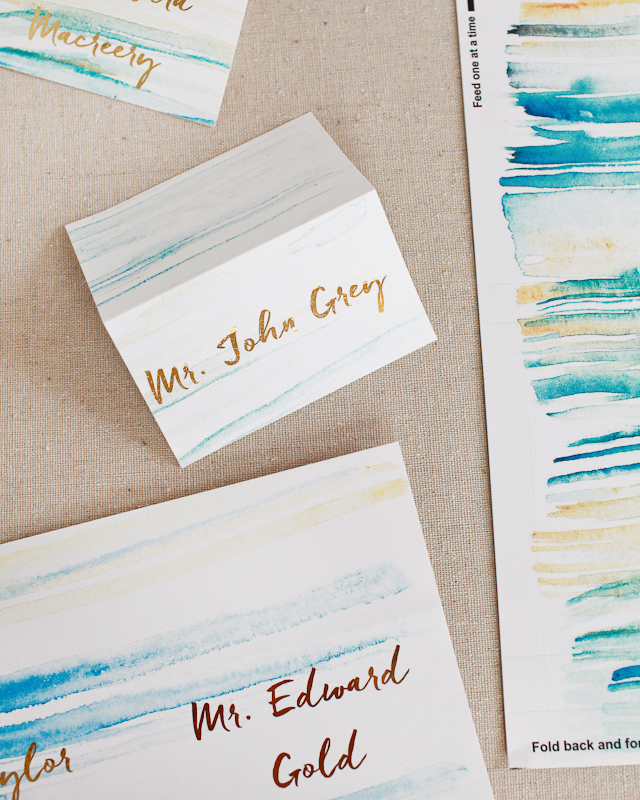
1. Download the watercolor background right here and print it onto the printable tent cards using an ink jet printer. Print your text in a favorite font on the tent cards (you can find templates right here) using a laser printer. Black toner ink works best with the reactive foil.

2. Cut strips of gold foil just big enough to cover the text you want to foil. Place the foil strips over the printed tent cards, then place everything in the transfer folder foil side up.

3. Run the transfer folder with your tent cards and gold foil through the Minc foil applicator. Peel away any excess foil and voila!

DIY Gold Foil Place Cards with Watercolor Background / Heidi Swapp Minc Foil Applicator / Oh So Beautiful Paper

DIY Gold Foil Place Cards with Watercolor Background / Heidi Swapp Minc Foil Applicator / Oh So Beautiful Paper

DIY Gold Foil Place Cards with Watercolor Background / Heidi Swapp Minc Foil Applicator / Oh So Beautiful Paper

DIY Gold Foil Place Cards with Watercolor Background / Heidi Swapp Minc Foil Applicator / Oh So Beautiful Paper

Photos by Oh So Beautiful Paper

This post was created in partnership with American Crafts. All content and opinions are my own. Thank you for supporting the sponsors that make Oh So Beautiful Paper possible!

Behind the Stationery: Hello!Lucky

The ladies of Hello!Lucky are busy moms and stationers based in beautiful San Francisco. These savvy business women are here sharing their experiences in partnering with a printer and expert tips on hiring staff. As a former stationery studio manager myself, I think their advice is so crucial for small businesses looking to attract top talent amongst the big corporations.  â€“Megan

headshot

Eunice: I was a freelance illustrator and graphic designer. I was working retail in a boutique pet store on the weekends and designing the store’s windows. I offered to create a line of dog and pet-themed cards for the owners because the existing options were pretty skimpy, and it was from there that Hello!Lucky was born. Searching for a way to print my own work, which would allow for more ability to experiment and keep initial overhead low, I took a class at the San Francisco Center for the Book and was immediately hooked. Having some issues with restraint, I bought a press on eBay the next week and our letterpress card business was born.

Sabrina: I was working as an education strategy consultant having just gotten my MBA from Stanford Business School. I have a degree in Art History and had focused professionally on arts education and helping emerging artists access funding and build their careers. I offered to help Eunice, the most talented artist I knew at the time, start the card business and quickly fell in love with being an entrepreneur and returned to my passion for merging creativity and business.

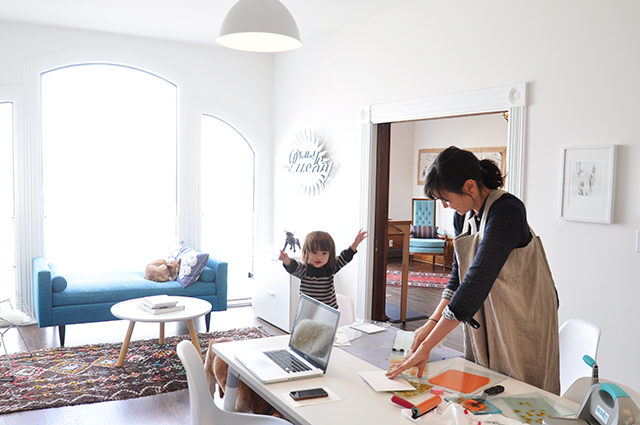
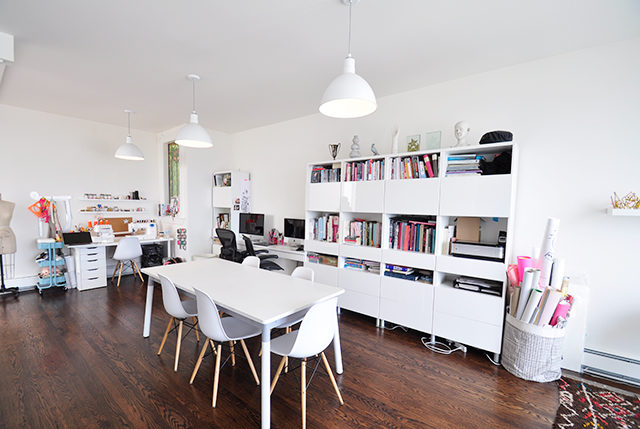
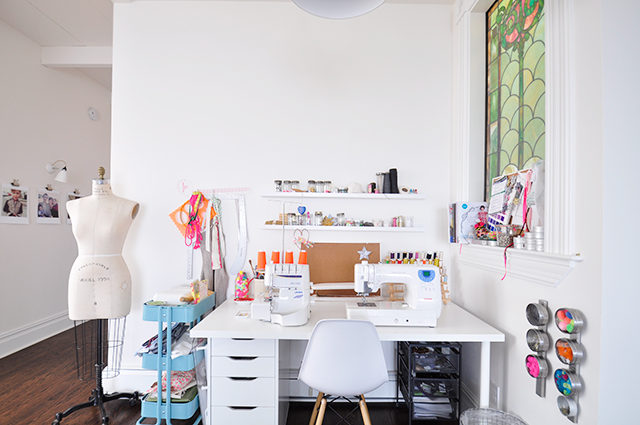
We’re based in San Francisco, in a studio space in Eunice’s home, a historic Edwardian in the Haight Ashbury district. We’re lucky to have sweeping views of the city, a couple friendly studio dogs, and a few studio babies to keep things entertaining!
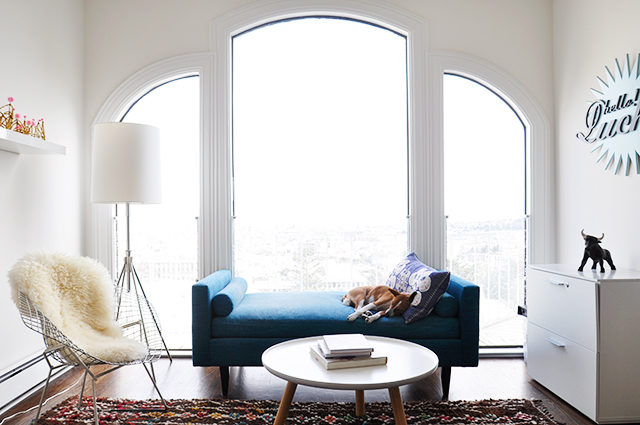
OSBP_window

Eunice: I am constantly juggling work and kids and everything else. My day starts at 6:30 in the morning (yay, kids!) and ends around midnight. The first order of business is a giant mocha to get the gears turning! A double shot of espresso may be the most critical element in my creative workflow. Most of my time is spent designing new cards and working on other client projects. I’ve been slowly but surely moving beyond just cards, so as of late, there are always a new and exciting things in the works, like designing textiles for a swimwear line (I spent a whole day drawing bitchy looking persian cats on a background of diamonds – it really doesn’t get better than that!). My job is, at times, ridiculous in the best way possible. In between design projects, we are constantly working on bits and bobs for marketing and brainstorming the next batch of card ideas.

My biggest struggle is juggling my kids, life and work – luckily, I’m the queen of multi-tasking and Imogen is a reasonable studio baby (Alex is remarkably tolerant of the endless episodes of Elmo and constant and thorough destruction of the studio). I also have an awesome nanny a couple days a week and a great (and patient!) husband who, at the moment, is at home and spends a lot of time with Gigi so that I can beaver away in peace.

Sabrina: I work weekday mornings and all day on Thursdays; my day typically consists of checking email, brainstorming / reviewing card designs with Eunice and Alex, and then working on various marketing and advocacy campaigns such as Write_On and Share Trade, and the book I am writing. As a busy mom of three, I get a lot of my work done in the “spaces in between.” For example, I “write” via voice memo during my commute, and use any moments of downtime to cross things off my to-do list so that I can be fully engaged with work during work time and kids during kid time.
OSBP_letterpress

We work in collaboration with the fabulous Egg Press in Portland, Oregon. They do all our printing (letterpress) and distribution. We used to do all of our own letterpress printing in our San Francisco studio and we also offered custom digital printing through a trade printer in the Bay Area. Once we decided to stop doing custom printing (e.g. wedding invitations) and focus exclusively on our greeting card business and licensing our designs, we realized it made sense to partner. Egg Press is a company that we love and it’s been a great, mutually beneficial experience collaborating with them: they have a large studio, a wonderful production staff, and complementary products, customers, and distribution. We share similar values and vision and have found that, working together, we can grow both our businesses more effectively than they could have developed on their own.
OSBP_studio

We started hiring employees in 2003. Our first employees were friends, including Eunice’s roommate, Sabrina’s old room mate, Eunice’s cleaner, and Sabrina’s old friend who was living in London and offered to start our London office out of her apartment. We didn’t have a recognizable brand to attract employees, so we relied on hiring people who already knew us and had faith in what we were doing. Later on, we started hiring people for real by posting jobs on Craigslist and using our growing network of business acquaintances to get the word out (this was pre-Facebook and LinkedIn).

Over the years, we’ve hired dozens of people and been fortunate to get great employees across the board. The process typically has was handled by Sabrina and consisted of putting together a job description and posting it / sharing via email with friends and acquaintances.

Here are 5 things we’ve learned about hiring and attracting great employees:

1) Have a compelling vision for your business.
Communicate where your business is going and the values that you stand for.
2) Have confidence in yourself as a small business.
Small business owners often lack confidence because they can’t afford to pay big corporate salaries. The reality is that there are tons of people who *want* to work in a small business environment where they’re not just some replaceable cog in the wheel, and will have opportunities to see how running a business works up close and wear multiple hats.
3) Give your employees a lot of responsibility and treat them like co-owners of your business.
This is totally win-win – they get great leadership experience and a sense of ownership and engagement that leads to higher productivity, creativity, and commitment.
4) Make your small business a fantastic stepping stone to bigger / better opportunities by giving your employees lots of responsibility.
Many of our employees went on to great jobs at large companies like Paperless Post and Williams-Sonoma, started their own small businesses, or got admitted to top-tier business schools (Cornell and Kellogg).
5) Make up for what you can’t pay in salary with an awesome work environment.
Encourage people to have fun, be positive, and be a flexible and compassionate manager. Liking the people you work with and looking forward to going to work every day is harder to find than you think – that alone will attract great candidates and get them to stay.

In the interview process:

1) Pay attention to passion, intelligence, communication skills, desire to learn, and self-awareness.
If someone has these attributes, their past work experience becomes practically irrelevant since they can quickly learn what needs to be done on the job and will be a great team player and contributor.
2) Find out why the person made the key decisions in their life.
How they chose their college and major, or how and why they chose their past jobs and/or chose to leave them reveals a ton about whether their values and motivations are aligned with those of your business and the rest of your staff.
3) Get to know the candidate on a personal level as much as you can during the interview.
Their personal character traits will matter more in the long run than their most recent job experience. If the person is someone you’d want to be friends with, or who you might have a professional crush on, that’s a great sign.
4) Trust your intuition.
Don’t pay too much attention to surface level resume details like working at sexy or well-known large corporations, fancy-sounding job titles, etc. Hire the whole person, not the image they project on paper.
OSBP_writing

We count ourselves so lucky to get to spend every day doing what we do. Doing the creative work is definitely the most interesting part of the business! There has been more than one occasion when we’ve stopped to laugh at the fact that we spend a good part of each day trying to come up with butt and unicorn related puns and marveled at the ridiculousness that is our job. Working out new concepts and figuring out new collaborations keeps things interesting. We love exploring new outlets for our designs and collaborating with other cool and inspirational brands.

Eunice: We get inspiration everywhere! I love to travel and do as much traveling as two kids and our crazy busy lives allow. I’ve done some of my best work on the road. I’m a sponge for texture, pattern, color and trend inspiration. Valencia Street in San Francisco is one of my favorite places to pick up on visual inspiration; there’s so much creativity happening here right now. I’m also heavily influenced by French and Japanese style and culture.

That being said, I think our most creative space is really our studio – the three of us get together, bringing our individual influences to the table and the creative juices really get going. I do my best work when I have Alex and Sabrina around for feedback and brainstorming!

Sabrina: I get a lot of my inspiration from reading and writing. I read a new book every couple of days. I also do a lot of brainstorming while driving, and I keep my phone with a dark screen (so I don’t wake up my husband) by my bedside so I can capture ideas in the middle of the night in Evernote
OSBP_desk

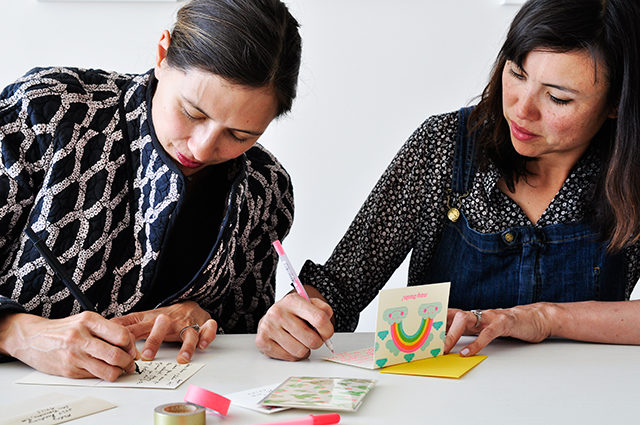
We also love figuring out new ways to connect with and inspire our customers. The Write_On campaign is a great example: it’s a campaign to challenge our fans to write 30 letters in 30 days for National Letter Writing month in April. The campaign has inspired our customers and fans to connect with friends and family and to give thought to people that they might not normally stop to thank. It’s also great for our brand and greeting card sales – this year we brought on Paper Source and a handful of our independent boutique customers on board, and it’s been great for their businesses as well.

All photos by Hello!Lucky

Interested in participating in the Behind the Stationery column? Reach out to Megan at [email protected].
Party Paper: Fruit Fiesta

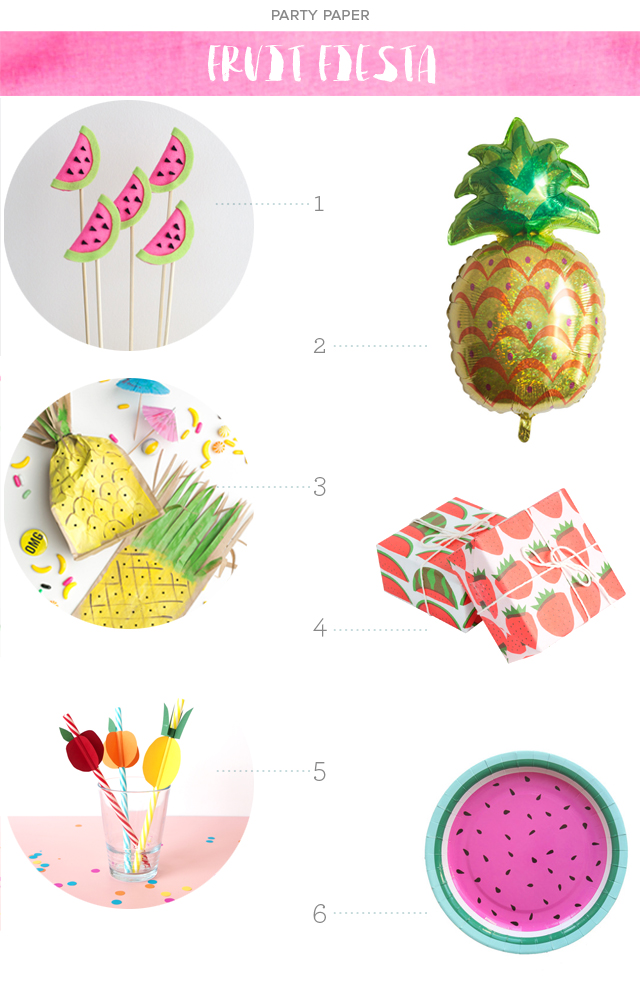
It’s a guarantee that when summertime rolls around, I’m feelin’ a little fresh fruit action! Who’s with me? But I don’t just want to see those watermelon slices on my plate, I want to throw a whole fruity fiesta! So, I’ve rounded up some of my favorite party pretties for those of you that feel the same! BOOM!  — Kelly

Party Paper: Fruit Fiesta / Oh So Beautiful Paper

1. Felt Watermelon Cake Toppers from A Subtle Revelry

2. Pineapple Balloon from Oh Happy Day Shop

3. Pineapple Favor Bags from The House That Lars Built

4. Fruit Wrapping Paper from Knot & Bow

5. DIY Paper Fruit Straws from Paper & Pin

6. Watermelon Plates from Oh Happy Day Shop

How To Create Floral Arrangements for a Cocktail Party

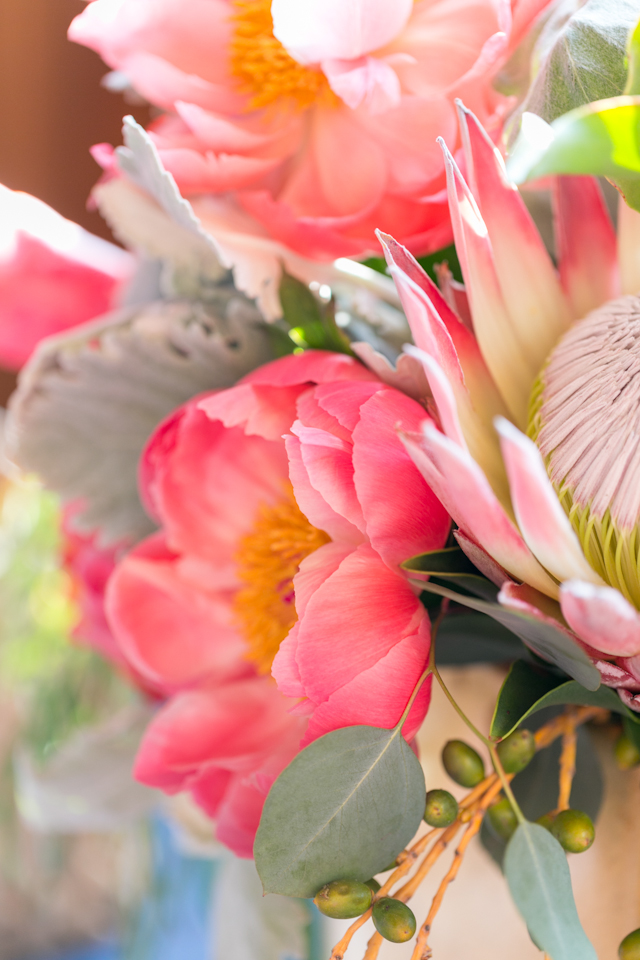
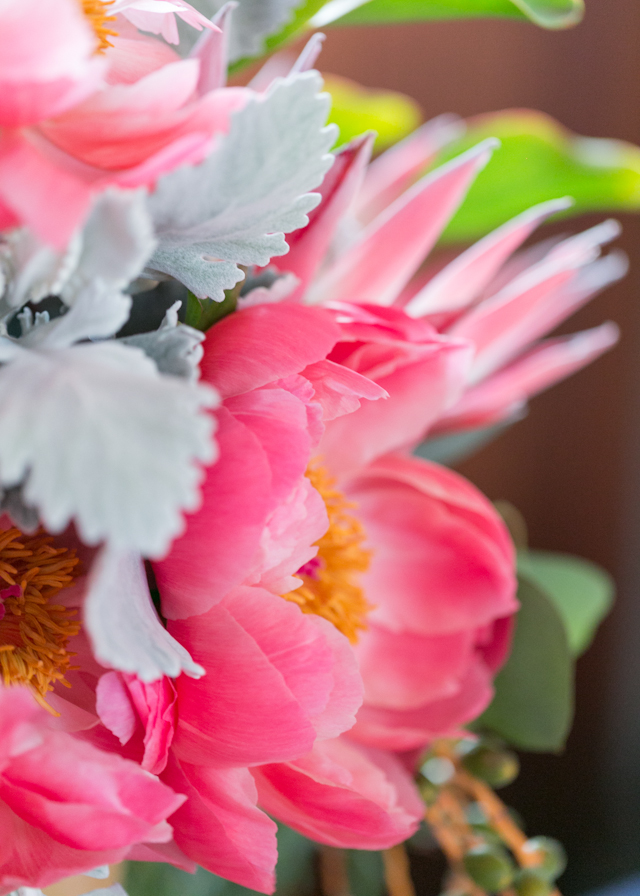
I organize a big cocktail party during the National Stationery Show each year called the Paper Party. It’s just a fun way for our stationery community to get together one night while we’re all in town and have a great time! The floral arrangements from Soirée Floral are always amazing, and we were super lucky to have Flower Muse as our floral sponsor this year! If you aren’t already familiar with Flower Muse, they’re an online service that offers flowers directly from the farms that grow them – everything from dahlias to sweet peas. My eyes start flashing little red hearts whenever I browse the selections at Flower Muse, but right now I’m especially smitten with this gorgeous Curcuma flower!

How to Create Floral Arrangements for a Cocktail Party / Tips from Eleanor Hsu of Flower Muse / Oh So Beautiful Paper / Photos by Charlie Juliet Photography

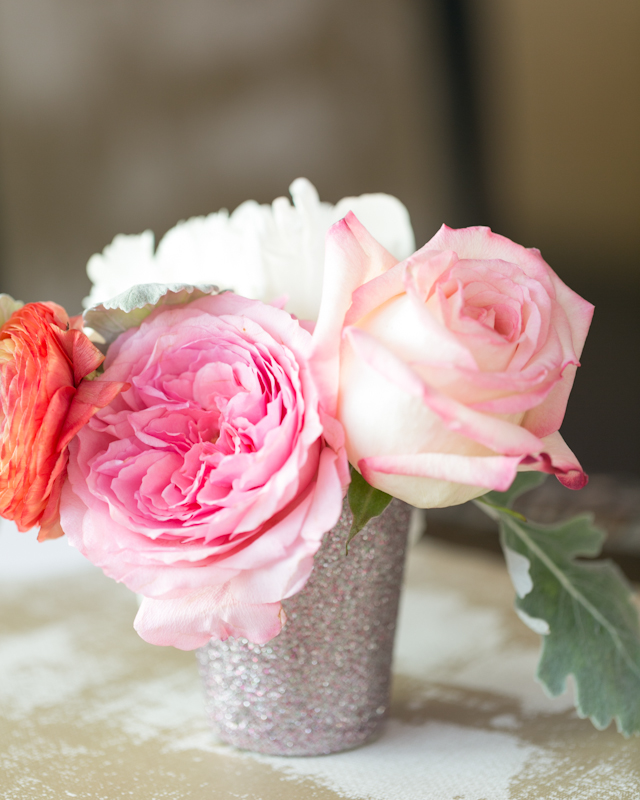
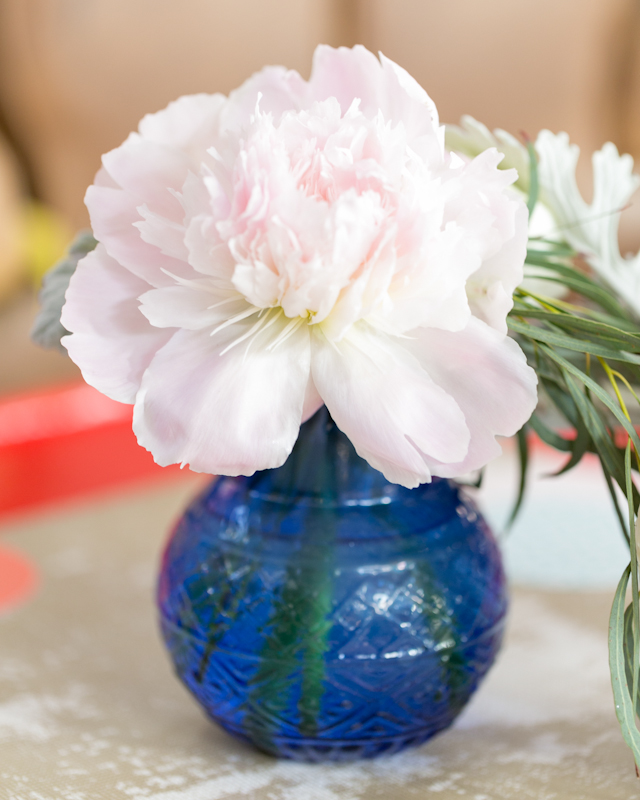
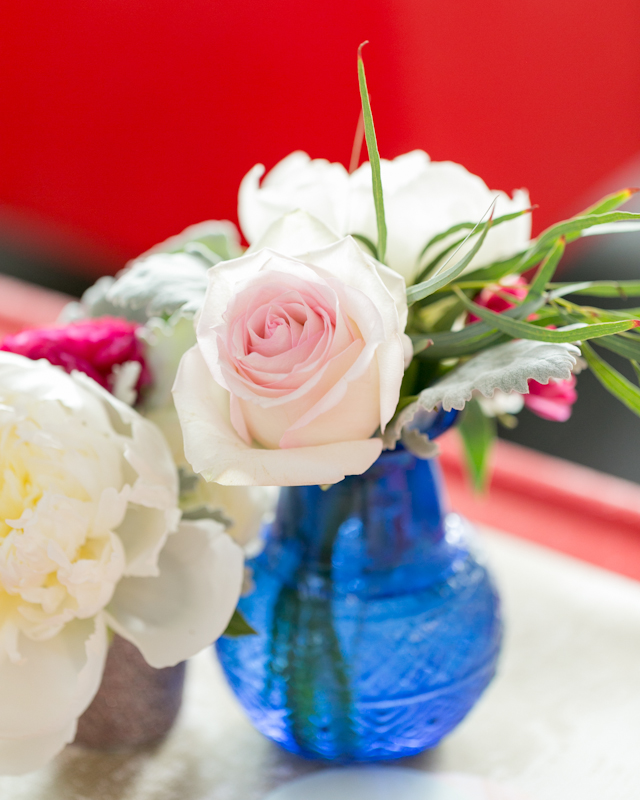
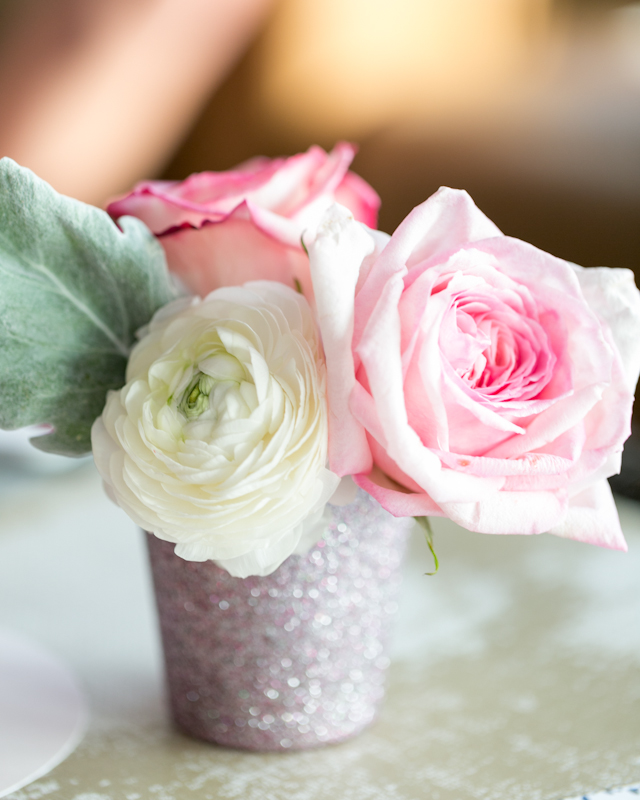
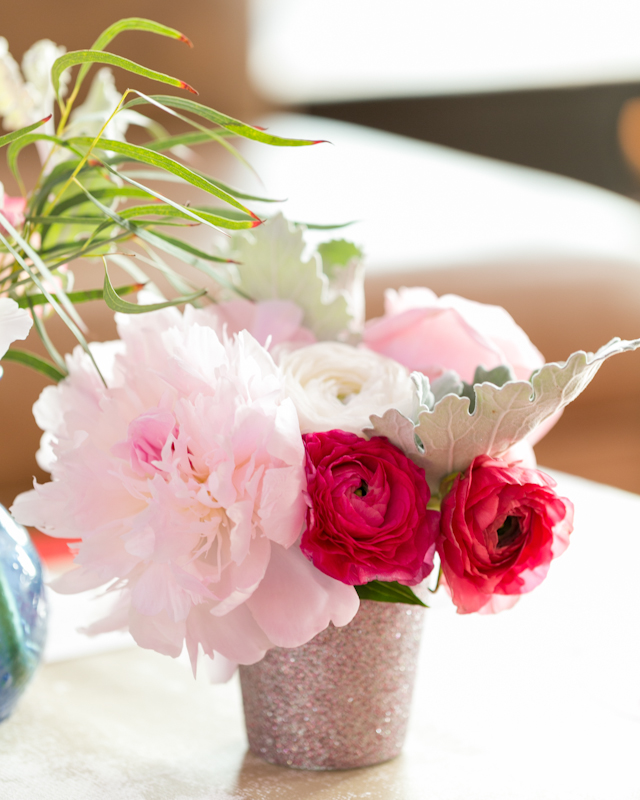
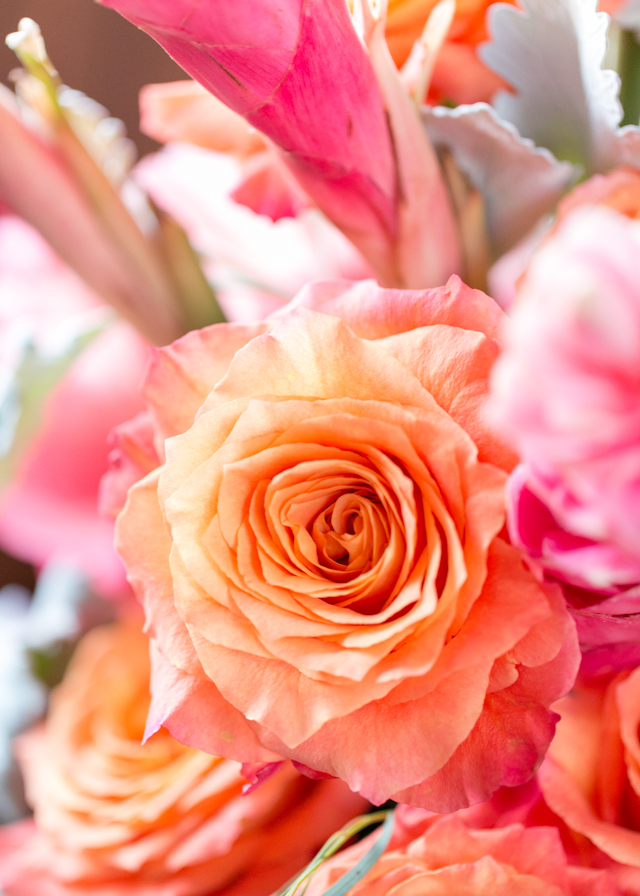
Flower Muse provided the most beautiful peonies, ranunculus, and garden roses in our color palette of white, pink, and coral for Paper Party 2015. I couldn’t stop staring at those gorgeous flowers! Today I’m super excited to have Eleanor Hsu, the co-founder of Flower Muse, here with some tips for creating floral arrangements for a cocktail party!

How to Create Floral Arrangements for a Cocktail Party / Tips from Eleanor Hsu of Flower Muse / Oh So Beautiful Paper / Photos by Charlie Juliet Photography

From Eleanor: Cocktail parties usually consist of smaller tables or various spaces spread out through your home or venue. It may seem daunting to decorate with fresh flowers for a cocktail party but it can be very easy to DIY and doesn’t require a large budget.

How to Create Floral Arrangements for a Cocktail Party / Tips from Eleanor Hsu of Flower Muse / Oh So Beautiful Paper / Photos by Charlie Juliet Photography

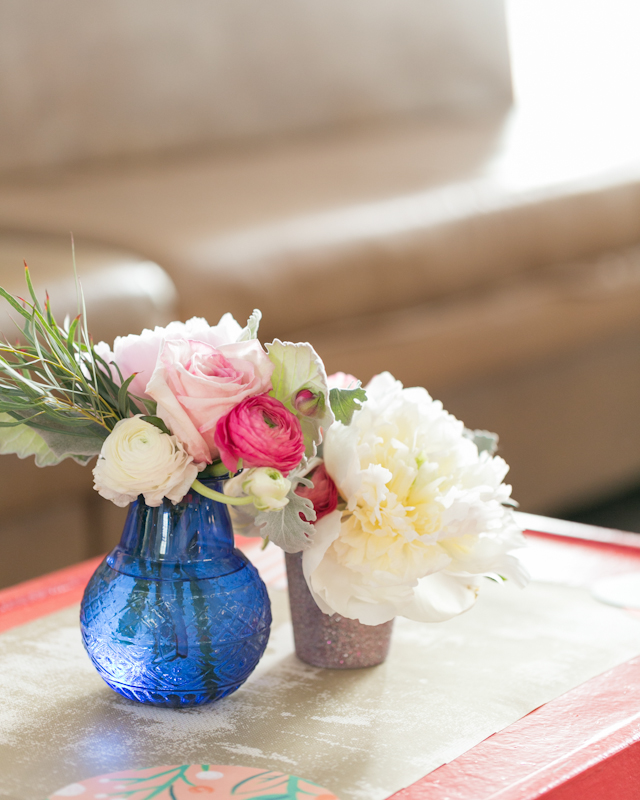
Tip 1: Stick to smaller arrangements. The table space at cocktail parties is usually smaller and more limited, so create arrangements that are at the right scale. A beautiful but huge floral centerpiece is going to look out of place and take up too much table real estate on a cocktail table. Keep your arrangements low and tight so you aren’t blocking your guests’ view and your guests also won’t have to worry about errant blooms or leaves falling in their drinks!

How to Create Floral Arrangements for a Cocktail Party / Tips from Eleanor Hsu of Flower Muse / Oh So Beautiful Paper / Photos by Charlie Juliet Photography

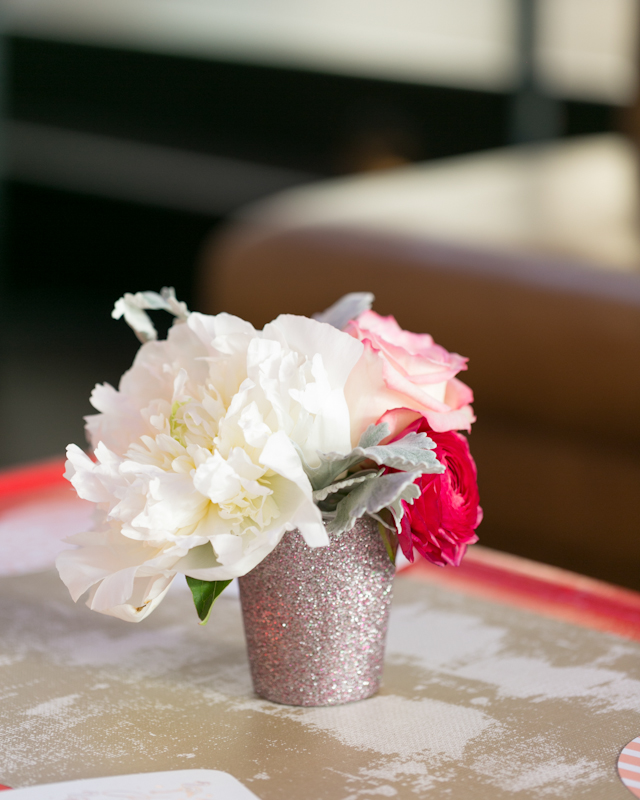
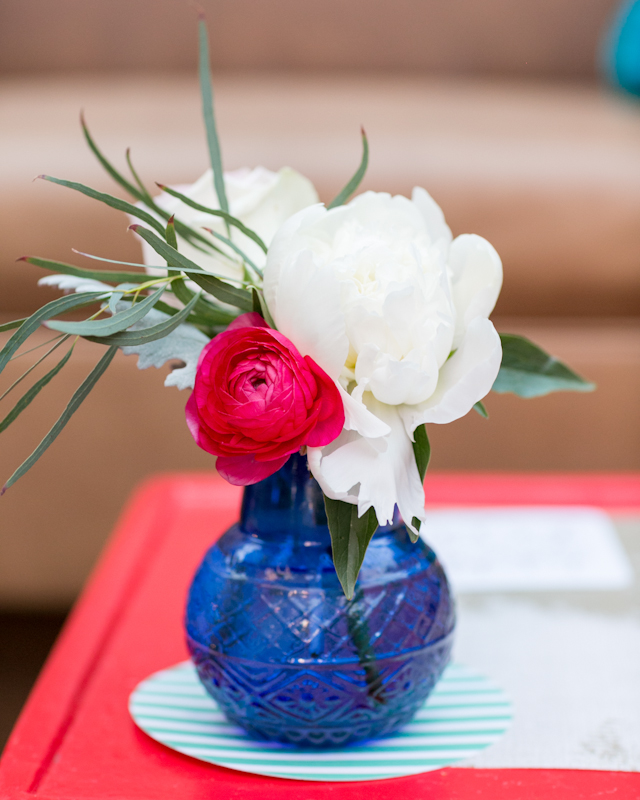
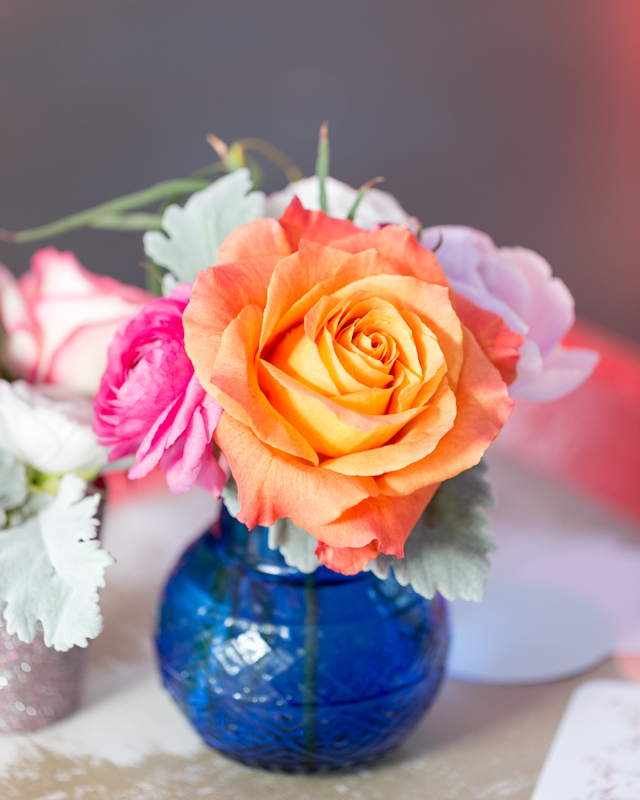
Tip 2: A few stems can go a long way. Creating smaller arrangements doesn’t mean that your party will look sparsely decorated. Don’t underestimate how you can transform and brighten up a room by dotting the space with numerous small vases of a few blooms. Choose flowers that can easily make an impact – like a single peony bloom or a few roses.

How to Create Floral Arrangements for a Cocktail Party / Tips from Eleanor Hsu of Flower Muse / Oh So Beautiful Paper / Photos by Charlie Juliet Photography

How to Create Floral Arrangements for a Cocktail Party / Tips from Eleanor Hsu of Flower Muse / Oh So Beautiful Paper / Photos by Charlie Juliet Photography

Tip 3: You don’t need a big budget. Since the arrangements are smaller, that means you can get away with buying fewer stems and you can stretch that budget with more budget friendly flowers (like roses) and complement and fill in gaps with greens (purchased or foraged from your own backyard).

How to Create Floral Arrangements for a Cocktail Party / Tips from Eleanor Hsu of Flower Muse / Oh So Beautiful Paper / Photos by Charlie Juliet Photography

Tip 4: If you don’t have much experience with floral design, keep things simple. Stick to a single color that complements your party (mono-chromatic) or stick with one type of flower (mono-botanical). These tend to be much easier to arrange.

How to Create Floral Arrangements for a Cocktail Party / Tips from Eleanor Hsu of Flower Muse / Oh So Beautiful Paper / Photos by Charlie Juliet Photography

Tip 5: If you have a little more experience, don’t be afraid to mix things up. Use contrasting flower colors or colorful or sparkly vases to create interesting focal points. Group multiple small arrangements together to create the look of something bigger while still maintaining table space.

How to Create Floral Arrangements for a Cocktail Party / Tips from Eleanor Hsu of Flower Muse / Oh So Beautiful Paper / Photos by Charlie Juliet Photography

How to Create Floral Arrangements for a Cocktail Party / Tips from Eleanor Hsu of Flower Muse / Oh So Beautiful Paper / Photos by Charlie Juliet Photography

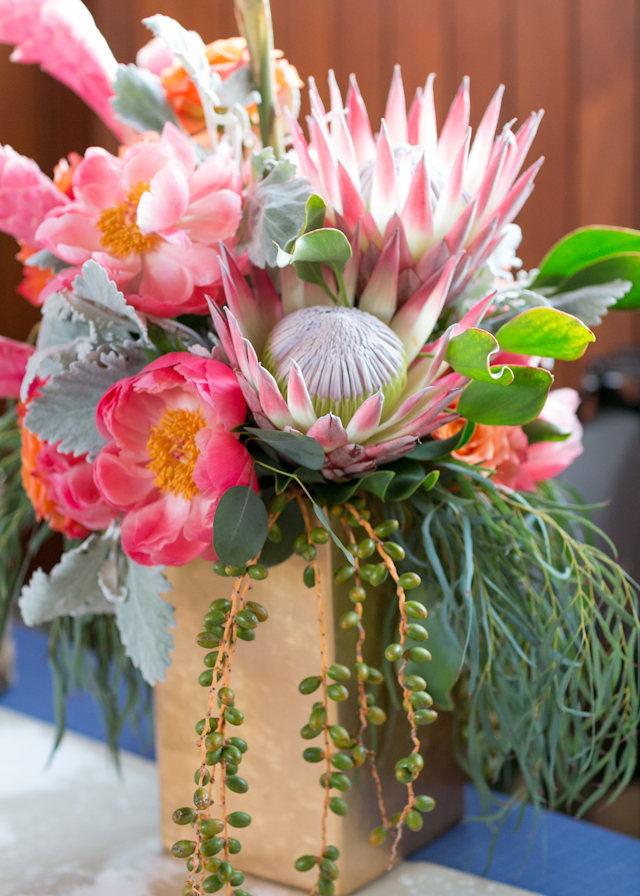
Tip 6: Go big with one statement piece. For your cocktail bar, hors d’oeuvre station, or check-in table, where there is more room and where everyone will walk by, you can create a larger arrangement to help fill in your space and tie everything together. Don’t be afraid to go taller here, since you don’t need to worry about impeding conversations.

How to Create Floral Arrangements for a Cocktail Party / Tips from Eleanor Hsu of Flower Muse / Oh So Beautiful Paper / Photos by Charlie Juliet Photography

How to Create Floral Arrangements for a Cocktail Party / Tips from Eleanor Hsu of Flower Muse / Oh So Beautiful Paper / Photos by Charlie Juliet Photography

Tip 7: Avoid high allergen and overly fragrant flowers. Flowers like lilies, amaranthus, solidago (aka goldenrods), and gerbera daisies can set off allergies for those who are particularly sensitive to flower pollen. Also fragrant flowers like freesia, tuberose, gardenia, jasmine and some garden roses may smell nice, but could interfere with your guests enjoying their drinks (particularly if it’s a wine party!).

How to Create Floral Arrangements for a Cocktail Party / Tips from Eleanor Hsu of Flower Muse / Oh So Beautiful Paper / Photos by Charlie Juliet Photography

Thanks so much Eleanor!

You can see more photos from Paper Party 2015 right here – and check out the floral selection from Flower Muse right here!

Floral Design: Soirée Floral

Photos by Charlie-Juliet Photography

The Ghost Flower

I’m pretty psyched about this month. Last month was all about infusions; we’ll be spending July exploring the world of Tiki drinks. Tiki! Despite its evocation of a(n imaginary) Polynesia, there’s nothing quite as American as Tiki, a family of drinks invented and popularized by men like Don the Beachcomber and Trader Vic at their southern California bars in the 30s and 40s. So it’s pretty fitting that we start our month of Tiki drinks the day before that most American of holidays, the Fourth of July. – Andrew

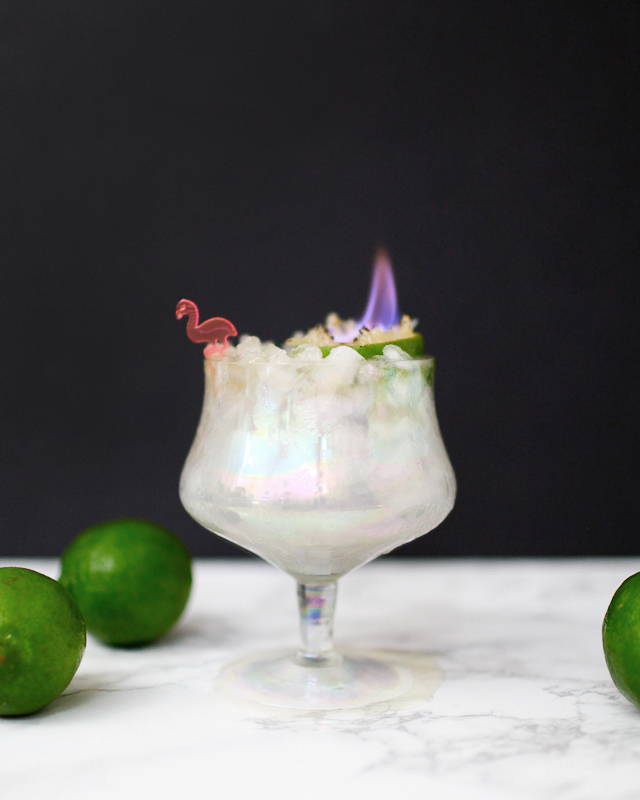
Rum and St-Germain Tiki Cocktail Recipe / Liquorary for Oh So Beautiful Paper

The Ghost Flower Cocktail Recipe Card / Shauna Lynn Illustration / Oh So Beautiful Paper

Illustration by Shauna Lynn for Oh So Beautiful Paper

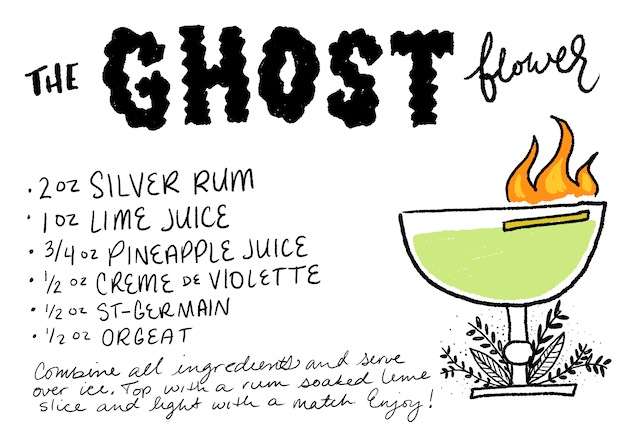
The Ghost Flower

2 oz Silver Rum
1 oz Lime Juice
3/4 oz Pineapple Juice
1/2 oz St-Germain
1/2 oz Creme de Violette
1/2 oz Orgeat

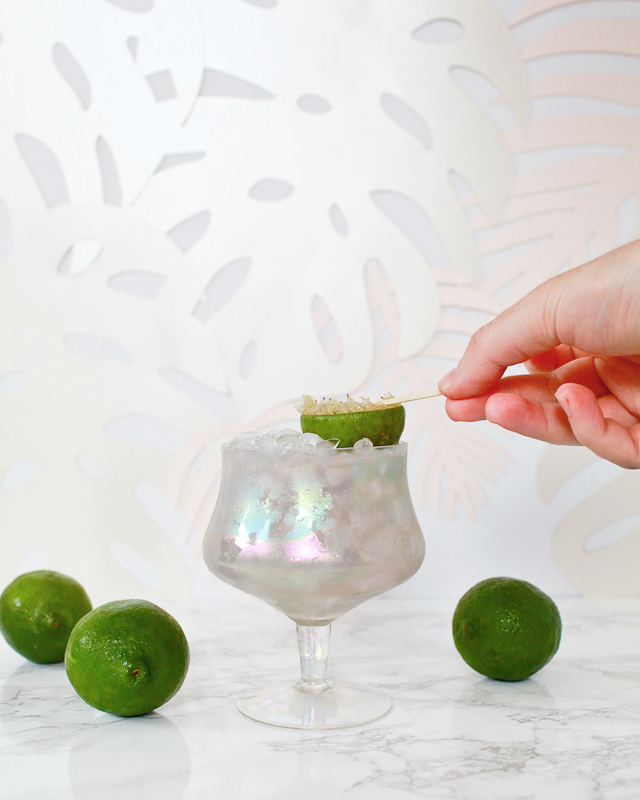
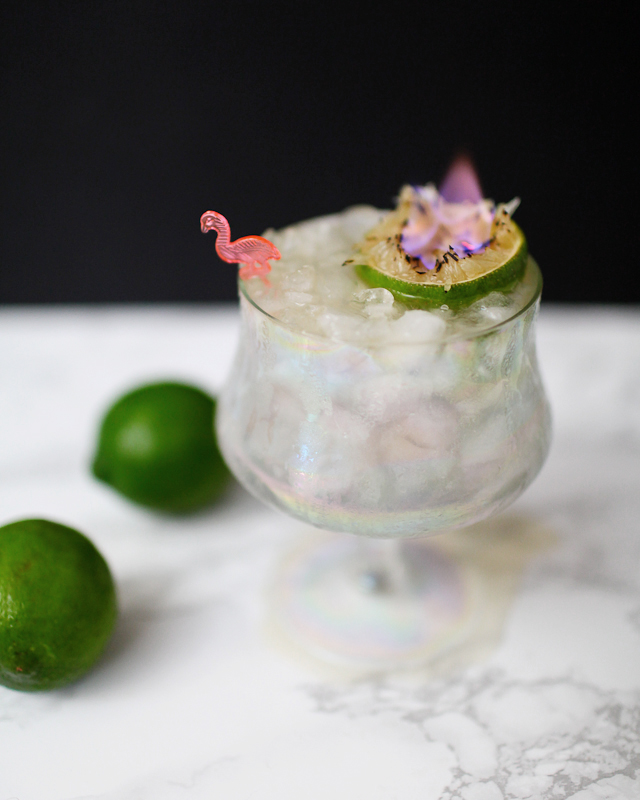
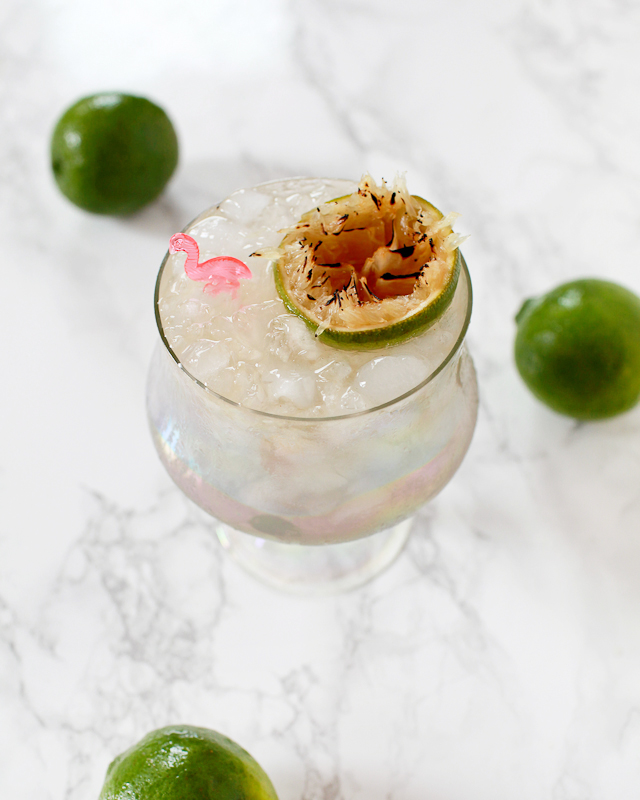
Combine all of the ingredients in a shaker filled two-thirds with ice and shake well. Strain into a chilled cocktail glass. Float half of a spent lime shell, soaked in overproof rum, in the glass and carefully light the rum with a match. Enjoy (carefully)!

Rum and St-Germain Tiki Cocktail Recipe / Liquorary for Oh So Beautiful Paper

Tiki isn’t a family of drinks like Sours or vermouth cocktails: there’s no particular ingredient or combination that makes a drink a Tiki drink. Instead, there are two principles that a drink should follow to be considered a Tiki drink. First: layers of flavor. Many Tiki drinks combine multiple kinds of rum, citrus juices, spices, and syrups to build complex and rich flavor profiles. Second, Tiki drinks should have an exotic, kitschy, fun sensibility. Even though most Tiki drinks feature Caribbean flavors, especially rum and citrus, they’re supposed to evoke a fantasy version of Polynesian island culture. The whole idea behind the first Tiki bars was to allow middle class Americans to experience an exotic vacation without leaving home. Like I said: kitschy and fun. The best Tiki embraces the inherent silly ridiculousness. A Tiki drink’s flavors should be serious, but that’s it.

Rum and St-Germain Tiki Cocktail Recipe / Liquorary for Oh So Beautiful Paper

So I built the Ghost Flower with layers of flavor: rum, two kinds of citrus, but especially three kinds of floral sweeteners: elderflower-flavored St-Germain, violet-flavored Creme de Violette, and orgeat, with its almond and orange blossom flavors. I wanted to evoke a tropical orchid. And I also built it to be a little ridiculous and fun: a pale grey-blue color and a flaming lime rind to evoke a ghostly forest spirit. Yeah. I wrote that with a straight face.

Rum and St-Germain Tiki Cocktail Recipe / Liquorary for Oh So Beautiful Paper

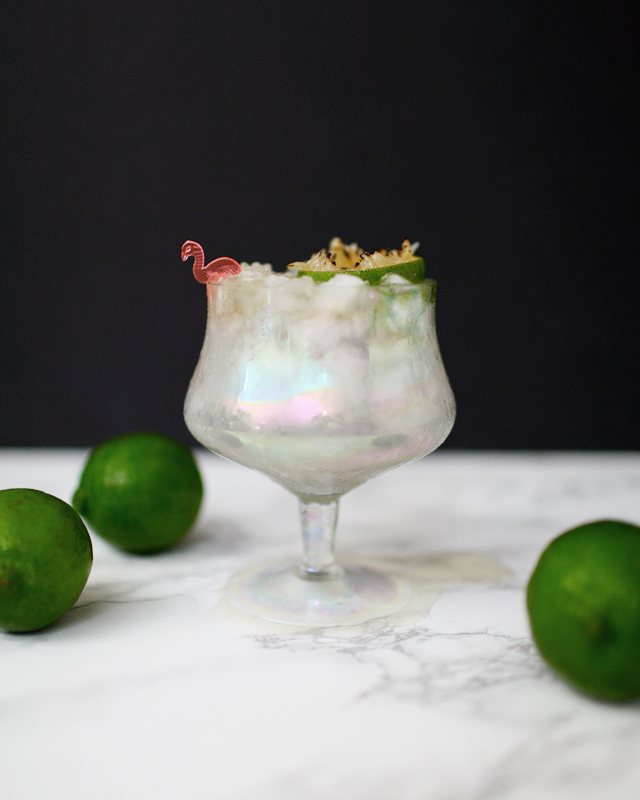
About that lime rind. Use an empty, spent lime shell half; you should have a few left over if you’re juicing fresh limes for your citrus. You can float it in the drink (watch out for overflow!) or pour the whole drink over crushed ice, like we did here, to hold up the lime better. Fill the lime shell with a splash of overproof rum – you really need something stronger than 80 proof here, more like 90 or 100 – and light with a match. It helps if the rum is warmed up a bit, because what you really need is for the rum to release some vapors that will light more easily than the rum itself. (I find that blowing very gently on the match as it’s held over the rum will help the vapors catch.) Alcohol doesn’t burn that hotly, but it’s still hot, so make sure you blow out that fire before you take a sip.

Rum and St-Germain Tiki Cocktail Recipe / Liquorary for Oh So Beautiful Paper

This is going to be a great month.

(Don’t forget to follow us on Instagram, where we’ve been posting our experiments before they make their way onto this column!)

Glassware by Liquorary 

Photo Credits: Nole Garey for Oh So Beautiful Paper