DIY Tissue Paper Flower Piñata

I do love a good party, and there’s nothing quite like a piñata to get it going! They remind me so much of birthdays as a kid, and how, when the piñata comes out, everyone wants to join in and have fun. I wanted to make a grown-up version for bridal showers and grown-up birthdays — not just because I’m secretly jealous of the kids having all the fun. It’s a way to get nostalgic, throw around some confetti, and get on a sugar high with your girlfriends. The fact that they double as a pretty party decoration is a real plus too. Here we go! –Erin from BerinMade Paper GoodsDIY Tissue Paper Flower Piñata / BerinMade for Oh So Beautiful Paper

DIY Tissue Paper Flower Piñata / BerinMade for Oh So Beautiful Paper

Supplies

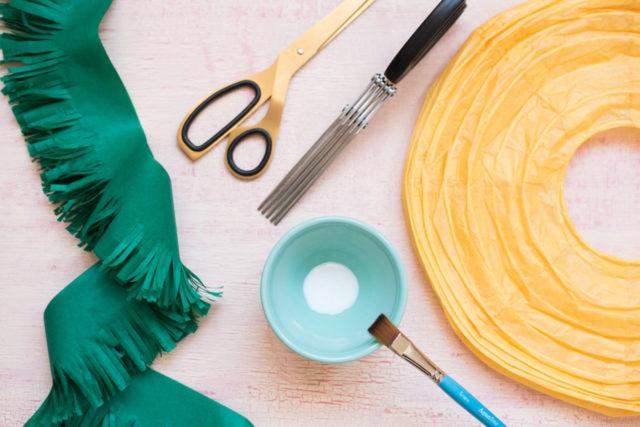
Standard Paper Lantern (buy to the size of your piñata)

PVA glue

Scissors (and fringing scissors optional)

Coloured tissue paper (3″ high, in long strips)

Floral tape

Floral Wire
DIY Tissue Paper Flower Piñata / BerinMade for Oh So Beautiful Paper

To Make the Piñata

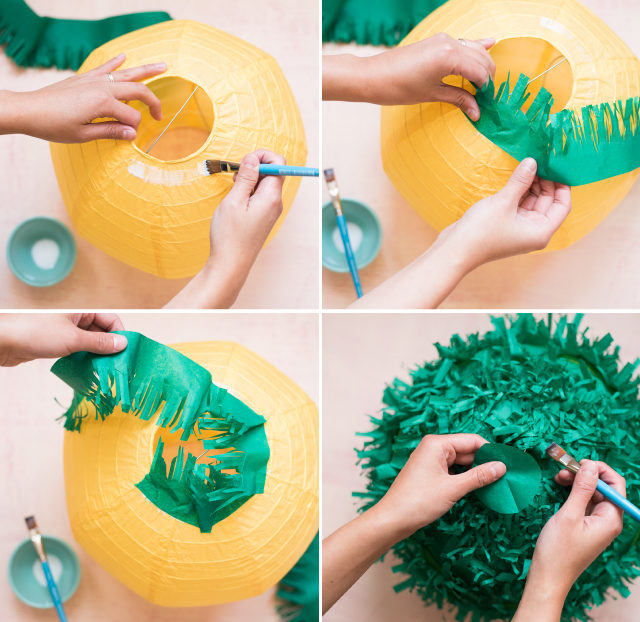
Step 1. Start from one opening of the lantern and apply glue around the rim. Place the fringed tissue strips around, with the fringes facing inward. Gather the tissue around so that the strips curve to the shape of the lantern. Continue in layers until the entire lantern is covered.

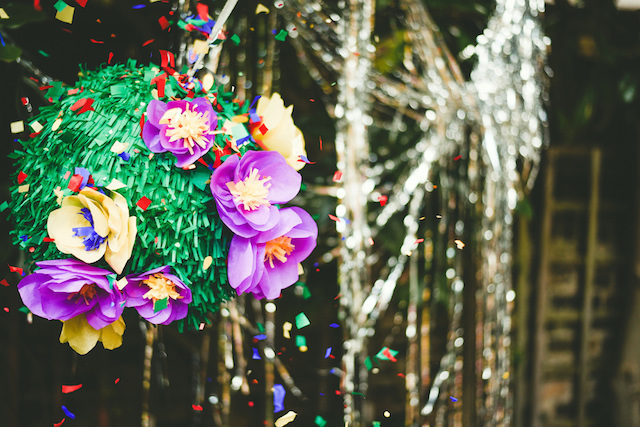
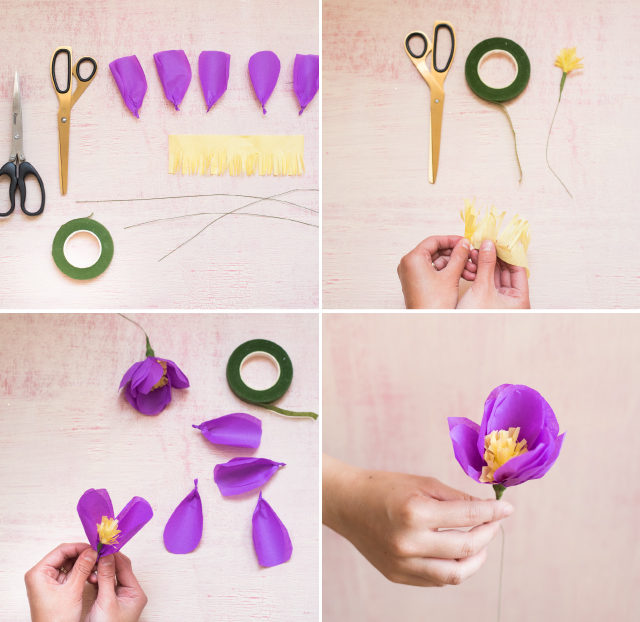
Step 2. To create the piñata flowers, start by cutting petal shapes out of tissue paper and twisting the bottom to create a curved shape. Create the center of the flower by using a contrasting strip of tissue paper, and fringing the edge with scissors. Wrap the fringed strips around the floral wire and secure with floral tape. Apply petals around the center and continue until satisfied. Secure all the parts with floral tape.

Step 3. Create flowers of different sizes and shapes. Arrange on the piñata by puncturing the lantern with a pair of scissors and inserting the flower through with the wire end. Secure with tape on the inside.

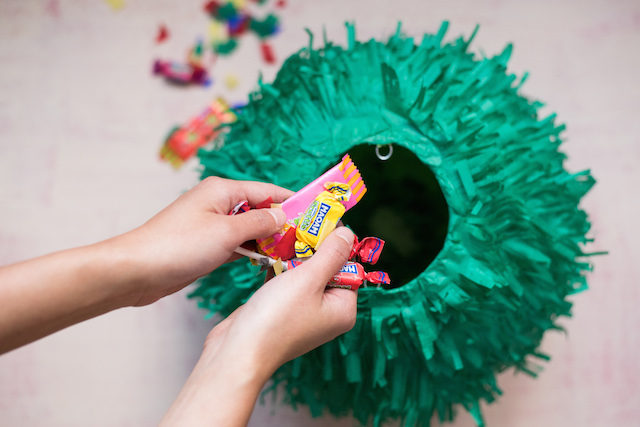
Step 4. Cut a tissue paper circle to seal the bottom opening of the lantern. This is the weak spot where the candy and confetti will fall out! If you find that the tissue is too weak, you may need to apply another tissue paper circle from the inside. Fill the lantern with candy and confetti!
DIY Tissue Paper Flower Piñata / BerinMade for Oh So Beautiful Paper

DIY Tissue Paper Flower Piñata / BerinMade for Oh So Beautiful Paper

DIY Tissue Paper Flower Piñata / BerinMade for Oh So Beautiful Paper

Have fun with beautiful, bright colors or even a metallic fringing!

And don’t forget to tag us @berinmade when sharing the results on Instagram!

Photo Credits: Jeremy Tan

How to Send Beautiful Mail

I’m all about sending beautiful mail. And this goes beyond the adorable card on the inside (which, ahem, I’m assuming you already found the perfect card right here on OSBP) to include the actual envelope as a way of brightening someone’s mailbox. With the holiday season – and holiday cards – right around the corner, I thought we could all use a few tips on how to send beautiful mail, from colorful envelopes and envelope liners to quirky off-center address alignments! Let’s all step up our envelope game this year!

How to Send Beautiful Mail / Oh So Beautiful Paper for eBay

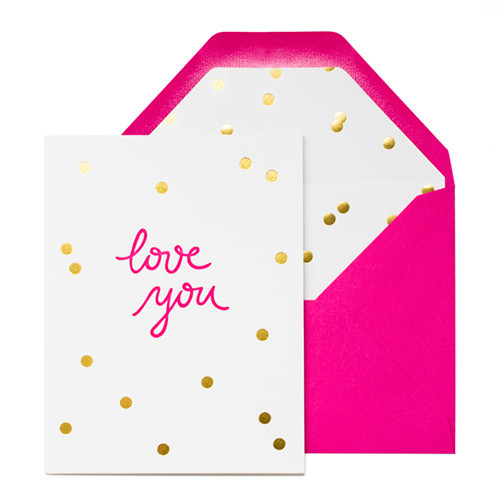
Sugar Paper / Love You

Card by Sugar Paper

1. Colorful Envelopes

I’m going to assume that you already have a super cute card picked out – or that you made your own. But if you can, ditch the white envelope in favor of a bright colorful envelope. It becomes a literal bright spot in an otherwise dreary mailbox.

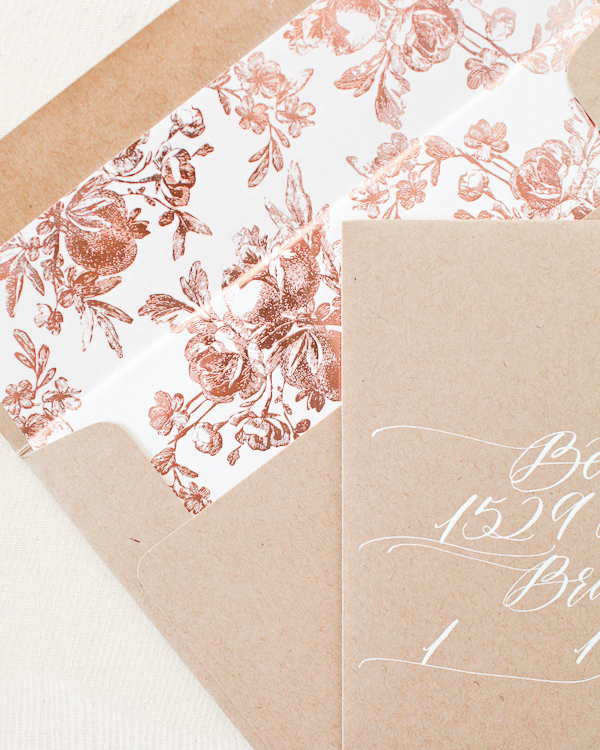
Rose Gold Foil Envelope Liner by Bella Figura / Photo Credit: Nole Garey for Oh So Beautiful Paper

Rose Gold Foil Envelope Liners by Bella Figura from Alice’s Birth Announcements


2. Envelope Liners

Envelope liners are a great way to signal that the contents of that envelope are particularly special. I like to use envelope liners for milestone stationery like birth announcements and wedding invitations – as well as our annual holiday cards. Vintage wallpaper and gift wrap sheets make fantastic DIY envelope liners!

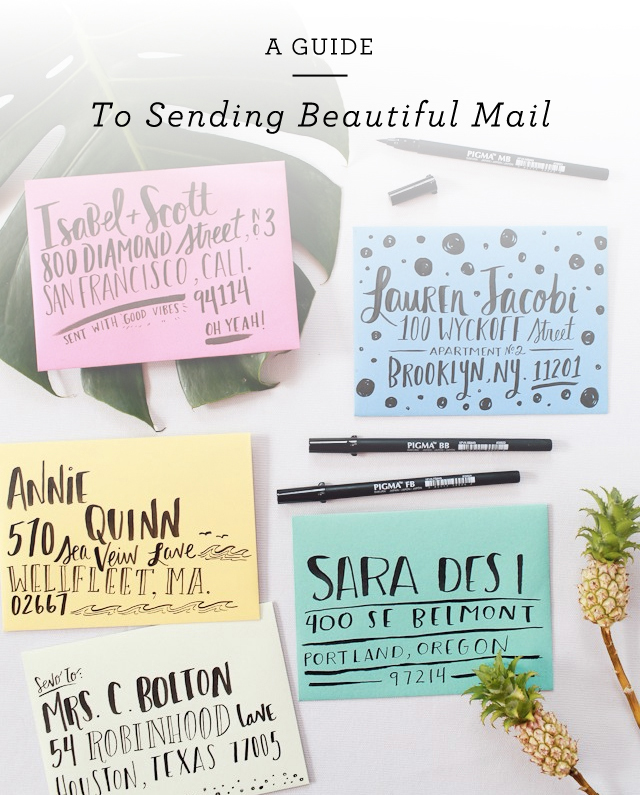
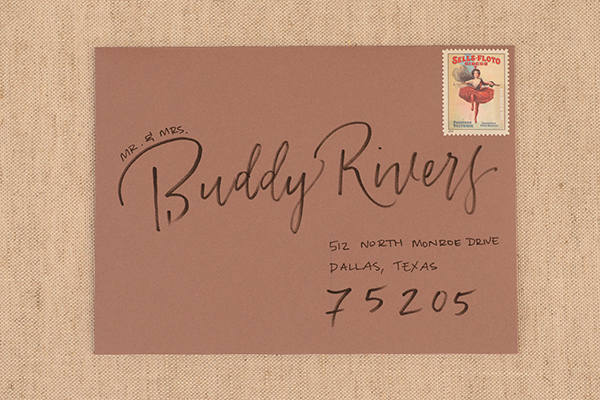
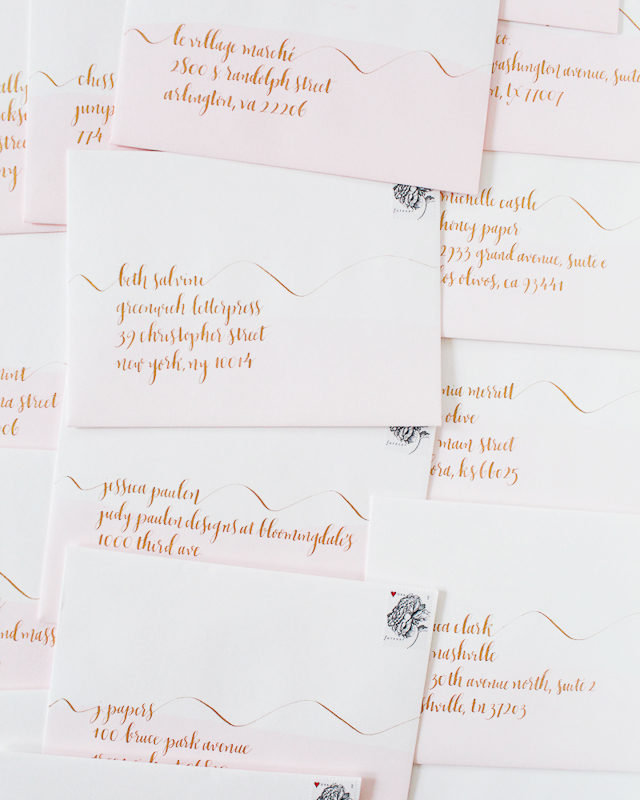
Creative Envelope Address Ideas by Antiquaria for Oh So Beautiful Paper

Photo Credit: Antiquaria Design for Oh So Beautiful Paper

3. Creative Addresses

Now that you have the inside of the envelope sorted out it’s time to think about the outside of the envelope! It can be fun to think creatively when writing out the address – from asymmetrical alignments to incorporating brush pens (or even actual brushes!).

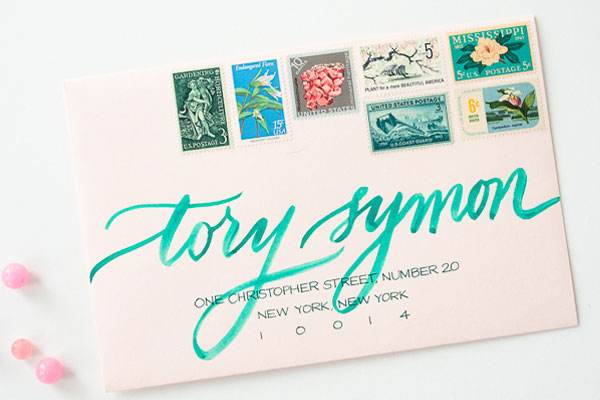
Brush Lettered Envelope Address by Anne Robin Calligraphy

Calligraphy by Anne Robin Calligraphy / Vintage Stamps by Underwood Letterpress / Photo Credit: Stephanie Collins Photography

This envelope features brush watercolor lettering for the name combined with a fine tip pen for the street address. Brush lettering requires a bit of practice to get a hang of the technique but isn’t as hard as you might think!

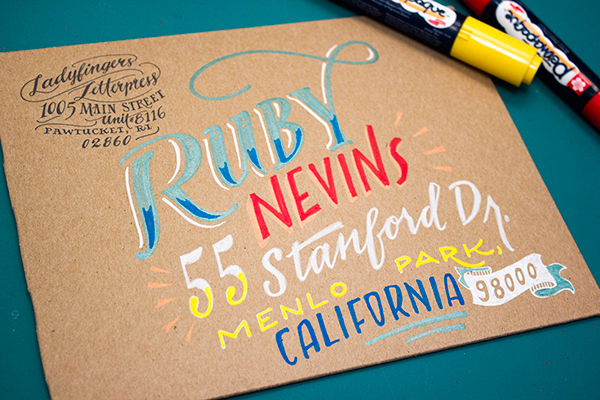
Hand Lettered Envelope Address Ideas by Ladyfingers Letterpress

Hand Lettered Envelope Address Ideas by Ladyfingers Letterpress

This envelope was addressed with paint pens – a wonderful way to add even more color to an envelope! A white paint pen is also the best way to address in white ink on a dark colored envelope.

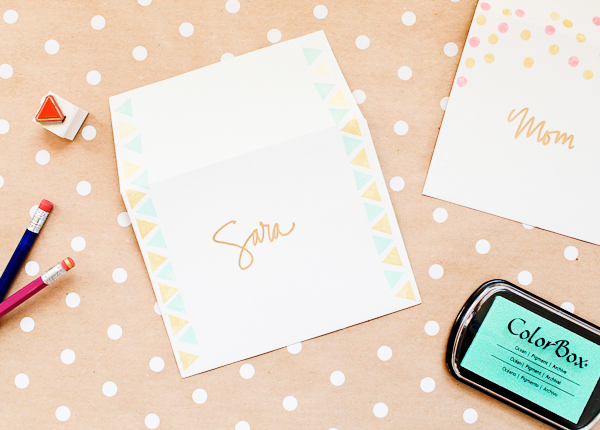
DIY Colorful Rubber Stamped Envelopes by Oh So Beautiful Paper

DIY Colorful Rubber Stamped Envelopes

4. Adorn the Envelope

Add a bit of decoration to your addressed envelope! Playful polka dots. Bold lines. Even an illustration or two! Rubber stamps (and pencil erasers in a pinch) work well for adding a colorful pattern to any envelope.

Dip Dyed Envelopes by Oh So Beautiful Paper

Dip dyed envelopes by Oh So Beautiful Paper with gold address calligraphy by Meant to Be Calligraphy

If you are working with white envelopes, dip dyeing is a quick and easy way to add a pop of color to your envelopes! You can use anything from food coloring and Kool-Aid to Rit Dye, so the colors are completely customizable!

Calligraphy by Letter Love Studio / Photo Credit: Sarah Carpenter Photography

Calligraphy by Letter Love Studio / Photo Credit: Sarah Carpenter Photography

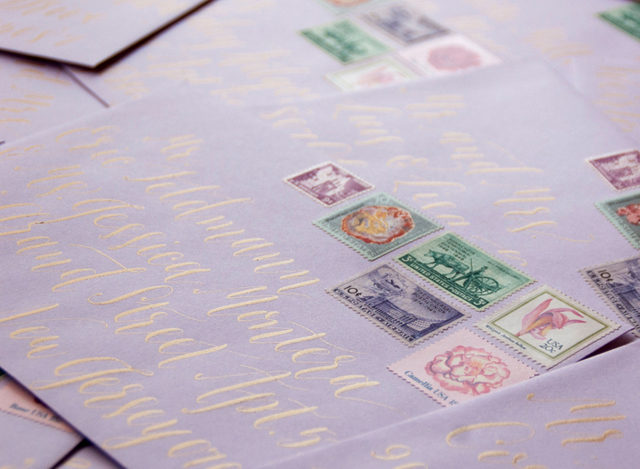
5. Pretty Stamps

The final step! Pretty postage stamps are a surefire way to elevate any envelope into a work of art. Vintage postage stamps are readily available in large quantities and look amazing when grouped together – but you can also find some really beautiful stamps from USPS these days.

Now stick your beautiful card in the mail and make someone’s day instantly brighter! Isn’t sending (and receiving) mail the absolute best?!?

This post was created in partnership with eBay. All content and opinions are my own. Thank you for supporting the sponsors that make Oh So Beautiful Paper possible!

Briana and Jason’s Illustrated Camp Wedding Invitations

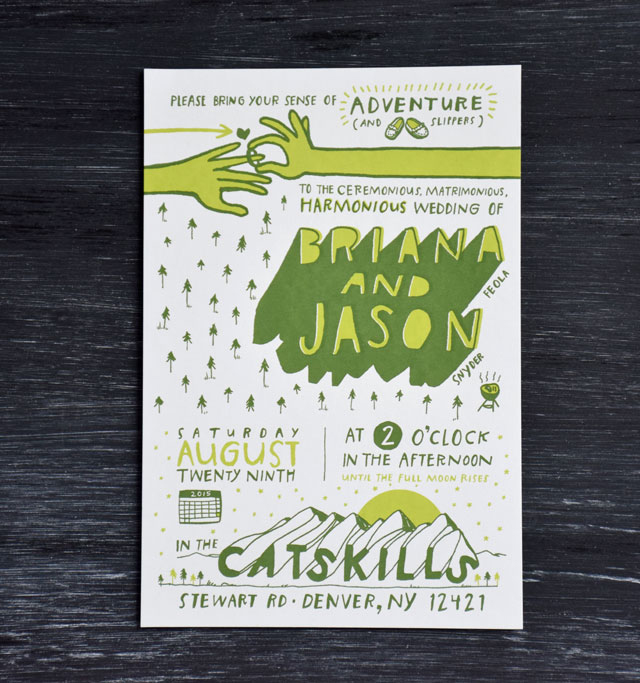
Happy Monday everyone! I’m so excited to kick the week off with these gorgeous illustrated wedding invitations from Briana and Jason at Brainstorm – created for their own wedding last month! I’ve been a huge fan of their prints and posters for years and years and I’ve been lucky to get to know Briana and Jason a bit over those years. I love how much their wedding invitations reflect their personalities and unique sense of adventure! These screen printed invitations for Briana and Jason’s wedding weekend in the mountains feature awesome illustrations and hand lettering – all without taking themselves too seriously. Love!

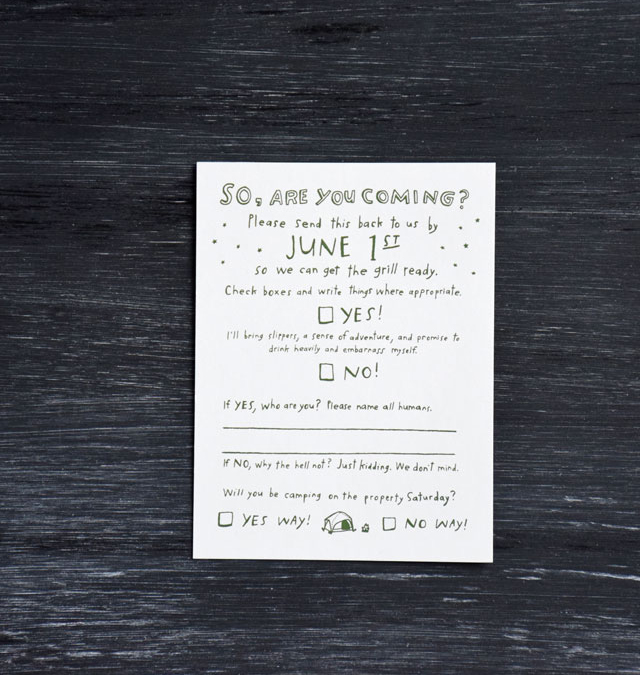
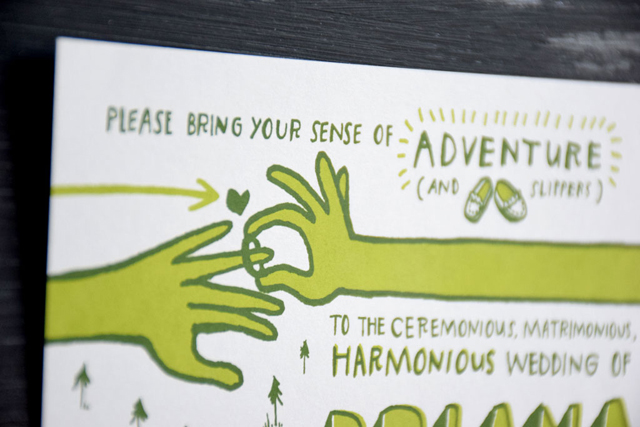
Illustrated Camp Wedding Invitations by Brainstorm / Oh So Beautiful Paper

From Briana: We’ve been together for eight years all the while running Brainstorm (our poster and illustration business). Our wedding was the culmination of that time together. We didn’t want to go overboard with fancy papers, printing, layers and production. We’re busy selling posters, ya know? So we kept it super simple. And not taking ourselves too seriously is probably the most important thing to us. It’s what keeps us happy in life and work (how else could you spend every waking minute with the same person?). We wanted our wedding invitations to reflect our personalities, our sense of humor and to also give visual clues to our guests.

Illustrated Camp Wedding Invitations by Brainstorm / Oh So Beautiful Paper

Illustrated Camp Wedding Invitations by Brainstorm / Oh So Beautiful Paper

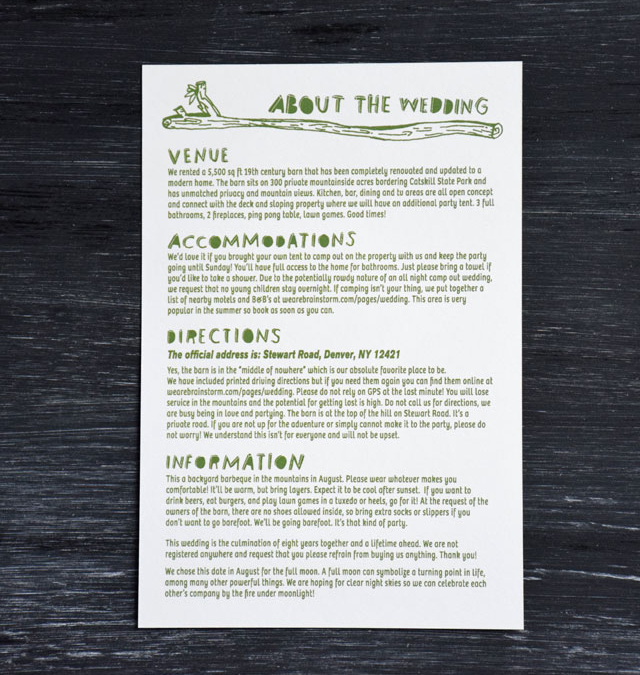
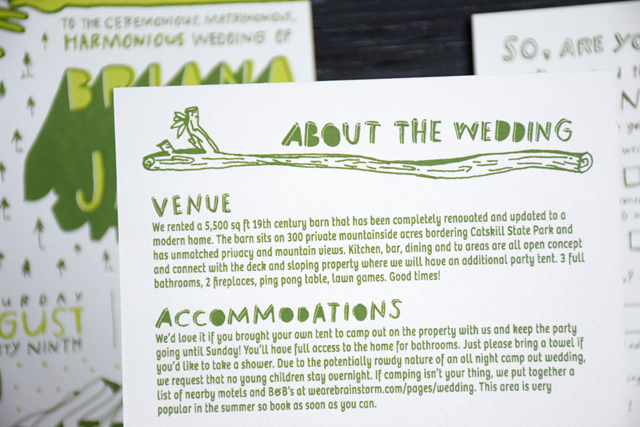
The wedding was a barbecue at a barn house in the mountains of Upstate New York and we took major inspiration from that. The barn was a renovated into an amazing vacation home and we were able to have our immediate family sleep over, as well as have other guests camp on the property. There were no shoes allowed in the house (as per the owners request!) and it was funny to try to convey that to our guests beforehand.

Illustrated Camp Wedding Invitations by Brainstorm / Oh So Beautiful Paper

People didn’t really know what to expect when we said we were getting married in a barn, but they were pleasantly surprised when they arrived. We practically wrote a novel on the back trying to help people understand. You can never be too thorough when you’re doing something out of the ordinary for a wedding. 🙂 It was a four hour drive for our New Hampshire guests and about two and half for our New Jersey/New York guests, so we asked people to bring their sense of adventure to brave the winding mountain roads…

Illustrated Camp Wedding Invitations by Brainstorm / Oh So Beautiful Paper

Thanks Briana and Jason!

Design and Printing: Brainstorm

Check out the Designer Rolodex for more tal­ented wed­ding invi­ta­tion design­ers and the real invi­ta­tions gallery for more wedding invitation ideas!

Photo Credits: Brainstorm

Orange-Vanilla Bean Scotch Smash

Often, recipes don’t work out the way you planned when you first try them. You might have an idea in your head of how ingredients will work together, only to find out that reality doesn’t agree with you, and you have to throw the idea (and a drink) out. Or maybe your ingredients are right but your proportions are wrong, and you have to try and try and try again until you get it just right. But sometimes, a recipe presents itself so fully formed in your head that it works just right the first time. This was one of those times. And this also turned out to be one of my most favorite cocktails of all time: an Orange-Vanilla Bean Scotch Smash. – Andrew

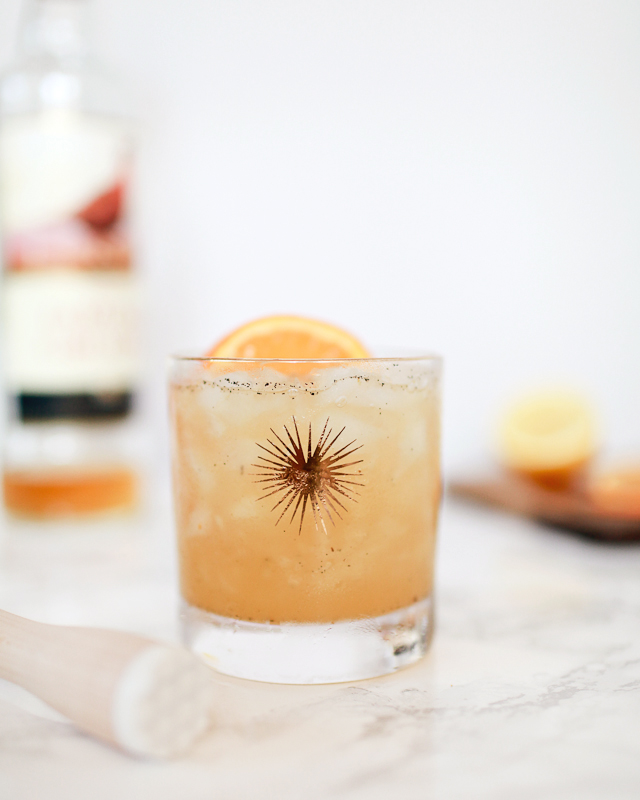
Orange-Vanilla Bean Scotch Smash Cocktail Recipe / Liquorary for Oh So Beautiful Paper

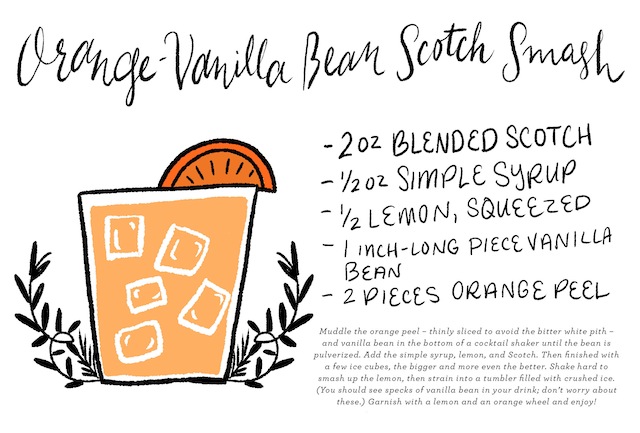
Orange-Vanilla Bean Scotch Smash Cocktail Recipe Card / Illustration by Shauna Lynn for Oh So Beautiful Paper

Illustration by Shauna Lynn for Oh So Beautiful Paper

Orange-Vanilla Bean Scotch Smash

2 oz Blended Scotch
1/2 oz Simple Syrup
1/2 Lemon, Quartered
1 inch-long piece Vanilla Bean
2 pieces Orange Peel

Muddle the orange peel – thinly sliced to avoid the bitter white pith – and vanilla bean in the bottom of a cocktail shaker until the bean is pulverized. Add the simple syrup, lemon, and Scotch. Then finished with a few ice cubes, the bigger and more even the better. Shake hard to smash up the lemon, then strain into a tumbler filled with crushed ice. (You should see specks of vanilla bean in your drink; don’t worry about these.) Garnish with a lemon and an orange wheel and enjoy!

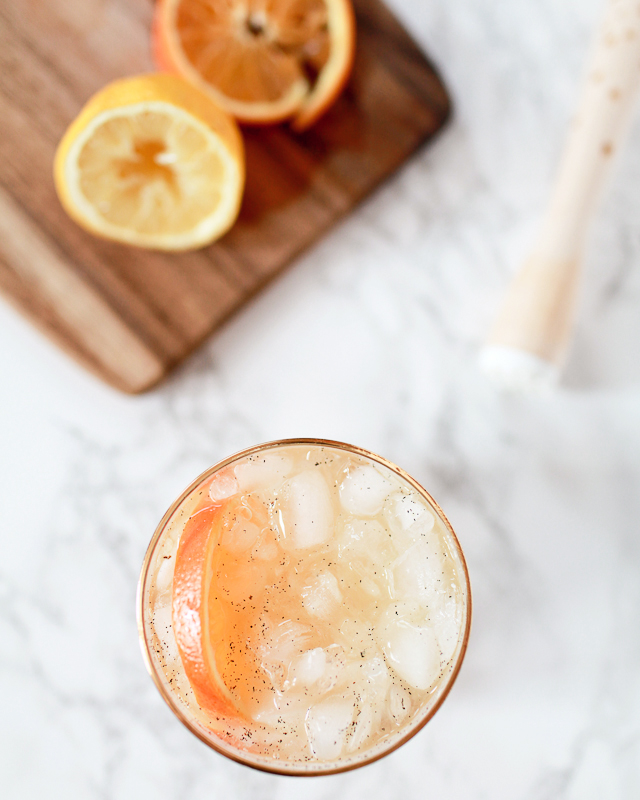
Orange-Vanilla Bean Scotch Smash Cocktail Recipe / Liquorary for Oh So Beautiful Paper

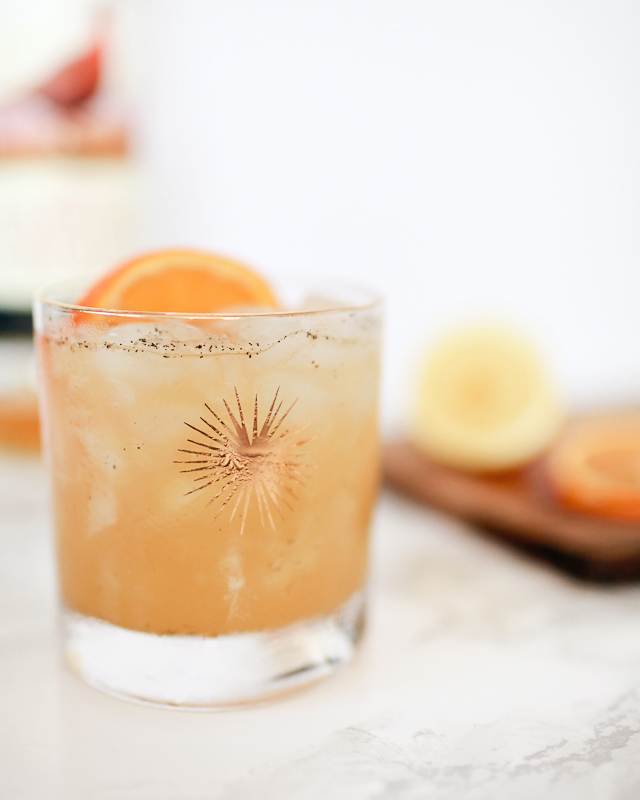
This drink is so, so good. The vanilla and orange are an amazing combination, and they both play together with the smoky woodiness of the Scotch in some really interesting ways. We used a mellow blended Scotch without a huge amount of peaty smokiness, and the result is a tremendously smooth Smash that’s very easy to drink. Just the right amount of sweetness, too, to balance out the spice and citrus.

Orange-Vanilla Bean Scotch Smash Cocktail Recipe / Liquorary for Oh So Beautiful Paper

One of my favorite aspects of a Smash like this is the way it incorporates that citrus. When you shake up whole pieces of lemon, you get just just tart lemon juice but that intensely flavorful lemon peel oil too. So there’s an extra added depth of flavor that mellows out the drink even further.

(Don’t forget to follow us on Instagram, where we’ve been posting our experiments before they make their way onto this column!)

Glassware by Liquorary

Photo Credits: Nole Garey for Oh So Beautiful Paper