Behind the Stationery: And Here We Are

Everyone has such unique stories about how they came into the stationery world and Meghan from And Here We Are is no exception. Meghan eased into the stationery industry after designing and printing her own wedding invitations, and after 9 years in New York, moved her Brooklyn studio to Columbus, Ohio where she recently moved (again!) to an industrial space. Walking us through her design process from brainstorming and sketching to printing techniques, here’s Meghan! —Megan Soh
Behind the Stationery: And Here We Are

From Meghan: Hi there! I’m Meghan, owner and founder of And Here We Are, a design & letterpress printing studio based in Columbus, Ohio. I went to school for graphic design – and back again for typeface design – and in past lives have worked as a textile designer, a designer in a traditional firm, an in-house designer for a PR firm, and finally, a print designer at a television network. I live in the Short North neighborhood here in Columbus with my husband, John, our son Wiley, and our dog Martha.

Behind the Stationery: And Here We Are

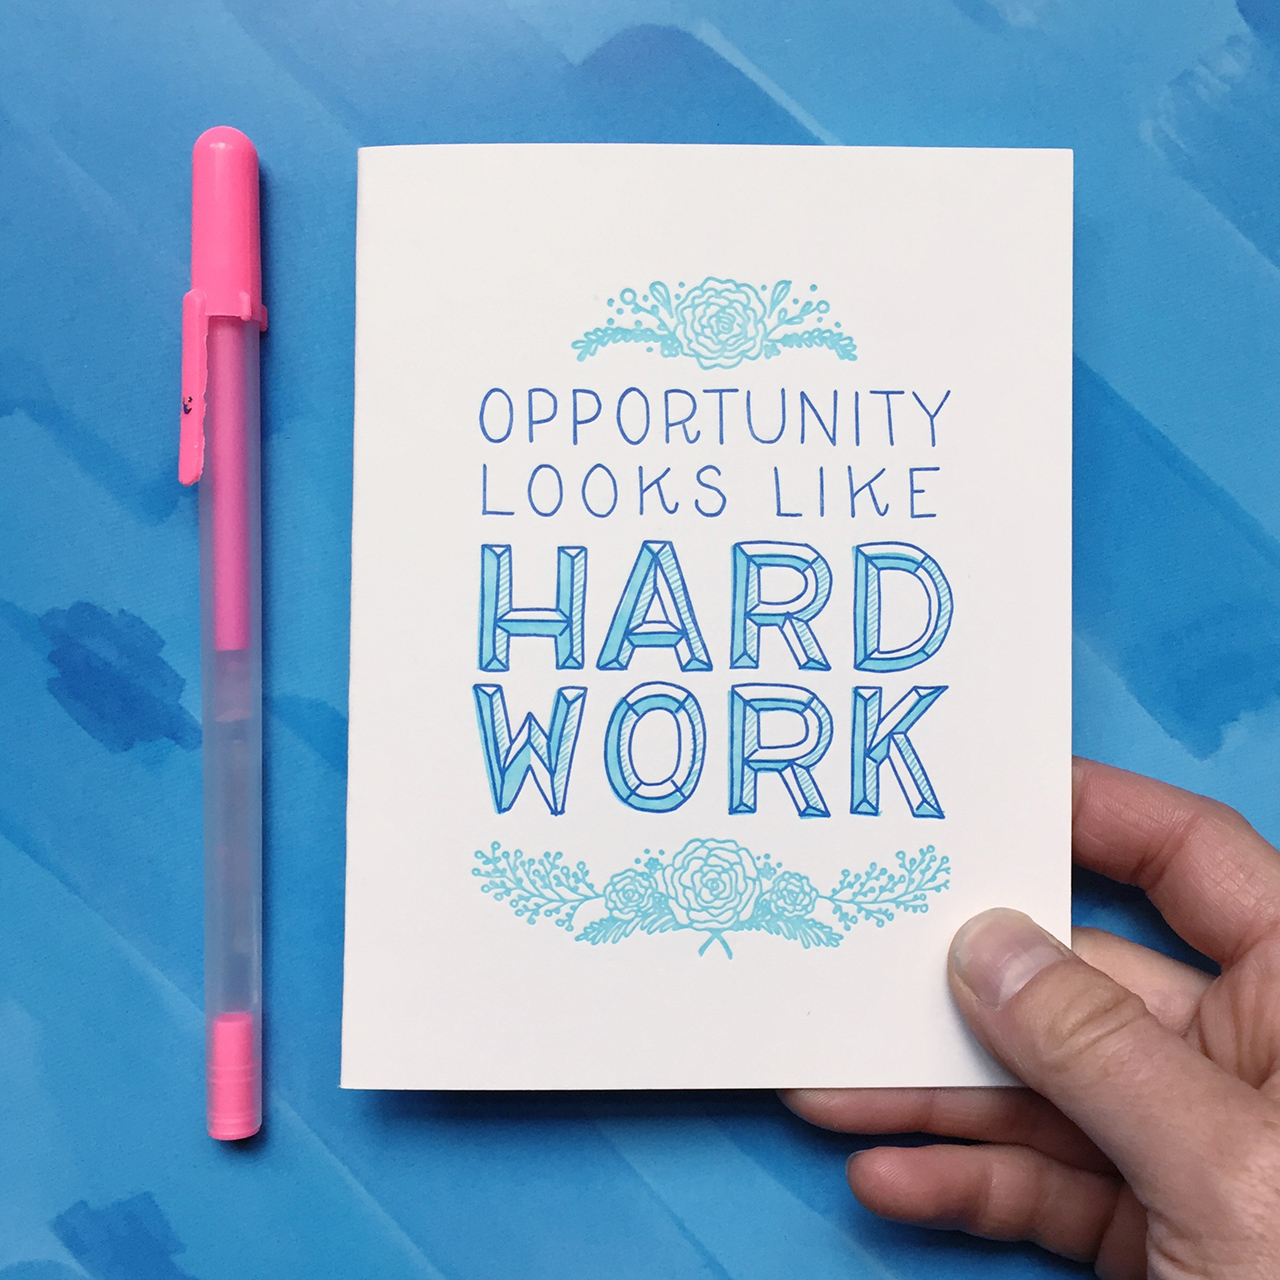
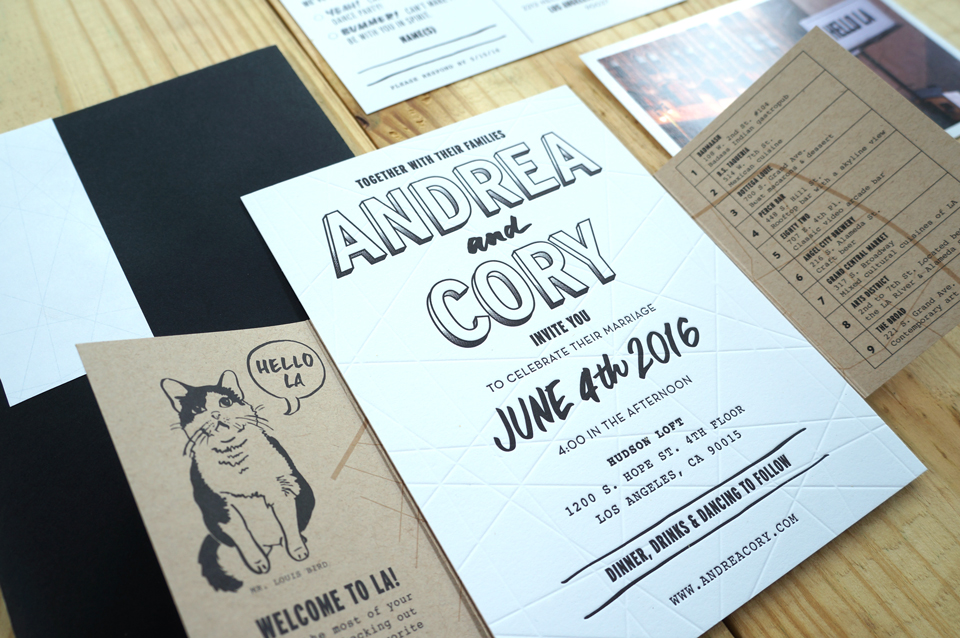
And Here We Are launched in 2012 out of our apartment in Greenpoint, Brooklyn. It started after I went a little nuts on our personal wedding invitations and paper goods, and the press led to several more custom wedding commissions. I always loved letterpress printing, which I’d discovered in college, and was really excited about the idea of getting my hands dirty again!
Behind the Stationery: And Here We Are

I worked nights and weekends for about a year before I officially left my day job to purse paper goods full time. At first I was working out of the corner of our living room, meeting clients in coffee shops and renting letterpresses at a local studio in Brooklyn. We bought our first letterpress in 2015, and moved out here to Columbus (after 9 years in New York) in search of affordable space. We were lucky to find an adorable little Victorian house just north of Downtown with a 400 square foot sun room that made a perfect home studio.

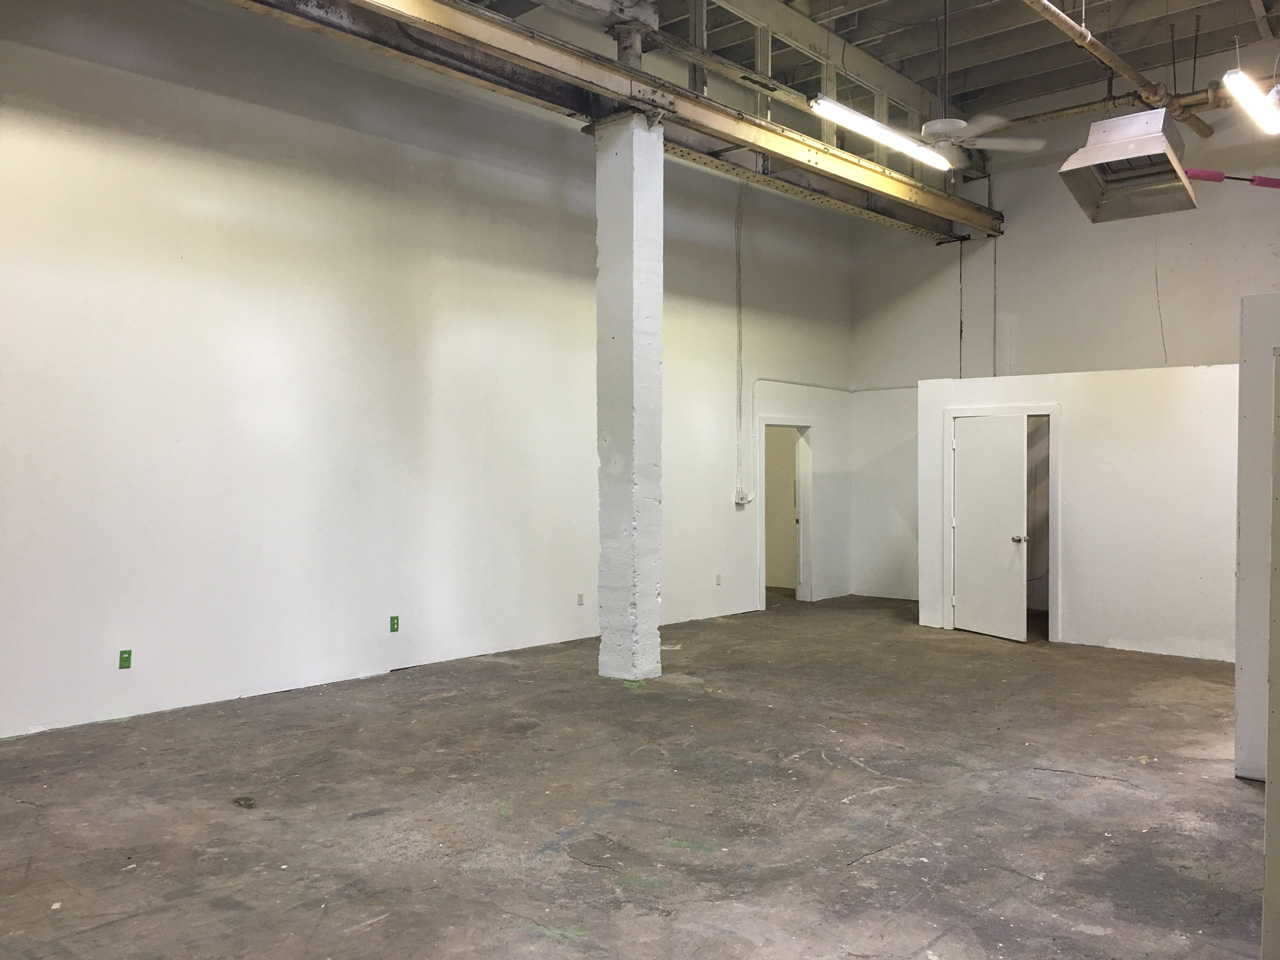
We worked out of this studio until it was just about bursting at the seams; we recently moved all of our equipment and product stock out into a 1,000 square foot space across town. Being in this industrial space will allow for more (and heavier) equipment, and I plan to host events and workshops, too.
Behind the Stationery: And Here We Are

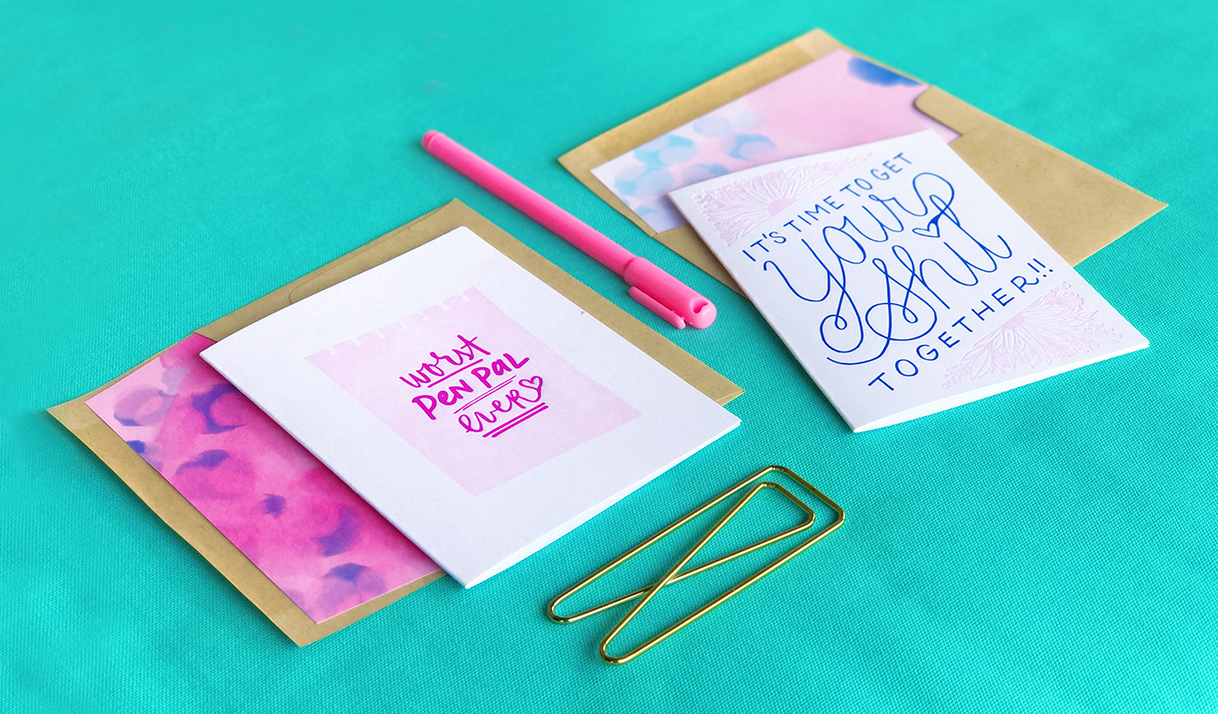
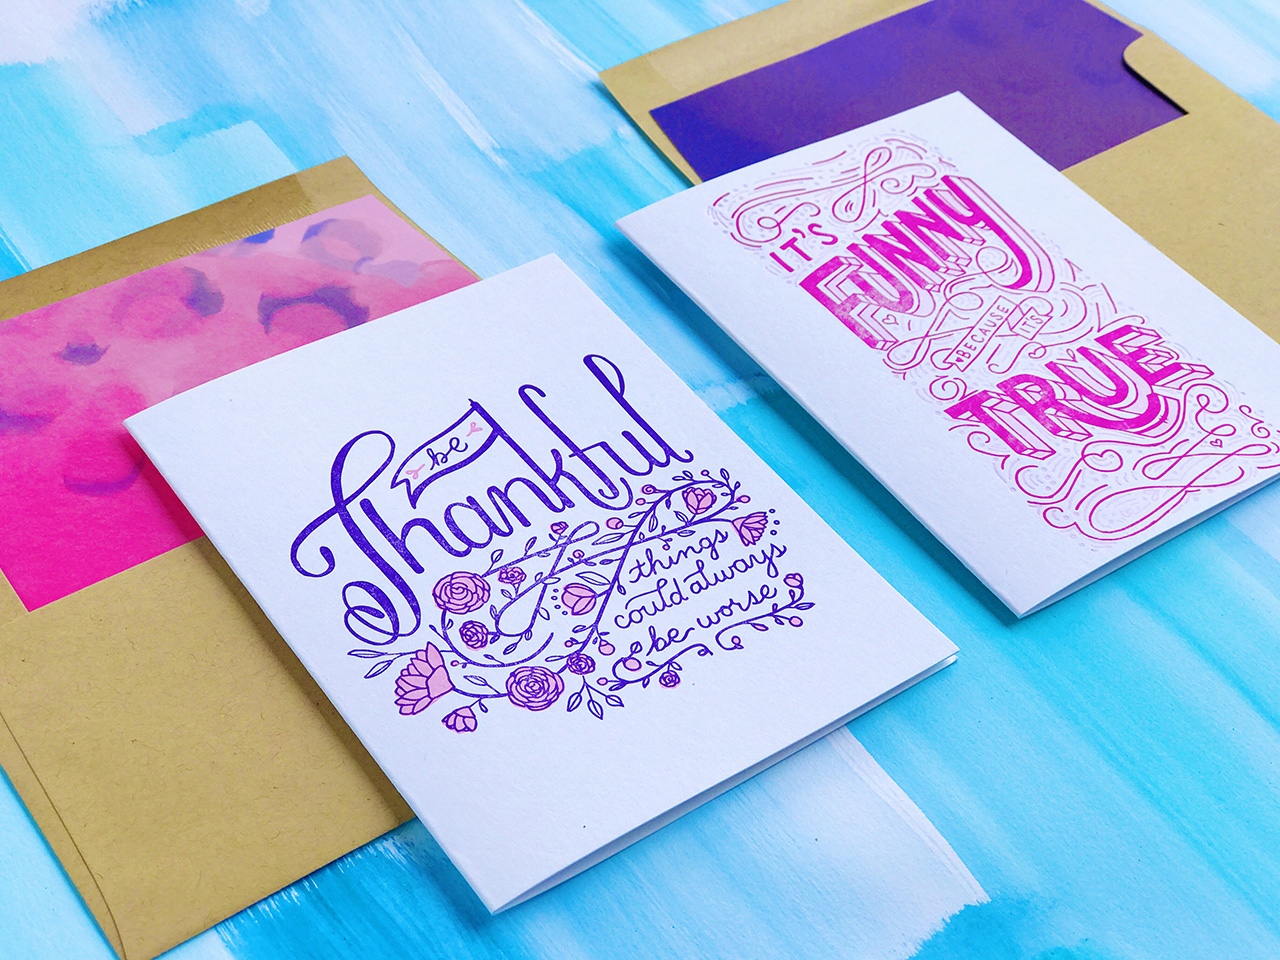
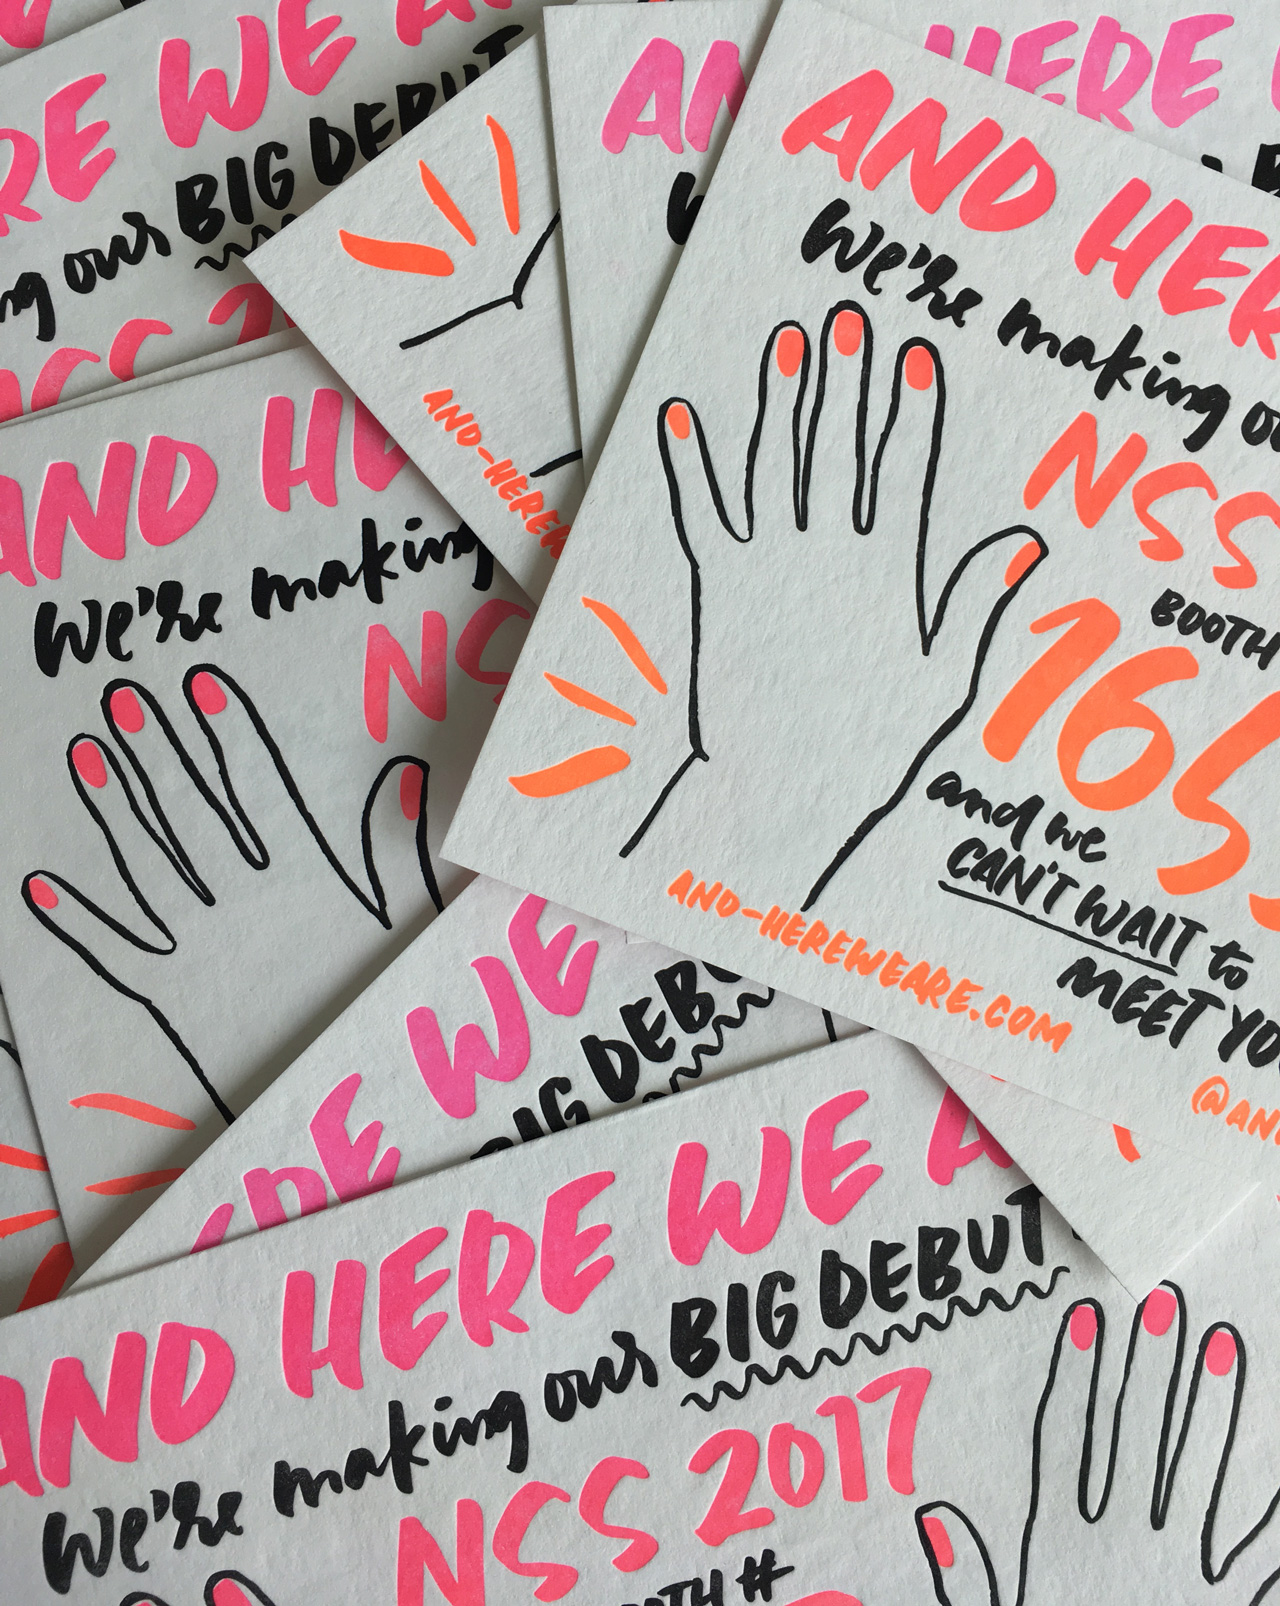
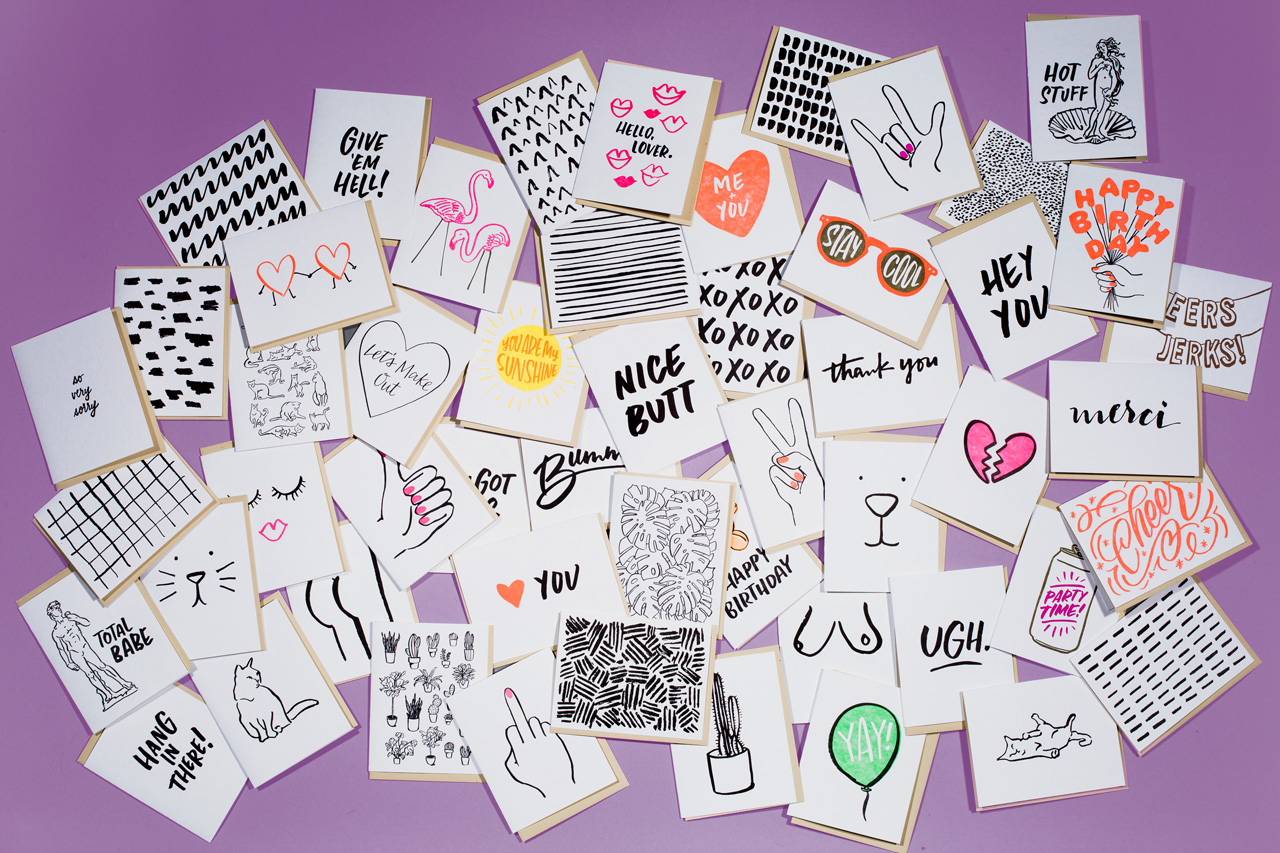
In addition to custom design and printing, we have a full line of letterpress printed greeting cards and accessories that we sell both retail and wholesale (we exhibited in our first National Stationery Show this Spring). We do all of our letterpress printing in house, but offer all sorts of printing methods through our network of trusted vendors here and back in New York. We often combine letterpress printed pieces with foil stamping, digital printing or die cutting.
Behind the Stationery: And Here We Are

Behind the Stationery: And Here We Are

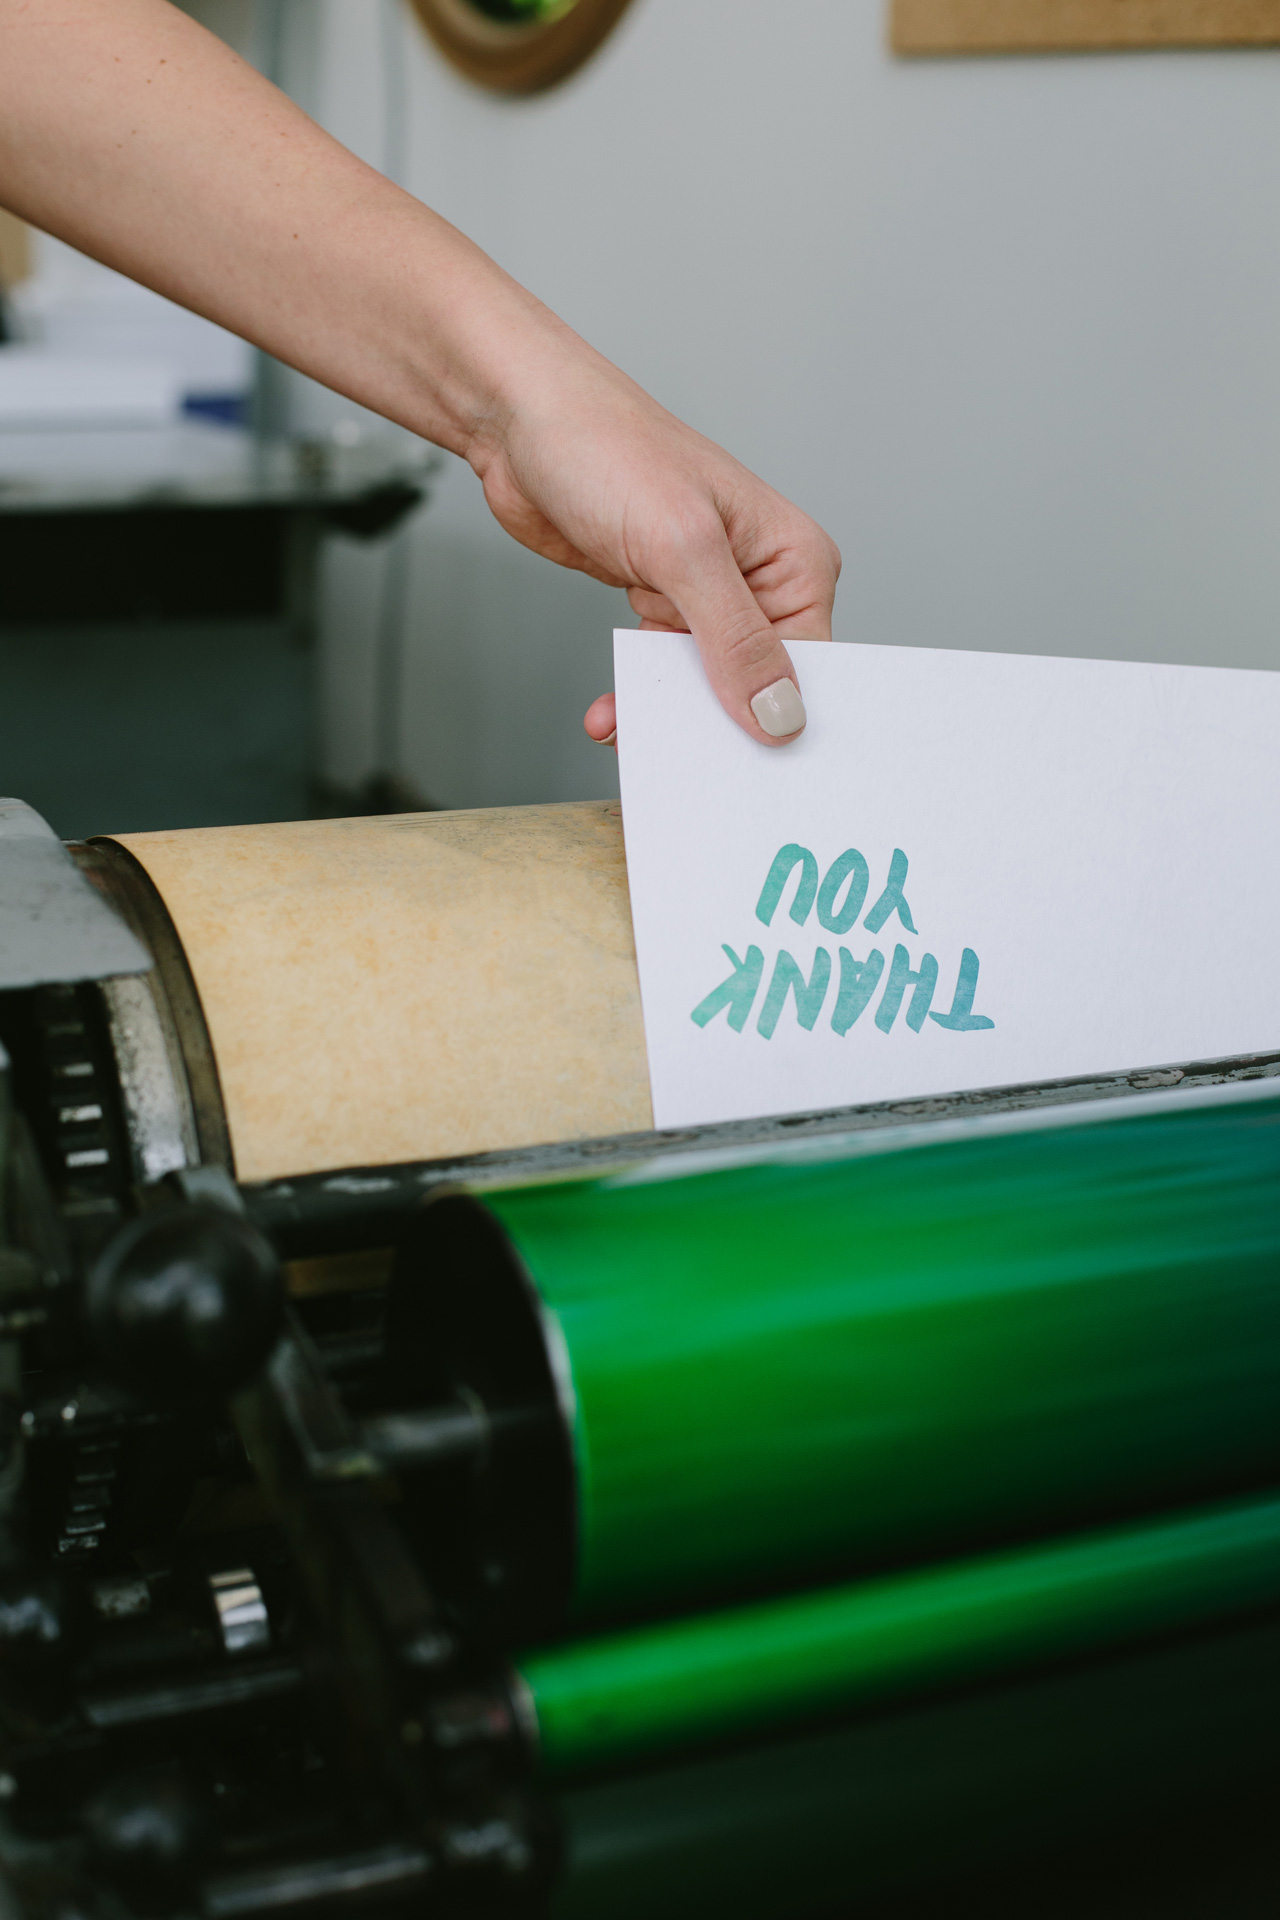
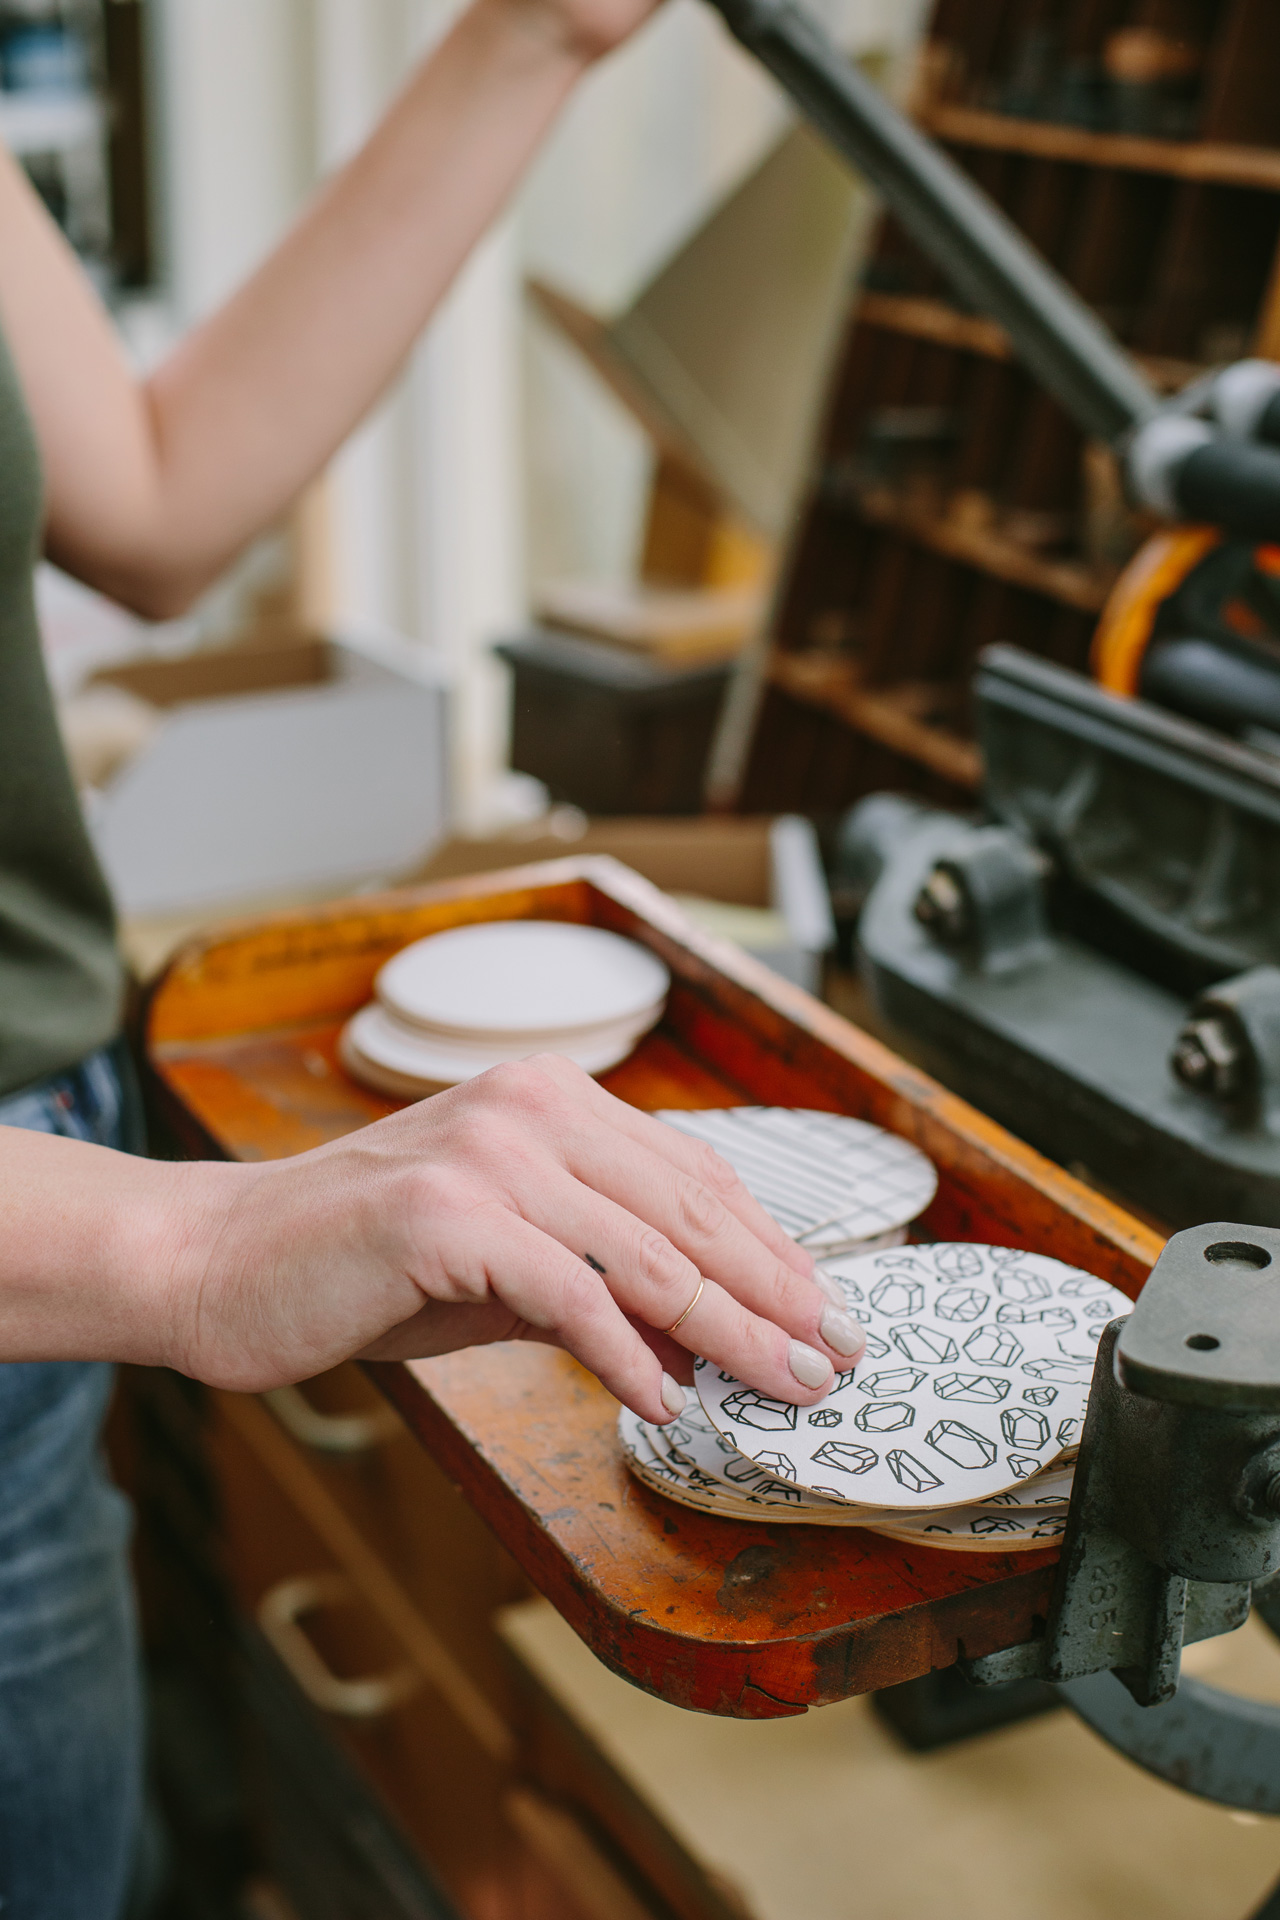
We currently have a Vandercook SP-15 letterpress, which carries about 90% of the load, and a C&P pilot press which we use mostly for coasters and some smaller items. We trim on a Challenge Triumph hydraulic trimmer. A Windmill or Kluge letterpress is probably not too far off in the future, and I’d like to bring foil-stamping in house too.

Behind the Stationery: And Here We Are

Behind the Stationery: And Here We Are

From 2014-16, my husband John was also working with me, but went back to a day job last year when we found out we had a baby on the way. So for now, I’m working by myself again, with the occasional part time or temp helpers. Now that we’ve moved into our new space I’m hoping to bring on 1-2 members to join the team.
Behind the Stationery: And Here We Are

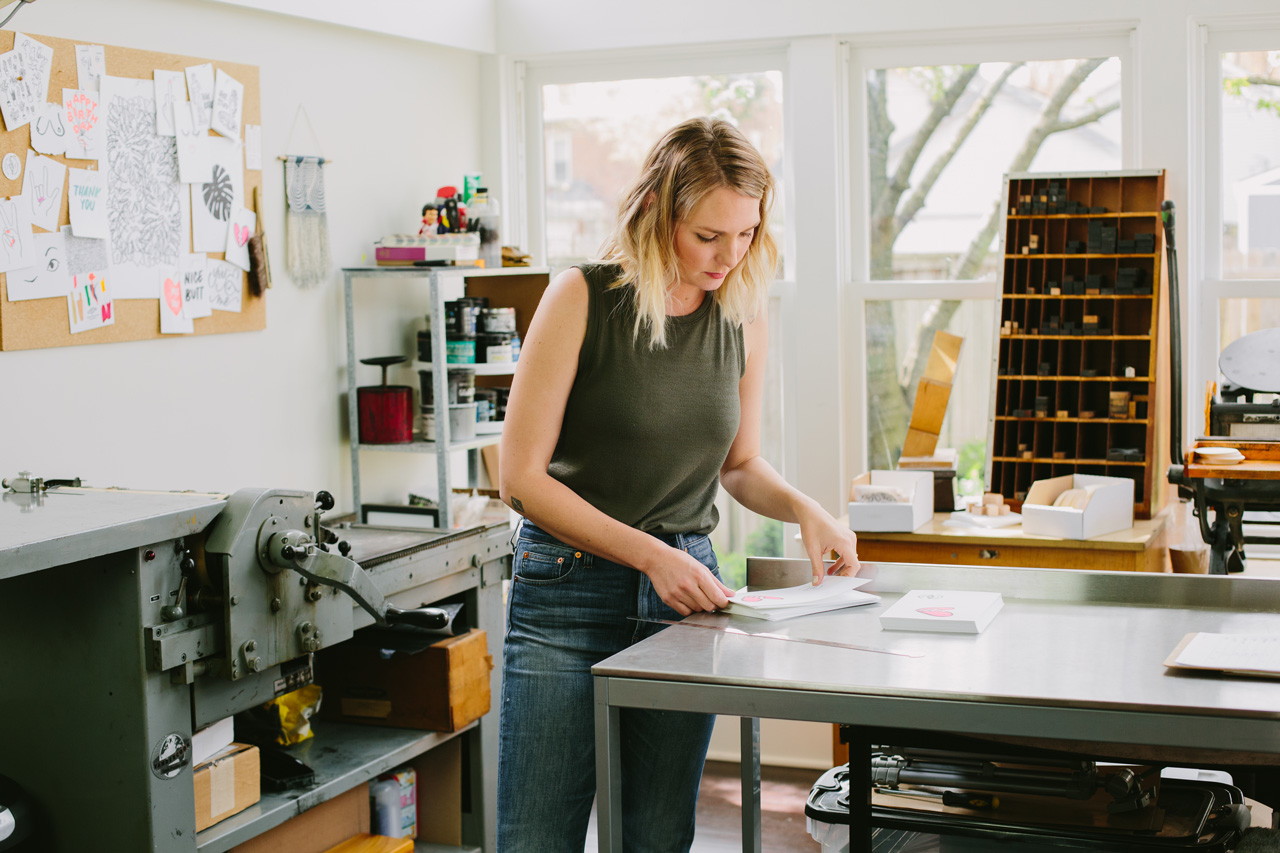
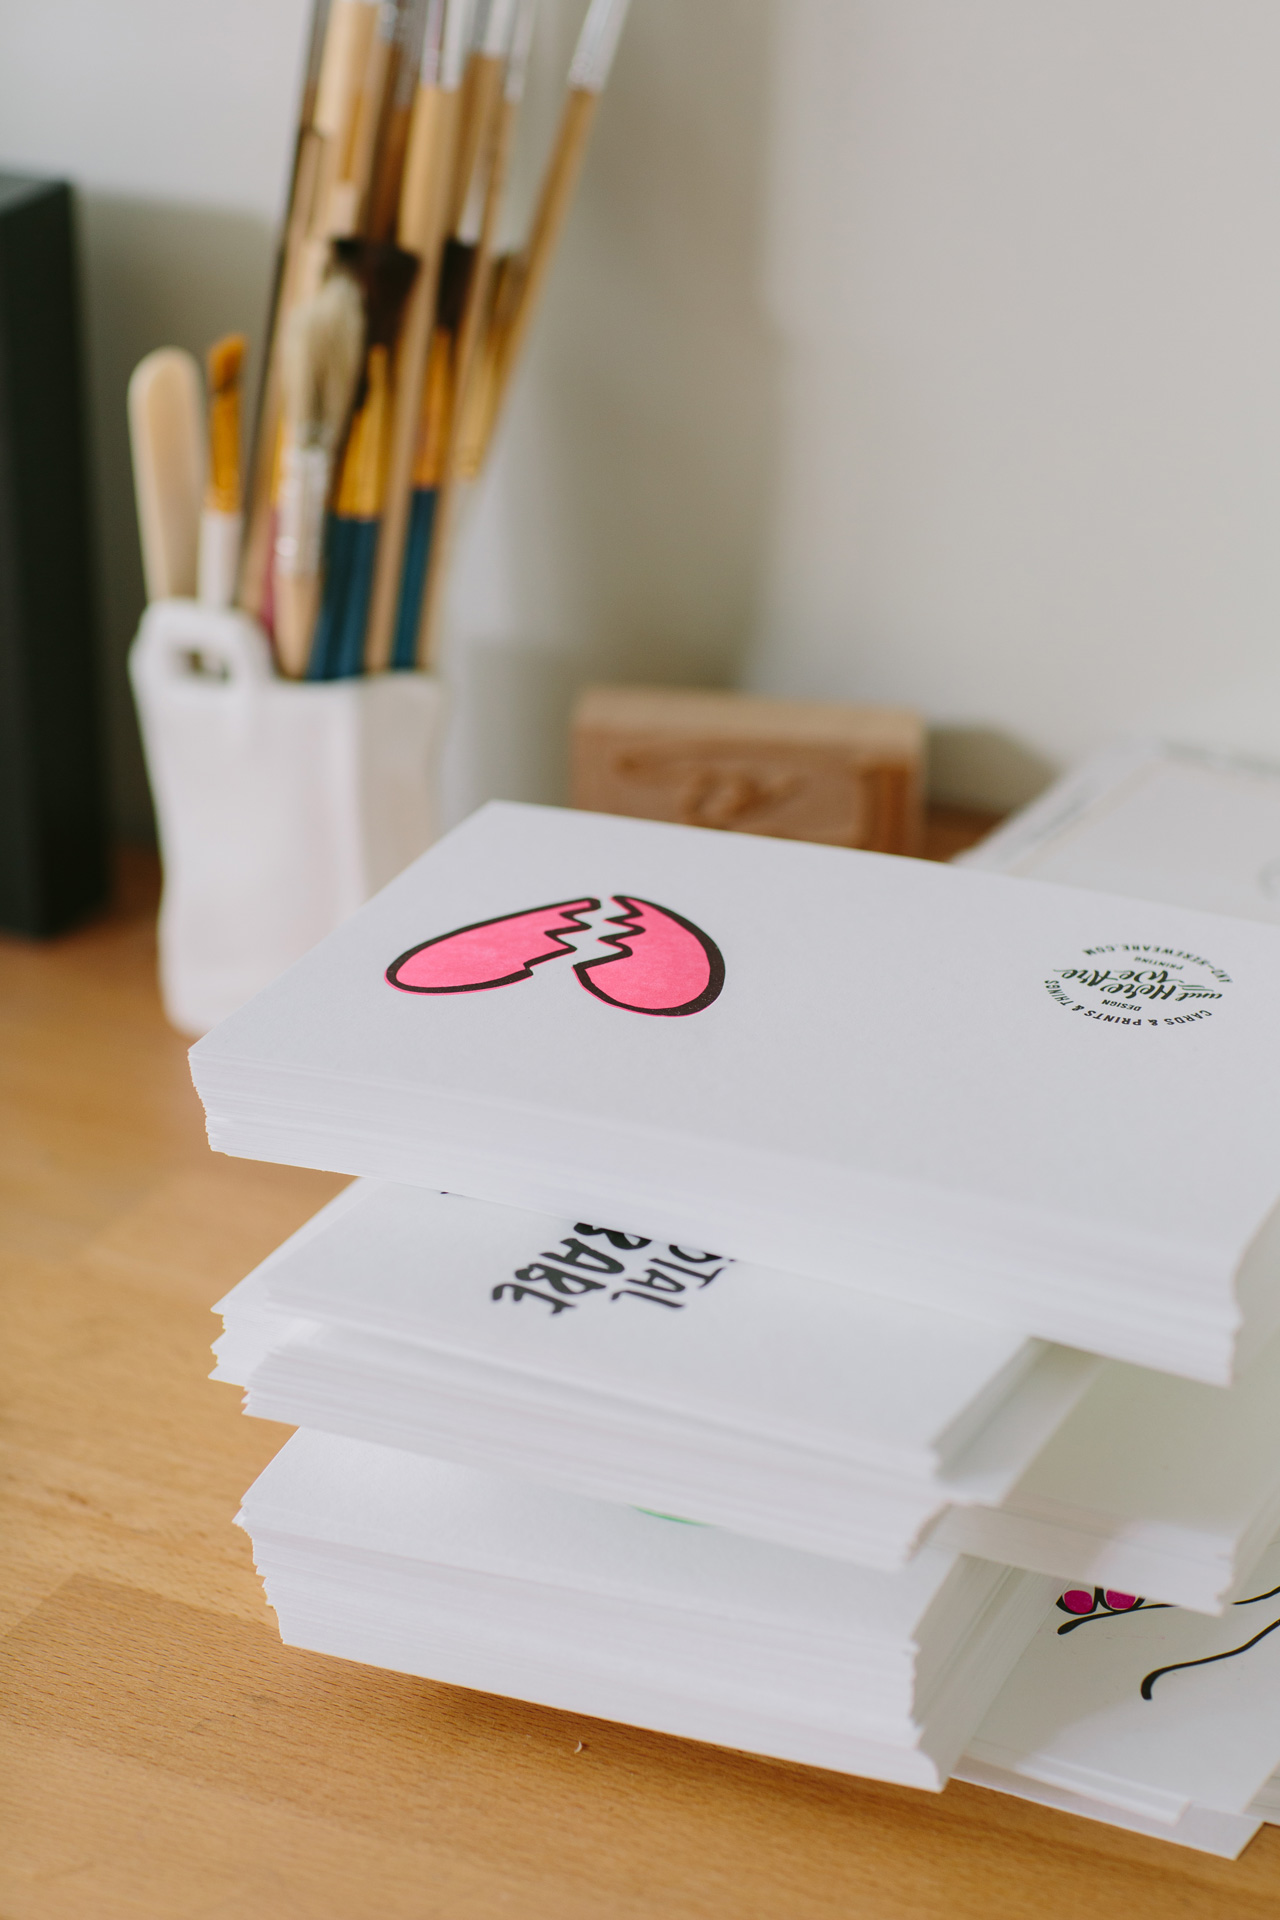
There really isn’t such a thing as a typical day when you run a business and have an 8-month-old; most days we’re up at 6:30, having breakfast and taking a long walk before heading into the studio. Around 8:30, I drop the baby off at day care or bring him with me, depending on the day of the week. I could be drawing, printing, trimming, filling orders, or writing estimates and invoices (the most glamorous part of the job). There’s always a lot more emailing and administration than I’d like, but I’m often able to tackle those tasks at home after the little one’s gone to bed.

Behind the Stationery: And Here We Are

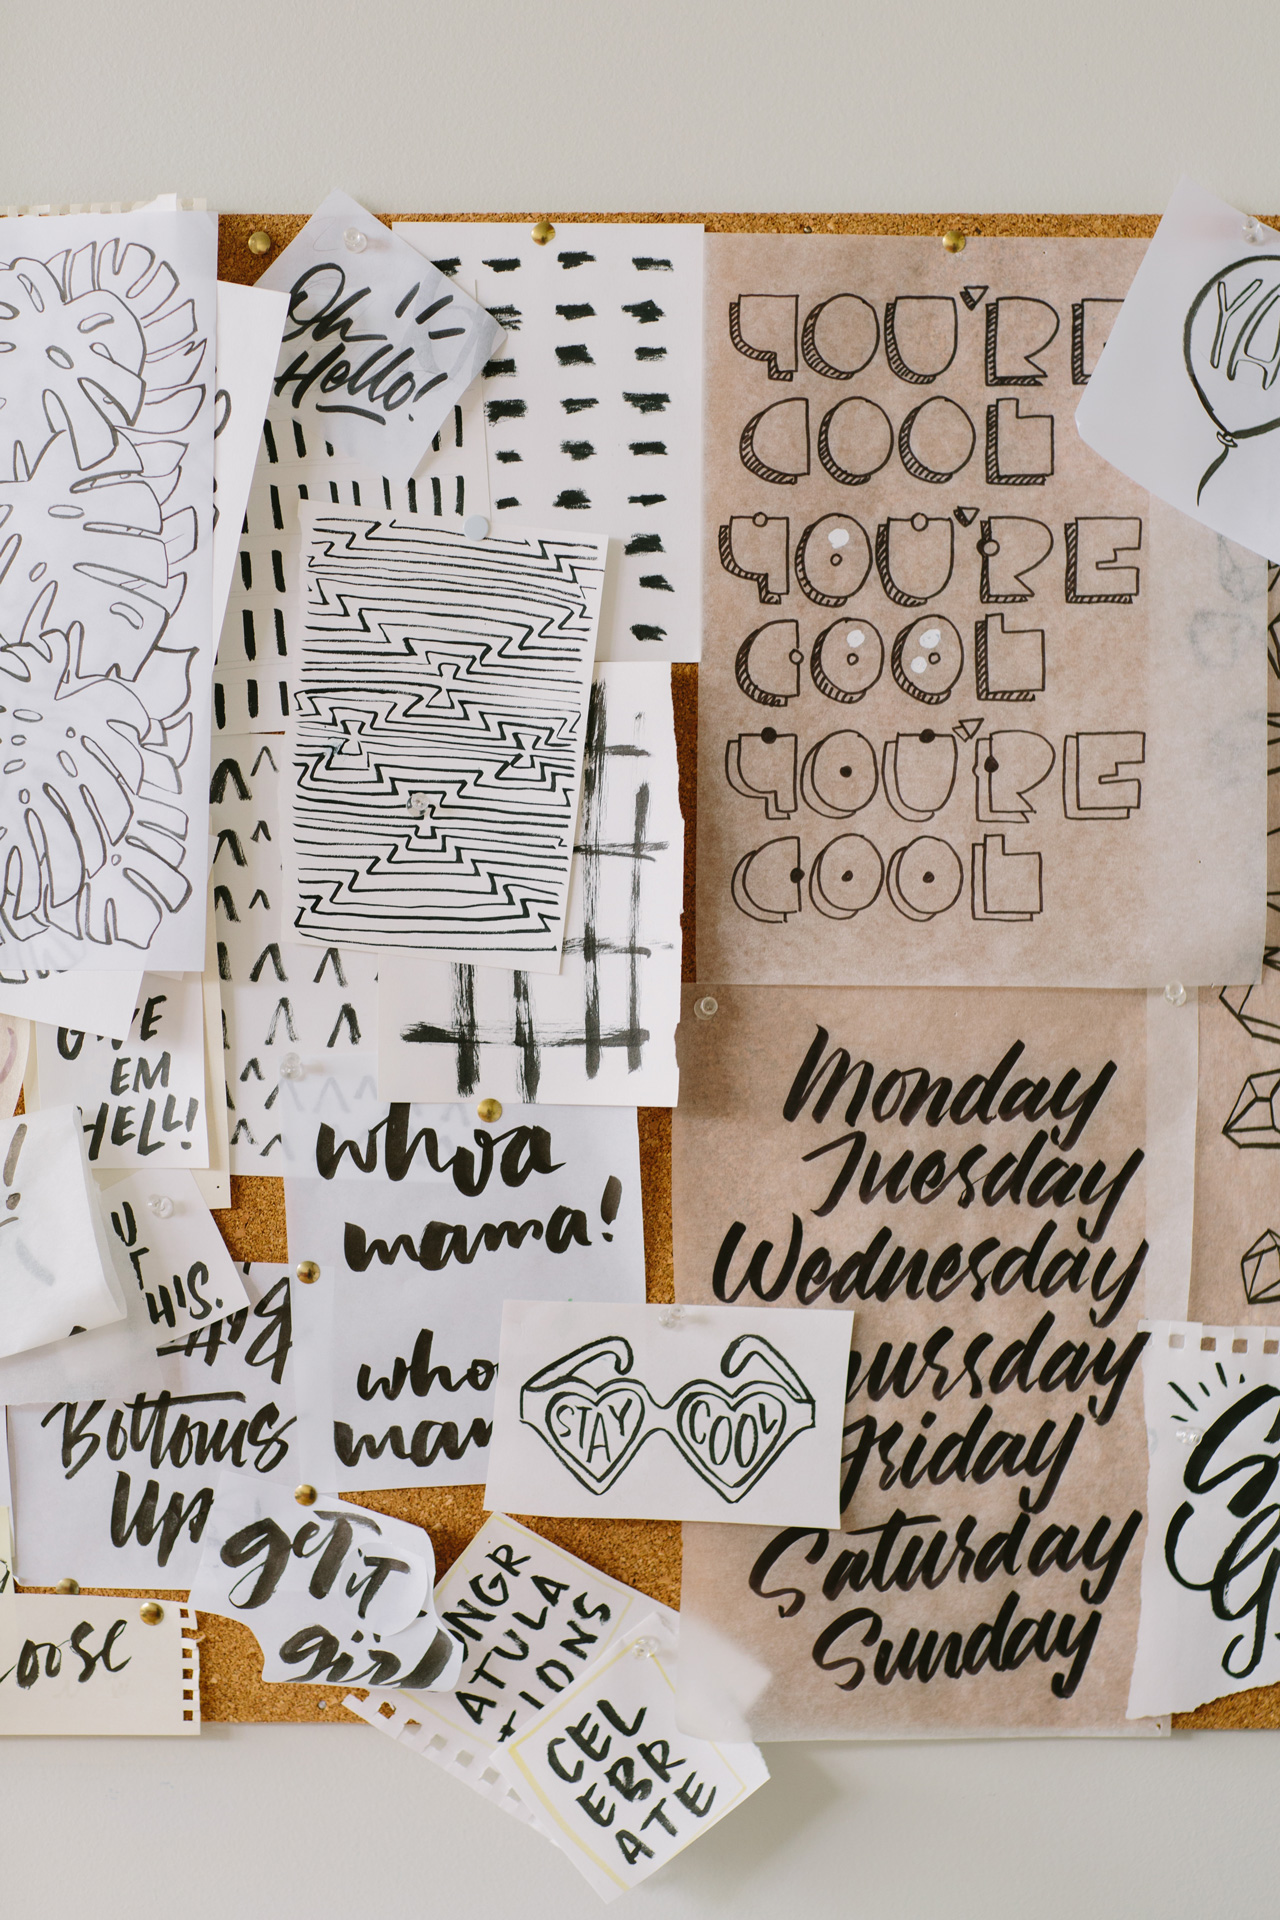
Even when I’m not in the studio, I’m almost always carrying a notebook or sketchbook to jot down new ideas, doodles or notes. I usually start with just a list of words that I keep on my phone, which I then distill into a few categories and then every month or two I’ll block out a few solid days to sketch out some lettering and illustrations, and then spend another week or two refining those.
Behind the Stationery: And Here We Are

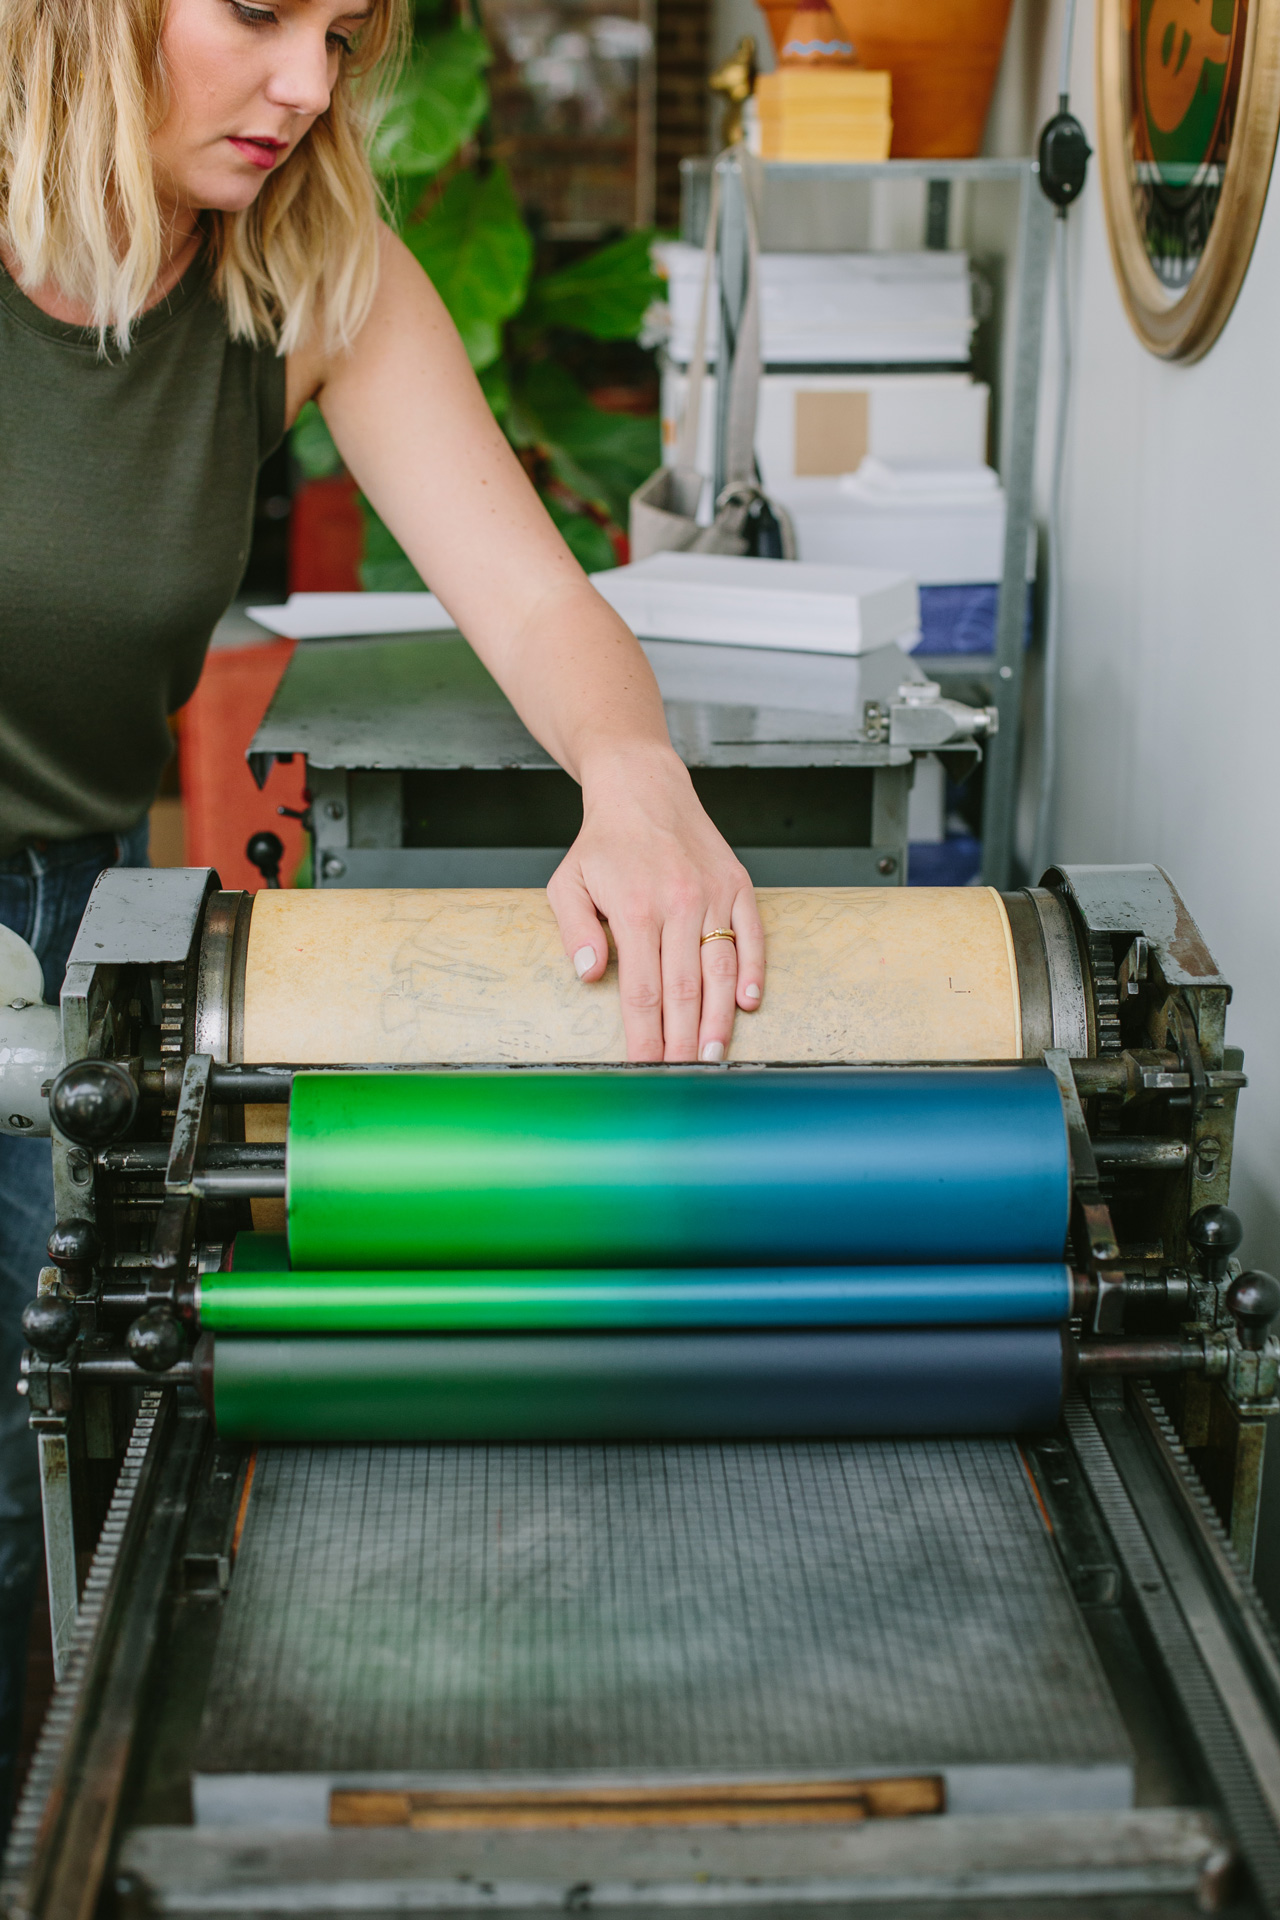
I usually move from pencil sketches to brush and ink or brush pens, often drawing and redrawing an idea through layers of tracing paper to distill it down to the simplest form possible. Sometimes I work backwards from an ink color I really want to use, or a print method I want to try. Then the drawings get scanned into the computer, cleaned up and digitized. I assign ink colors on the computer (although I often change my mind when I’m on the press!), prep the files for letterpress printing, and send the art out to have plates made.
Behind the Stationery: And Here We Are

Often, I start with art prints, then extend the artwork through other items like totes, coasters or cards. I usually release new collections about once a quarter.
Behind the Stationery: And Here We Are

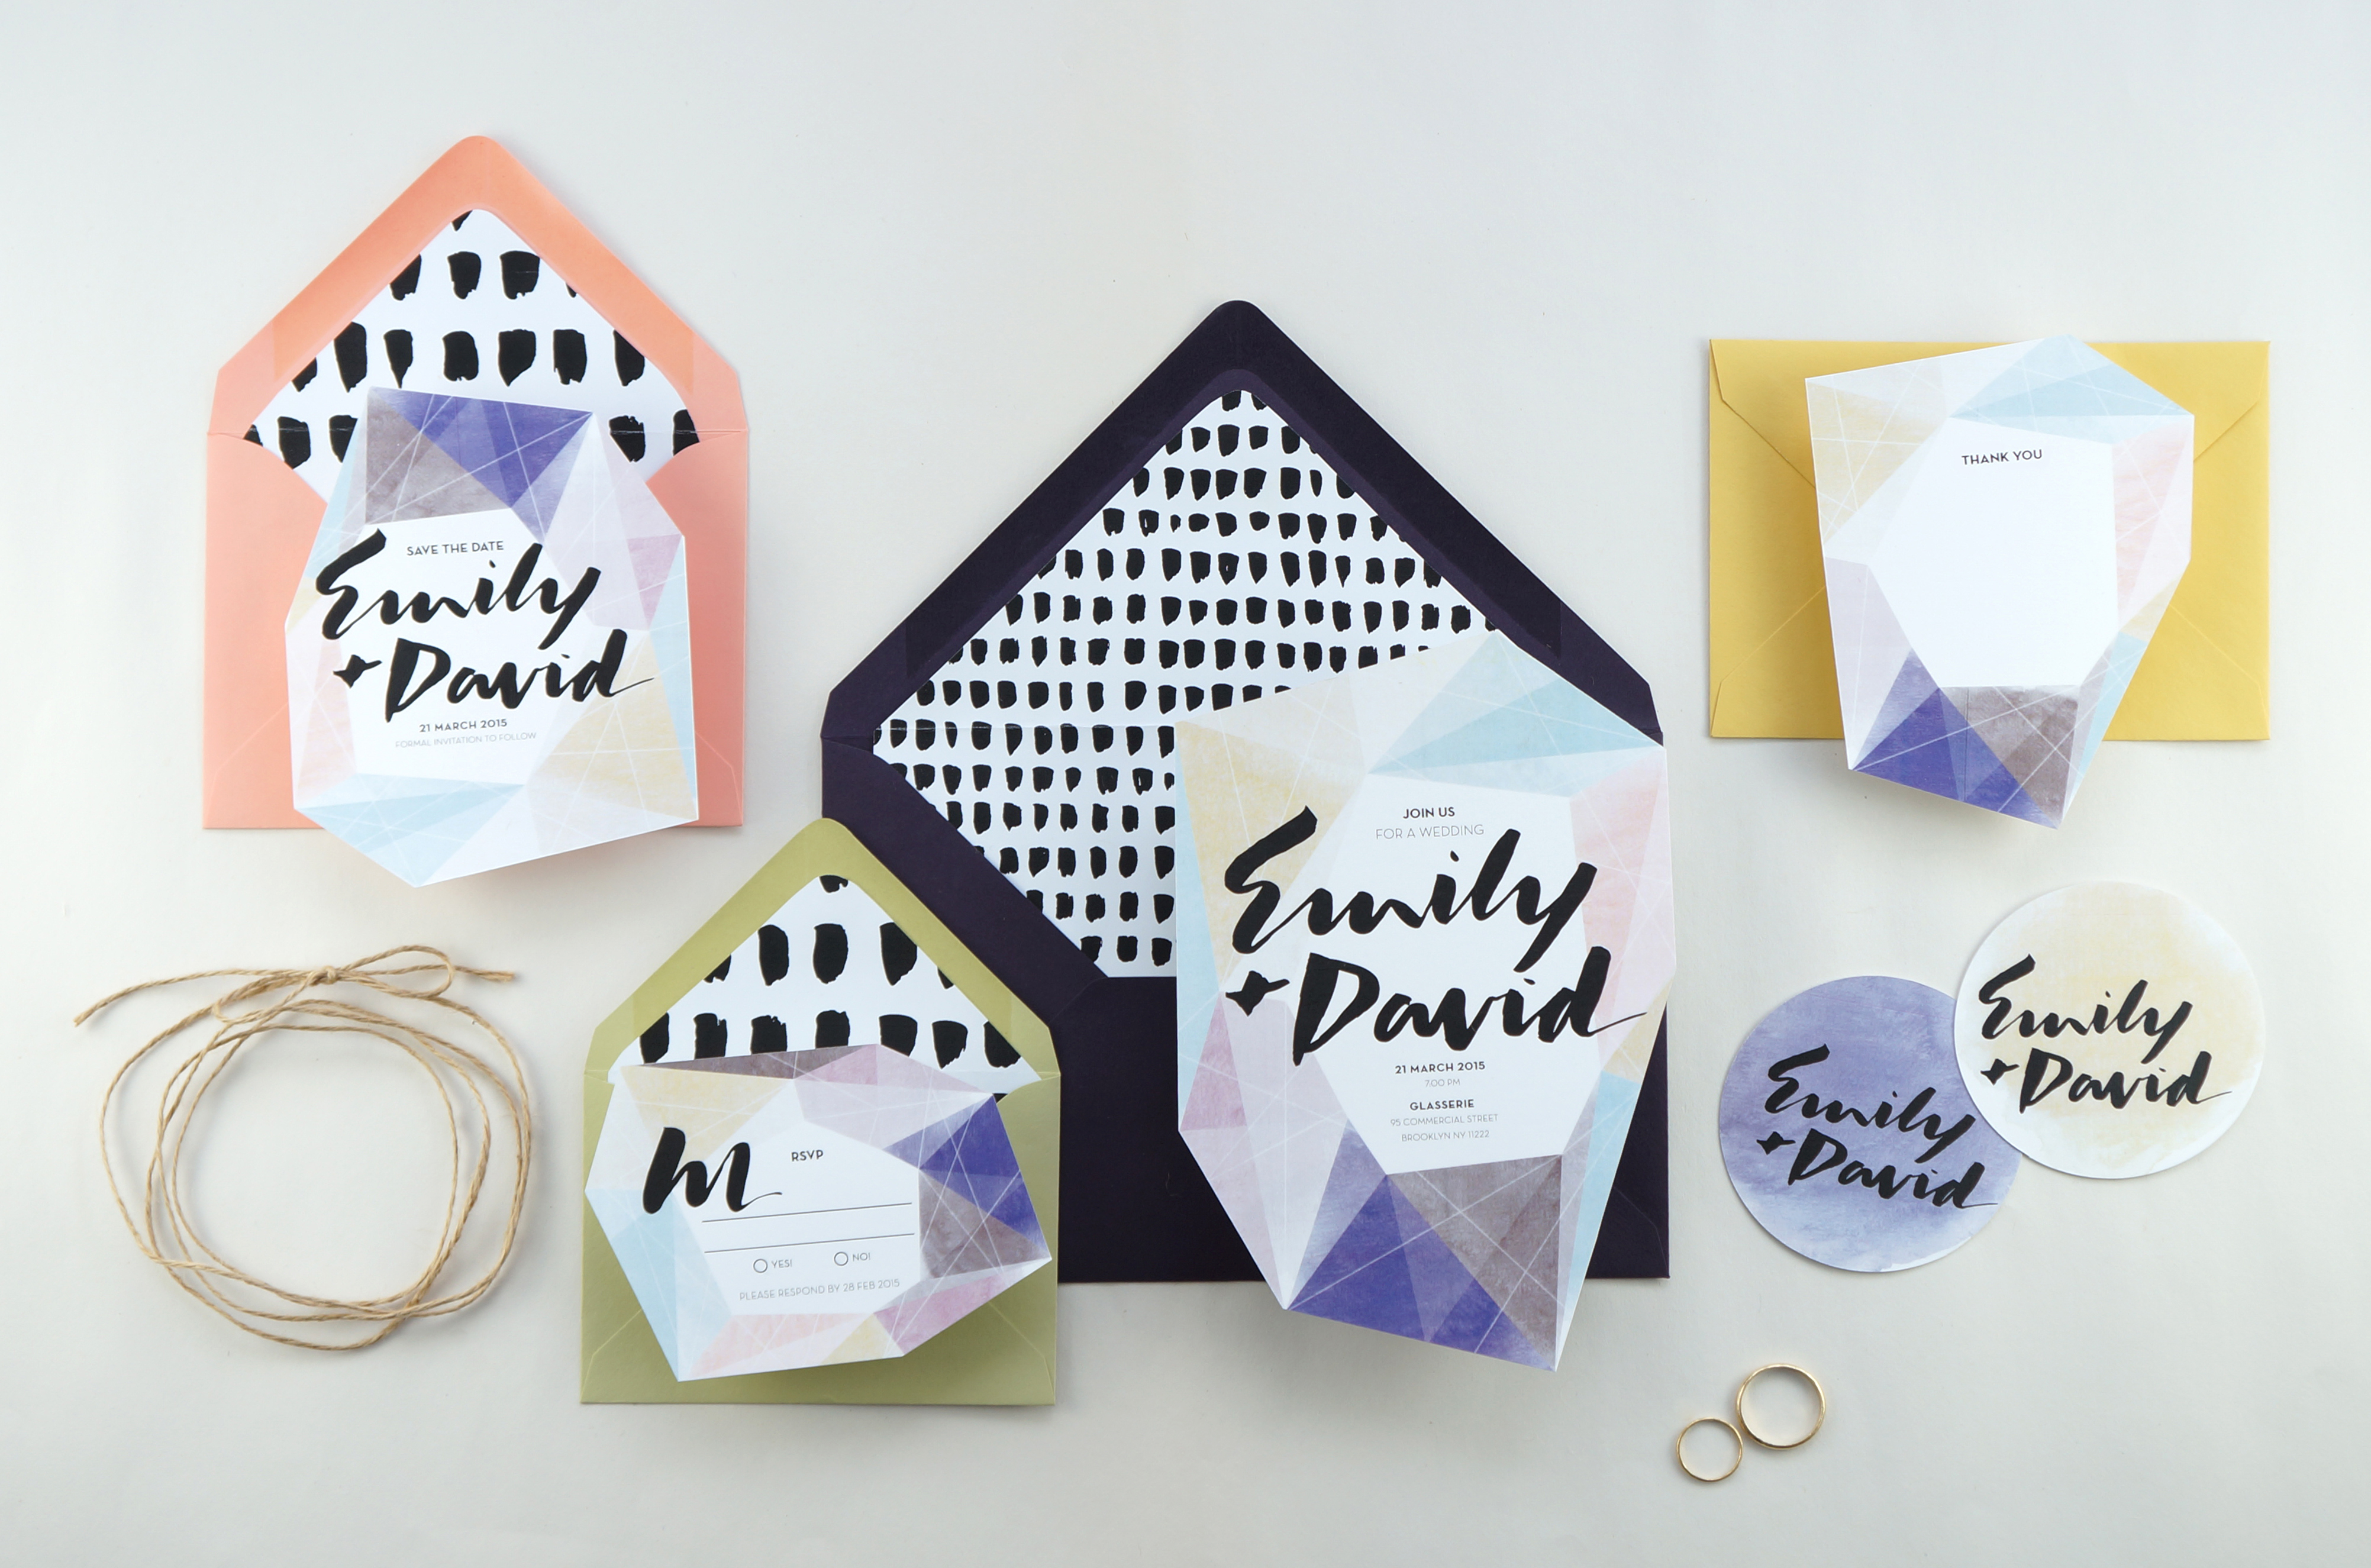
Custom work is a whole other monster. These start with a client meeting and idea board; then I’ll ruminate on it a bit and pull some visual examples into a Pinterest board. I keep my sketchbook handy and usually in a week or two I’ll hit on an idea that I can get excited about (and when I’m lucky, the client is excited about it too!). Totally custom jobs usually go through about 3-4 rounds of design before we hit the press. Since we had the baby, I’ve been shifting the focus of And Here We Are toward the retail and wholesale side of the business, but do still take a limited amount of custom projects each season.
Behind the Stationery: And Here We Are

And Here We Are is a member of the Designer Rolodex – see more of their beautiful work right here!

Follow along with And Here We Are on Instagram and Twitter.

Studio photos by Adam Lowe Photography; others by And Here We Are.

Interested in being featured on the Behind the Stationery column? Reach out to Megan for more information at megan[at]ohsobeautifulpaper.com.

Wedding Stationery Inspiration: Acrylic Details

A few years ago, we did a really fun DIY neon acrylic menu tutorial – and these days, acrylic is everywhere! And it totally makes sense. Acrylic (aka plexiglass) is super versatile (especially for weddings), inexpensive, and can be customized to suit any color palette. Make signs, menus, place cards, cake toppers… you name it! – Annie

Wedding Stationery Inspiration: Acrylic Details / Oh So Beautiful Paper

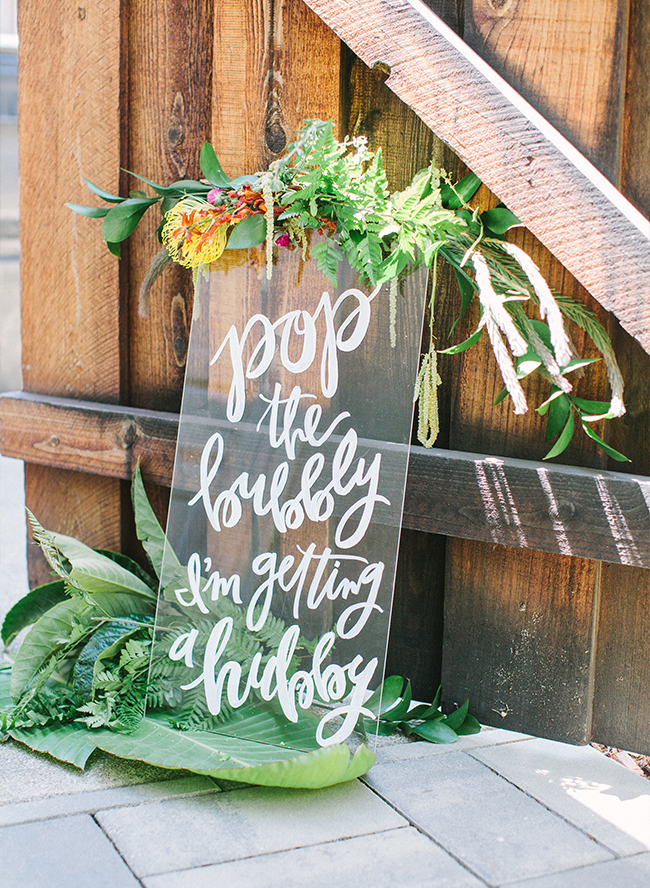
Welcome guests with a graphic acrylic sign. I love the addition of florals and greenery. | Photography: Yasmin Sarai, Design: Abby of Beijos Events, Signs: Meghann Miniello via Inspired By This

Wedding Stationery Inspiration: Acrylic Details / Oh So Beautiful Paper

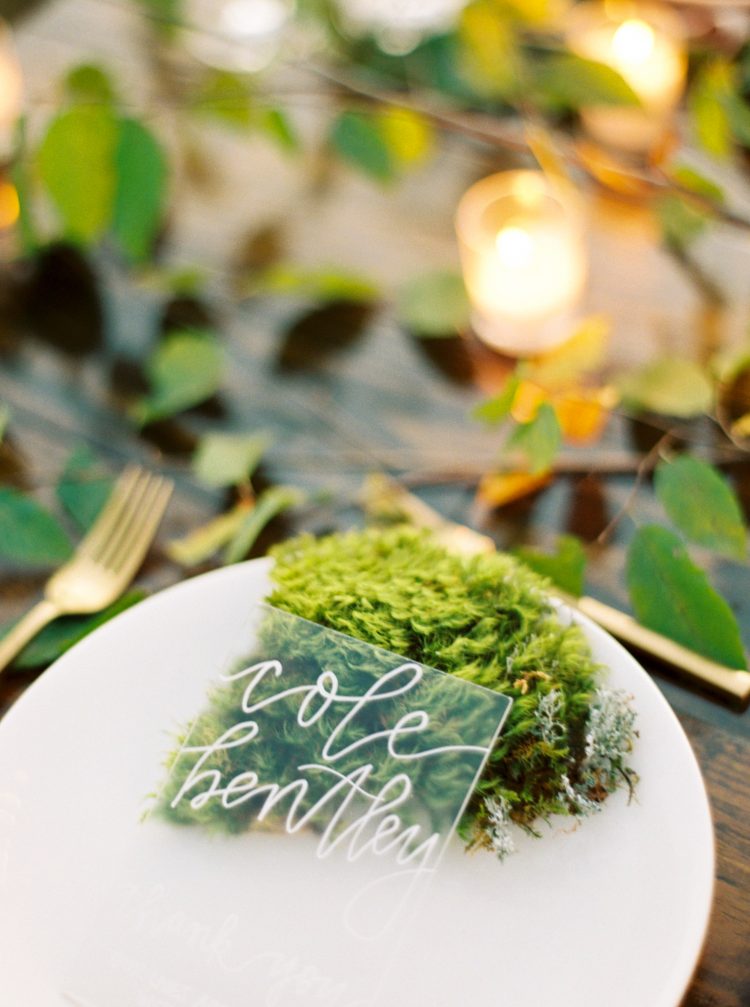
The white calligraphy on this acrylic place card really pops against the moss! | Photography: Erich McVey, Event Design & Planning: We Tie the Knots via Once Wed

Wedding Stationery Inspiration: Acrylic Details / Oh So Beautiful Paper

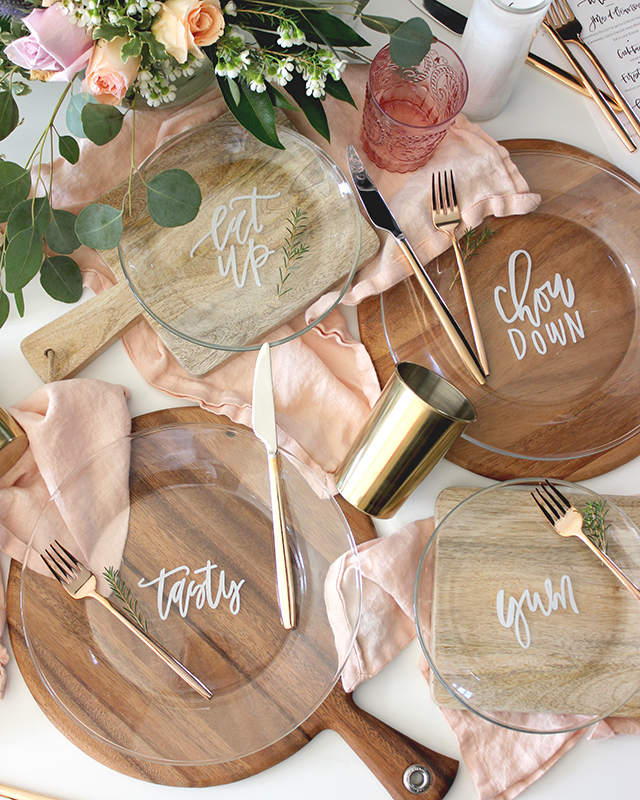
Look familiar? Of course I had to include these plates featured a few years ago! They could also double as place cards. | Printable Artwork: Lauren Saylor of A Fabulous Fete for Oh So Beautiful Paper

Wedding Stationery Inspiration: Acrylic Details / Oh So Beautiful Paper

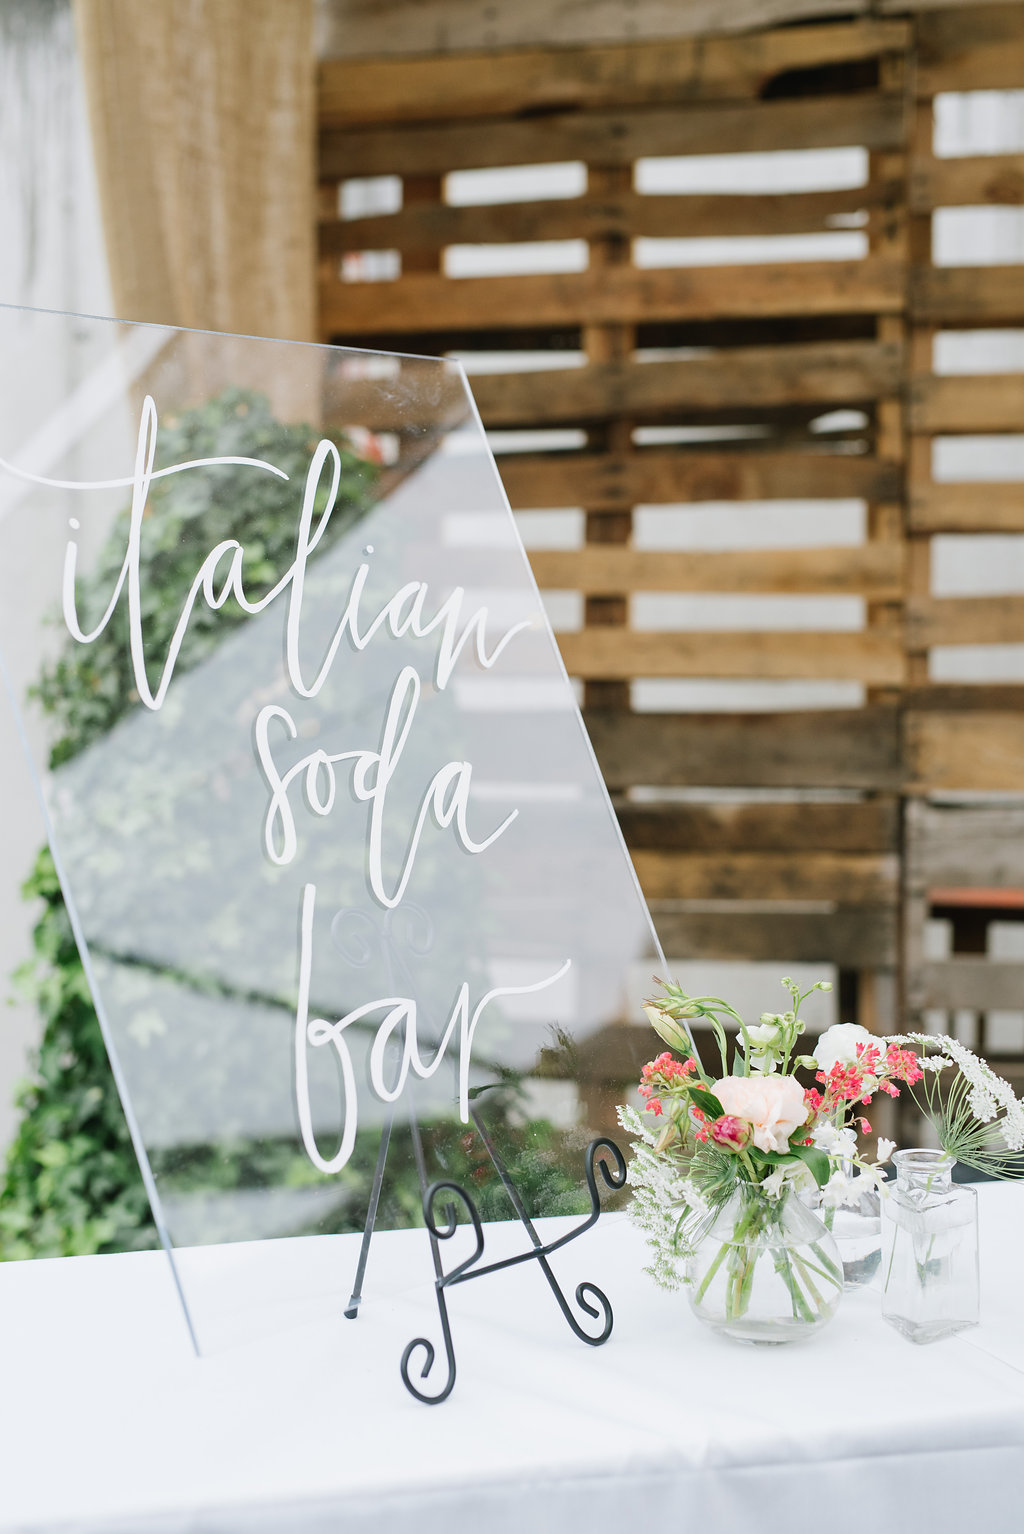
An acrylic bar sign looks sleek and doesn’t clutter up your bar. | Photography: Jessica Kettle, Calligraphy: Lavender + Pine via Rachael Ellen Events

Wedding Stationery Inspiration: Acrylic Details / Oh So Beautiful Paper

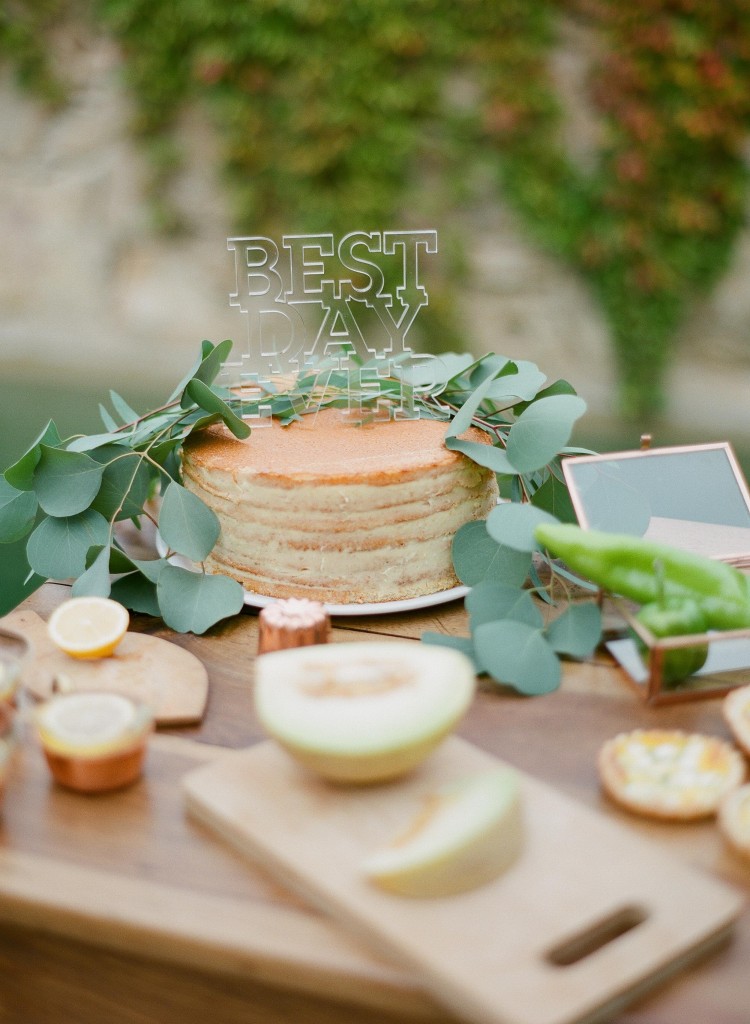
I love the contrast of the acrylic cake topper and naked cake. | Photography: Greg Finck Photography, Planning & Design: Majenia via Green Wedding Shoes

Wedding Stationery Inspiration: Acrylic Details / Oh So Beautiful Paper

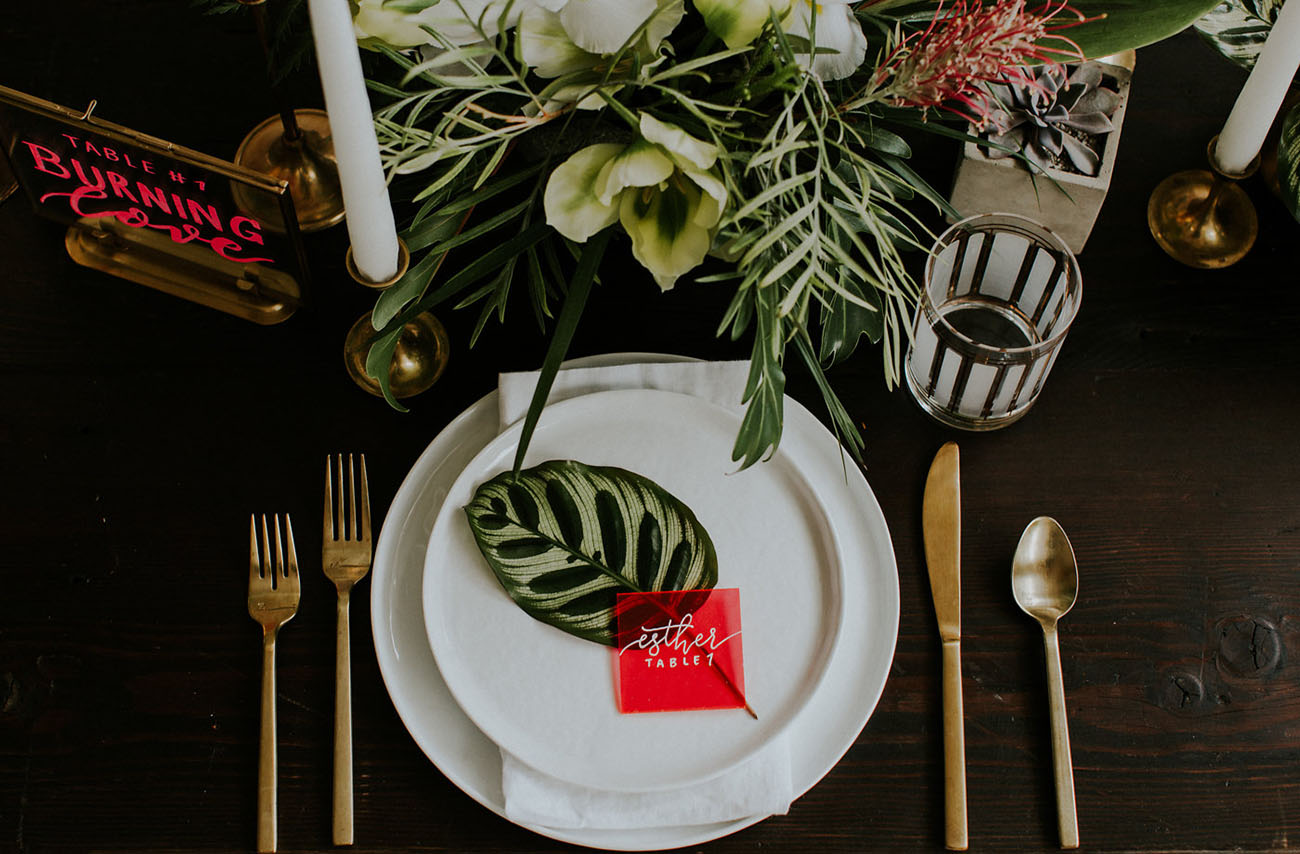
These colorful acrylic signs are a modern way to add color to your place setting. | Photography: Hazelwood Photo, Event Design & Planning: Something Borrowed PDX, Signage: Letters & Dust via Green Wedding Shoes

Wedding Stationery Inspiration: Acrylic Details / Oh So Beautiful Paper

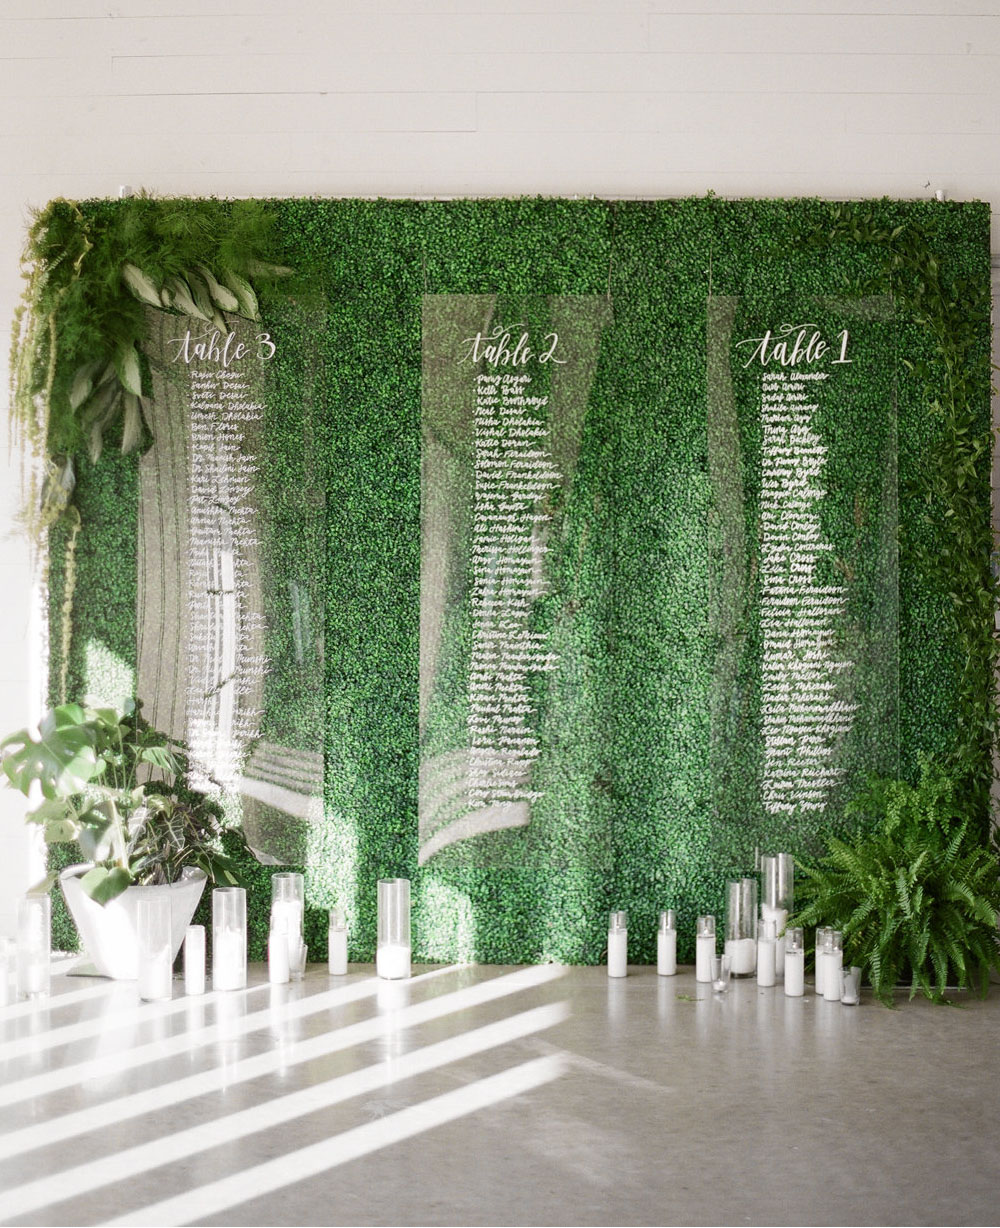
Hang seating charts in front of greenery, making them easier to read. | Photography: Matthew Moore Photography, Event Design & Planning: BW Theory, Paper Goods: Dear Darling Calligraphy via Green Wedding Shoes

Wedding Stationery Inspiration: Acrylic Details / Oh So Beautiful Paper

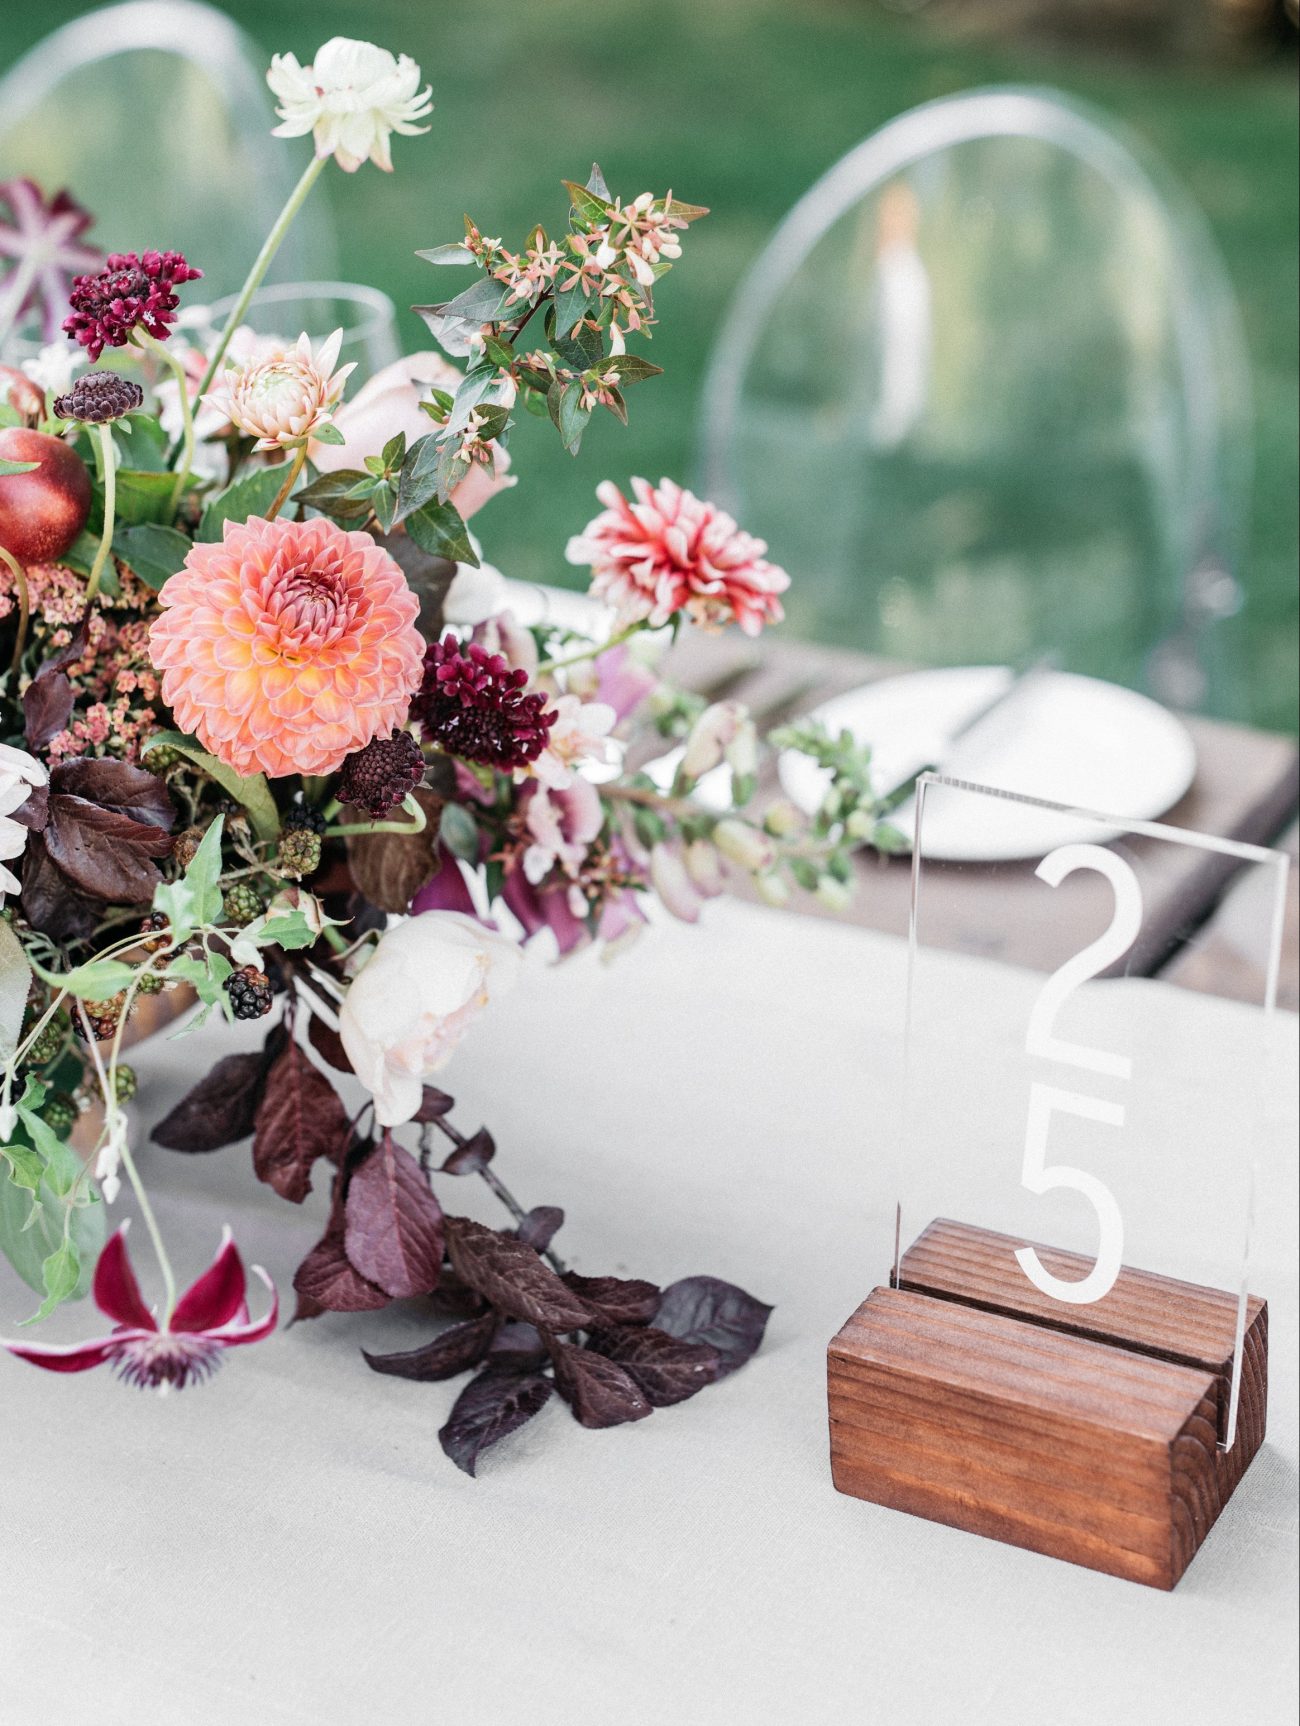
Acrylic table numbers don’t distract from the rest of your table decor. | Photography: Kate Holstein, Design: Joy Thigpen via Once Wed

Wedding Stationery Inspiration: Acrylic Details / Oh So Beautiful Paper

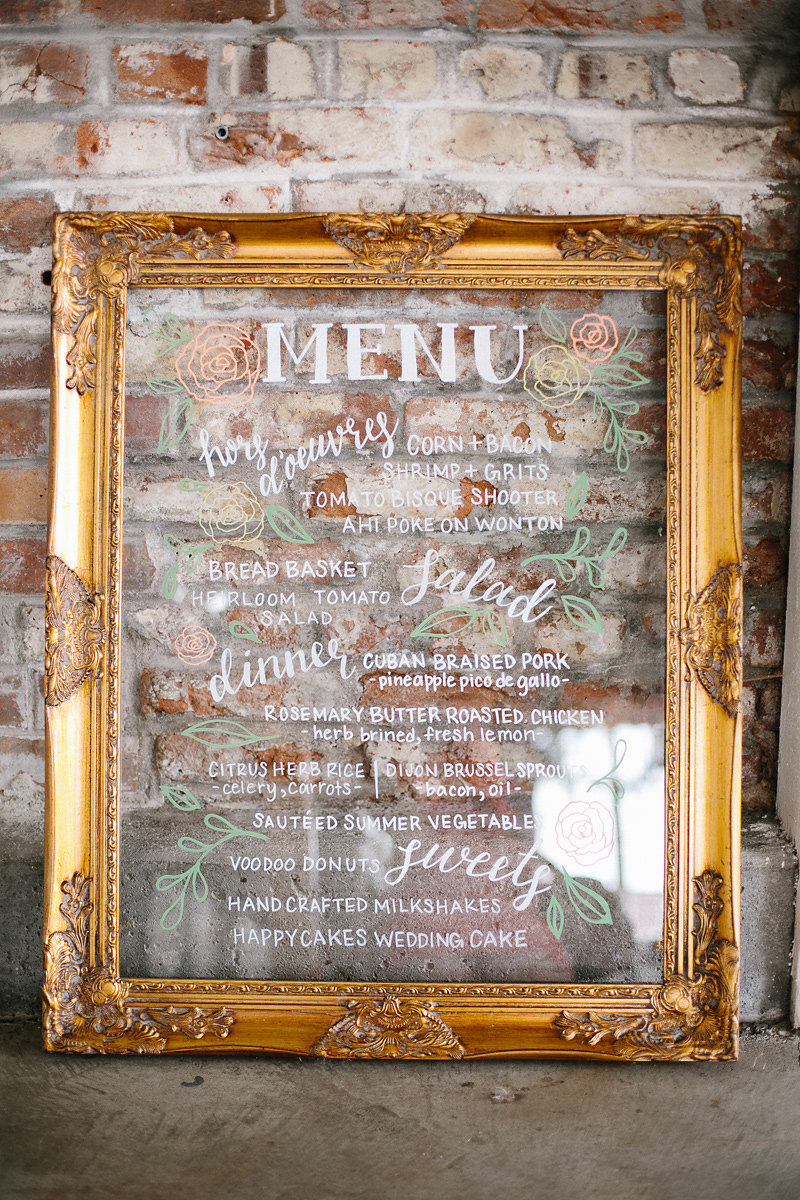
A gold frame gives this acrylic menu a more traditional look. | Photography: James Christianson, Planner: Calluna Events, Calligraphy and Signage: Whimsy Design via Calluna Events

Wedding Stationery Inspiration: Acrylic Details / Oh So Beautiful Paper

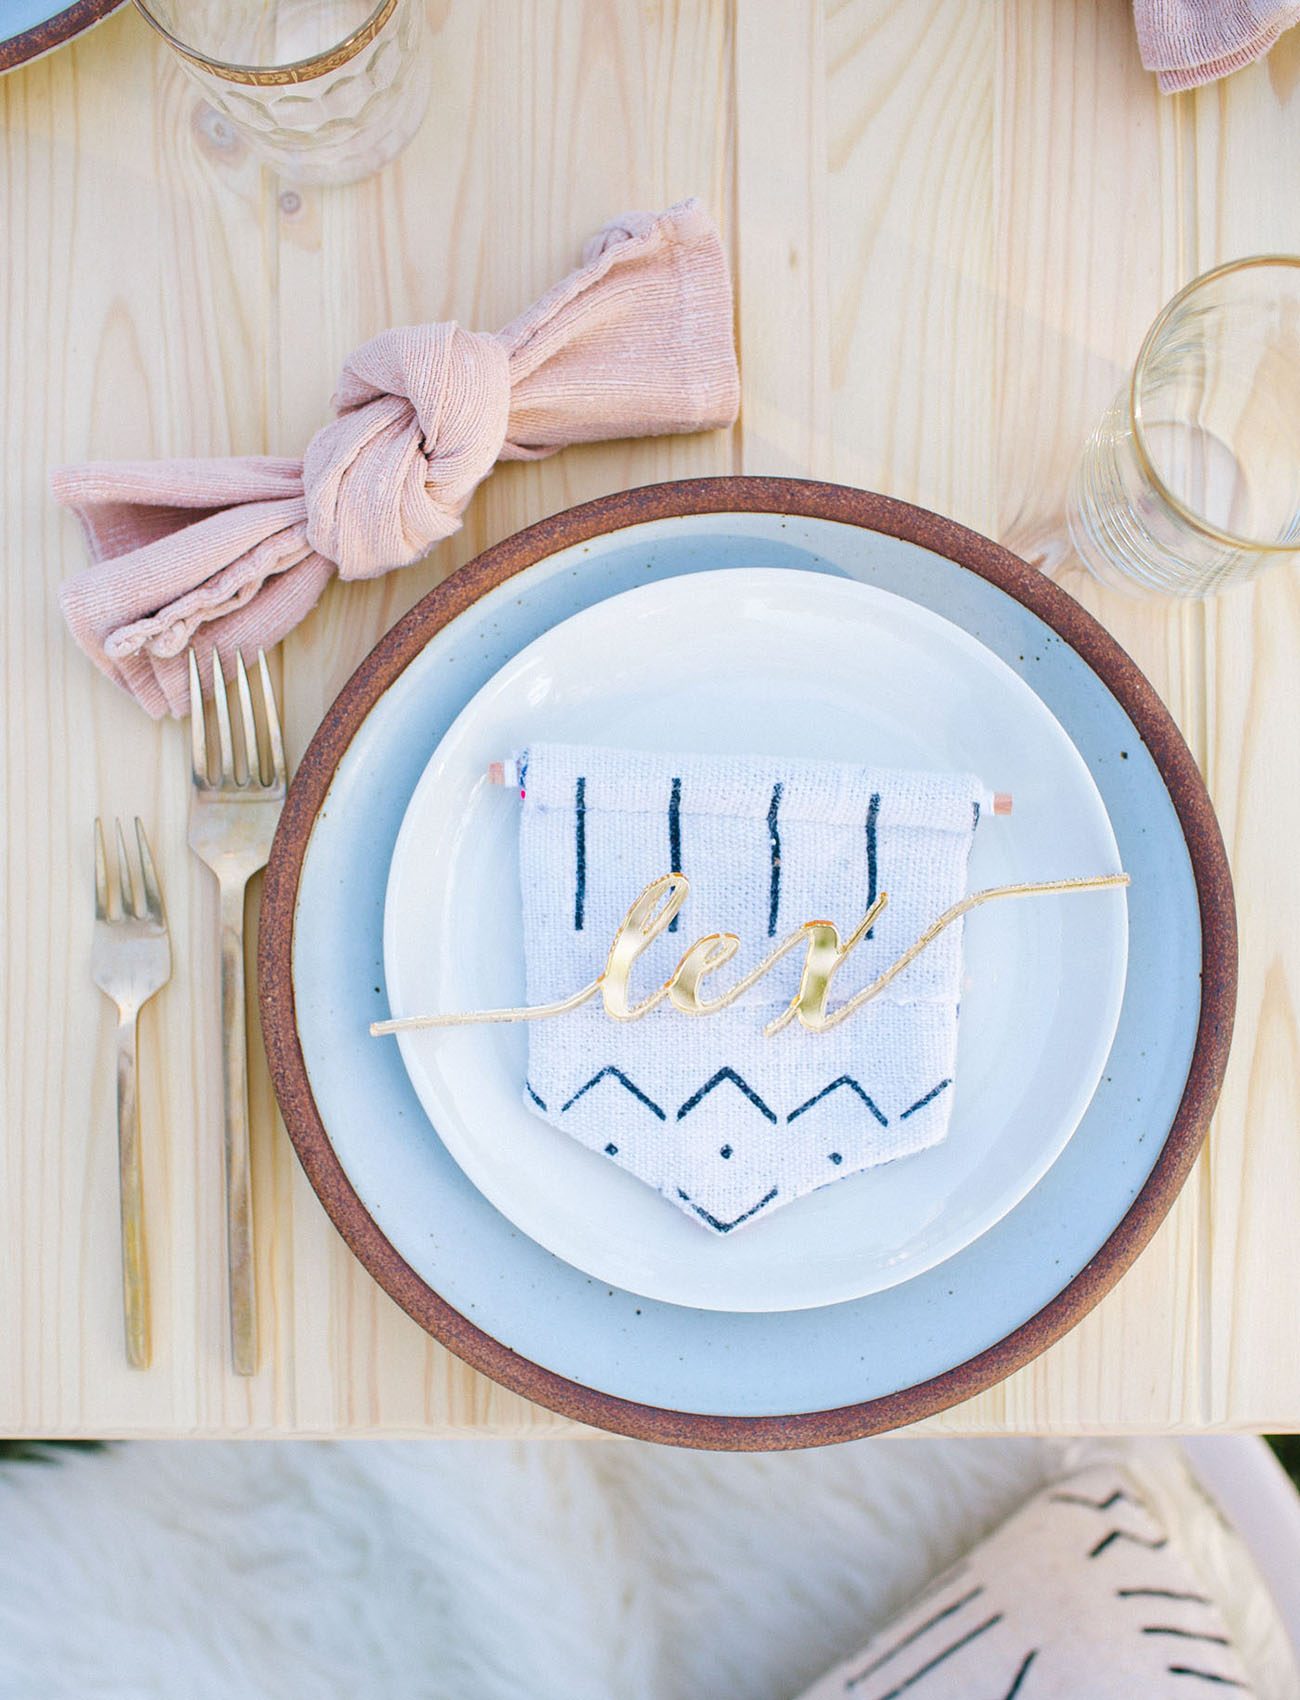
How amazing are these laser cut names?! | Photography: Ally Burnette, Acrylic Place Cards: De Lovely Details via Green Wedding Shoes

Did any of you incorporate acrylic elements into your wedding? Or are any of you planning to use acrylic elements in your wedding? Let us know in the comments!

Behind the Stationery: Bunny Bear Press

On our next installment of Behind the Stationery, we’re bringing you to Bunny Bear Press in the great state of Washington! For Adina, taking great strides to pivot her stationery business came from a rediscovery of herself and her business. From discontinuing her greeting card line to dyeing her hair purple, Adina divulges us in the ways she has changed her business perspective, time management, and even the way she decides what to design. Here to share about her journey, design process, and favorite resources, here’s Adina! –Megan Soh

Behind the Stationery: Bunny Bear Press

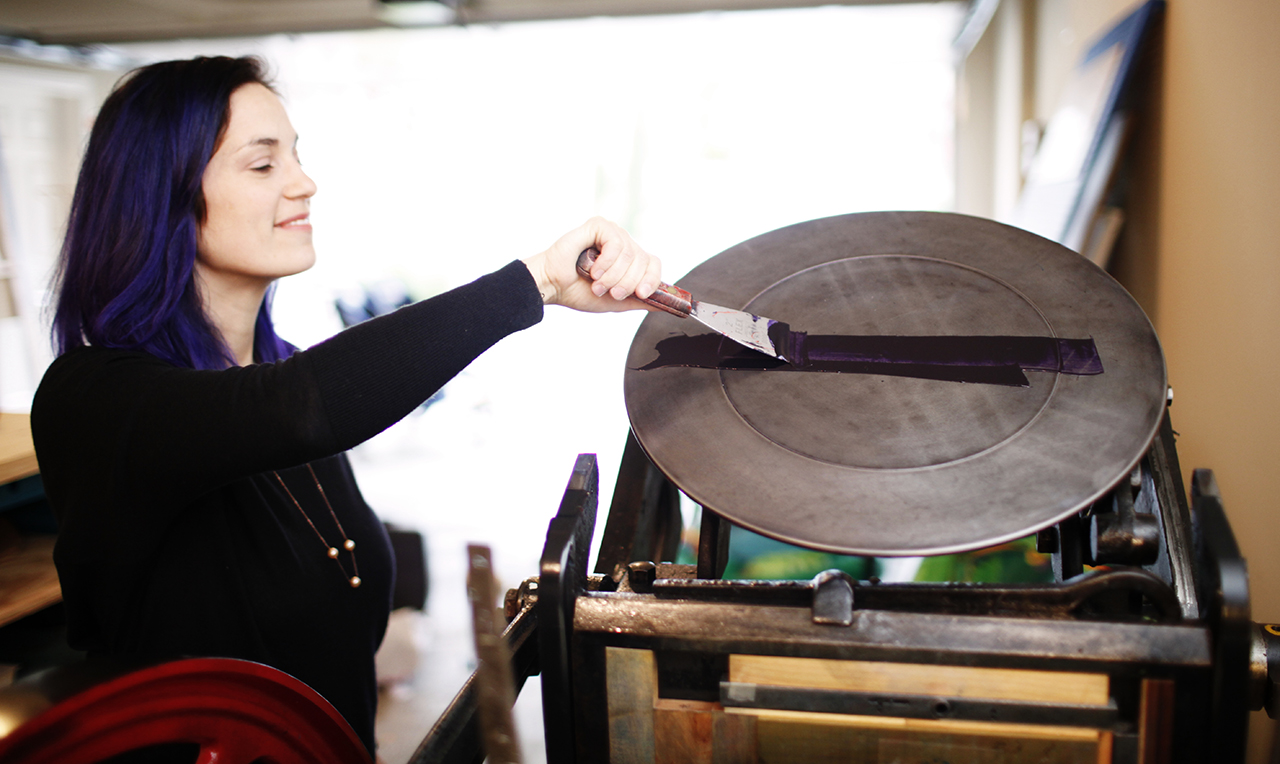
From Adina: Here is the long-short version of how my first line came to be and why I decided to kill it. I fell in love with letterpress printing back in college. After the job market crash in 2008 and the birth of my first daughter in 2009, I decided I wanted to work from home and become a letterpress printer. I bought a tiny toy press and did a ton of playing.

In 2013 my husband, my parents, and I drove my (then) 2 kids down to Portland to buy my first big ass letterpress machine. Six short months later, I had signed up to do the 2014 National Stationery Show in a HUGE group booth with the Ladies of Letterpress.

Left: Penny, my 45 pound Kelsey 3×5 printing press, Right: Ruby, my 1,800 pound Chandler & Price 10 x 15 printing press
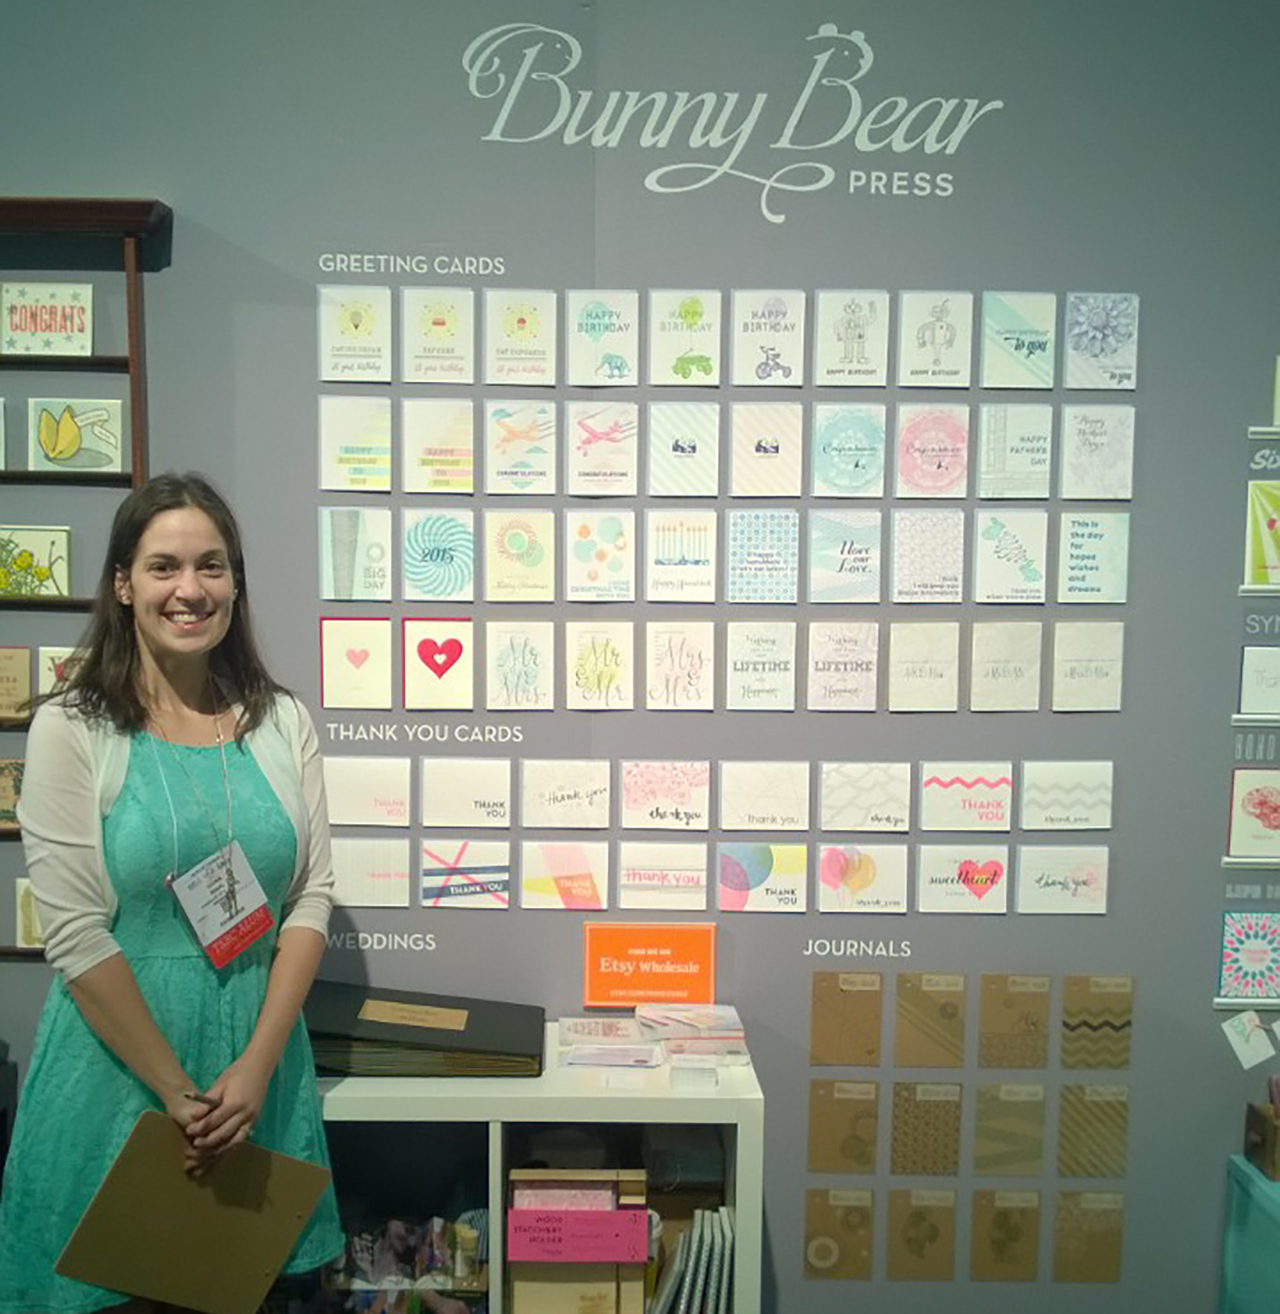
My professional background had been in print design, but I had only ever worked for other brands. While creating work for my debut launch I was exploring and trying finding my style and visual voice for the first time. Looking back, I think I ultimately played it safe with generic wording on my cards, beautiful found clip artwork, mixed with some minimal original illustrations.

I had no idea what I was doing. I didn’t really know much about how to define my target market, or really which direction I wanted to take my brand in. It was very much a trial by fire and I dove in head first. I found Tradeshow Bootcamp, created a huge amount of work in 6 short months, and headed off to NYC for the first time to the National Stationery Show. I wrote some orders, made some contacts, learned a TON, went to the incredible OSBP Paper Party, and came home pregnant with baby #3.

During the next 2 years I went through a transformation. My business wasn’t growing, my son wasn’t sleeping, I was becoming more and more sleep deprived and feeling more and more lost about what to do about my business.

Everything changed for me when I found podcasts and rediscovered a desire to create hand lettering. I was big into the seanwes podcast, and Confessions of a Female Entrepreneur. I was introduced to marketing and business strategies, I learned about target markets, crafting stories, and finding my WHY. Through all the brand soul searching I found something I didn’t expect. I realized that not only was my brand middle of the road, so was I. I had played it safe (in life and in business) and in doing so, not only was I not turning people off, I wasn’t turning people on either. My few close true friends knew the real me, but to everyone else I felt as though I was a hollow facade.

So I did what anyone would do while going through an existential crisis: I dyed my hair purple, pulled away the barriers between myself and the way I present myself to others, pursued my consuming desire to draw letters, and began to express my inner monologue through my card line and blog.

Photo by Belathée

It was during these 2 years that I determined that my “safe designs” weren’t serving me OR the people I was trying to help. So I killed them all.

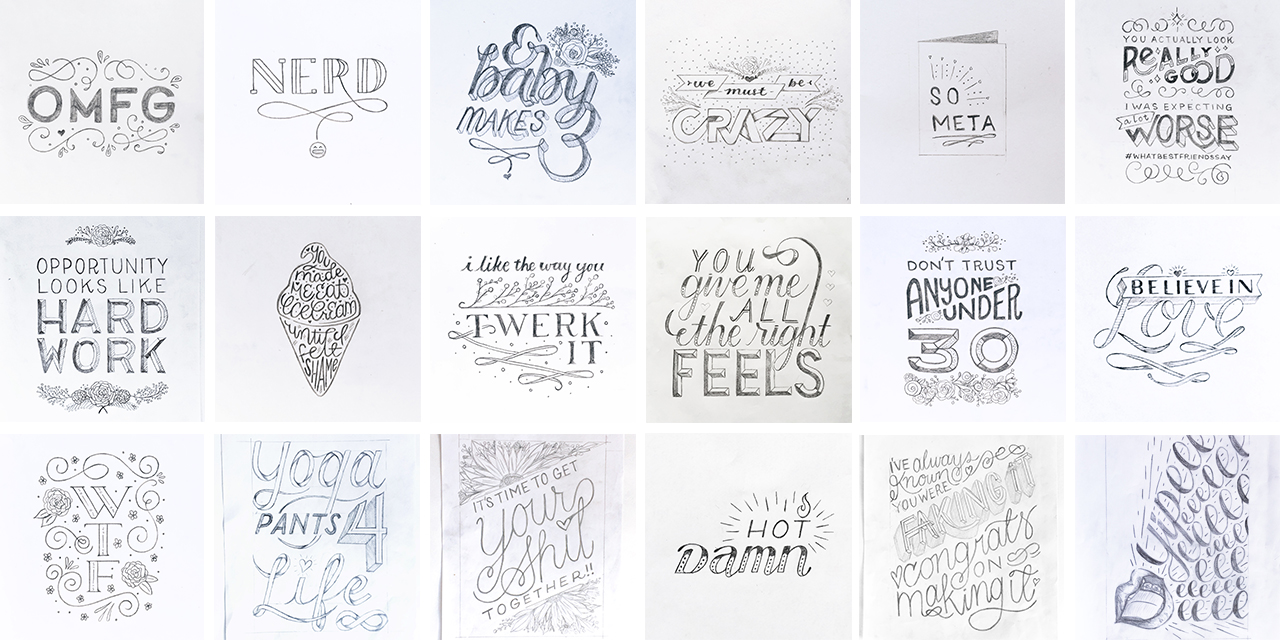
I took on a 365 lettering challenge to force myself to create and not to become so attached to each of my drawings. In doing this I helped to push aside my perfectionism and instead focus on creating a large body of work. The natural result of doing so many was that I improved my technique. And in letting go of a little bit of my perfectionism, I had so many lettering pieces that I felt were good enough as opposed to 1 or 2 that I could never finish because they were never quite right. I know looking into the future I will be a better letterer for it, and with the work I am making now I can help my target audience today and not in some imaginary distant future.

I didn’t make 365 lettering pieces but I did do well over 80 and that was 80 more than I had ever done before. I learned that, in the doing, my creation process is very cyclical. I work in batches like on a production line. So first I sketch a ton to pieces, then I ink them all, scan them into the computer and send away for a large volume of plates at once. (This also helps me save on shipping costs and I never sit on designs waiting to fill up an order.) Once my plates arrive I can now print them in batches.

In letterpress printing you can only print one color at a time so I will print all the cards with pink, for example, before moving on to the next. This allows me to maximize my press time and to minimize the number of times I switch colors.

My original line was a whopping 27 core colors and some cards were as many as 6 colors all on their own. I learned really fast that when you needed to print a ton of cards that were similar colors it is easier to get a large volume of them done, but when having to reprint just one card in those 6 colors suddenly you had a huge problem. The amount of labor required no longer justified the cost of that $5 card (retail and even less for wholesale).

Right now my typical day is all over the place, and I wouldn’t recommend my schedule to anyone. Once all of my 3 kids are old enough to be in all day school, I am hopeful things will get more consistent. I wake up between 5 and 6am before my kids get up to write for my blog. This is the time of day where I am my most focused. On the days I start with writing I find that I feel more productive overall than on the days that I don’t.

At 7 am, my husband and I work on getting my kids out the door and to their various schools and daycare. On the 3 days a week my son goes to daycare, I have 2 and a half hours to work before I need to pick my middle daughter up from preschool. It’s in these hours that I will draw, print, or send emails to my list of stores and buyers I would love to work with.

The end of my work day is after the kids go to bed around 8:30pm. During this time I try to finish up on the tasks that didn’t get done during the day. Like I said, I wouldn’t recommend this schedule to anyone. There is always too much to do and not enough time to do it.

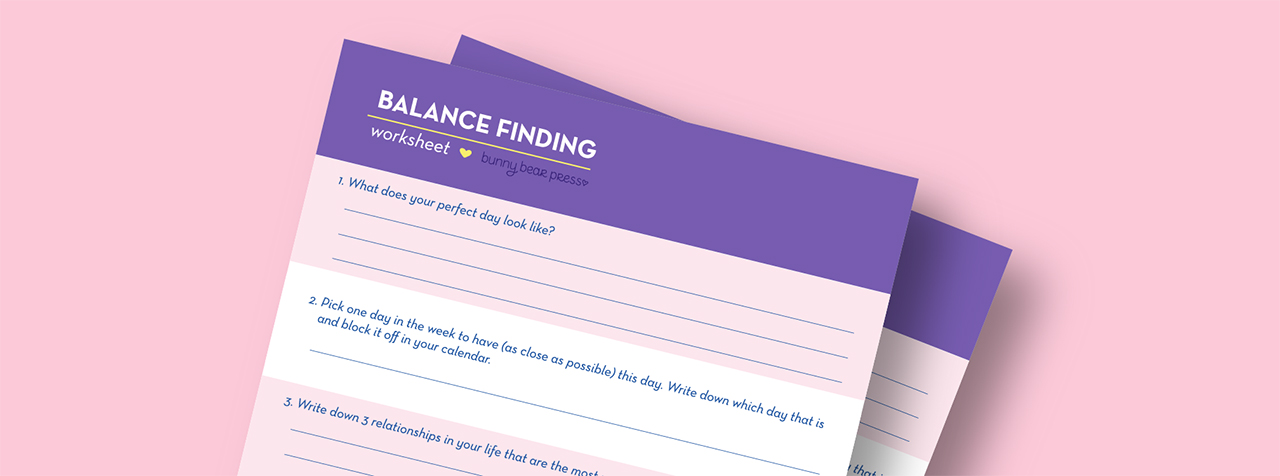
In order to figure out what to focus on in my limited hours, I look at my balance finding worksheet that I filled out for myself (you can read more about this worksheet here). I look at what I goals I set for myself and then try to only focus on the tasks that will get me there. This really helps me cut through the noise of ALL THE THINGS that are screaming for my attention. Right now my team consists of myself and a friend who occasionally helps me with packaging cards. Delegating the packaging production was a huge relief and I don’t know why I waited as long as I did to bring in help there.

If I had to give any advice to my younger self starting this company, it would be to focus on the people you are trying to help. Create something that they will love and be drawn to. In order to create that desire you are also going to turn other people off and that is OK. Don’t try to please everyone because in the end you please no one, not even yourself.

Have fun, be curious and let that curiosity and the fear you feel about doing something unknown be your guiding compass. Fear is something to be embraced because on the other side of that fear are your dreams and if you want them you need to go and get them.

Pushing through my fear and following my curiosity has renewed my passion for paper and making greeting cards. I feel good when I am creating the designs and feel excited once I see them come out of my printing press. Before I began lettering my cards the task of design felt more like a chore, but now I have lists and lists of cards I want to create.

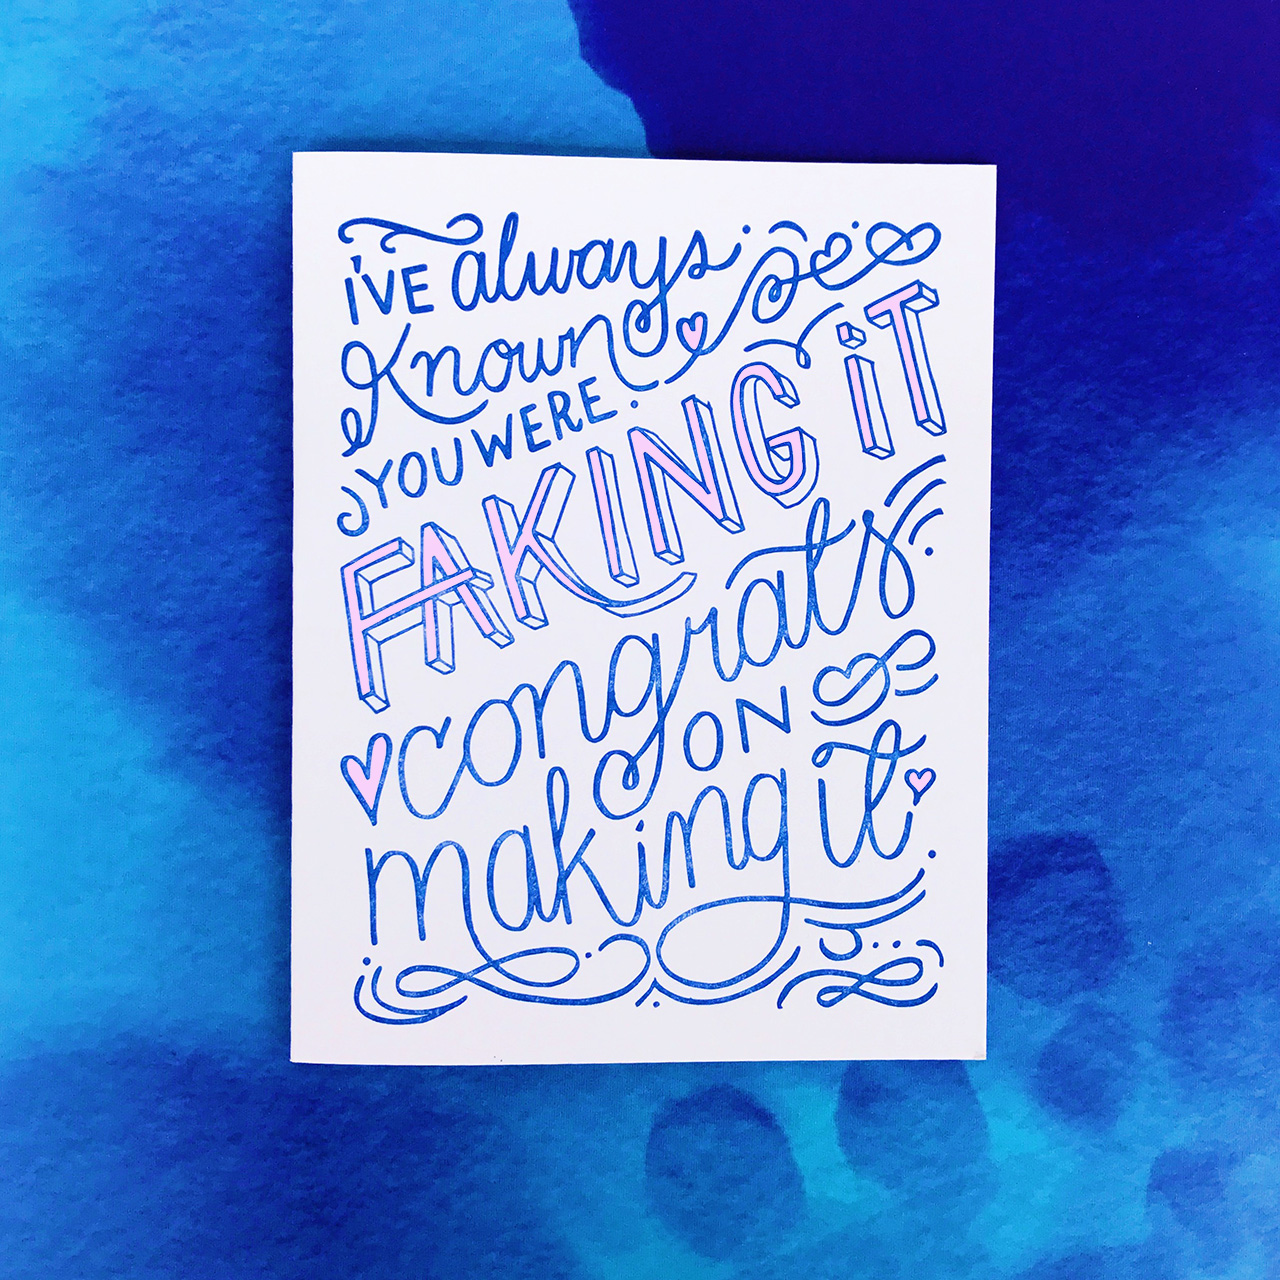
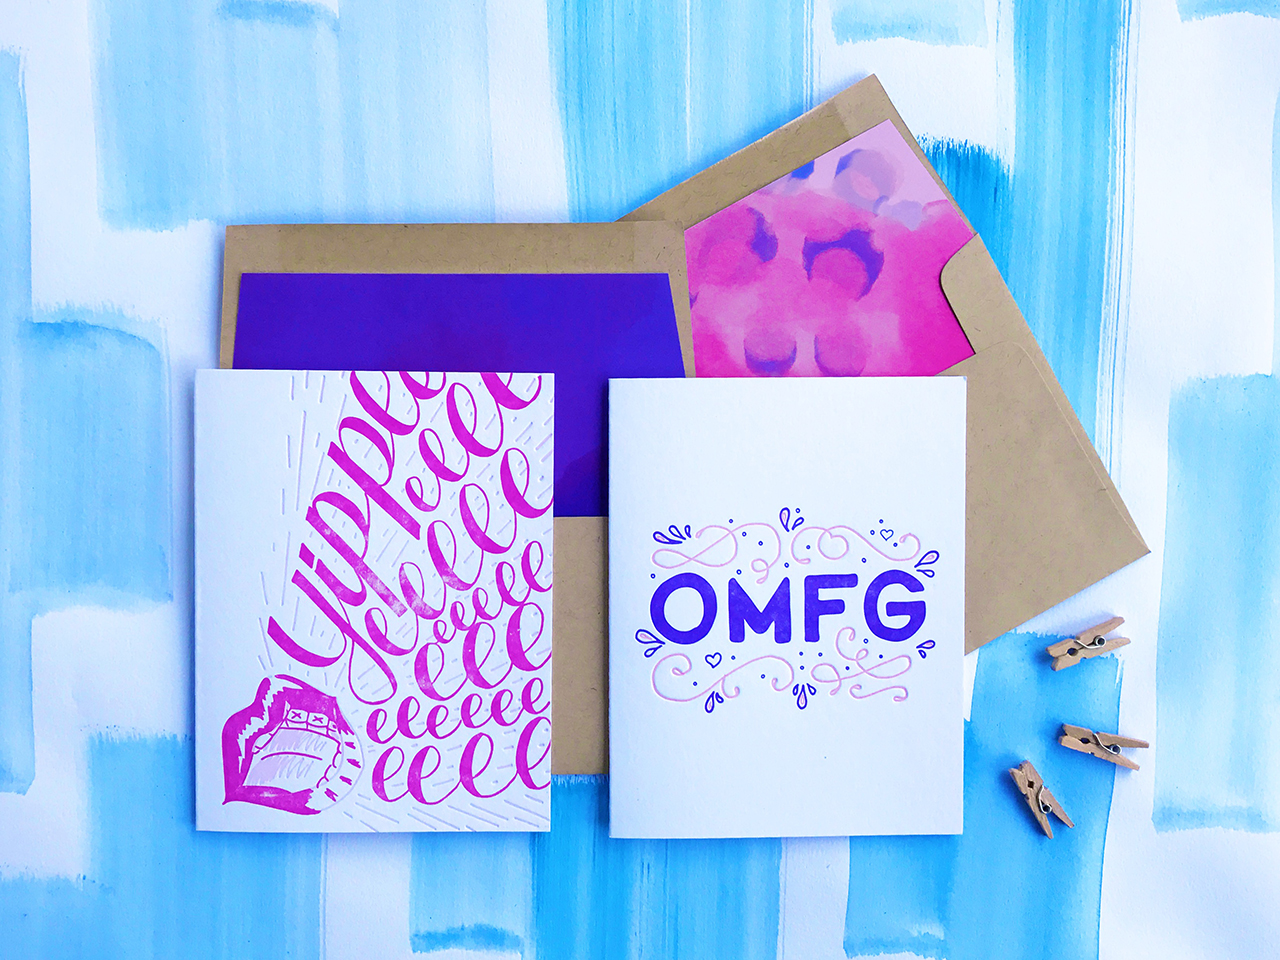
I am really excited about my newest release! Here are some photos from my newest release. The new cards are available wholesale now and will be shipping to my website customers starting June 15th.

All photos courtesy of Bunny Bear Press except where noted.

Want to be featured? Reach out to Megan at megan[at]ohsobeautifulpaper.com for details.

Refined Powder Blue and Vellum Baby Announcements

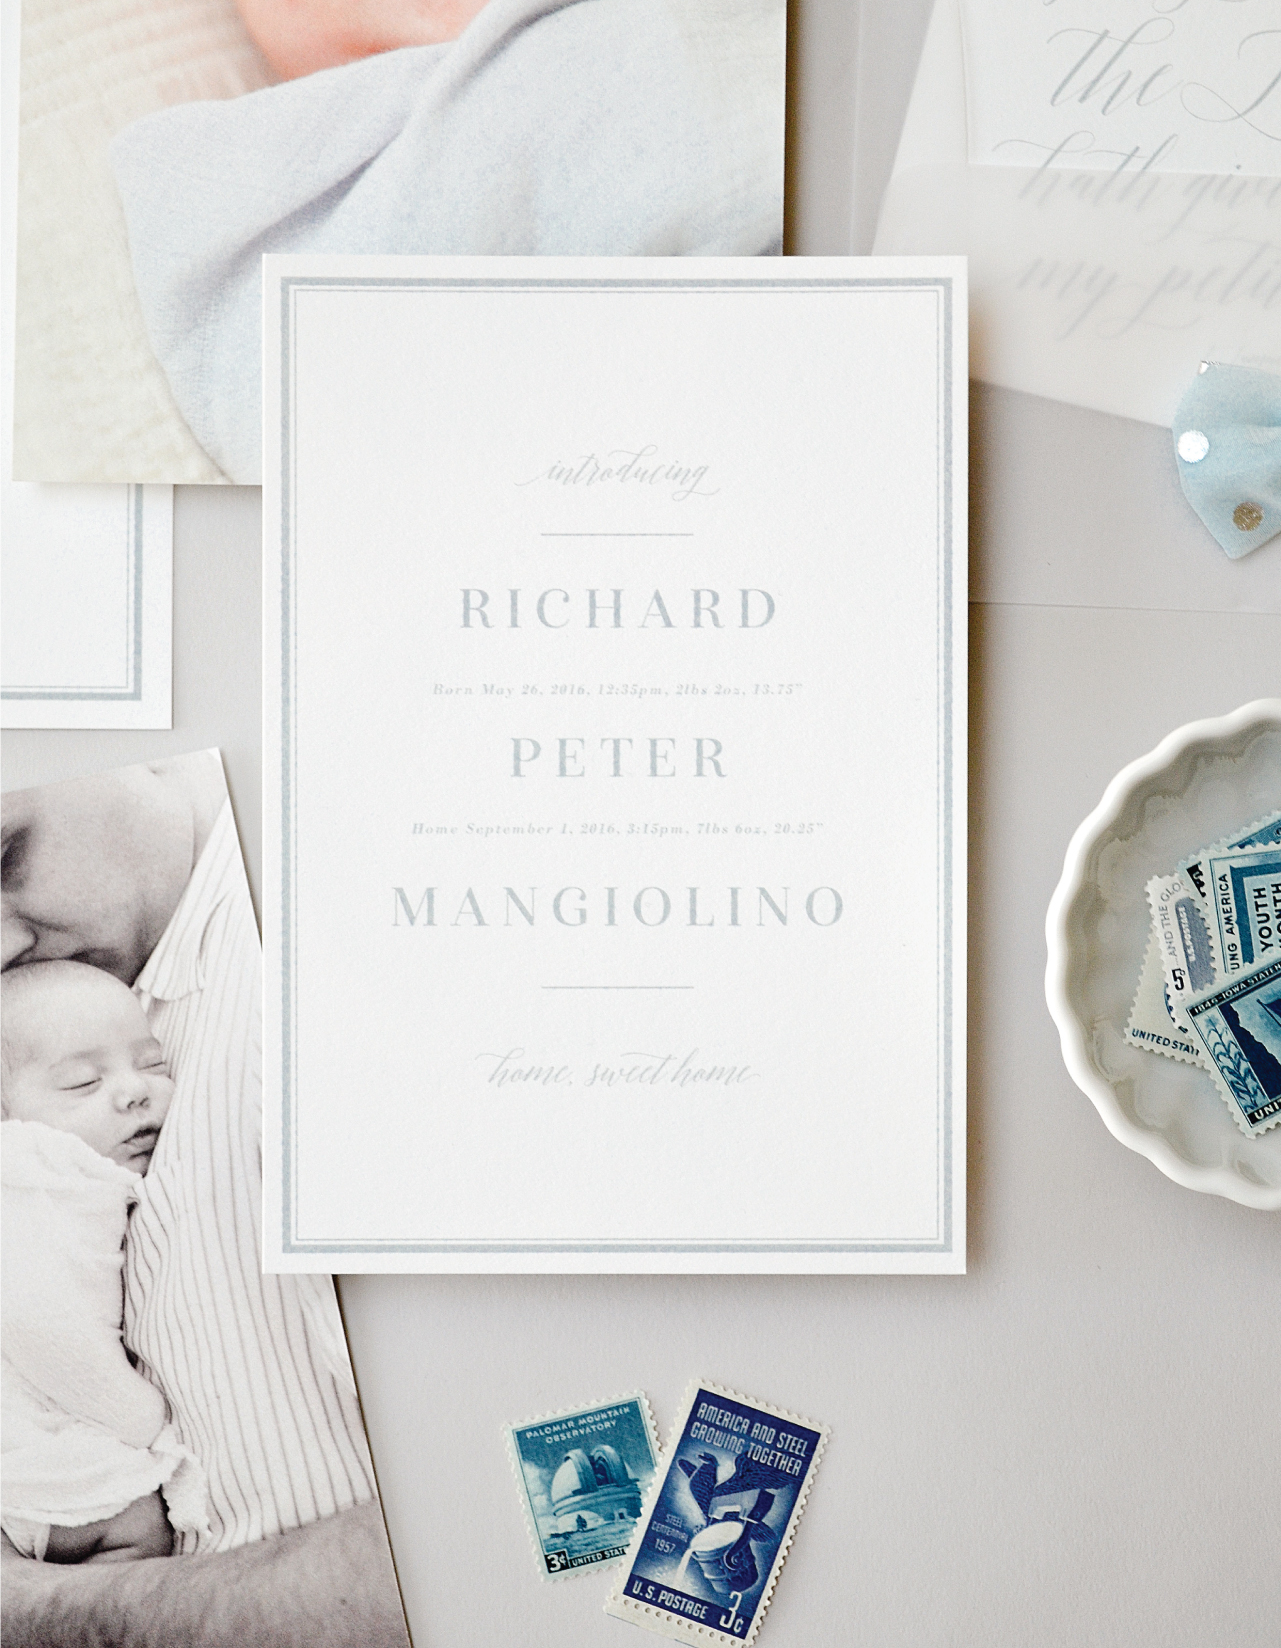
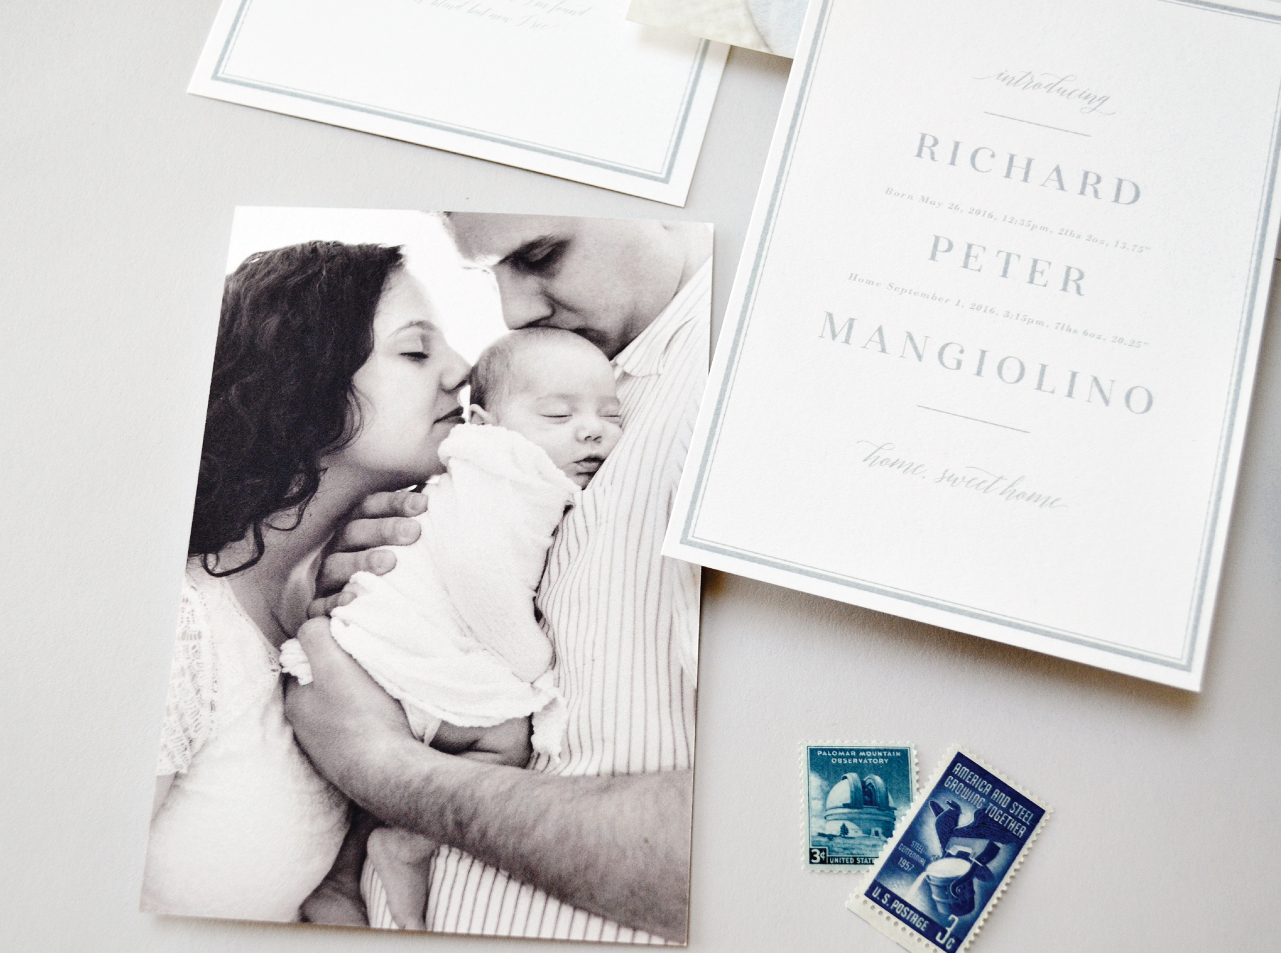
We love love love watching our Designer Rolodex friends celebrate milestones, like adding to their families! And today is truly a special day, because we get to share the baby announcements that Jackie of Sincerely, Jackie designed for her little guy Richie’s welcome into the world! Jackie is known for her elegant invitation design, so it’s no surprise that she created these stunning and refined powder blue and vellum baby announcements for her own sweet boy. Congrats to the happy, and adorable, family!

Refined Powder Blue and Vellum Baby Announcements

From Jackie: We wanted these announcements to be a simple declaration of both Richie’s birth and his coming home, over three months later. When I was first hospitalized with HELLP Syndrome, my husband and I made the decision to be public with our journey. Many, many people kept us in their thoughts and prayers after our son was born 14 weeks early. We ended up mailing several hundred birth announcements, and I never shared the sentimental story behind them.

Refined Powder Blue and Vellum Baby Announcements

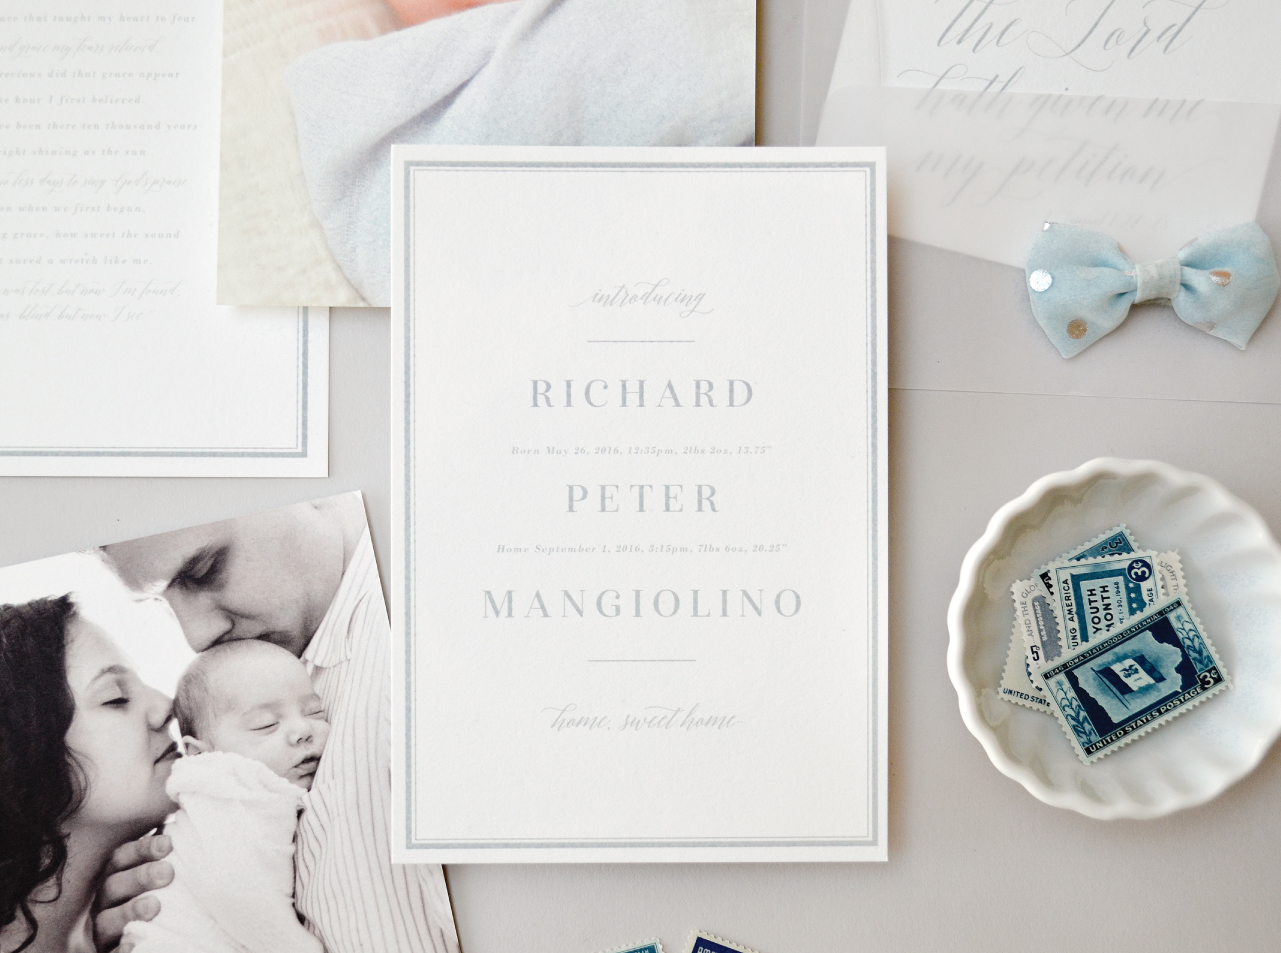
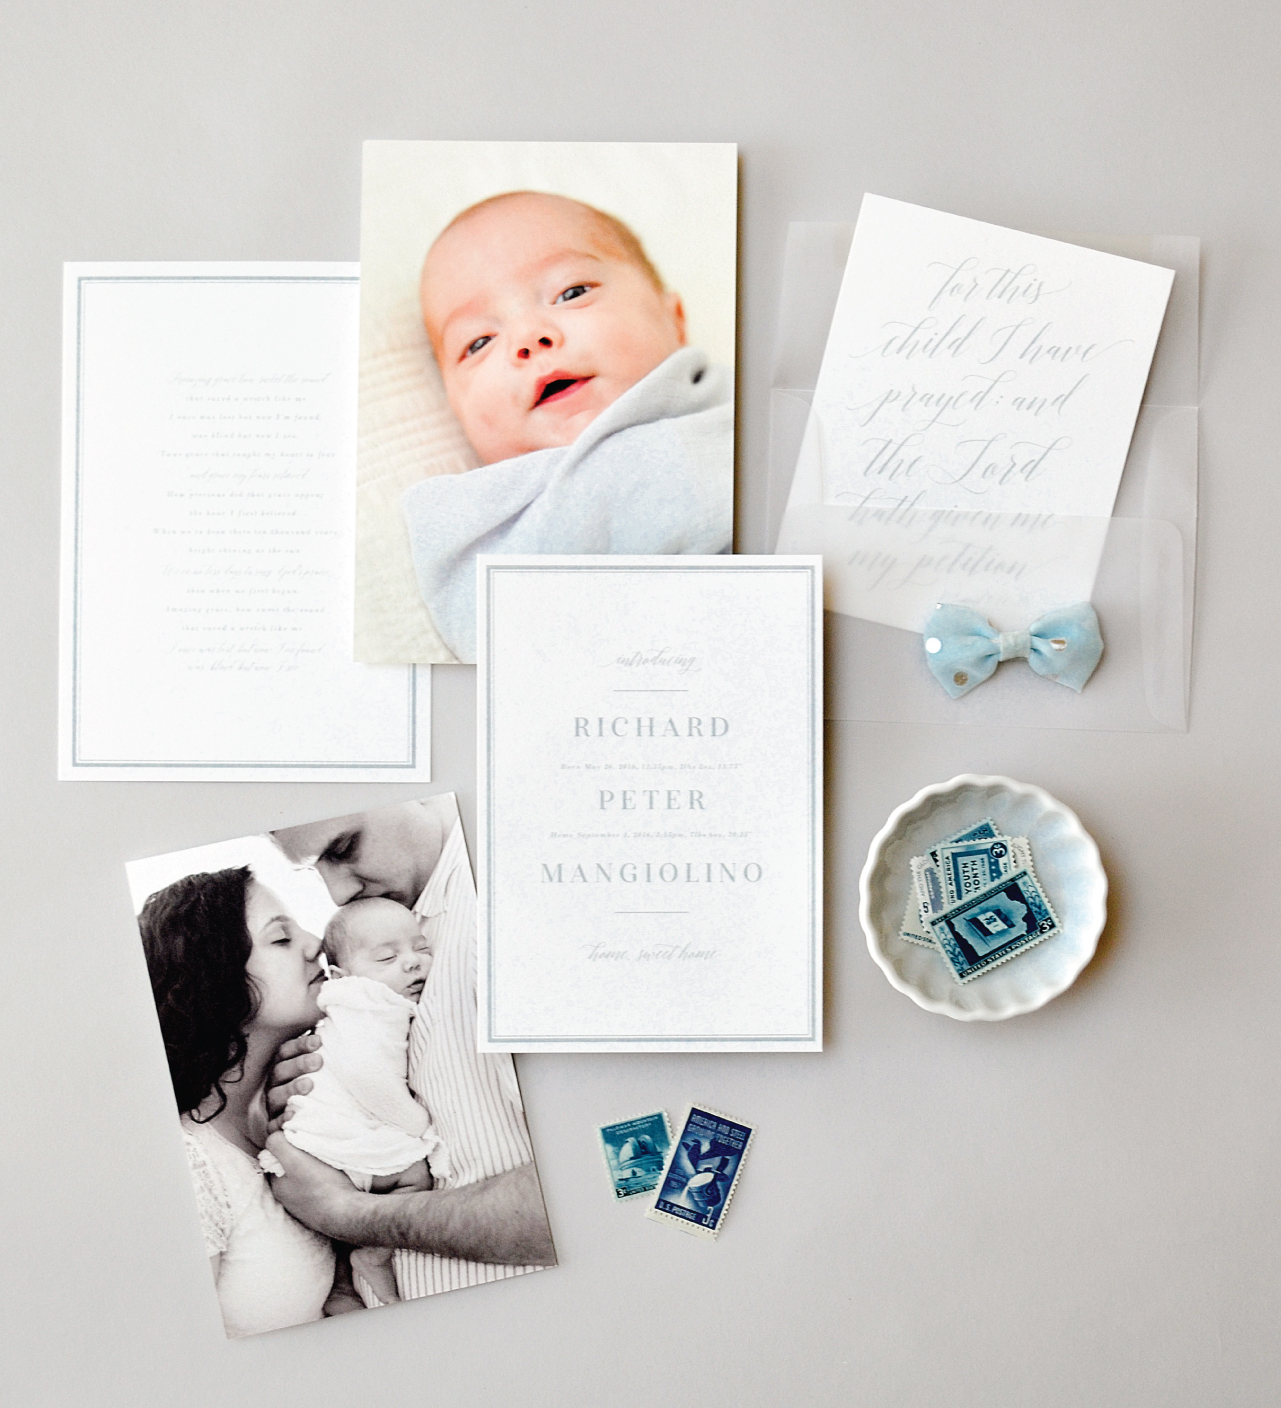
They may be overly simple, but they’re more meaningful than they appear. I purposefully kept the typography clean, and the colors subtle because I did not want to detract from the three most important things: Richie’s announcement, our two favorite photos, and the song that planted itself in my heart.

Refined Powder Blue and Vellum Baby Announcements

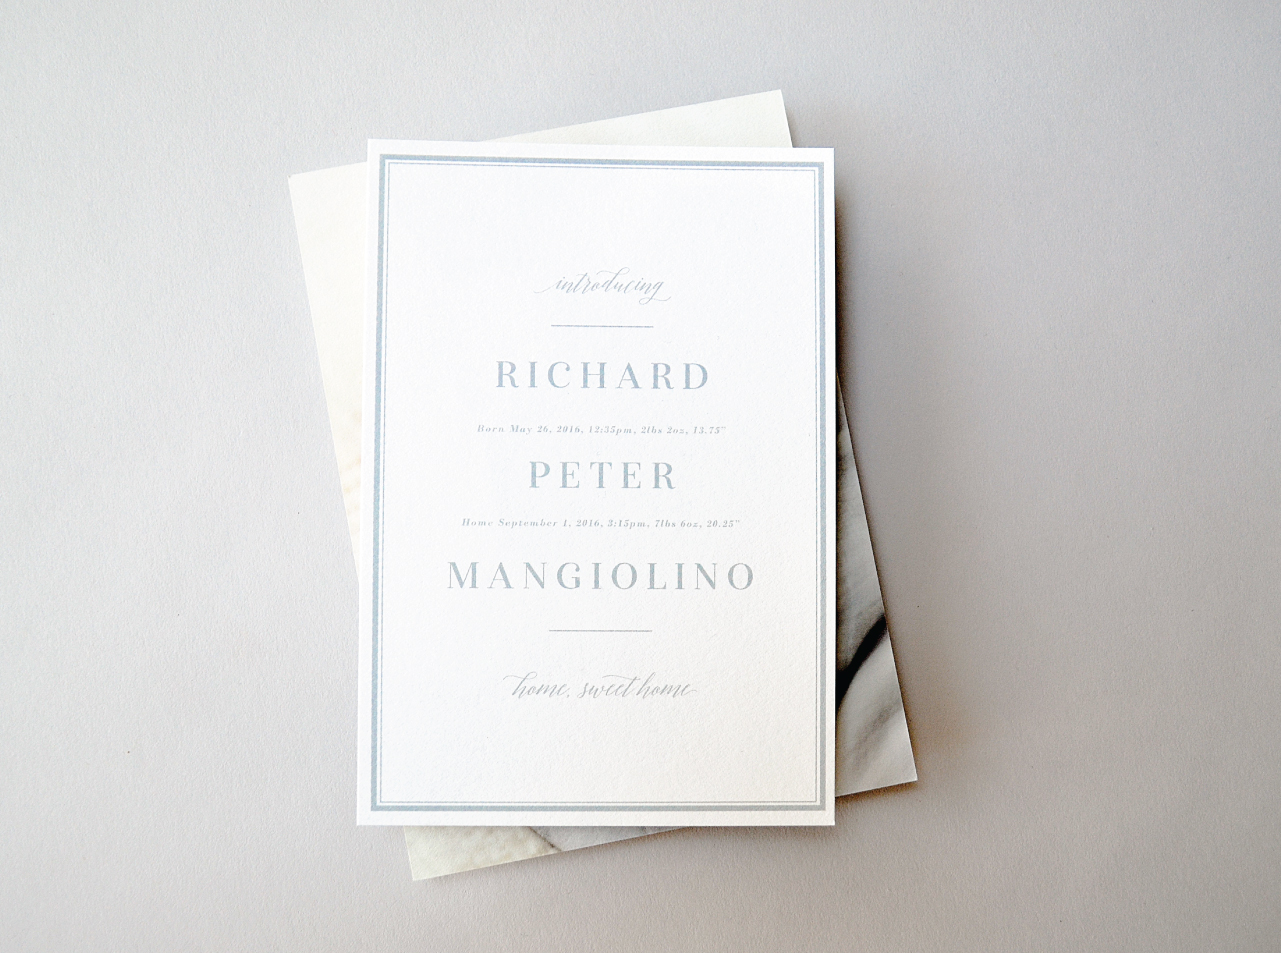
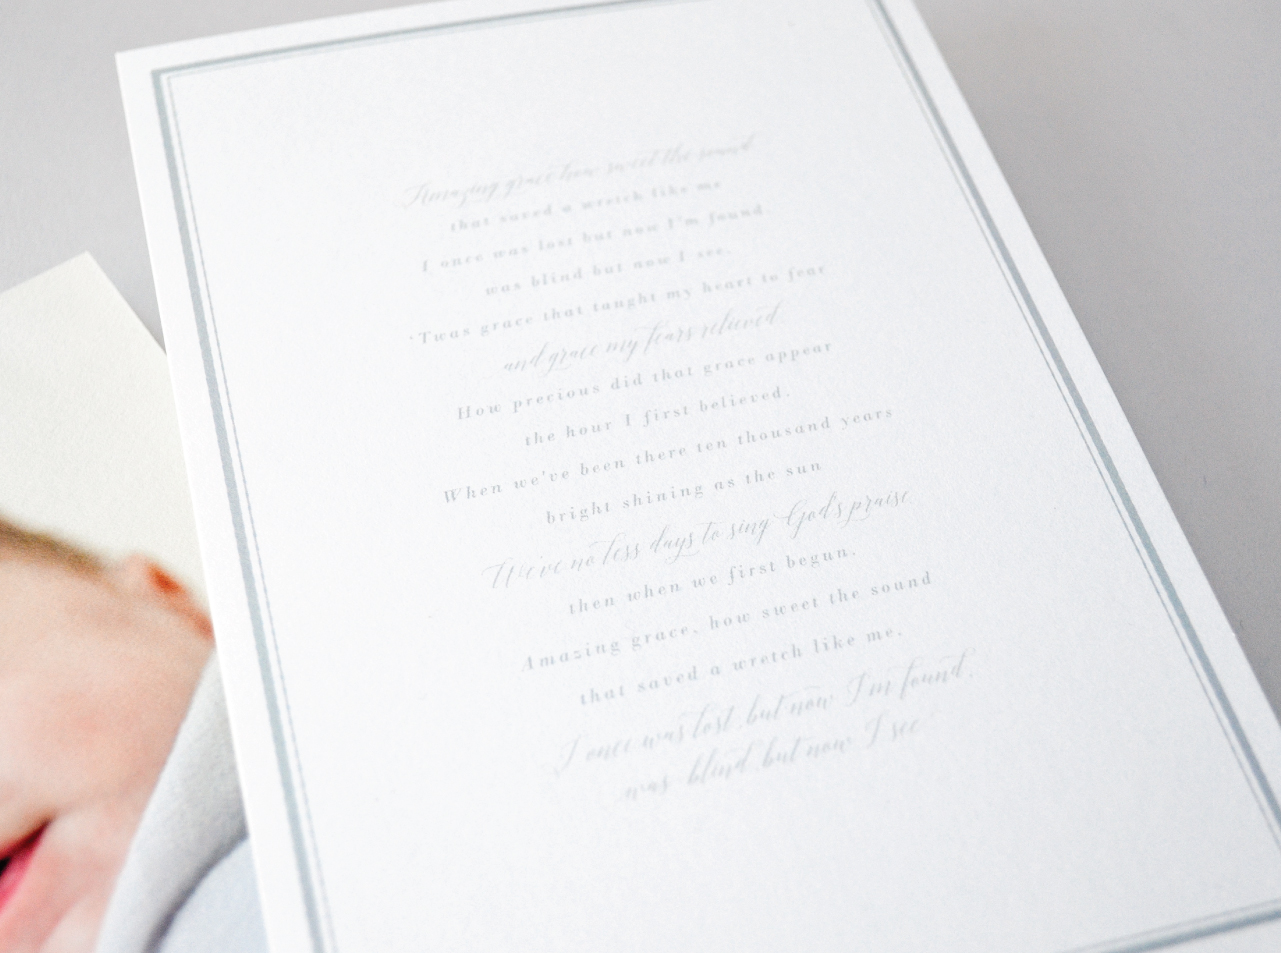
The announcements were digitally printed in a soft blue-grey on cotton paper, and contained two cards, each with a photo on one side, and typography on the other. The first, smaller card was our actual announcement containing both the date Richie was born (May 26, 2016, weighing 2lbs 2oz, and only 13.75″ long), and the day he came home from the NICU, 99 days later (September 1, 2016, weighting 7bs 6oz, and 20.25″ long) . The second card contained the lyrics from “Amazing Grace.”

Refined Powder Blue and Vellum Baby Announcements

When you go through something as life-changing as what my little family endured, you find peace anywhere it is offered. For me, I found that peace driving to the NICU one morning when “Amazing Grace” was playing on the radio. I hadn’t really cried before that. Not like, cried cried, if you know what I mean. But in the car that day, I had to pull over to the side of the highway to catch my breath. I felt an overwhelming sense that we’d be alright. Nearly every day after that, I would listen to any version of “Amazing Grace” that I could find on YouTube. About halfway through our NICU stay, little Richie was transferred from an isolette (incubator) to an open crib. A nurse, Patti, found a mobile in a storage room and felt compelled to get it to start working again. She stayed late that day to fiddle with the mobile, and proudly announced the next day that she had gotten it to work. The first song it played was “Amazing Grace.” I remember just standing there, in awe, as my little miracle baby slept peacefully under the mobile in his crib.

Refined Powder Blue and Vellum Baby Announcements

After Richie came home, I sang “Amazing Grace” every single night while I rocked him to sleep. It’s become the melody of our journey, and I felt it was important to include that in Richie’s birth announcement, although not many people knew the story behind it.

Refined Powder Blue and Vellum Baby Announcements

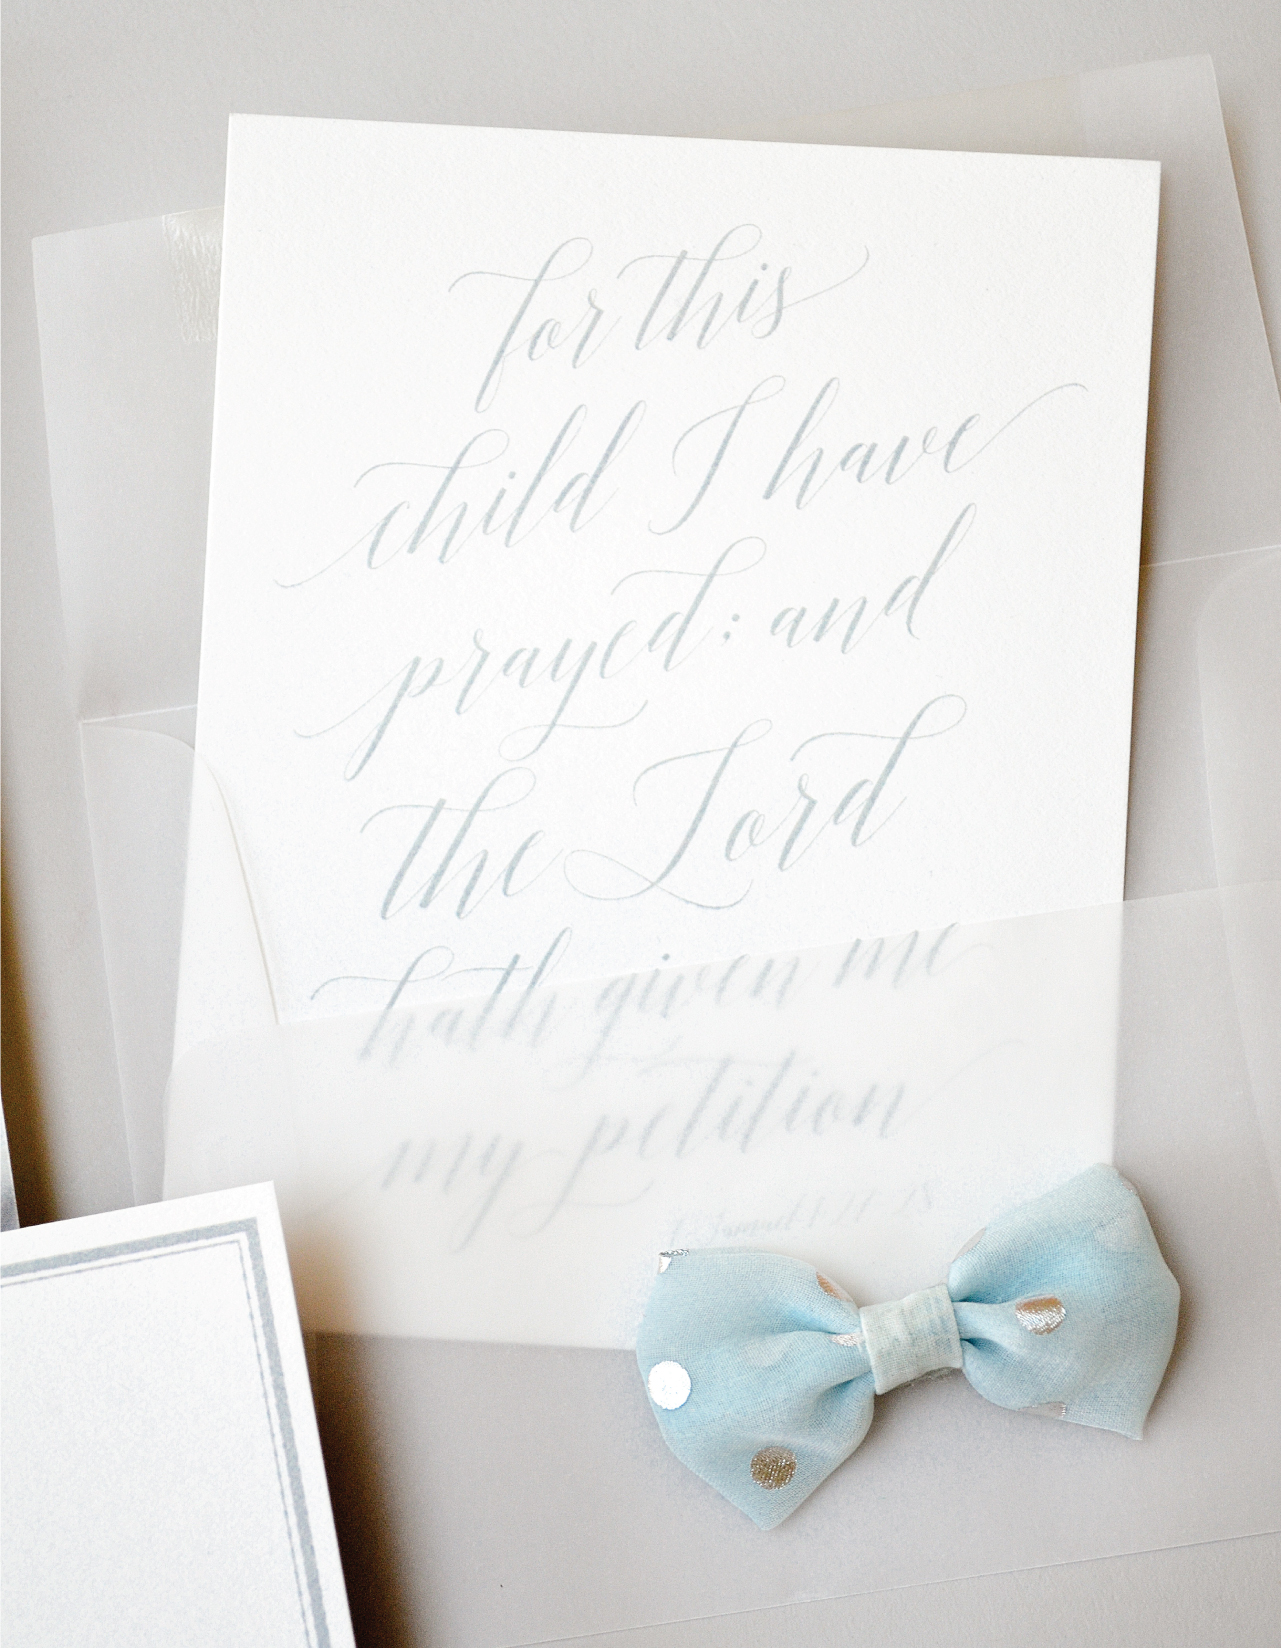
In addition to the two birth announcement cards, we added the invitation to our son’s baptism, which was sent to a select few family members. The baptism invitation featured a verse on one side, and the baptism details on the other, neatly slipped into a vellum envelope.

Refined Powder Blue and Vellum Baby Announcements

Thanks Jackie!

Design: Sincerely, Jackie

Styling: Kristen Poissant

Sincerely, Jackie is a member of the Designer Rolodex – you can see more of their beautiful work right here or visit the real invi­ta­tions gallery for more wedding invitation ideas!

Photo Credits: Charlie Juliet Photography

Seasonal Stationery: Mother’s Day Cards for Moms

Mom, ma, mother, mama, mommy – however you refer to that all important maternal woman in your life, it’s high time you sent her a note of appreciation. From changing diapers to college tuition, not to mention unconditional love and support, moms more than deserve a reminder of your appreciation. Pair one of the following mother’s day greeting cards with a sincere message of gratitude and it’s sure to be the best mother’s day she’s ever had (flowers and a nice meal wouldn’t hurt either). From sweet illustrations to clever messaging, check out our roundup below! –Shauna

Mother's Day Cards for Moms

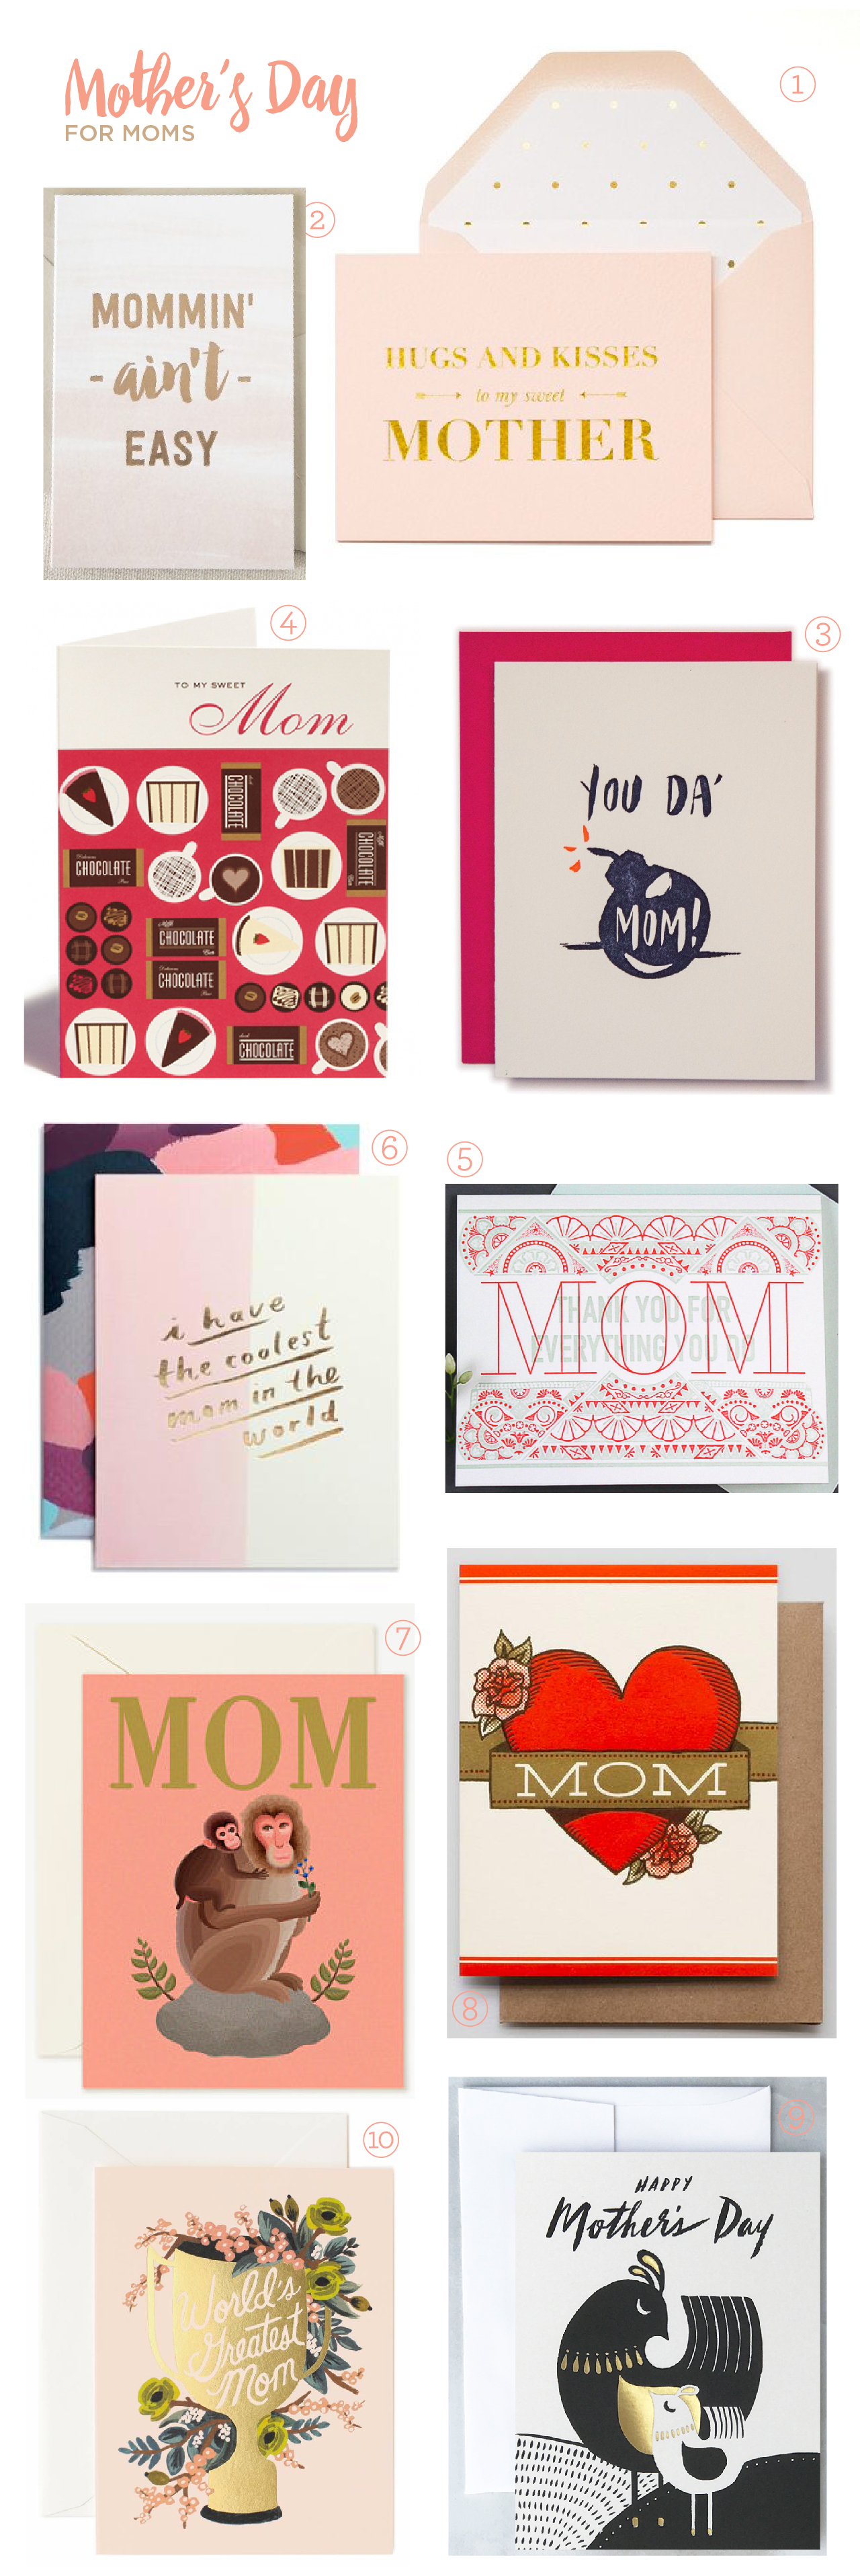
From top right:

1. A sweet message in everyone’s favorite color millennial pink? Yes, please! The team over at Sugar Paper even included a stylish gold foil polka dot liner.

2. Ain’t that the truth! Show your mama you appreciate her many sacrifices with this message forward greeting from Smock Paper.

3. Children and their parents from the ’90s will surely appreciate this clever greeting from Ladyfingers Letterpress.

4. Treat your mama this Mother’s Day with cake, chocolate, pie, coffee and this sweet card from Snow & Graham.

5. Really enjoying the color palette and overprinted letterpress technique of this thoughtful message from Dallas-based Color Box Letterpress.

6. You’ll definitely win brownie points with the coolest mom in the world (yours, obviously!) when you send her this gold foiled greeting from Moglea. The fun envelope is extra bang for your buck.

7. Check out this cute baby monkey and mama monkey from Clap Clap Design

8. Show your mom you really love her with a MOM tattoo. Too much of a commitment? Try this tattoo inspired design from Hammerpress.

9. Mom not a flower lover? How about this mid-century inspired design featuring birds in a modern black and gold color palette from Idlewild Co.

10. Send your mom the ‘World’s Greatest Mom’ trophy she very much deserves (complete with flower bouquet) from Rifle Paper Co.