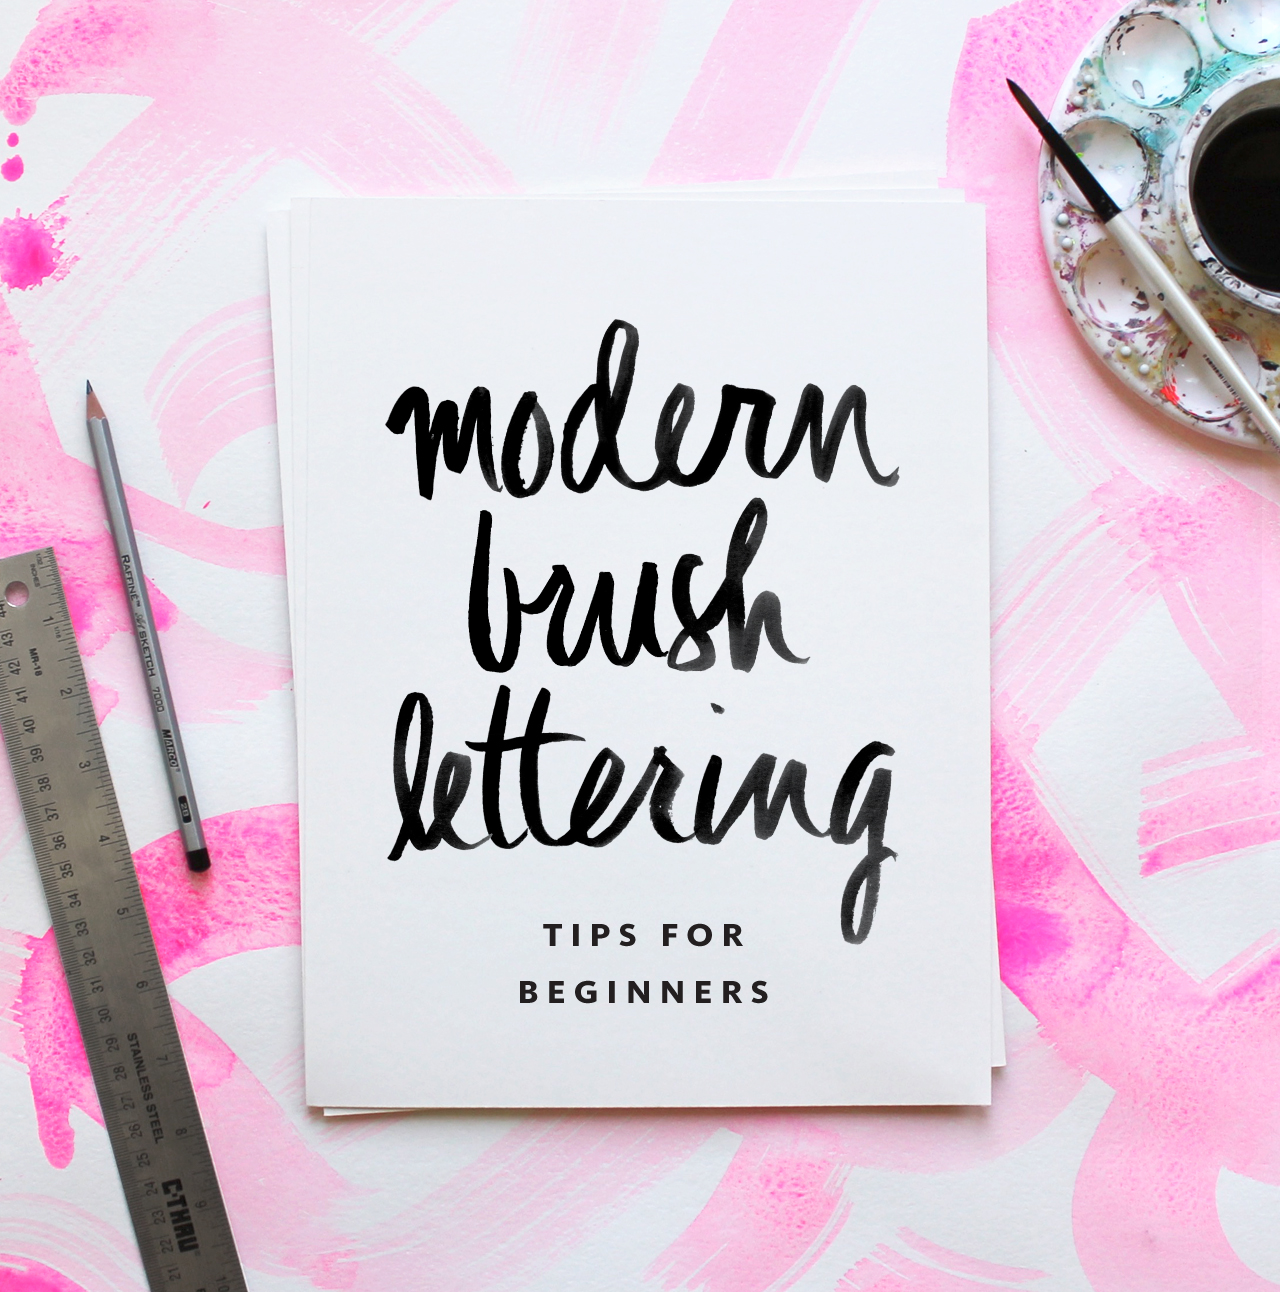
Hi there! Ashley from Fine Day Press here with another guest post – this time on one of my favorite topics, brush lettering. My background is in graphic design; I’ve been painting and lettering for as long as I can remember and it’s something I’ve always been passionate about. Recently, I’ve been teaching Intro to Modern Brush Lettering workshops at The Paper+ Craft Pantry here in Austin. I’m excited to share some of my best modern brush lettering tips for beginners with you here, along with a downloadable Brush Lettered Alphabet I created that you can use as a practice guide!
I think it’s so great that there’s a big interest in hand lettering these days. We’ve been hearing about handwriting and lettering as potentially becoming a lost art as we all become more technology-dependent. And I’ll admit, after a day of working on the computer, it sometimes feels strange to hold a pen or brush until I get warmed up. But there are so many examples of beautiful hand-done type in the stationery and design world right now, so I personally hope this trend continues for a long time.
Brush lettering is the most painterly of all hand lettering styles – it can be spontaneous, free flowing, and a little messy (in a good way). One of the cool things about brush lettering is that, once you know the basics, you can loosen up and develop your own style with it. The best way to find your style is to practice, practice, practice.
RECOMMENDED MATERIALS
• #6 pointed round brush
You can experiment with different sizes and shapes but this is a great all-purpose brush.
• India ink or watercolor paint
Both of the above work well for brush lettering. For beginners (and for those working only in black), I recomment giving India ink a try. It’s very fluid, and gives you a super-smooth medium for practicing with the brush. If you want a more textured look or want to experiment with colors, go for watercolor. A word of warning: because of its fluidity, india ink is highly spill-able, and it will stain, so be careful when using it and clean up any spills right away.
• Protected work surface (cutting board, vinyl tablecloth, or art table)
Brush lettering can be wet and messy, so protect your table with a large cutting board or vinyl tablecloth. I have a table cover from Party City that makes a great work surface.
• Small palette cup to hold paint or ink
I like this one from Michael’s.Â
TIP: A LITTLE INK GOES A LONG WAY. Start with a small amount of paint or ink in your plastic palette dish. You can always add more!
• Jar of water
• Paper towels
• Pencil, ruler, eraser
• Scratch paper for preparatory sketching
• Card stock for practicing
Card stock is more economical than watercolor paper so it’s great for practicing! Save the watercolor paper for when you’re ready to make a more finished piece.
• Watercolor paper or Bristol board
Both of these thick surfaces will stand up well to a wet medium like brush lettering. Bristol board is very smooth, whereas watercolor paper will usually have a bit more toothiness and texture.
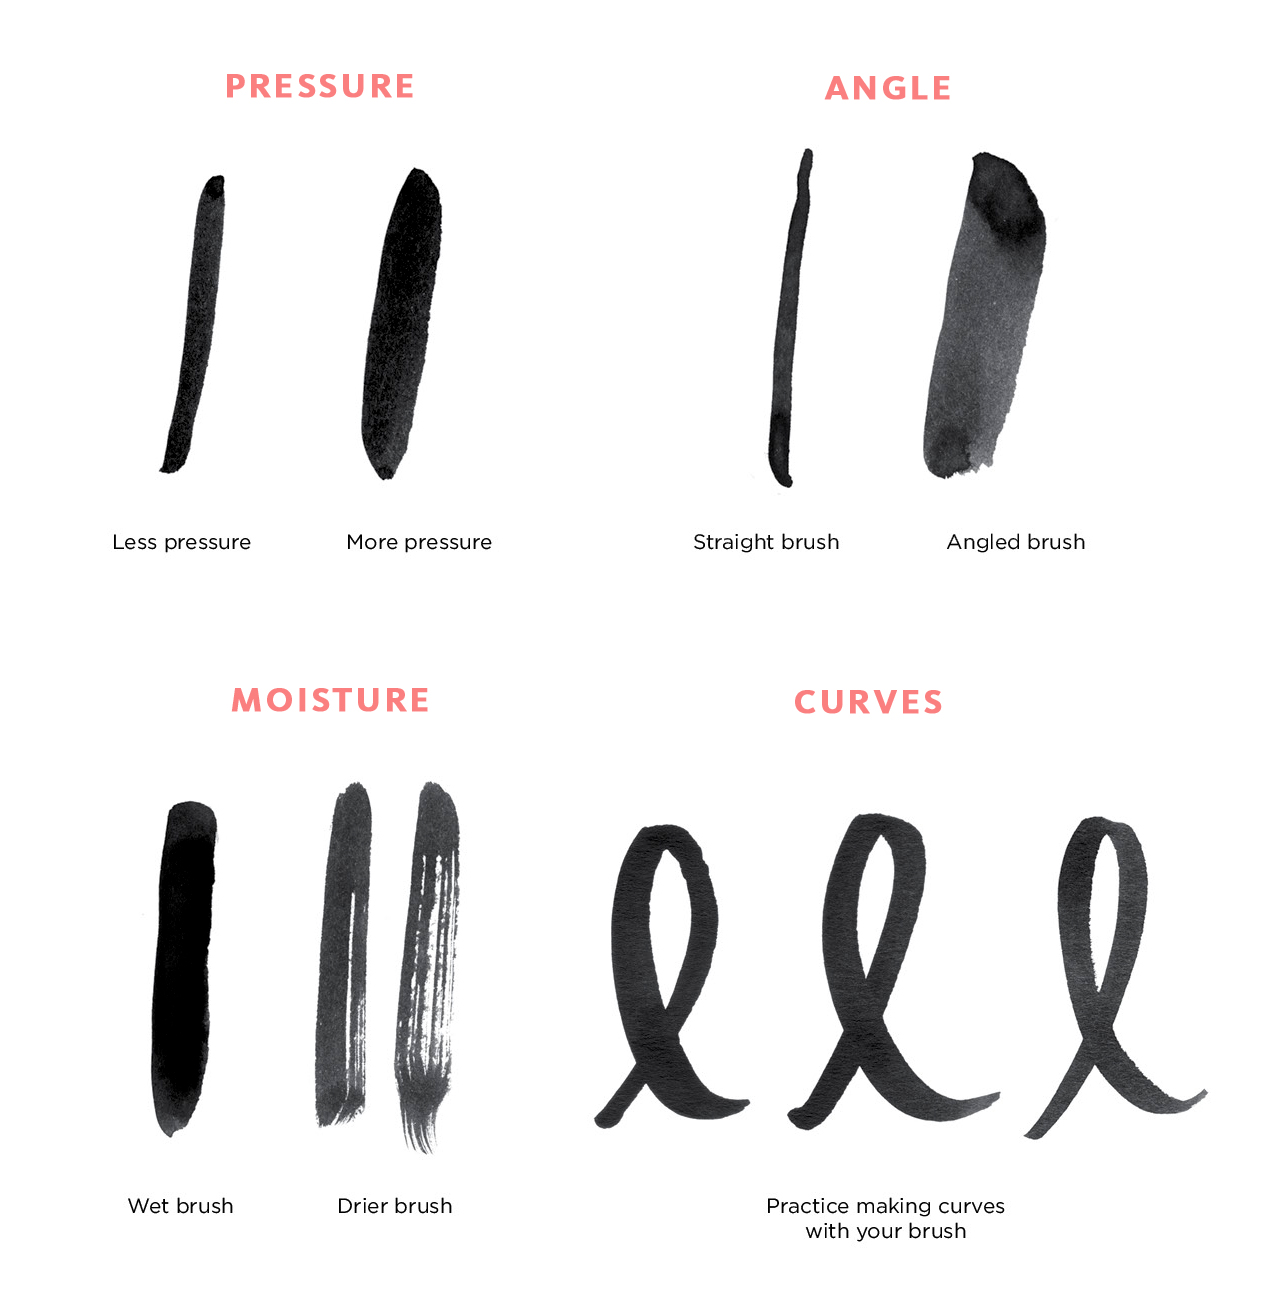
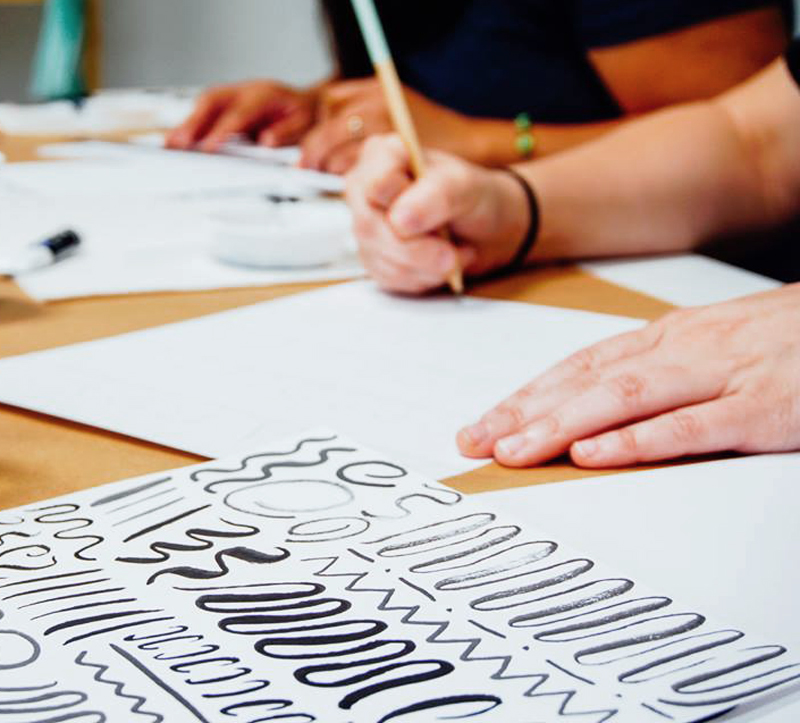 Above: Sample practice strokes, along with a practice session from our recent workshop (photo by Lucia Hua)
WARM UP
A lot of brush lettering is about movement. You want to keep it loose and try to make your motions smooth, so I like to be relaxed when I’m lettering! Beginning with several practice brush strokes will help get you in a relaxing frame of mind.
Start out with a small stack of cardstock and do some basic brush motions to get warmed up. Wet your brush in your water jar, then dip into your ink. Practice making very basic motions – vertical, diagonal, horizontal lines. Vary the pressure of your stroke and notice how this impacts your line – more pressure will give you a thicker line. Continue to load up your brush with ink between every few strokes. Practice making curves, o’s and loops. I like to fill 1 or 2 sheets of paper with these types of practice stokes before I start lettering.
Next, it’s time to practice the alphabet! This may take you back to your grade school days of practicing cursive. I recommend practicing two ways – first, lightly sketch the letter in pencil and trace it with your brush to get a feel for the letterform. Then try it freehand. Test out different angles with your brush as you practice and see how these affect your stroke. To download my sample alphabet, click here.
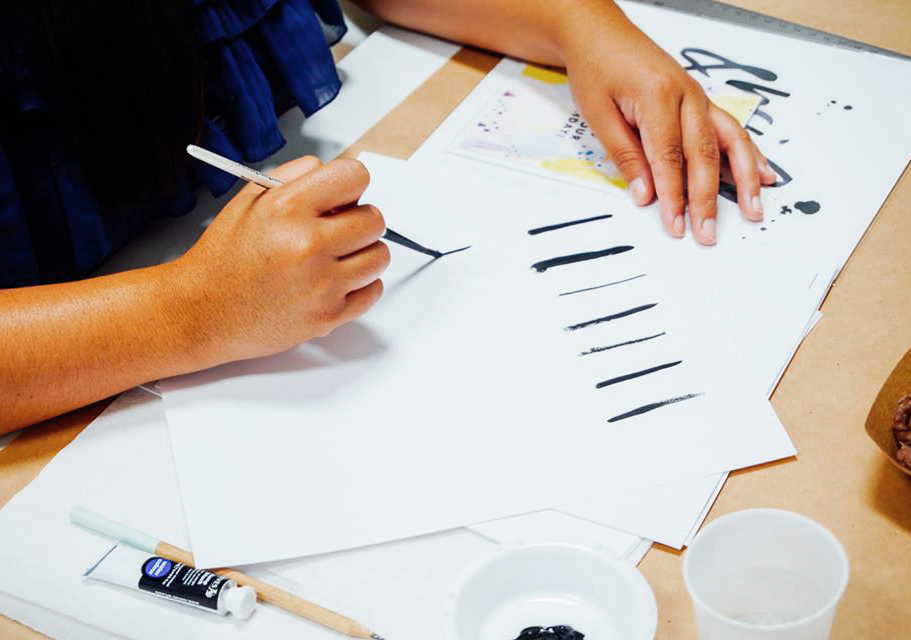
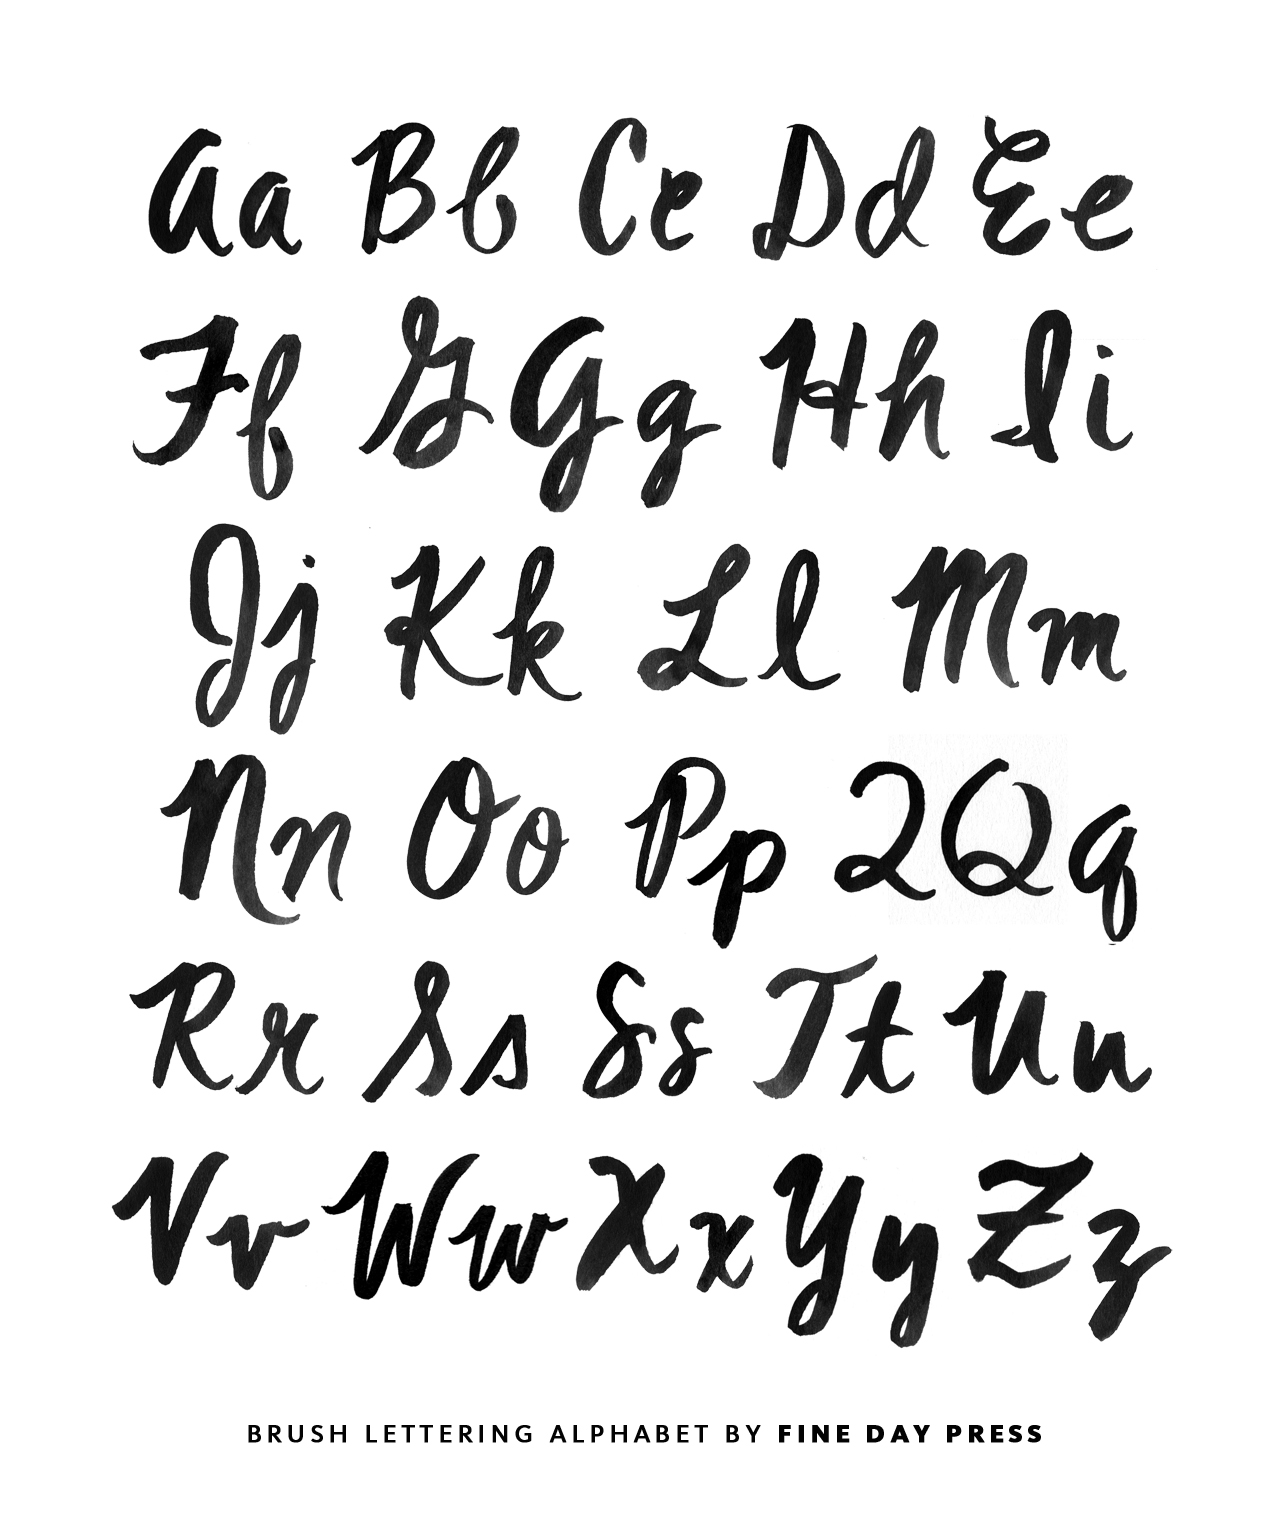
Above: Workshop photo by Lucia Hua; Sample alphabet by Fine Day Press
MAKING AN ART PIECE
When you’re ready to make an art print of your brush lettering, there are a few steps involved. You’ll want to have a few pieces of scratch paper and your pencil handy to create a few preparatory sketches. These sketches will give you an opportunity to think about the composition of your piece – how do you want the words arranged on the page? Will some words be bigger than others for emphasis? Will some of the type be on a curve? There are so many options here!
Once you have a sketch you like, do a practice version on cardstock – lightly sketch out the words in pencil. You don’t have to exactly trace over them, but you want to create a visual guideline for where your brushstrokes will go on the page. Use your brush and ink to go over the letters. After you’ve done this, you can see if you want to make any changes before moving on to your nice watercolor paper.
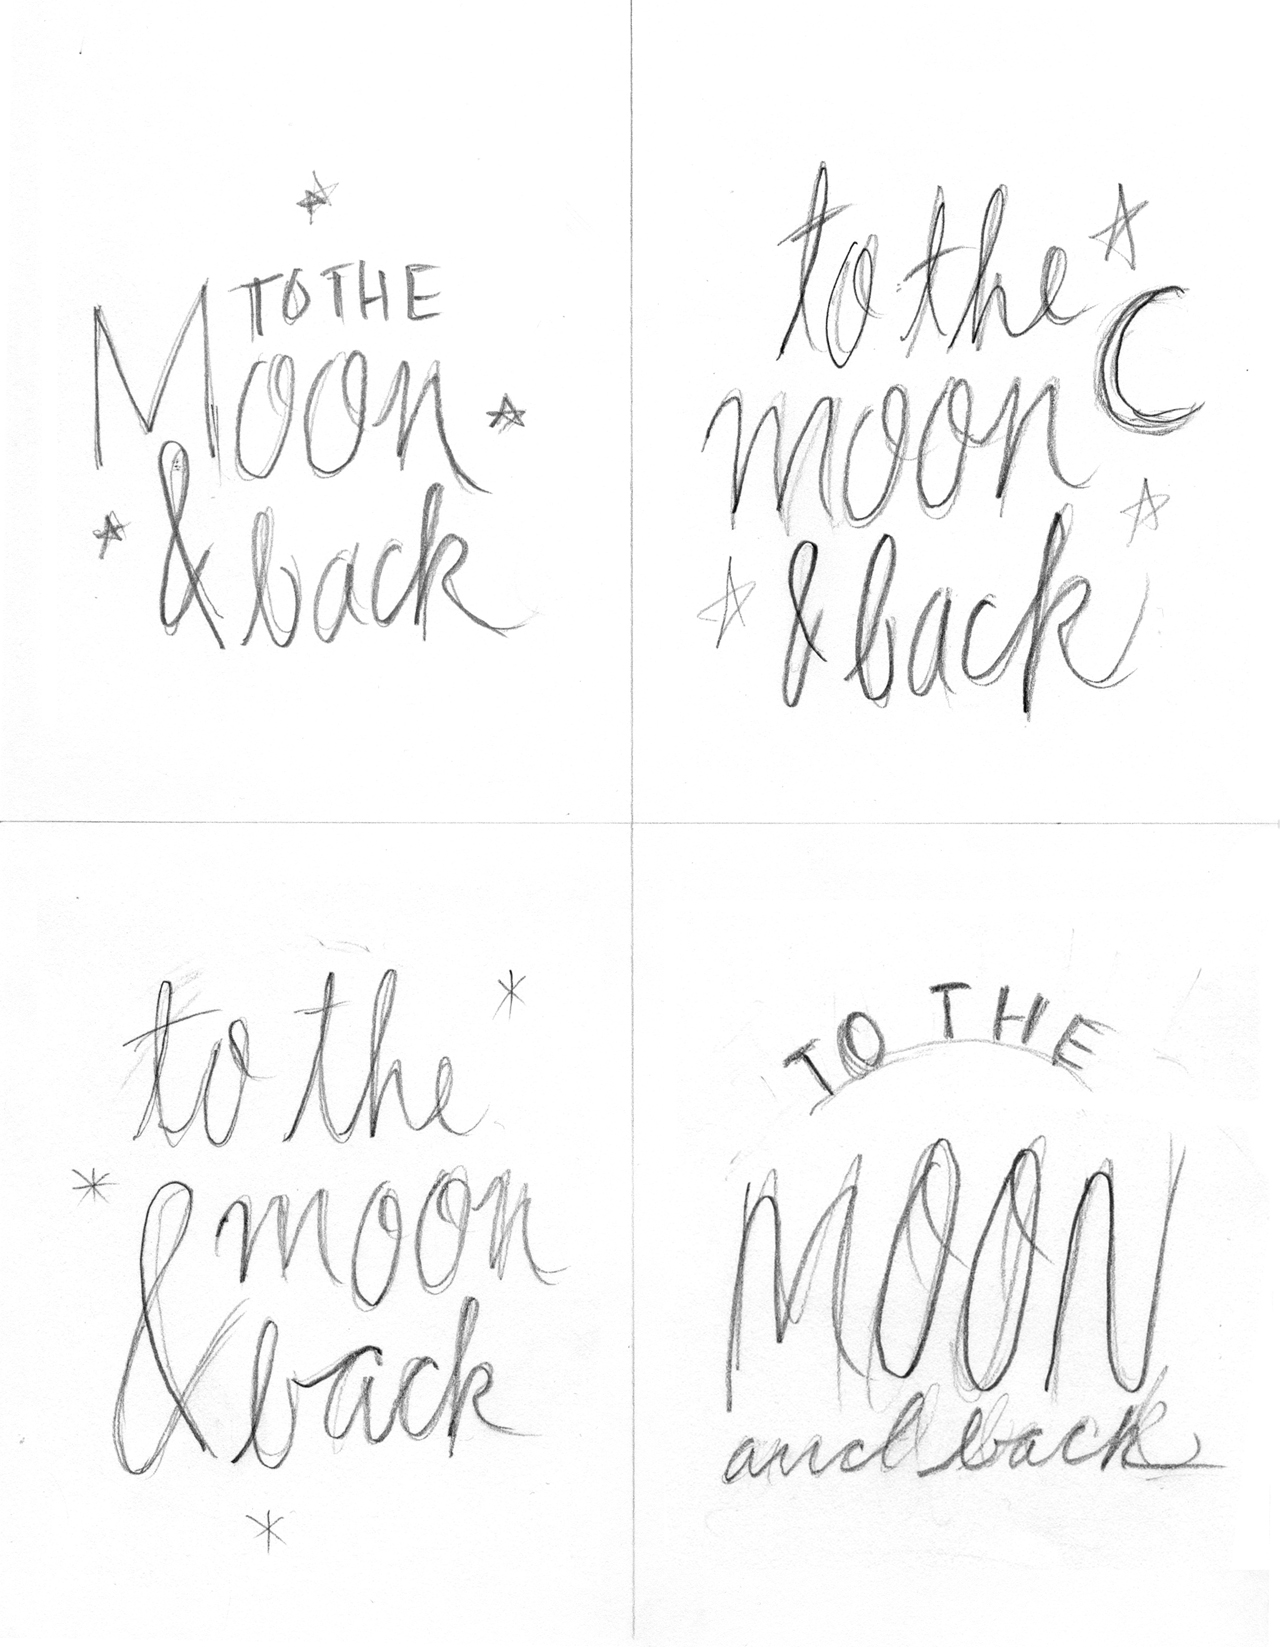
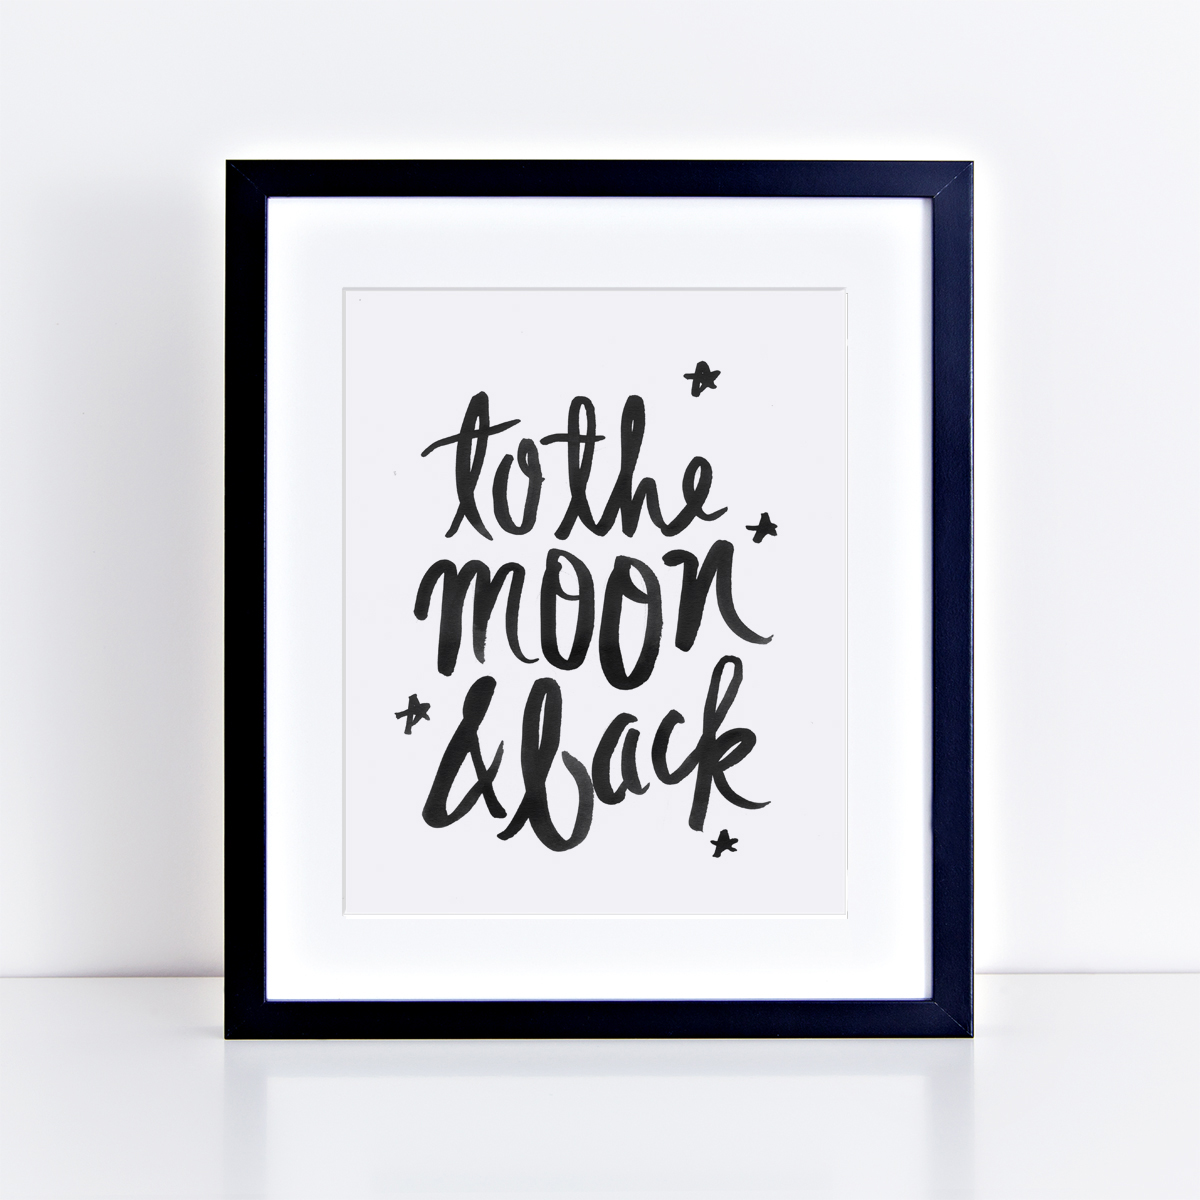
Above: My initial sketches for “To the moon & back”; the final art print
Next, you’re ready to start on your watercolor paper (or Bristol board). Again, I like to lightly sketch out my composition here just to make sure it’s fitting on the page how I want it. Leave some margins around your work and try to center your artwork on the page.
TIP: EXHALE AS YOU STROKE THE BRUSH
It helps to take a breathe and exhale as you start a new stroke – this will steady your brush and relax your hand.
Aim to find a smooth rhythmic movement with your brush. Don’t rush it – paint each letter one stroke at a time. Go back into your water and india ink as much as needed. Depending on how much ink you get on the brush, how absorbent the paper is, and what kind of letter you’re making, you may need to “reload†after each letter or two.
I like to think of brush lettering as more like painting than writing – and most of all, I just enjoy the process! Don’t worry to much about results when you’re starting out. Just keep going until you get to where it feels natural, and have fun with it – that’s where the real creative magic happens!
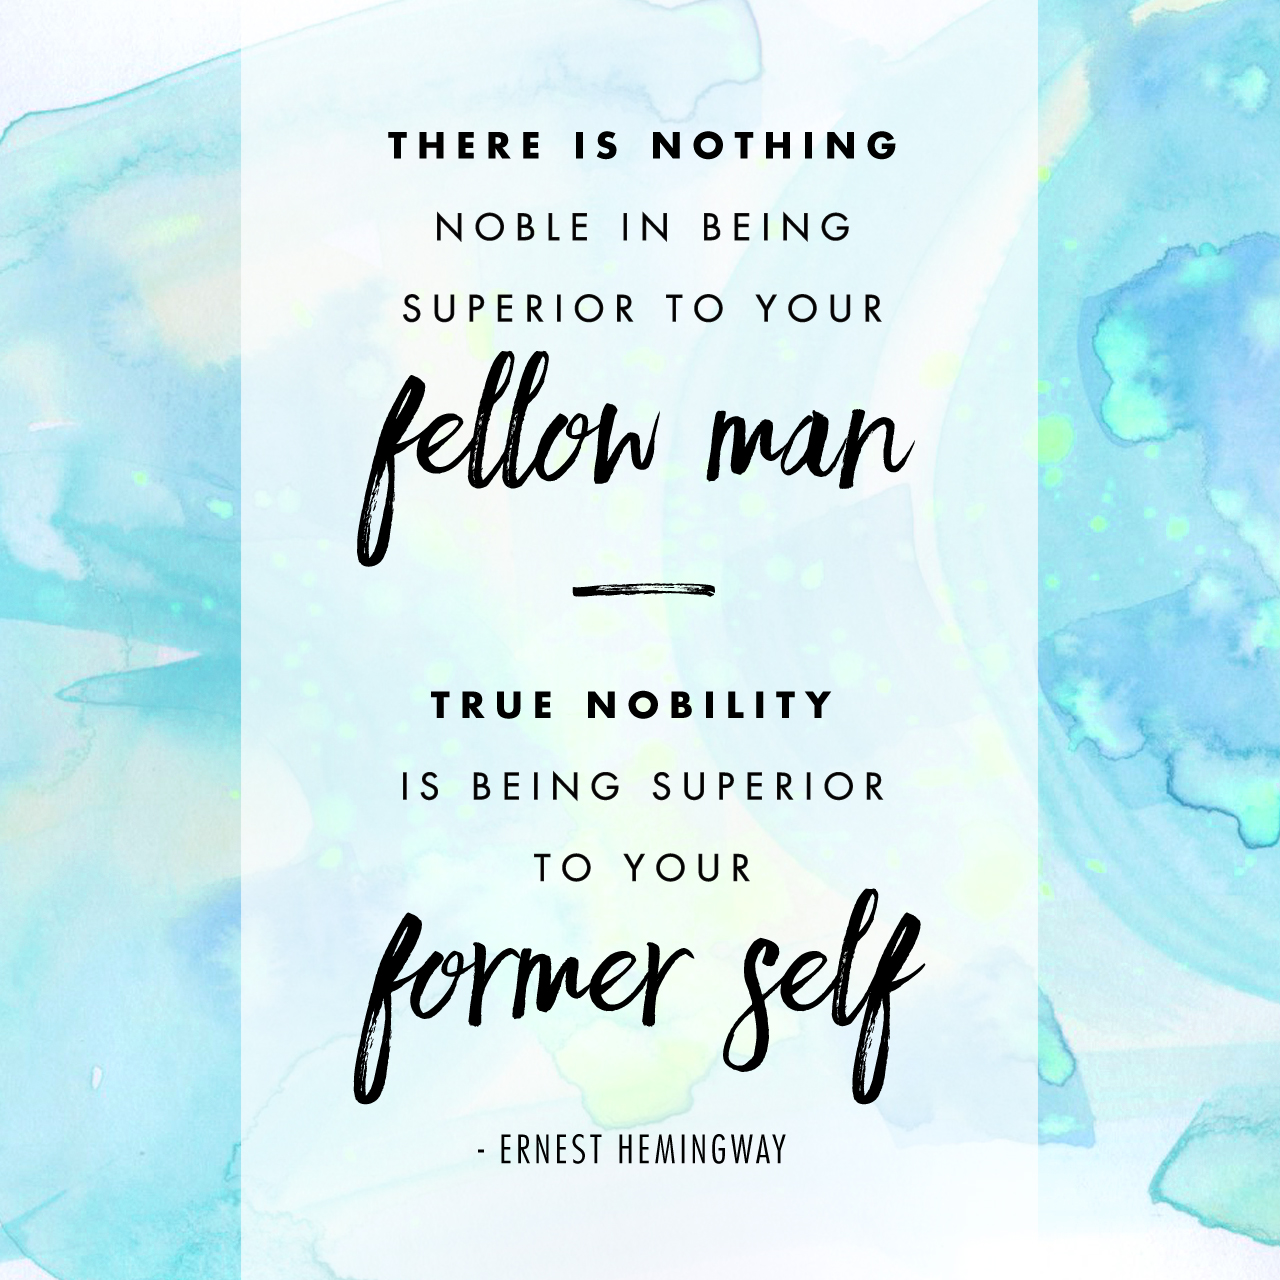


 Above: Sample practice strokes, along with a practice session from our recent workshop (photo by



 Photo (courtesy)Â ofÂ
Photo (courtesy) of 
 Photo by
  Photo by