Balloon Baby Shower Invitations from Gus & Ruby Letterpress

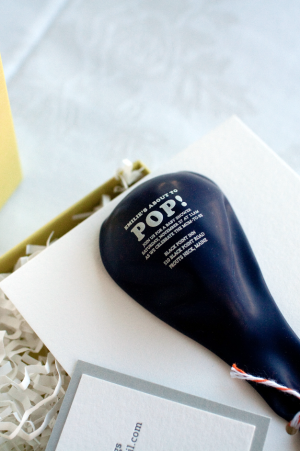
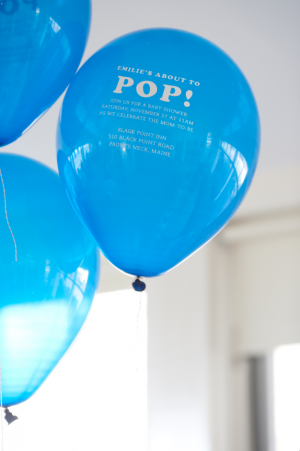
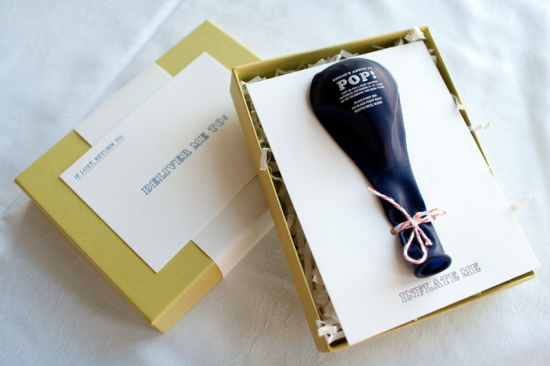
Baby shower invitations are generally cute by nature (babies!), but these balloon baby shower invitations from Gus & Ruby Letterpress are adorably playful and yet completely adult-appropriate.  Whitney and Samantha created these invitations for photographer Emilie Sommer‘s baby shower last November, printing the invitation text on a balloon for a fun 3D element accompanied by letterpress enclosures and mailing labels within a chartreuse mailer.

Balloon Baby Shower Invitations by Gus & Ruby Letterpress / Oh So Beautiful Paper

From Whitney: Samantha and I were thrilled to be able to design invitations for our dear friend, Emilie Sommer, owner of Emilie Inc. Photography, for her November baby shower held at the beautiful Black Point Inn in Prouts Neck, Maine.  The goal was to create something fun and different, but not overly playful or childlike.

Balloon Baby Shower Invitations by Gus & Ruby Letterpress / Oh So Beautiful Paper Balloon Baby Shower Invitations by Gus & Ruby Letterpress / Oh So Beautiful Paper

The concept for printing the invitation on a balloon came about as we brainstormed ways to make the piece interactive and 3-dimensional.  We love that the balloon is such an iconic childhood “toy,” but that we incorporated it in a way that feels mature and classy rather than juvenile.

Balloon Baby Shower Invitations by Gus & Ruby Letterpress / Oh So Beautiful Paper

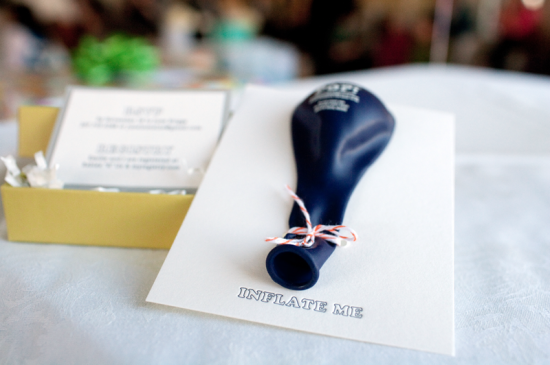
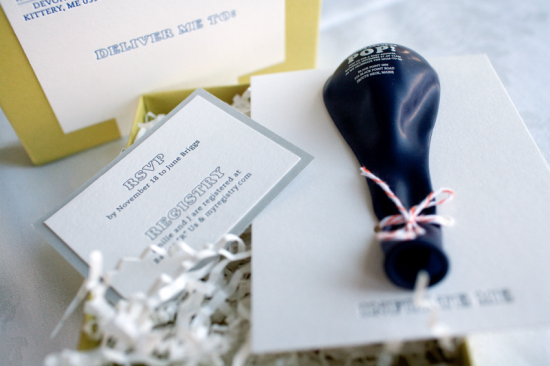
We printed “inflate me” in blue ink on an A2 100% cotton, flat card, and drilled 2 holes so that we could tie the balloon onto the card with orange twine.  We then printed an additional insert card with the RSVP and registry information and adhered to gray card stock for extra dimension.  We filled an A2 chartreuse box mailer with white shredded paper and set the invitation right on top.  We letterpress printed the mailing label which was adhered to the top of the box, used an orange pen for addressing that coordinated with the twine, and sent them on their way!

Balloon Baby Shower Invitations by Gus & Ruby Letterpress / Oh So Beautiful Paper

So fun!  Thanks Samantha and Whitney!

Photo Credits: Emilie Inc. Photography

Kat + Ben’s Modern Flowchart Wedding Invitations

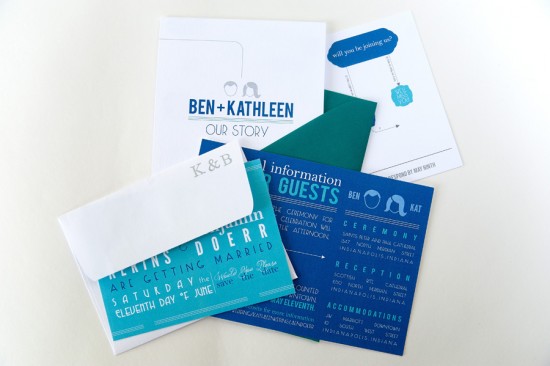
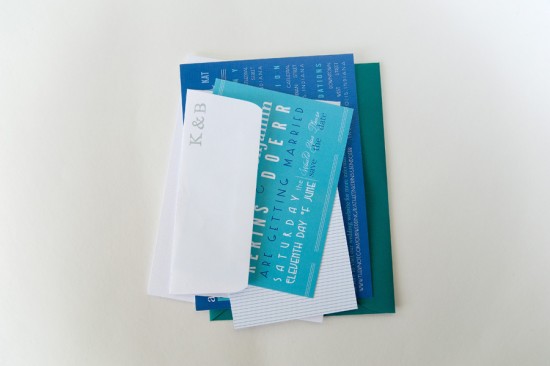
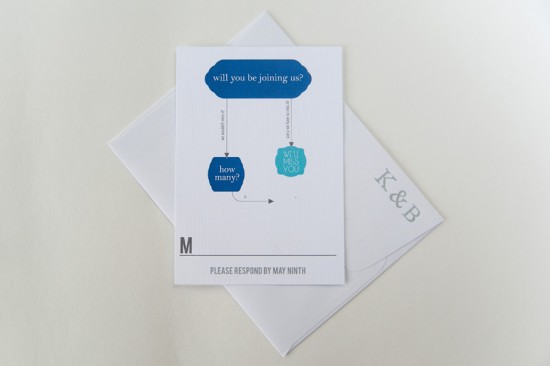
Every invitation tells a story, but these flowchart invitations from Three Fifteen Design take storytelling to a whole new level!  Ravyn from Three Fifteen Design worked with shades of blue (a nod to the groom’s service with the Air Force) and a variety of typefaces to create this fun and modern wedding invitation suite.

Modern-Flowchart-Weddding-Invitation-Suite

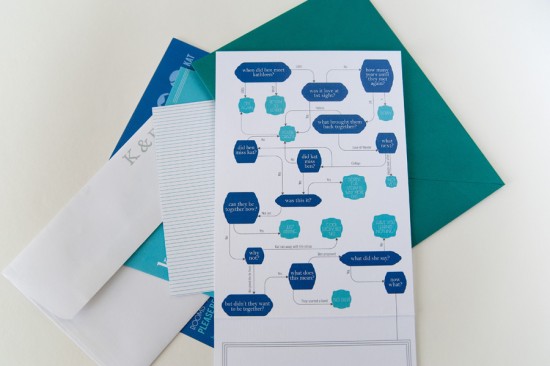
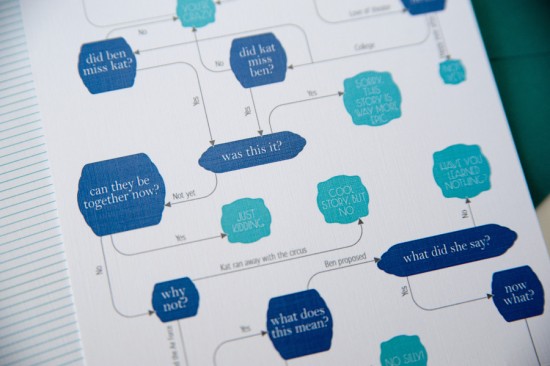
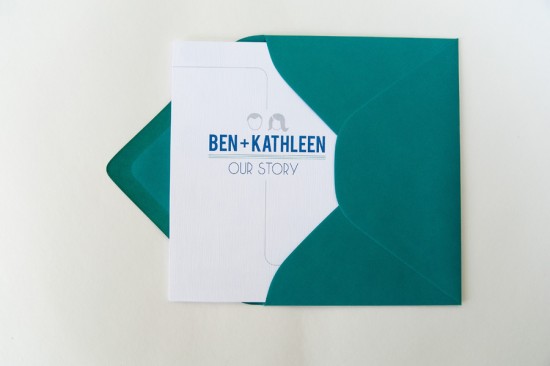
From Three Fifteen Design: Ben & Kat are an amazing couple!  They’ve known each other since kindergarten and have been dating since high school.  After college, Ben joined the Air Force, so they’ve been spending the last few years as a long distance couple.  Their story is unique and since they’ve known each other for so long, they loved the idea of incorporating a timeline into their wedding suite. The idea for the flowchart came about as we were bouncing the storytelling element around; it was a great way to make this invitation fun and interactive for their guests.

Modern-Flowchart-Weddding-Invitation-Chart

Modern-Flowchart-Weddding-Invitation-Chart-Detail

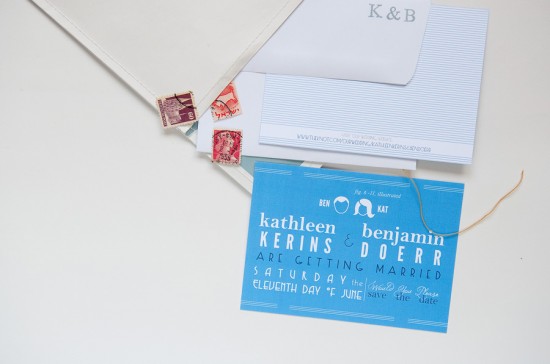
Modern-Flowchart-Weddding-Invitation-Save-the-Date

From the beginning (the save the date), I was really interested in using several different typefaces to further illustrate the ‘fun’ side of this couple.  Their color palette was simple: teal, white, and, of course, Air Force blue.  We used the save the date and the custom accommodations card as the color block cards to showcase the blue & teal.

Modern-Flowchart-Weddding-Invitation-Package

We decided to keep the invitation white: even though the flowchart was fun & funky, we liked the idea of the pretty traditional invitation at the bottom.  We went with a folded 5×7 invitation to once again add to that interactive element of the invitations.

Modern-Flowchart-Weddding-Invitation-Envelope

Each piece of the suite was tied together by the typefaces, colors, and my favorite part: the little icon of Ban & Kat.  We used it in different forms on all of the pieces.  They even used it on little jam jars at the wedding.  It was a way to make this suite all their own!

Modern-Flowchart-Weddding-Invitation-RSVP

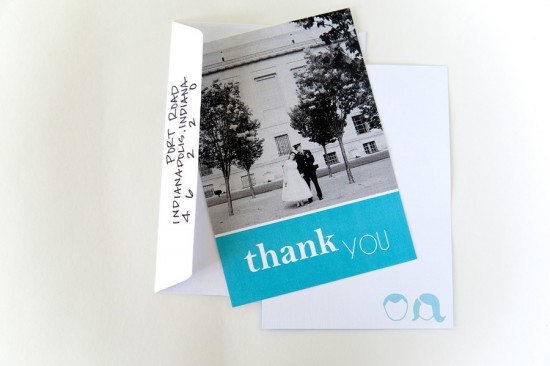
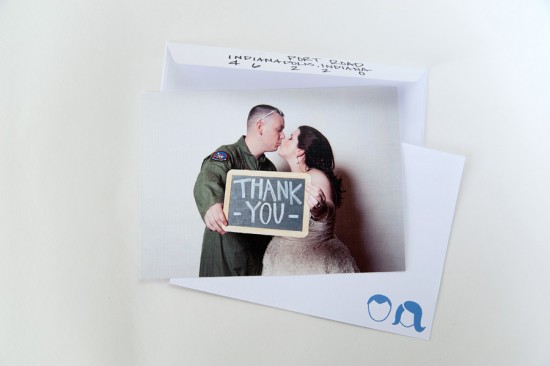
The response card was another play on the flowchart idea.  We used images from their wedding on two different thank you cards. Everything was printed on linen paper & finished with beautiful teal envelopes from Paper Source.

Modern-Flowchart-Weddding-Invitation-Thank-You

Modern-Flowchart-Weddding-Invitation-Thank-You-Photo

Thanks Ravyn!

Photo Credit: Jim and Ravyn Photographers

DIY Hand Watercolored Save the Dates + Thank You Cards

It’s the ladies of Anti­quaria, back with another fab­u­lous and cre­ative DIY project for you all!  This project is for wed­ding save the dates, but you can eas­ily apply this tuto­r­ial to any party invi­ta­tions or announcements!

These Save the Dates and matching Thank You Cards combine the use of our custom rubber stamps with hand painted watercolor accents.  This DIY project is inspired by Emma’s reception invitations that we did a while back, after her wedding.  The calligraphy ended up having variegated shades, giving the illusion that it was watercolored.  We ended up loving the way that the calligraphy looked and Emma embellished the invitations with a bit of color on one side, changing the look of the whole thing!

Using beautiful turquoise and blue shades of watercolor and our custom rubber stamps, this DIY save the date looks modern and organic at the same time.  The best part of this is just how easy it is to do!!  You don’t have to be an artist to master these painting techniques.  Also, we love how using different color combinations or shapes yield different results – making each card totally unique and its own little work of art.

Step One: On pre-cut pieces of watercolor paper, get creative with painting.  We played with uneven painted stripes for the thank you cards and organic watery shapes for the save the dates.

Painting Tip: Go easy on the water to achieve a nice flat card.  Too much water will make your paper buckle or ripple when drying.
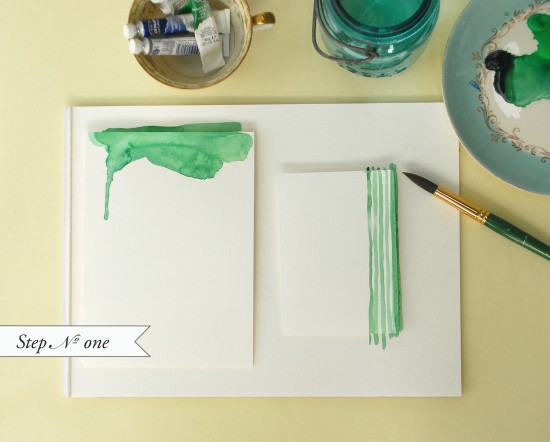
Watercolor Save the Dates: Step 1

Step Two: Once your paint has dried, on a hard surface, ink your stamp and place it in the center of the card.  Apply even pressure and remove the stamp from the card.

For the Save the Date, we used the “Vintage Label” custom save the date stamp.  For the thank you notes, we used the “Simple but Sophisticated” monogram stamp – using a monogram stamp for your thank you notes can be a fun way to personalize them without breaking the bank after the wedding!
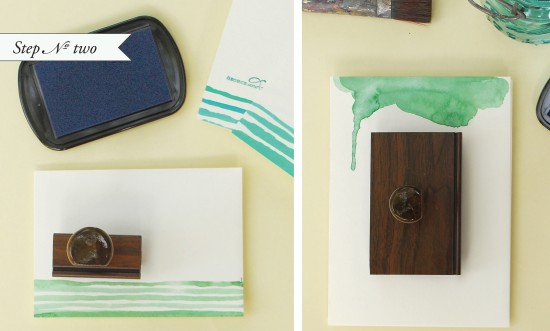
Watercolor Save the Dates: Step 2

Step Three: We used the “Calligraphy Accent” return address stamp to finish everything off.

Now all that’s left is stuffing and addressing your envelopes!
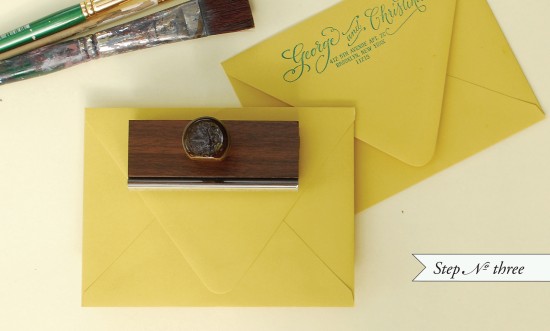
Watercolor Save the Dates: Step 3

Materials List:

Custom Save the Date & Monogram rubber stamps.  The ones used in this tutorial are:

“Vintage Label” Save the Date Stamp,  “Simple but Sophisticated” Monogram Stamp,  “Calligraphy Accent” Return Address Stamp

Color Box Stamp Pad (we used a variety of teals and blues for this project)

Watercolors and brushes (you can purchase at any craft or art store)

A small dish and a jar of water (used to mix paint and wash brushes)

A6 Envelopes (shown above in Curry)

B4 Thank You Card Envelopes (shown above in Peacock)

Paper Options:

You can have large watercolor sheets or pads – the thicker the better, (purchased from your local art store) cut to size at your local print shop.

Just tell them the dimensions you need based on your envelope choice, the cut cards should be at least 1/4″ smaller than the envelope measurement.

If you are using the Paper Source A6 and B4 sizes that are shown above, ask for your pieces to be cut to

6 1/4″ x 4 1/2″ (A6) and 3 1/2″ x 5″ (B4).

If getting paper cut is too much of a hassle, you can use the luxe papers from Paper Source and buy them pre-cut.

Just be careful with how much water you use with your paints.  If you are using lightweight (90 lb) watercolor paper or the luxe papers from Paper Source, these papers will tend to buckle if you use too much water.

Photo Credits: Antiquaria
New Giveaway! Letterpress Recipe Card Sets

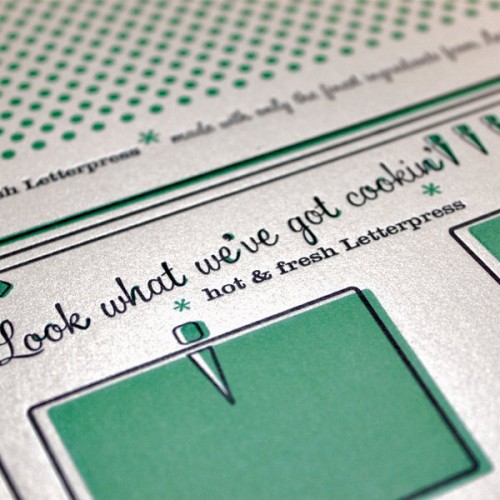
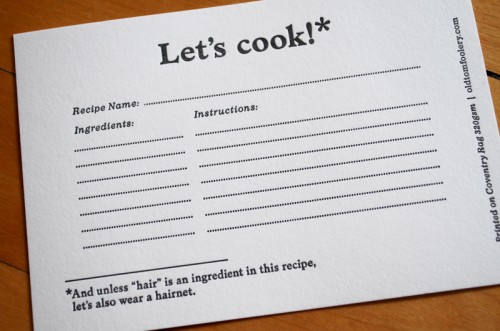
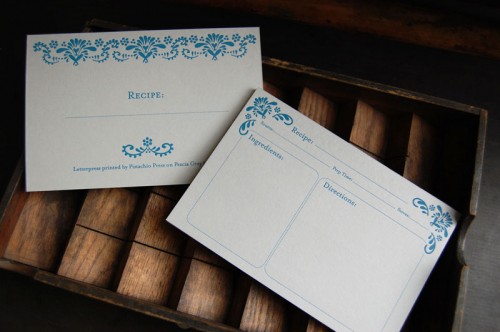
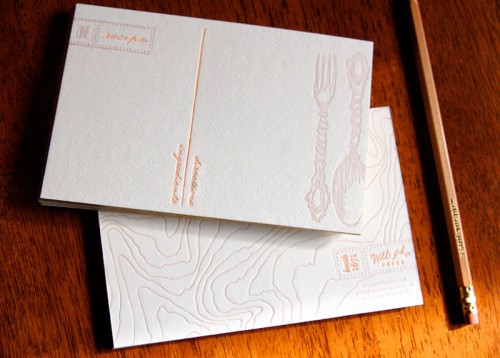
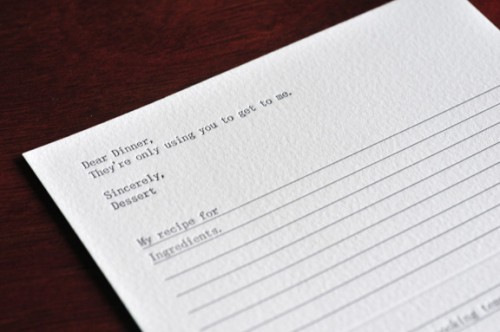
Happy Tuesday everyone!  As you all know, I’m still celebrating my one-year anniversary as a full-time blogger, and that combined with the long holiday weekend has me in the mood to do something fun.  Do you remember these awesome letterpress recipe card sets from the National Stationery Show?  Amber from Fly­wheel Press organized the recipe card sets as a cool scavenger hunt at the Stationery Show and the folks at Legion Paper kindly donated the paper, and today I’m super excited because Legion Paper sent TEN of these recipe card sets for me to give to you!

Each set includes a total of 15 recipe cards from the following designers and printers: a. favorite design, Alber­tine Press, Black­bird Let­ter­press, Blue Barn­house, Ding­bat Press, Fly­wheel Press, Igloo Let­ter­press, Mag­i­nat­ing, May Day Stu­dio, The Nic Stu­dio, Old Tom Fool­ery, Paper Mill Designs, Pis­ta­chio Press, Sapling Press, and Wild Ink Press.

To enter the give­away, just leave a com­ment below with the name of your favorite recipe!  You’ll have until 11:59 p.m.EST on Fri­day, July 8 to enter – bonne chance!

*Please limit one entry per person; U.S. and Canadian residents only.  Legion Paper, Pis­ta­chio Press, Ding­bat Press, and Wild Ink Press are spon­sors of Oh So Beau­ti­ful Paper; for more on my edi­to­r­ial poli­cies please click here.

This giveaway is now closed.  All winners have been notified via e-mail.  Thank you for entering!

Red, White + Blue Wedding Stationery Inspiration

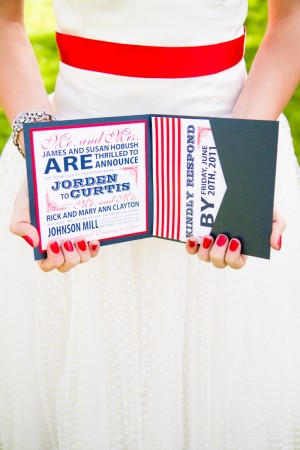
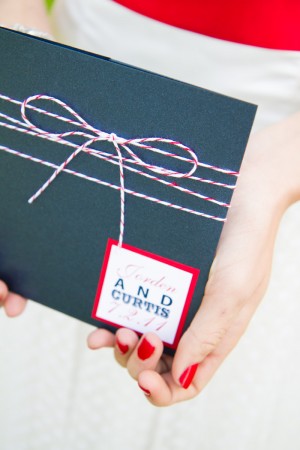
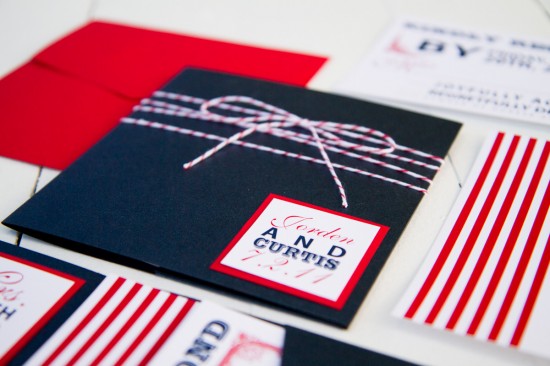
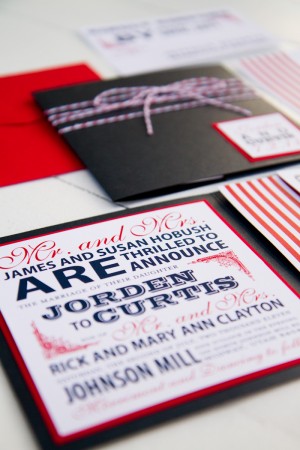
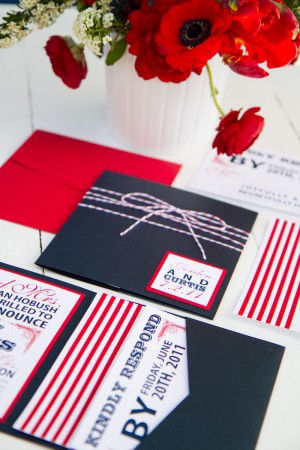
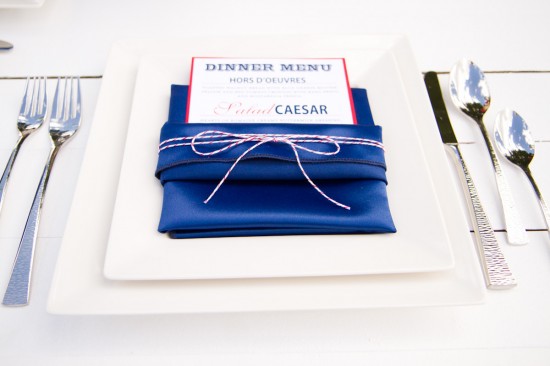
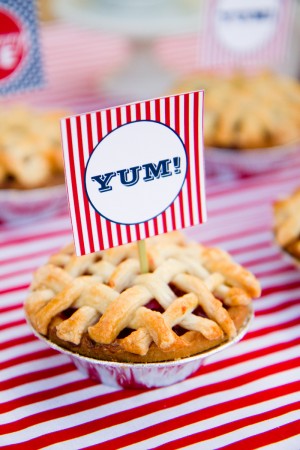
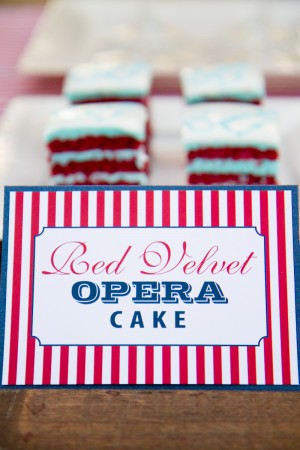
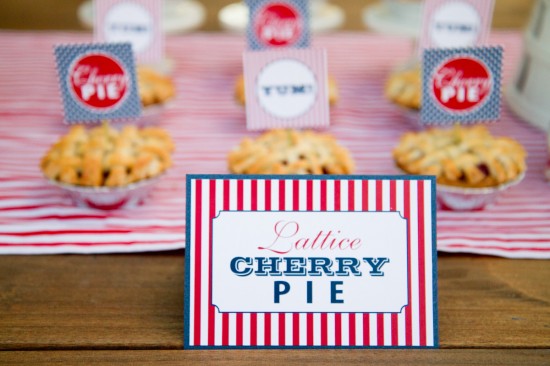
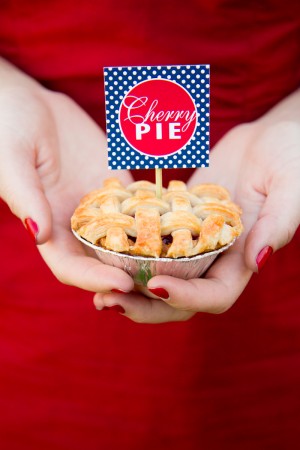
I know we’re all ready to get the long holiday weekend started, but I’ve got a bit of red, white, and blue inspiration for you before I sign off for the weekend.  Megan from Pink Piggy Design collaborated with photographer Kate Osborne and other Utah-based wedding vendors on a fun photo shoot full of 4th of July-themed wedding ideas.  In keeping with the summer holiday, there are lots of stripes, twine, and some of the most delicious-looking mini pies I’ve ever seen!

Red-White-Blue-Wedding-Invitations Red-White-Blue-Wedding-Invitations-Twine

From Megan:  We live in a blessed and privileged country, full of tradition and timeless symbols.  The inspiration behind these designs comes from our American roots, starting with the red, white, and blue color scheme!  This may not, at first thought, be the most ideal choice for summer wedding colors, but in the end is quite stunning.  The color combination provides amazing contrast that packs an eye candy punch that is a lot of fun to work with!  We drew from the most American symbol of all – our flag – and used striped patterns and different type faces for a little bit of fun modern play.

Red-White-Blue-Wedding-Invitations-Twine

Red-White-Blue-Wedding-Invitations-Detail Red-White-Blue-Wedding-Invitations-Stripes

Red-White-Blue-Wedding-Stationery

Red-White-Blue-Wedding-Stationery-Stripes Red-White-Blue-Wedding-Stationery-Stripes

Red-White-Blue-Wedding-Stationery-Pie-Signs

Red-White-Blue-Wedding-Stationery-Polka-Dots Red-White-Blue-Wedding-Inspiration

Thanks Megan!

Photography: Kate Osborne
Paper Details: Pink Piggy Design
Catering: Culinary Crafts
Rentals: Alpine Event Rentals
Napkins: Wildflower Linens
Floral Design: Studio Stems

Photo Credits: Kate Osborne Photography