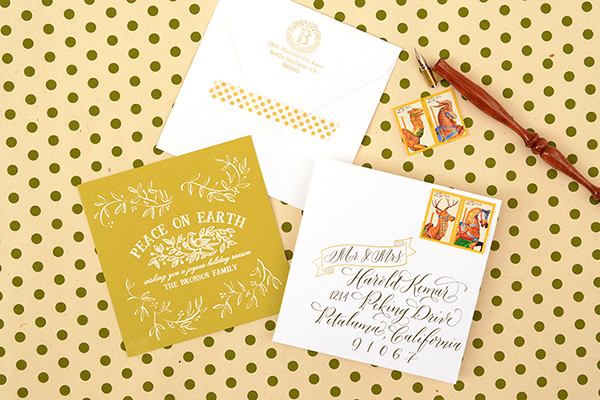
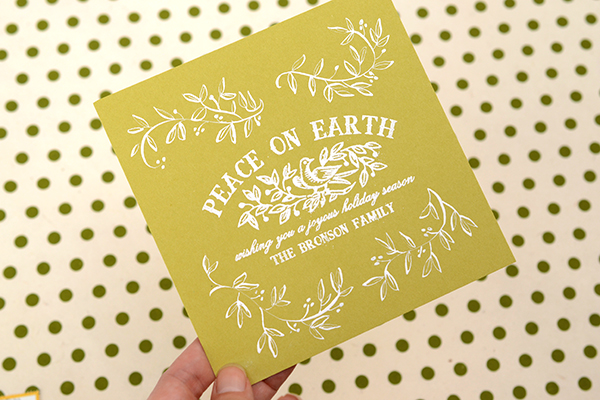
For those of you who craft your own holiday cards, it’s already time to get started. It’s always good to give yourself plenty of time to create and address them and the slight lull between Halloween and the week of Thanksgiving is usually when we try to get started. That way, they’re ready to mail out come December. The design in this tutorial features white embossing combined with white hand embellished vine details to create a one of a kind holiday card. You could even add a photo to the back of the card or simply write a note if you have more to say. We hope that this project inspires you to dream up and make your own holiday card this year! –Bailey and Emma of Antiquaria
Materials
Peace on Earth Holiday Greetings Stamp
Mod Holly Return Address Stamp
Frost White Stamp Pad or Embossing Stamp Pad
5.5″ Square Cards, Â in Chartreuse
5.75″ Square Envelopes, in Pure White
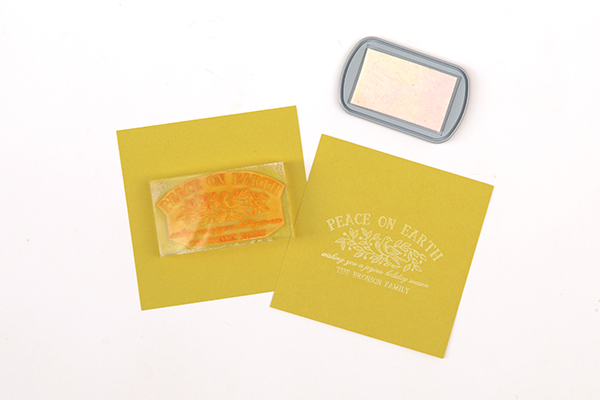
Step One: Stamp your holiday message (we used our Peace on Earth Holiday Greetings Stamp) in white ink in the center of a 5.5″ square card.
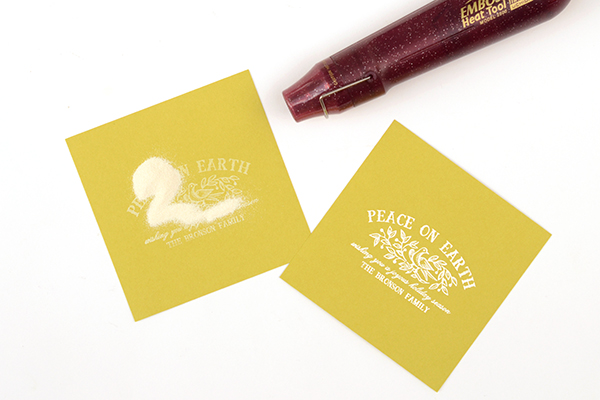
Step Two: Immediately after step one, before the ink dries, pour white embossing powder over the stamped image. Heat set the powder using a heat embossing tool. For a step by step video on embossing, please watch the tutorial found here.
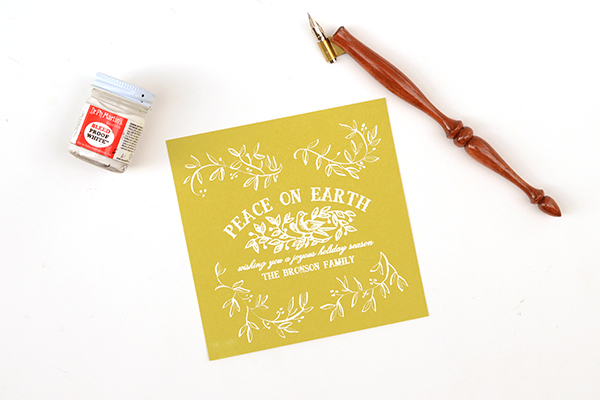
Step Three: Next, let your imagination go wild! Embellish around the greeting with vines and berries using white ink and a pointed calligraphy pen. While this ink is our favorite for its opacity, you could also use a white gel pen if you prefer.
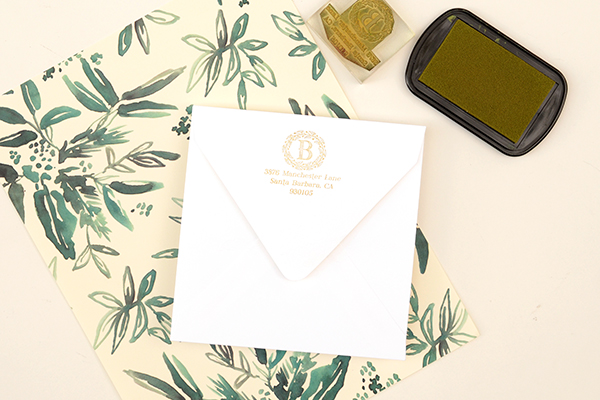
Step Four: Stamp your return address on the back flap of a 5.75″ square white envelope. We used our Mod Holly Return Address stamp with olive ink to coordinate.
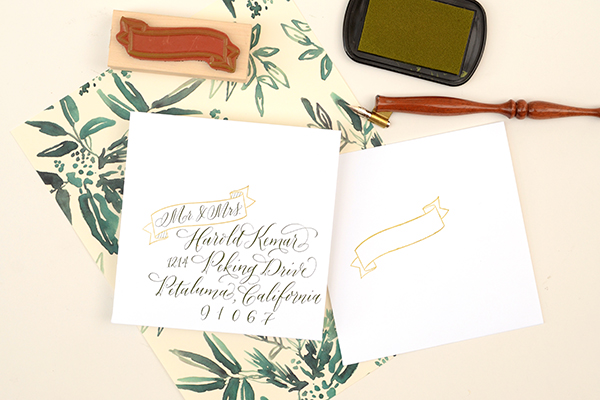
Step Five: As snail mail lovers, addressing the envelope is half the fun for us. When we found this cute banner stamp, we knew exactly how we wanted to use it! We stamped it on the lefthand side of the envelope front and let it dry. Then, we added the addressing in a darker green ink (this was custom mixed from gouache paint) to add dimension and pull the whole design together.
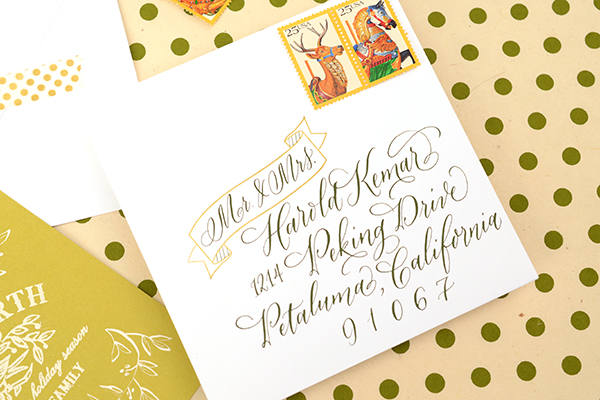
Add vintage postage and any additional photos or messages and send them off to your loved ones!
Photo Credits: Antiquaria for Oh So Beautiful Paper
