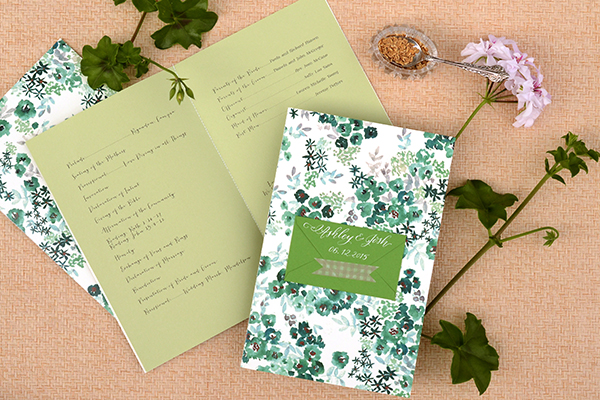
By the time most couples get around to finalizing their wedding program, they’ve waited until the last minute. They’re also desperately trying to stay within their budget since the big day is right around the corner. But making your own ceremony programs at home doesn’t have to yield ho-hum results! In our tutorial today, we’ll show you an adorable way to make custom programs every guest is sure to love. – Bailey and Emma of Antiquaria
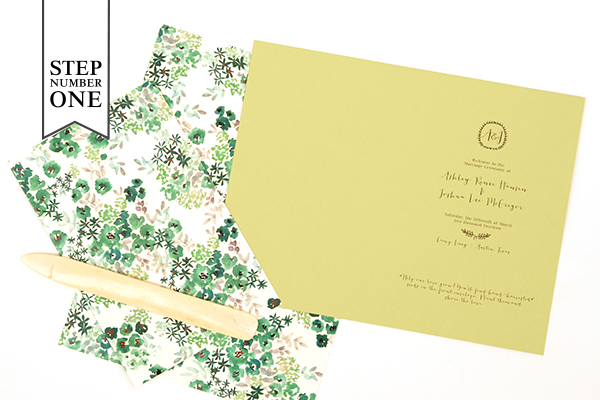
Step One: First, you’ll need to gather your papers together and fold them exactly in half, using a bone folder. The cover of this program uses 8.5″ x 11″ patterned text weight paper (we used a version of our popular Paloma pattern). You could also use a scrapbook paper, so long as nothing is printed on the back side. For the text inside, you can use a design program, such as Illustrator or InDesign or simply use Word to lay out all of your information in two columns. We printed front and back by flipping the paper and re-running it through our home printer. You could also send the file to a copy store and have them print it for you.
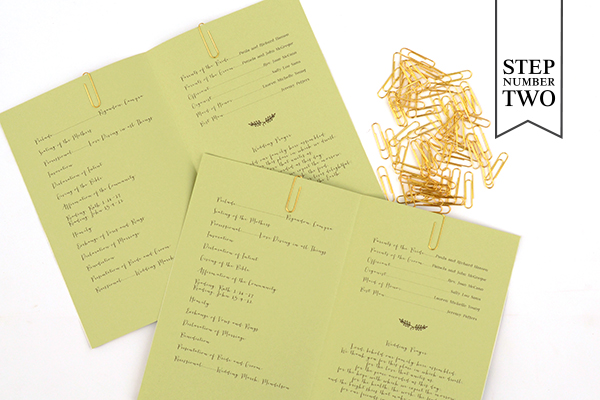
Step Two: Â Assemble your booklets with the cover on the back and the inner pages in the middle. Use paper clips to hold them together in preparation for sewing. This helps prevent shifting when you’re running a stitch down the center.
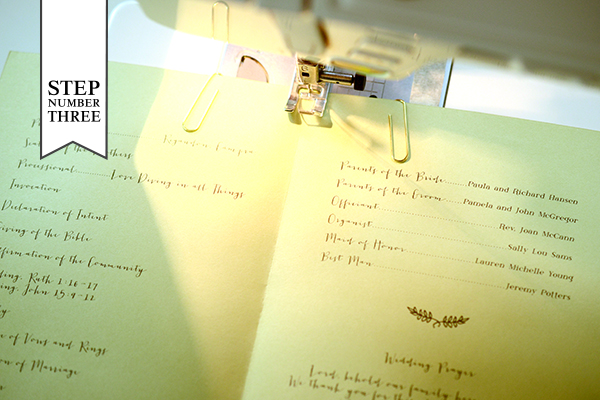
Step Three: With your needle in the middle position, sew straight down the center fold. Trim off any thread ends after the booklet is finished.
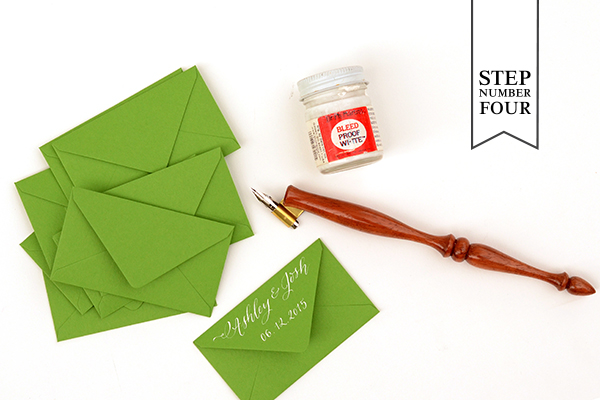
Step Four: We wanted to gussy up our program a bit by adding a little envelope containing home-grown seeds to the front for guests to take home. Instead of leaving the envelope blank, we added the couple’s name and wedding date in white calligraphy on the back flap. Don’t feel comfortable tackling calligraphy on your own? You could also use a monogram stamp with white ink to get a similar result!
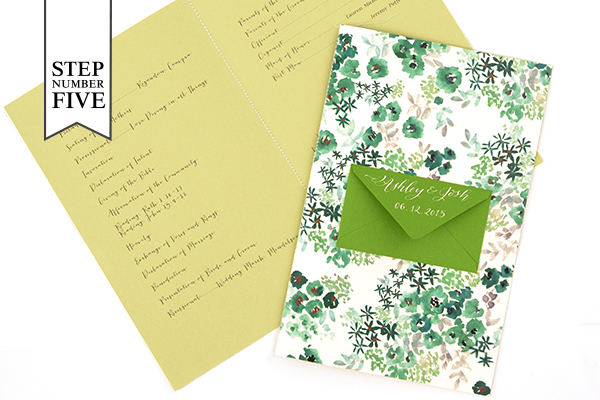
Step Five: Adhere the envelope to the front cover (approximately in the center) using double sided tape or stick glue. We found that our  ATG Tape Gun worked the best on this project.
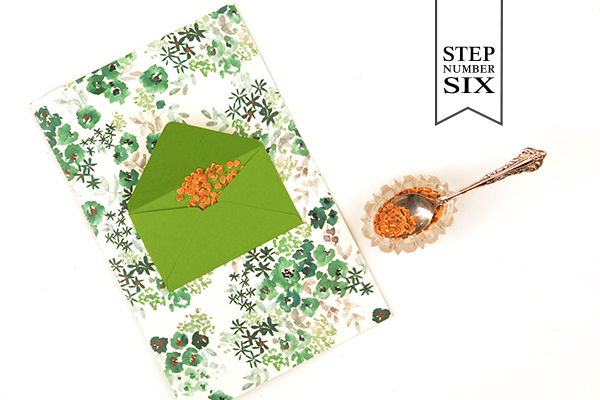
Step Six: Give your guests a little take away with your program! We spooned hand-harvest seeds into the envelopes so that each guest could plant flowers in honor of the couple. You could also fill the envelope with rice, confetti or anything else you can dream of! Have fun making it suit your own special day.
We also included a little note about the gift in the program itself, “Help our love grow! You’ll find hand-harvested seeds in the front envelope. Plant them and share the love.” Be sure to also include the type of seeds and some general growing instructions as well, either in the envelope itself or on the back page of your program.
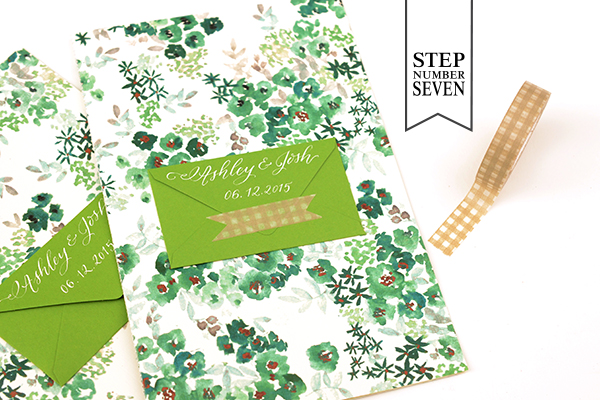
Step Seven: Lastly, you’ll just need to close up the envelope so that the seeds don’t spill out. We used a fun patterned washi tape, which is easy to remove yet stays put!
Materials
Patterned paper in 8.5″ x 11″ text weight
Text weight paper in sage
Home Printer
Paper Clips
Sewing Machine and Thread – have fun with your thread color selection!
Calligraphy Pen and Ink, or Monogram Stamp and White Stamp Pad
Seeds (or rice or confetti)
Photography: Antiquaria for Oh So Beautiful Paper
