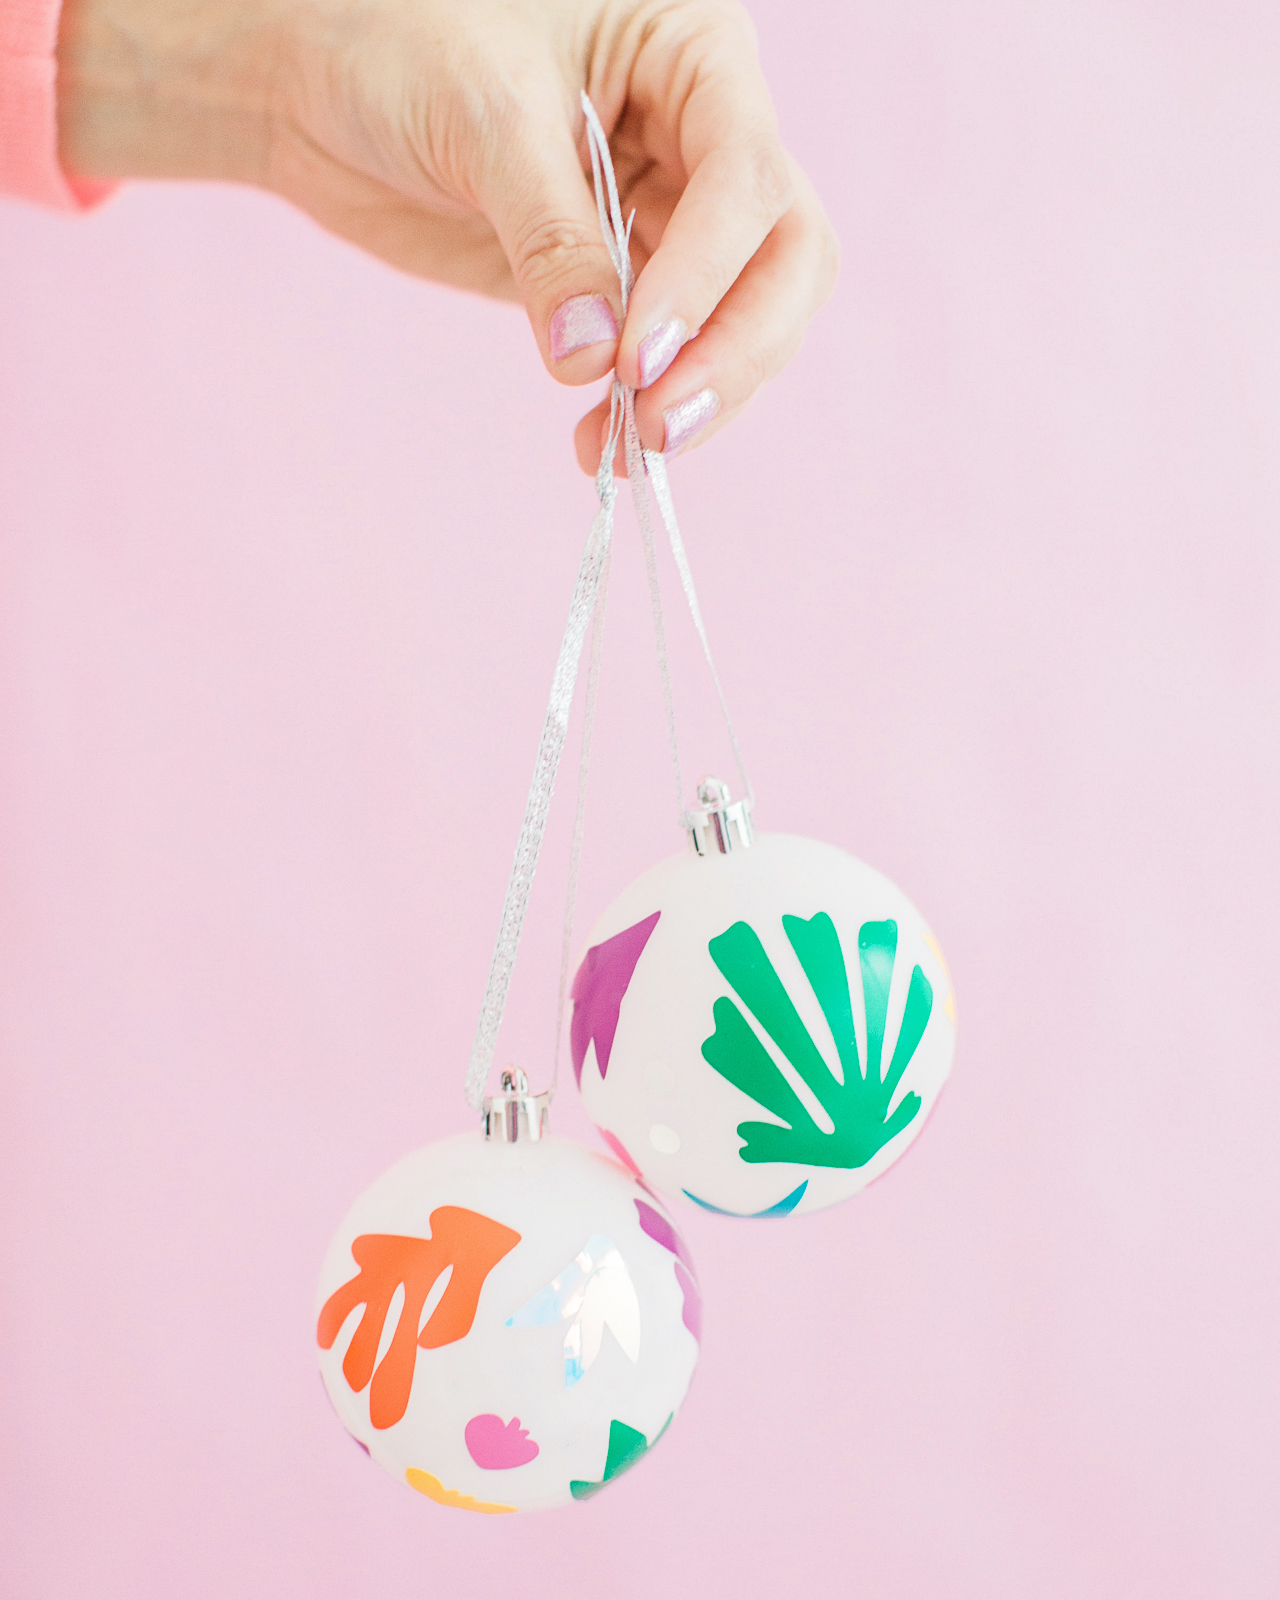
Remember the Matisse-inspired pumpkins that I made back in October? Well, I’m back at it with DIY Matisse-inspired ornaments! I had some solid white ornaments from Target that needed a bit of dressing up and I happened to have a few leftover Matisse-inspired shapes from when I made the pumpkins back in October, so I decided to stick a few shapes onto the white ornaments – and ta da! I’m loving the pops of color against the matte white ornaments, but you could definitely make these with any color ornaments. These DIY Matisse-inspired ornaments are super easy to make, are a really fun way to add some color to your Christmas tree, and they’re also a fun project for little helpers. I’m sharing my template below so you can make your own!

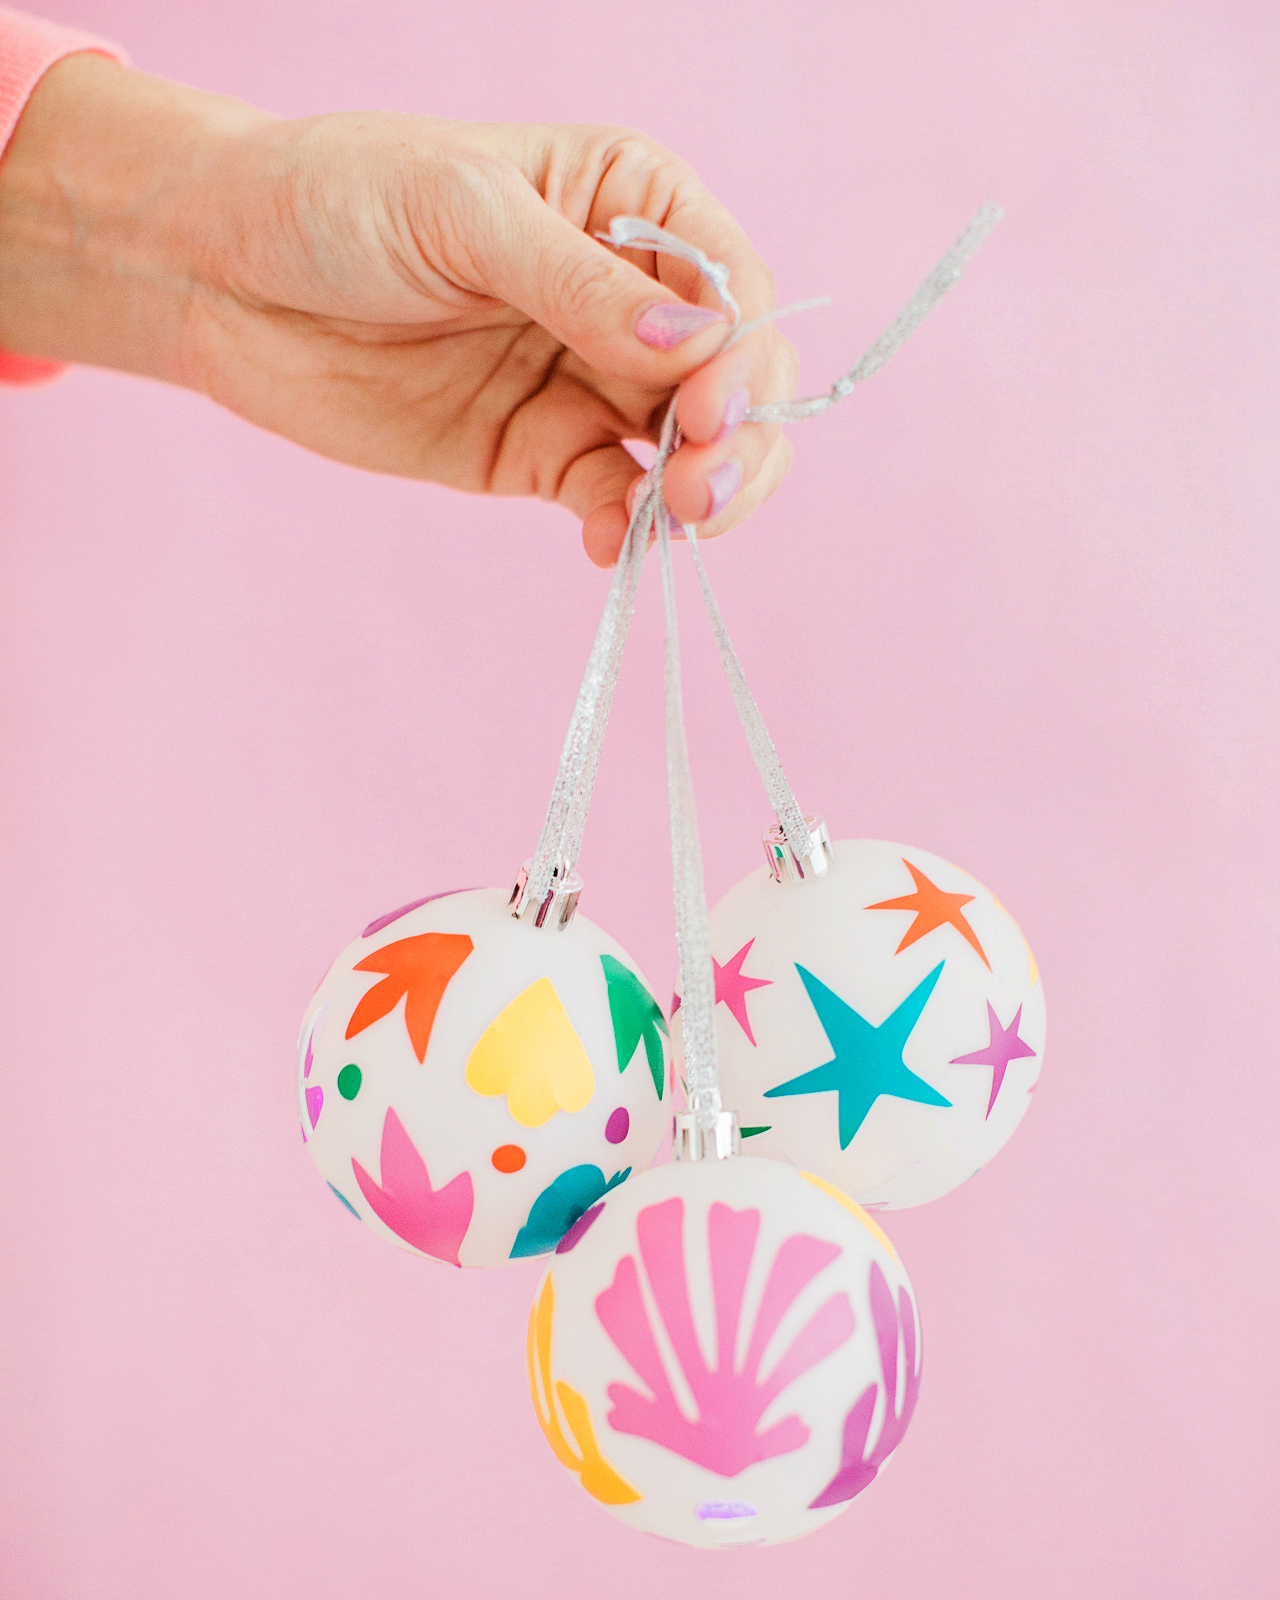

When I did the pumpkins back in October, I used a mix of large and small Matisse-inspired shapes. Since ornaments are even smaller than the tiny pumpkins, we’ll just use the small shapes for this project. I also experimented with a couple ornaments that were all just one shape, like stars, but I really prefer the ornaments that combine all the shapes in a random pattern. These Matisse-inspired shapes are just so lovely when all mixed together!

Supplies
Solid color ornaments, either plastic or glass
Matte craft vinyl in a variety of colors – I used pink, orange, yellow, green, teal, purple
Opalescent vinyl (optional – but I love the way it looks!)
Silhouette Cameo or Cricut Explore cutting machine
Note: If you don’t have one of those machines, you can still use our template to trace the shapes onto the vinyl and cut the shapes out by hand – but it will go a LOT faster with a cutting machine. You can download our templates at the bottom of the post!


To make the DIY Matisse-inspired ornaments:
Step 1. Download our templates at the bottom of the post and use your Silhouette Cameo or Cricut to cut the shapes from each color of vinyl. You can do a colorful rainbow like I did – or keep things simple with just one or two colors!
Step 2. Carefully peel individual shapes from the adhesive backing and apply to the ornaments like a sticker. I found it easiest to start with two of the larger shapes on either side of the ornament, then fill in with the smaller shapes in between. If you place a shape and then change your mind, you should be able to move it by very carefully peeling the vinyl from the ornament and moving it to a new spot (I did this a few times!).
Step 3. Continue placing vinyl shapes until you’ve covered all of your ornaments, and enjoy!



So easy, right? And such a great way to add some color to your Christmas tree!
Download the templates below!
MATISSE-INSPIRED ORNAMENT TEMPLATE (Silhouette Studio file)
MATISSE-INSPIRED ORNAMENT TEMPLATE (SVG file)
p.s. DIY hologram foil ornaments and DIY Matisse-inspired pumpkins
Photo Credits: Meghan Marie Photography and Nole Garey for Oh So Beautiful Paper
