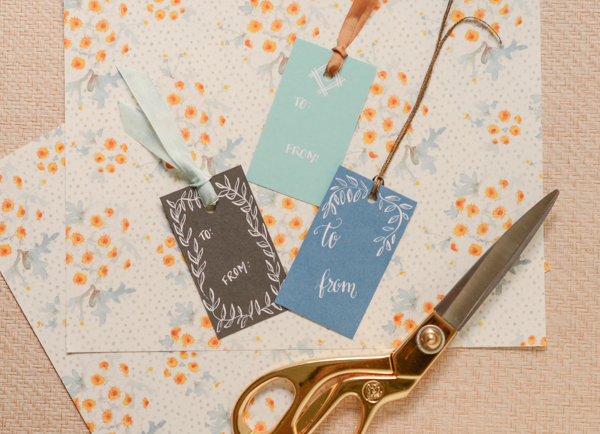
As the season of gifting approaches, we always like to think of new and beautiful ways to present the gifts that were so thoughtfully selected. Gift tags, which are usually an afterthought, can be made really beautiful and special with just a little white ink and a pen. Using blank business sized cards in various colors, we hand made gift tags for our loved ones. They would even make a lovely gift in themselves. – Bailey and Emma of Antiquaria
Materials
Calligraphy Starter Kit, or dip pen and nib
Blank business cards – we used Pool, Lake and Slate
Hole punch

Step One: Gather your supplies. We used various 2″ x 3.5″ colored cards, our very favorite white ink and a pointed calligraphy pen. It’s also handy to grab a cheap paint brush to mix the ink.
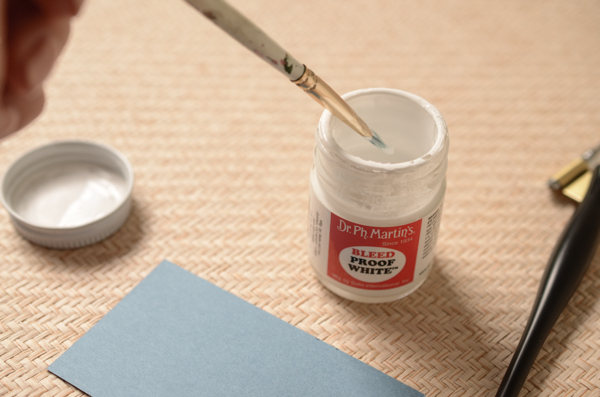
Step Two: Bleed Proof White ink is fabulous because it can be used on dark colors and remains very opaque if mixed correctly. Â When the ink is new, it is a thick, paste like consistency. You can make it into workable ink by adding distilled water into the jar and gently stirring it in (this is where your cheap paintbrush comes in handy) until it looks like heavy cream. Start slow, it’s easier to add more water than to remove water. You’re looking for the ink, when tested, to be very opaque but flow out of the pen smoothly.

Step Three: Put your creative hat on! Decorate the tags to suit the gifts or recipients that they’re for. We did a variety of tag decorations, including leaves, hearts and modern lines. It can really be as simple or as ornate as you’d like! It’s also a really fun effect to decorate around where the hole will be punched, as shown in some of the designs above. Let all of your tags dry very thoroughly. White ink can even take overnight to dry in some climates so don’t rush on to the next step!
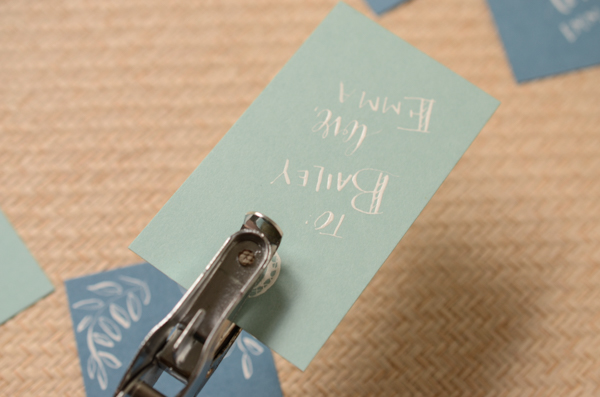
Step Four: Once all of the tags are good and dry, punch holes in the top center of each one.
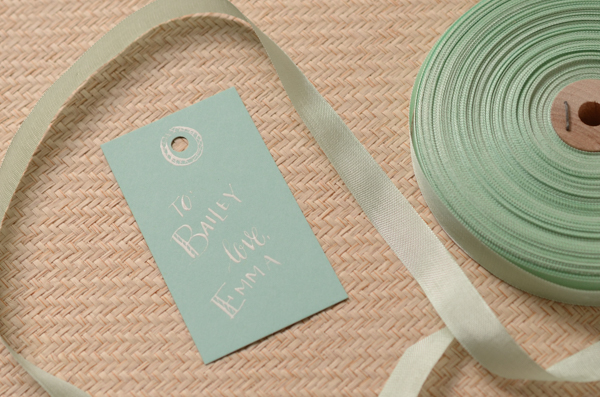
Step Five: Select a ribbon to coordinate and you’re all done!
Photography by Antiquaria for Oh So Beautiful Paper

Comments are closed.