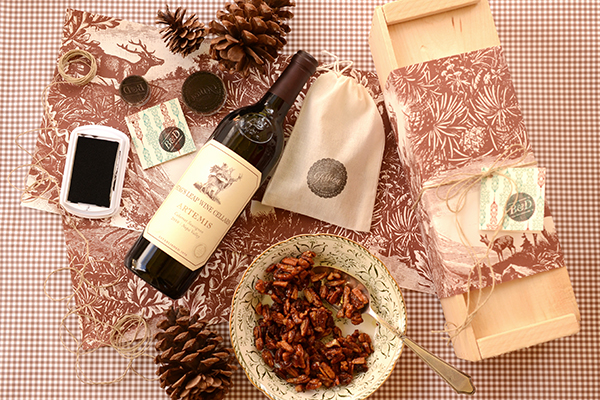
With the holidays right around the corner, we’ve definitely got gift wrapping on the brain! This tutorial is great because not only would this make a great hostess gift but it would also be a fabulous favor idea for a party or wedding. The steps are super simple, so it’s easy to make one box – or one hundred! – Bailey and Emma of Antiquaria
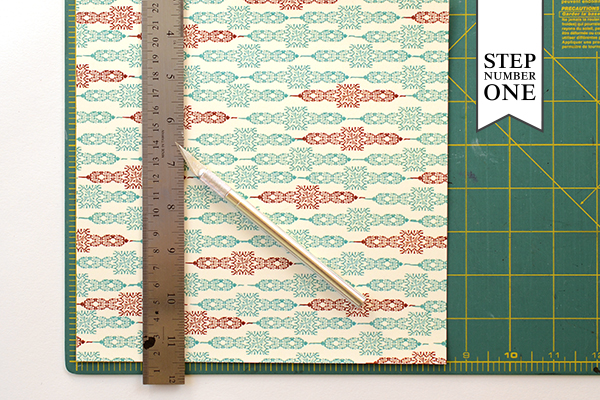
Step One: Start by creating the little hang tag for the outside of the box. To do this, cut your card stock (we used our Old West Patterned Paper) into rectangles measuring 2.5″ x 5″ with a craft knife and ruler on a self healing mat.
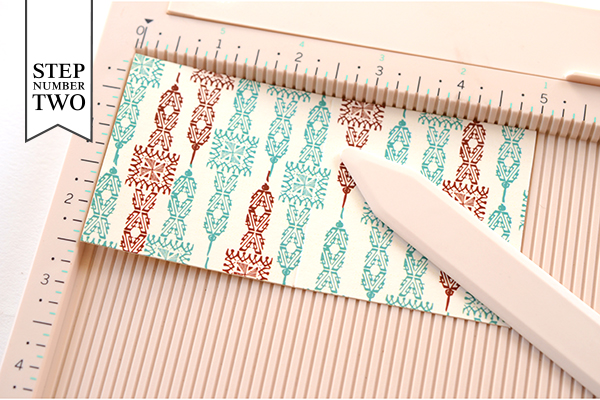
Step Two: Next, you’ll score the card so that it will fold nicely. On a scoreboard, run your tool at the 2.5 inch mark to make the score. Don’t fold the card yet!
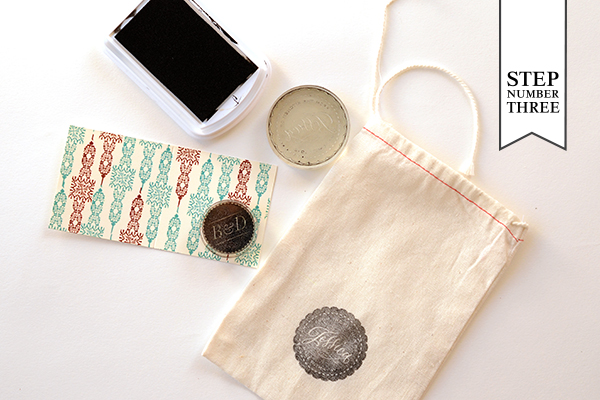
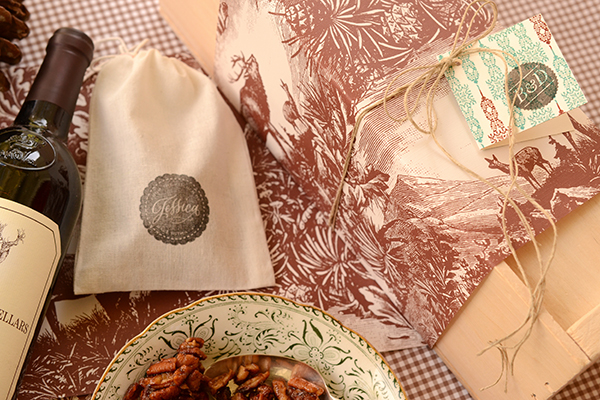
Step Three: Now you’ll get to stamping! Stamp your monogram (we used our Seal Monogram) on the tag in the lower lefthand corner. You’ll also want to stamp your muslin bag with your monogram, or if the goodies are homemade, a kitchen seal stamp works perfectly! With the stamps that are mostly black, like ones shown, you’ll want to take extra care that they are inked really well (see picture below). If they aren’t, your image will be too light to be legible. We’d suggest starting the project with a brand new stamp pad. You can watch our step-by-step video tutorial about the stamp printing process here.

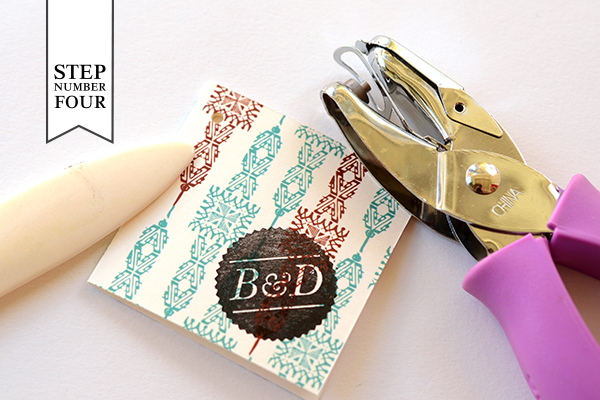
Step Four: Once your ink is dry, it’s time to fold your little card! Use a bone folder to get a crisp, clean fold. Then, punch a hole in the top left corner for the string to go through.
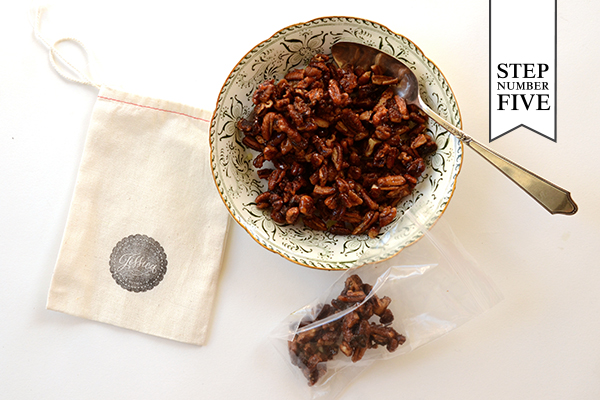
Step Five: Homemade treats make the holidays truly special. We decided to make a batch of these yummy spiced nuts (we used pecans) from a Martha Stewart recipe. Once the nuts are cooled, scoop them into clear food safe bags and insert them into your stamped muslin treat bag! Draw the string and tie the bag closed.
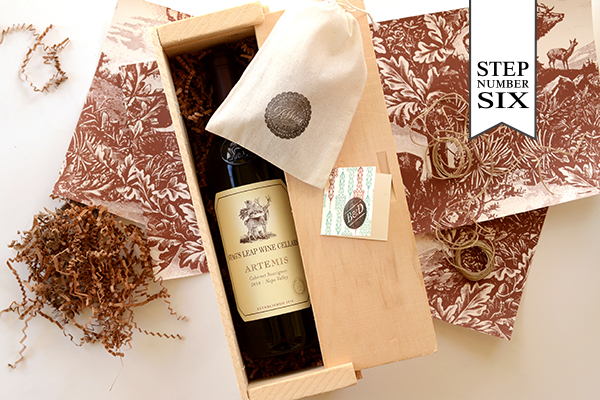
Step Six: Now it all comes together! Gather all of your wrapping materials together and get started. For the large box “belly band” we used a sheet of wrapping paper cut into thirds. To pad the wine bottle in its box, we used kraft crinkle packed snuggly around the bottle. Lay your treat bag on top of the wine bottle and fill up around everything with more crinkle. Now slide the box closed!
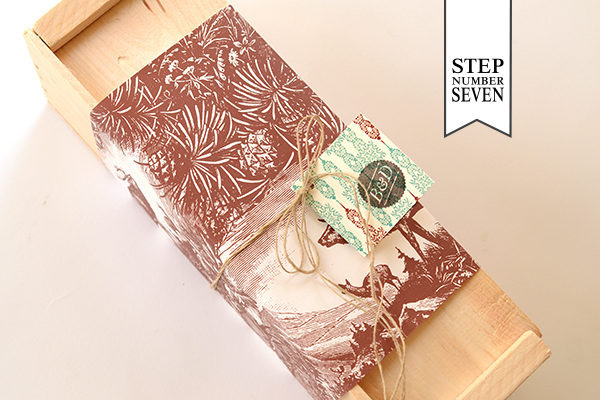
Step Seven: Once everything is secure in the closed box, wrap your decorative paper around the box and secure on the back with double sided tape. Tie around the middle with hemp twine, threading your stamped monogram tag before tying a bow. The gift is now ready and your friend and loved ones will be as thrilled with the gorgeous presentation as the yummy gifts themselves!
Materials
Old West Patterned Paper in Turquoise Card Stock
Stamp Pad (we recommend a brand new one, this one can be heat set and made permanent on fabric)
Self Healing Mat, Craft knife and Metal Ruler
Decorative Gift Wrap (you can have this pre-cut for you before having it shipped)
Phototgraphy: Antiquaria for Oh So Beautiful Paper
