Printable Hologram Foil Ice Cream Cone Wrapper

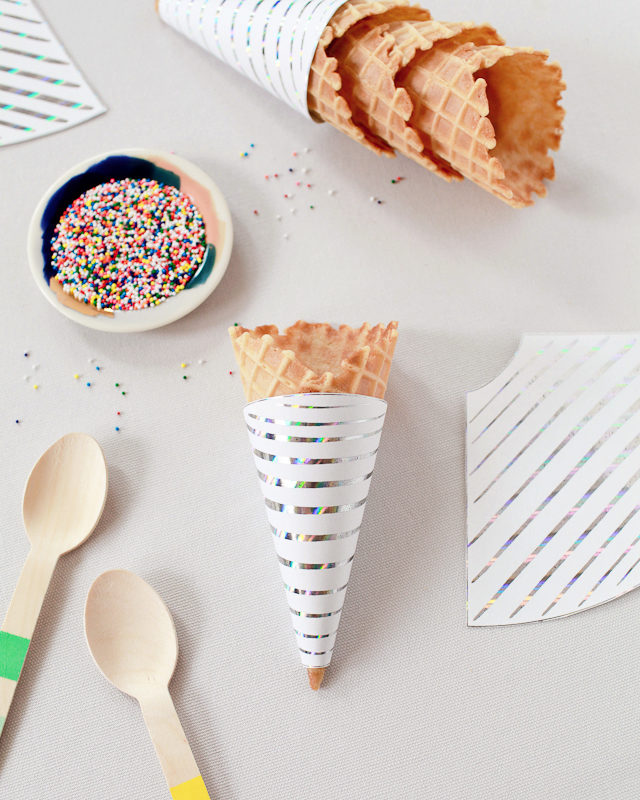
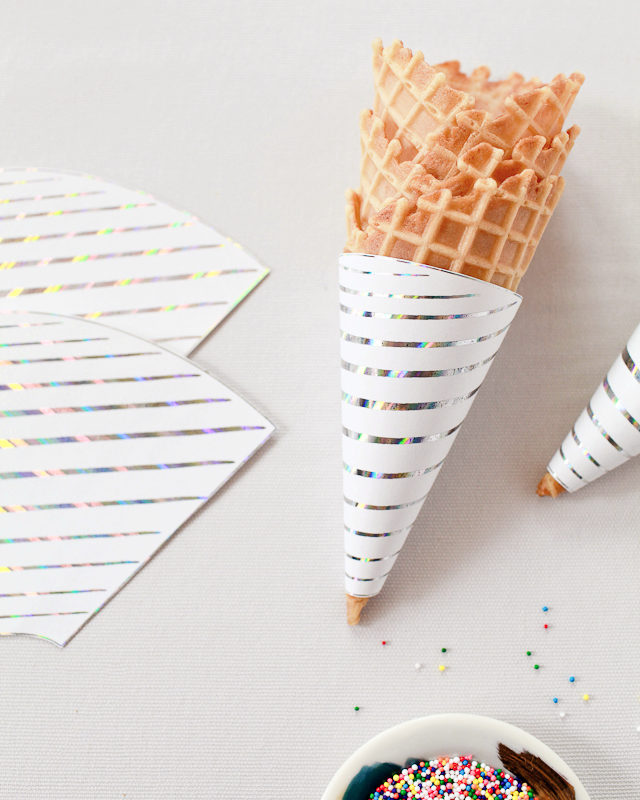
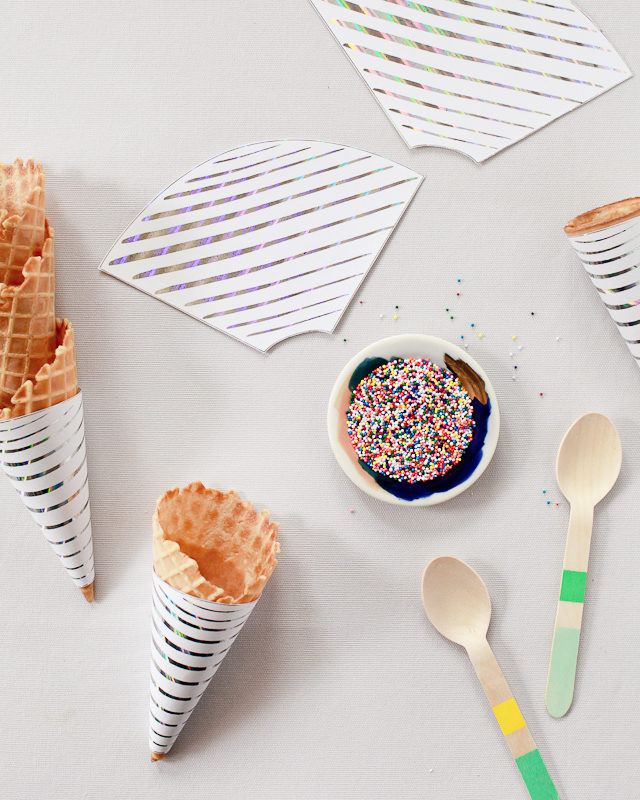
I’ve been foiling everything in sight since getting my hands on a Heidi Swapp Minc foil applicator a few weeks ago, and today I’m thrilled to share another project using this amazing machine! My obsession with all things holographic/iridescent is still running strong, so when I found out about this hologram foil I just knew I wanted to do something fun and summery with it. So here’s a little something to jazz up any backyard BBQs or late summer picnics – hologram foil ice cream cone wrappers!
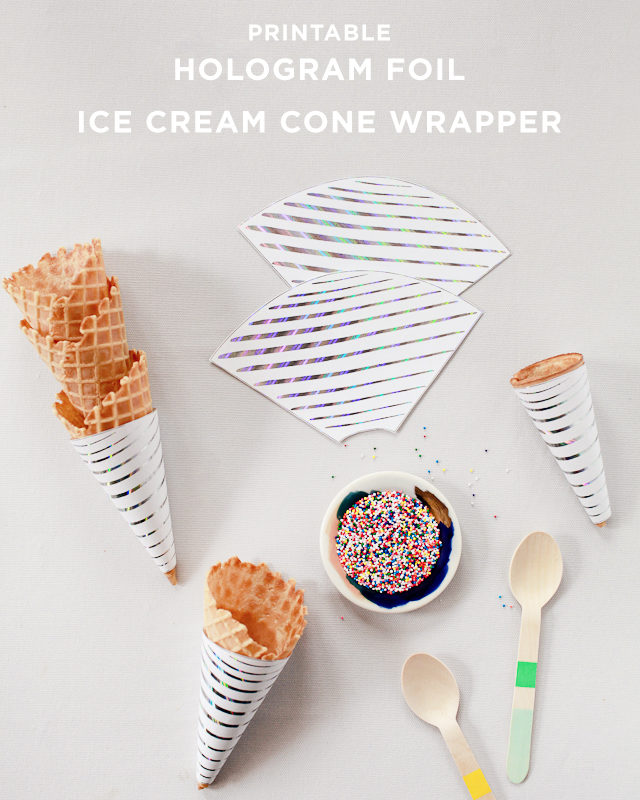

Printable Hologram Foil Ice Cream Cone Wrapper / Oh So Beautiful Paper

Printable Hologram Foil Ice Cream Cone Wrapper / Oh So Beautiful Paper

These ice cream cone wrappers are super cute in just black and white, so you can totally use the printable template even if you haven’t yet gotten yourself a Minc. But seriously, you should totally get one. I’ve been having SO much fun with mine, and there are tons of foil colors and options to play around with!
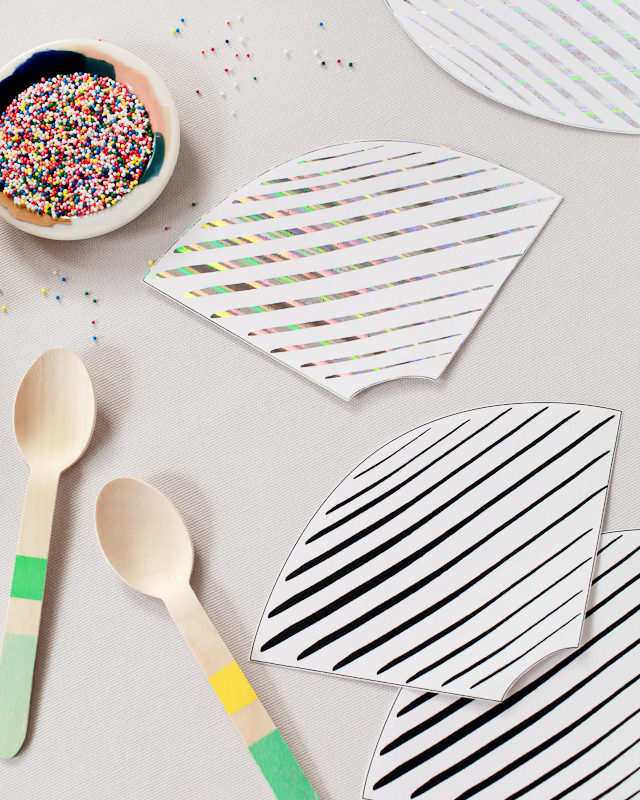
Printable Hologram Foil Ice Cream Cone Wrapper / Oh So Beautiful Paper

To make the ice cream cone wrappers:

Step 1. Print out the template on text weight paper using a laser printer. The Minc foil applicator works with toner ink, so if you don’t have access to a laser printer you can print the template on an ink jet printer and then make copies on a copier.

Step 2. I found I got better results and more mileage from the foil if I cut out each individual wrapper before running it through the Minc foil applicator. Cut out each individual ice cream cone wrapper, being careful to cut just outside the outline. Cut a piece of hologram foil just large enough to cover the ice cream wrapper.

Step 3. Place as many ice cream cone wrappers and pieces of foil as you can fit inside the transfer folder – foil side up. Run through the Minc foil applicator. Peel away the excess foil and voila!
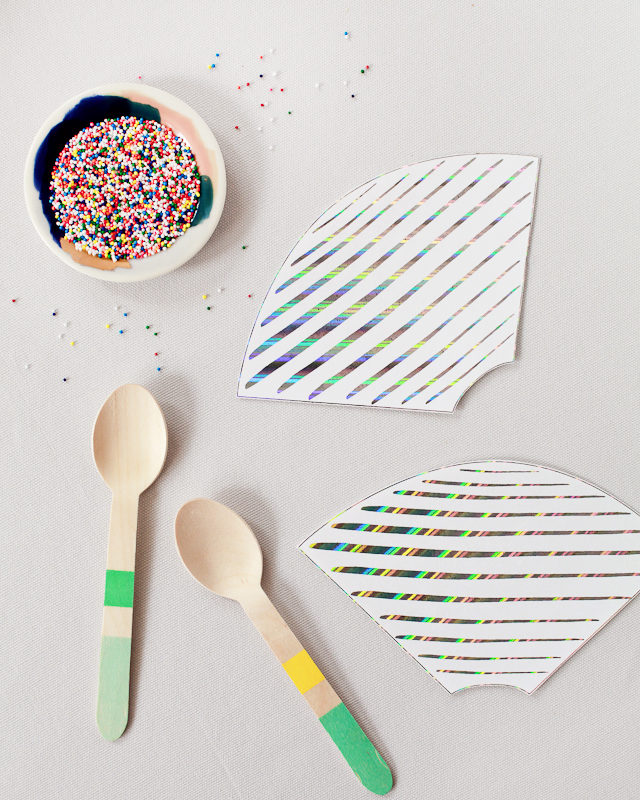
Printable Hologram Foil Ice Cream Cone Wrapper / Oh So Beautiful Paper

Printable Hologram Foil Ice Cream Cone Wrapper / Oh So Beautiful Paper

Printable Hologram Foil Ice Cream Cone Wrapper / Oh So Beautiful Paper

I just can’t get enough of those rainbow shimmers. Holographic everything!
Printable Hologram Foil Ice Cream Cone Wrapper / Oh So Beautiful Paper

Download the printable ice cream cone wrapper template right here!

This post was created in partnership with American Crafts. All content and opinions are my own. Thank you for supporting the sponsors that make Oh So Beautiful Paper possible!

Photos by Nole Garey for Oh So Beautiful Paper

Printable Tropical Envelope Liners

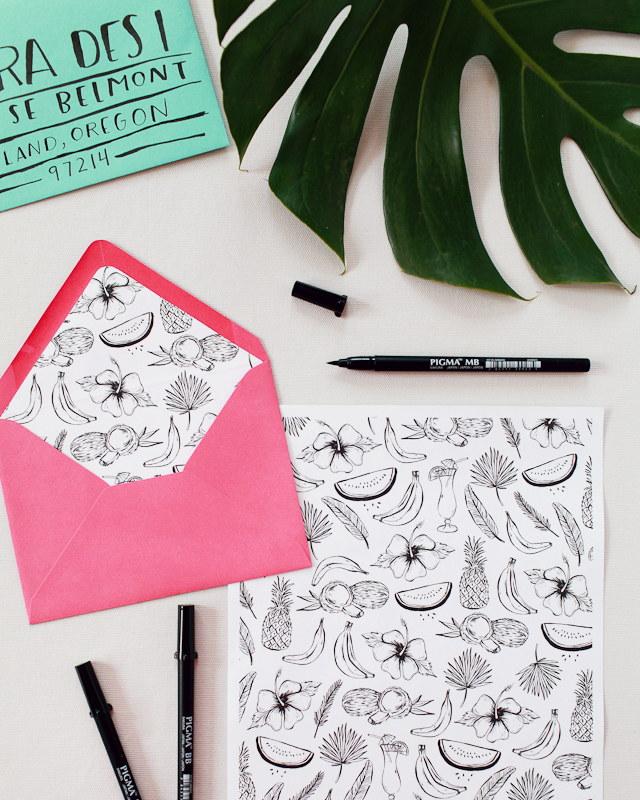
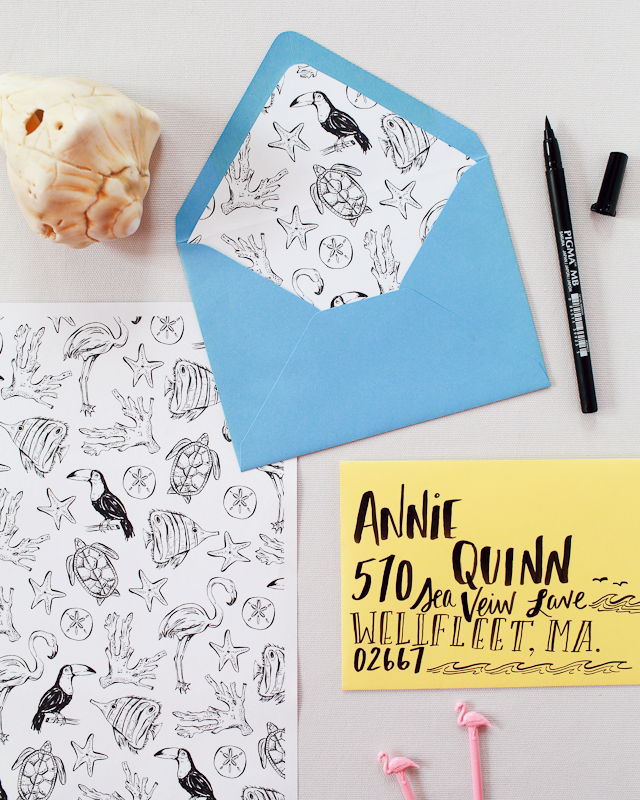
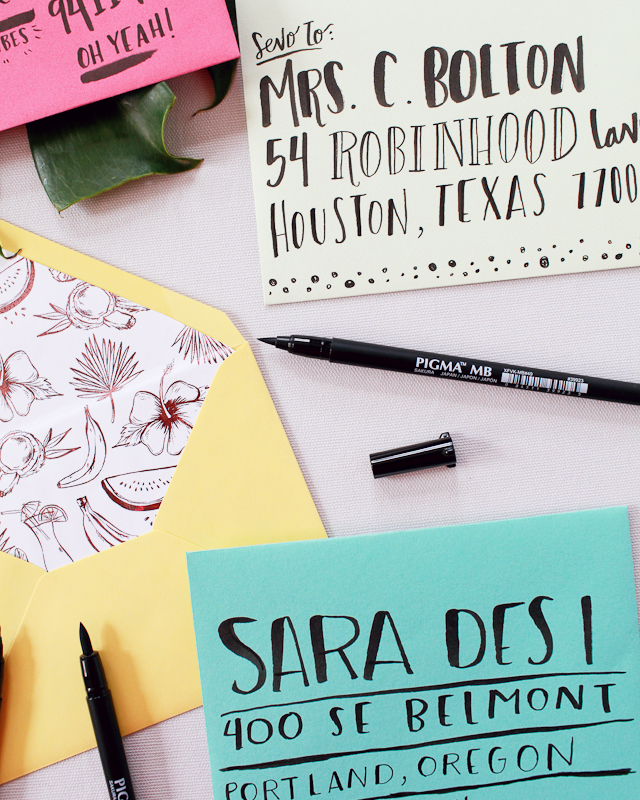
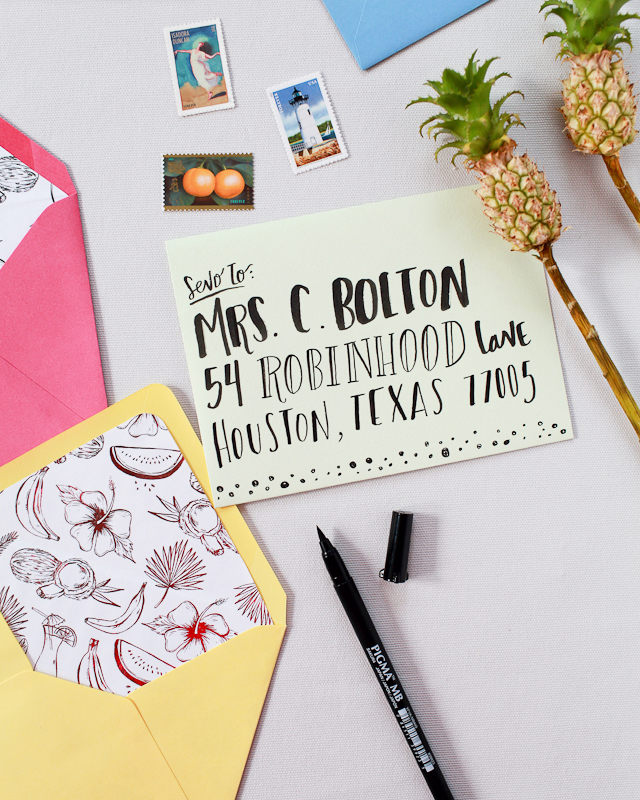
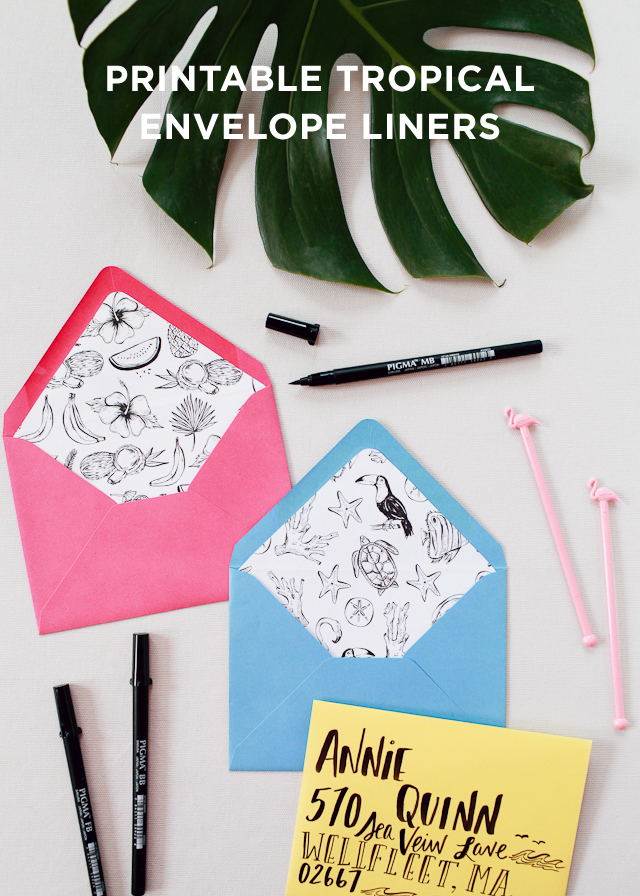
Are you ready for something SUPER fun?!? Sakura of America recently released a set of amazing new brush pens called the Pigma Professional Brush, and we wanted to do something really awesome to show you what these babies can do! Nothing makes me smile more than a colorful envelope and patterned envelope liner – and today we have printable tropical envelope liners in TWO gorgeous patterns for you to enjoy!

Printable Tropical Envelope Liners / Illustrated by Swiss Cottage Designs with Sakura Pigma Professional Brush Pens / Oh So Beautiful Paper

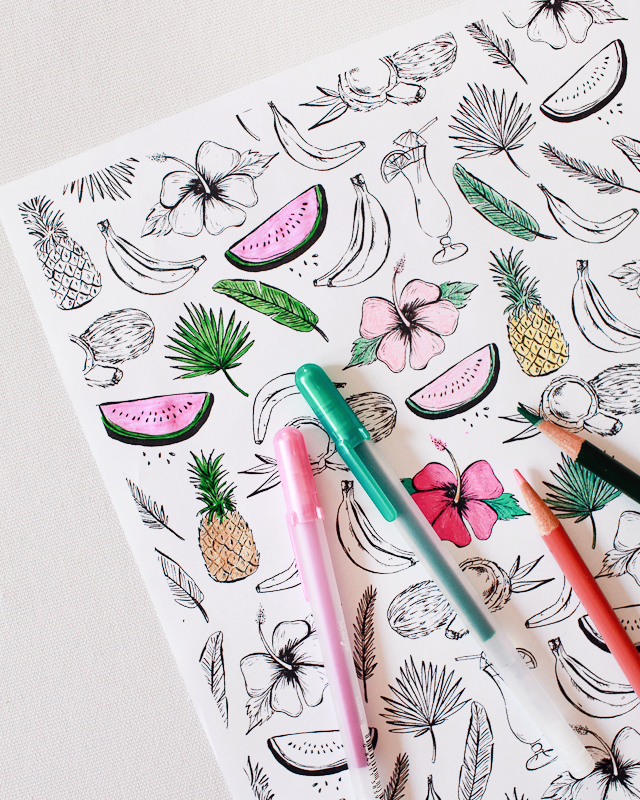
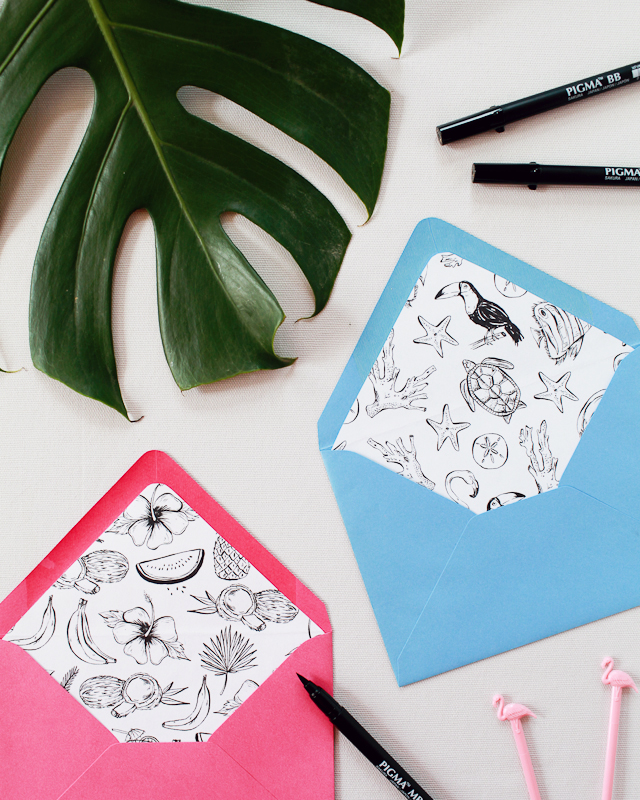
Courtney from Swiss Cottage Designs illustrated the tropical patterns using all three Pigma Professional Brush pen weights – fine, medium, and bold. Courtney and I are still feeling the tropical vibe from the Paper Party so we decided to keep on running with a tropical theme. One pattern features illustrations of watermelons, pineapples, and palm fronds, and the other has flamingos, toucans, coral, and fish! Both patterns make me wish I was somewhere on a beach with a tropical drink in hand!

Printable Tropical Envelope Liners / Illustrated by Swiss Cottage Designs with Sakura Pigma Professional Brush Pens / Oh So Beautiful Paper

You can print the envelope liner patterns on text weight letter size paper. You can leave the patterns black and white – or add a dose of color using colored pencils or your favorite Gelly Roll pen! The Glaze pens almost look like watercolor and are great for coloring in those fine details! You can even use the patterns as coloring sheets just for fun!

Printable Tropical Envelope Liners / Illustrated by Swiss Cottage Designs with Sakura Pigma Professional Brush Pens / Oh So Beautiful Paper

Here are the instructions for making the envelope liners:

Step 1. Lightly trace an outline of the envelope on the back of the liner page. If you’re using Paper Source envelopes, you can use one of these handy envelope liner template kits. Cut out the liner, being careful to cut on the inside of the lines. Trim an additional 1/16″ off each side and 3/4″ off the bottom of the liner.

Step 2. Place the liner in the envelope. Use a glue stick or double sided tape on the back of the liner (along the top triangle and just above the crease) to adhere the liner to the envelope.

Printable Tropical Envelope Liners / Illustrated by Swiss Cottage Designs with Sakura Pigma Professional Brush Pens / Oh So Beautiful Paper

Printable Tropical Envelope Liners / Illustrated by Swiss Cottage Designs with Sakura Pigma Professional Brush Pens / Oh So Beautiful Paper

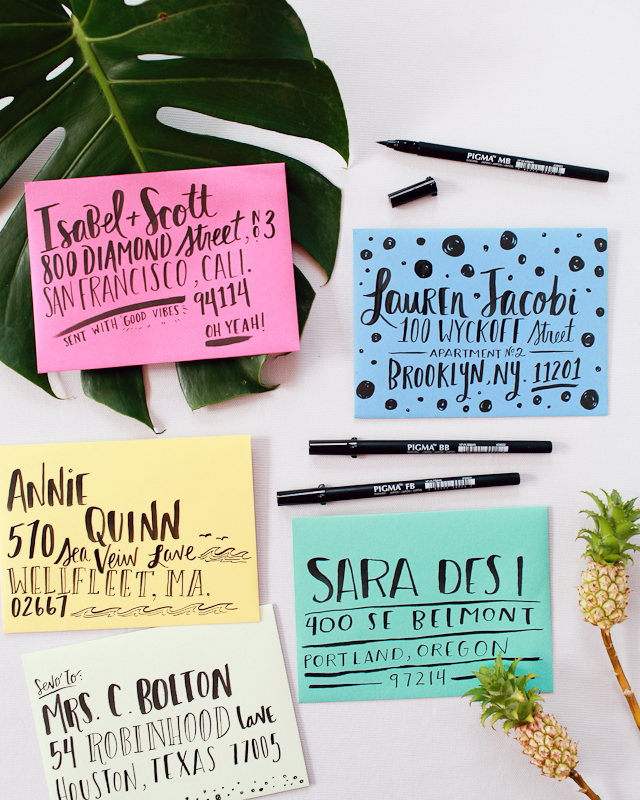
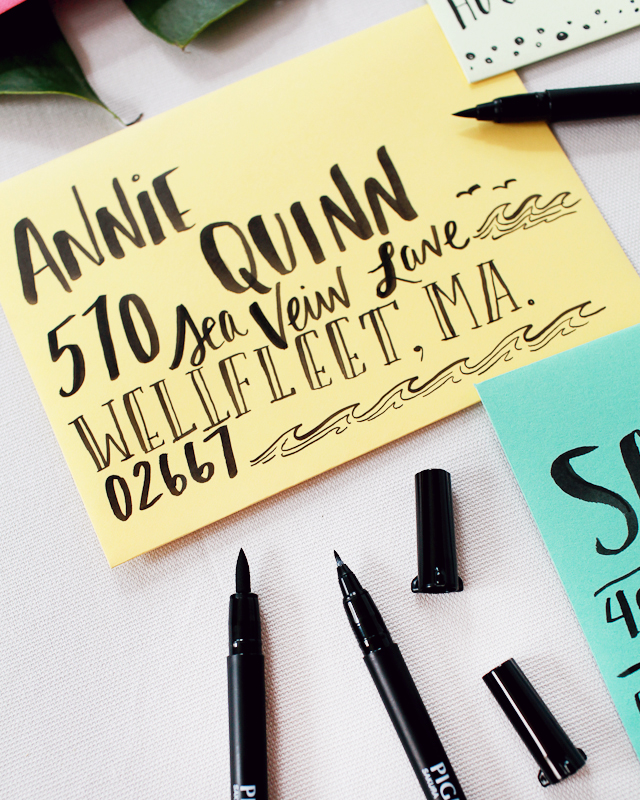
The Pigma Professional Brush pens use archival waterproof ink, which also makes them my new favorite pen for addressing envelopes. The brush nibs respond to changes in pressure or direction while maintaining smooth and consistent ink flow, so they’re super easy to use! The flexible brush nibs offer both thin and thick brush strokes and they won’t smear, feather, or bleed through on most paper. Courtney addressed a few envelopes using the different pen weights – I love the subtle gradient in the bold brush!

Printable Tropical Envelope Liners / Illustrated by Swiss Cottage Designs with Sakura Pigma Professional Brush Pens / Oh So Beautiful Paper

Printable Tropical Envelope Liners / Illustrated by Swiss Cottage Designs with Sakura Pigma Professional Brush Pens / Oh So Beautiful Paper

Printable Tropical Envelope Liners / Illustrated by Swiss Cottage Designs with Sakura Pigma Professional Brush Pens / Oh So Beautiful Paper

And yes, I may have foiled an envelope liner or two (in light pink metallic foil) using my Minc foil applicator. The Minc works with toner ink, so just print the liner patterns on a laser printer, or use a copying machine to make as many copies of the liner as you’ll need, and foil away!

Printable Tropical Envelope Liners / Illustrated by Swiss Cottage Designs with Sakura Pigma Professional Brush Pens / Oh So Beautiful Paper

Download the envelope liner patterns from Swiss Cottage Designs right here! And you can pick up a set of the Pigma Professional Brush pens right here!

All artwork © 2015 Swiss Cottage Designs created exclusively for Oh So Beautiful Paper. All artwork is made available for personal use only. By downloading the patterns you agree to the terms of use.

Swiss Cottage Designs is a mem­ber of the Designer Rolodex â€“ you can see more of Courtney’s beau­ti­ful work right here!

Photos by Nole Garey for Oh So Beautiful Paper
This post is sponsored by Sakura of America. All content and opinions are my own. Thank you for supporting the sponsors that make Oh So Beautiful Paper possible!

DIY Gold Foil Place Cards

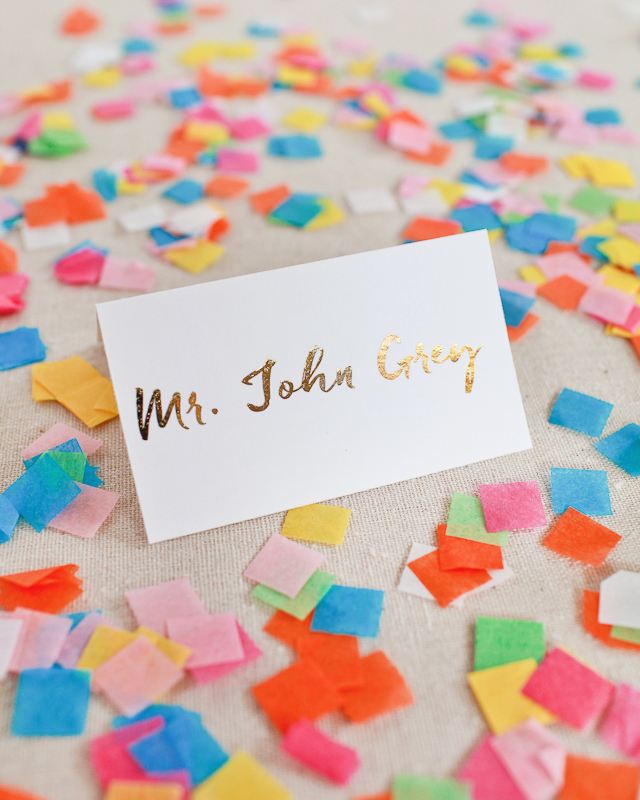
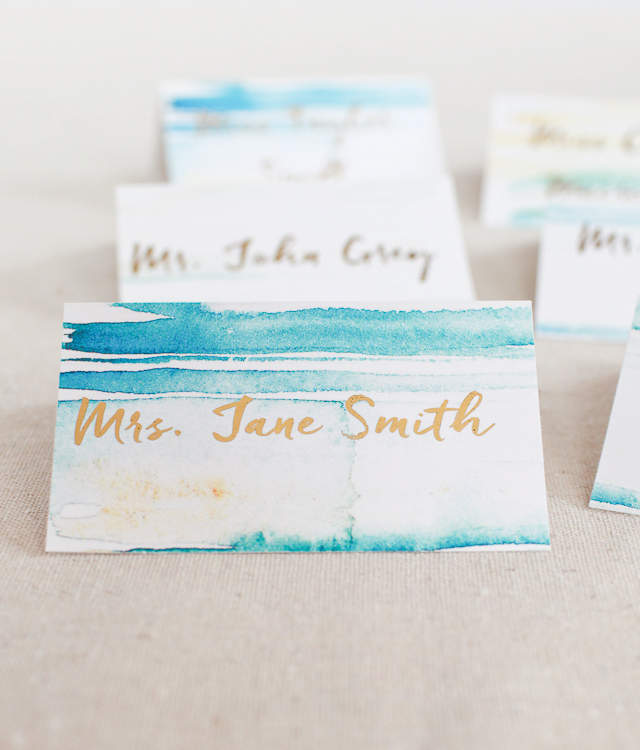
You heard me. DIY. Gold. Foil! At the National Stationery Show in May, I wandered upon a demo in the American Crafts booth of the amazing new Heidi Swapp Minc foil applicator – and I’m pretty sure my jaw dropped all the way to the floor. The Minc makes it possible to foil pretty much anything – you could even foil a spreadsheet if you wanted! Today I’m sharing the first in a series of projects using the Minc foil applicator: DIY gold foil place cards! Just think of all the new foil place card possibilities, from bridal showers to holiday dinners!

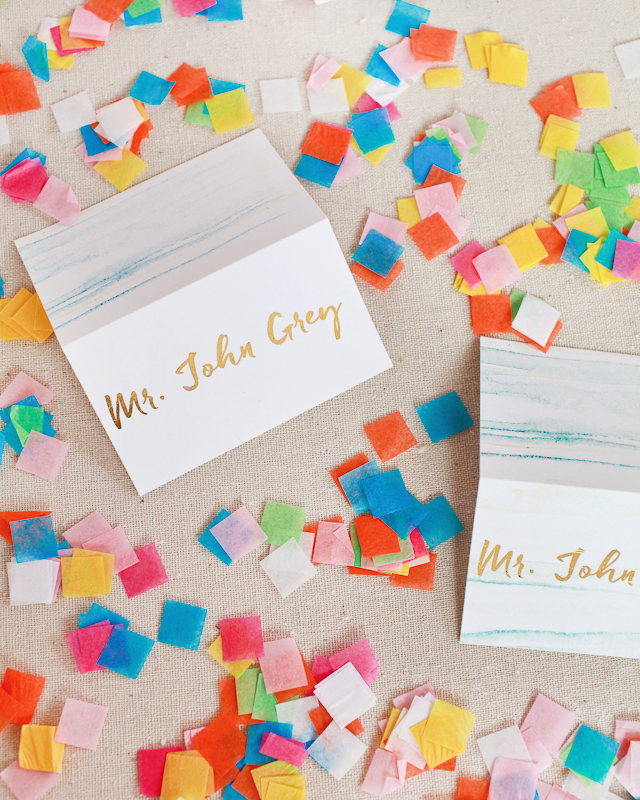
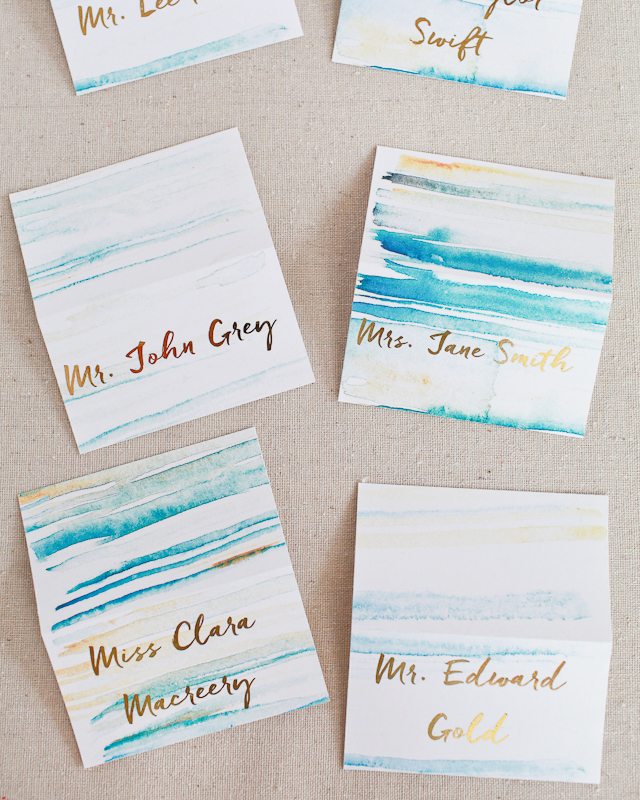
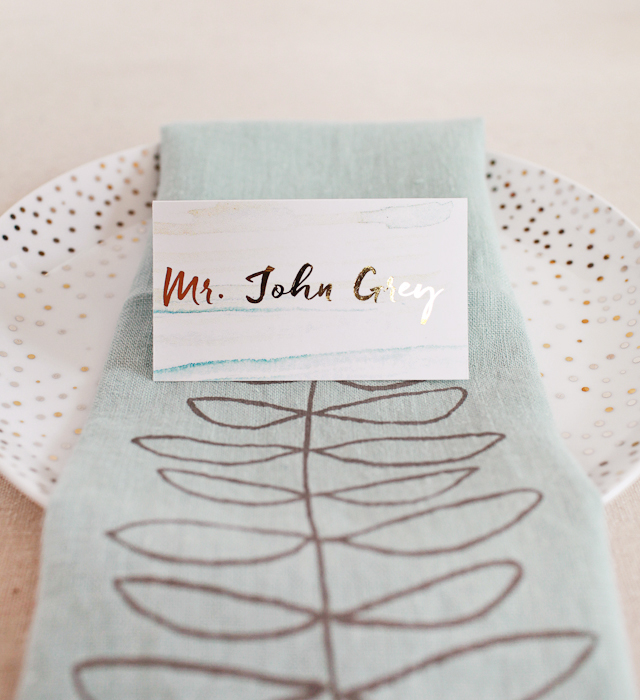
DIY Gold Foil Place Cards with Watercolor Background / Heidi Swapp Minc Foil Applicator / Oh So Beautiful Paper
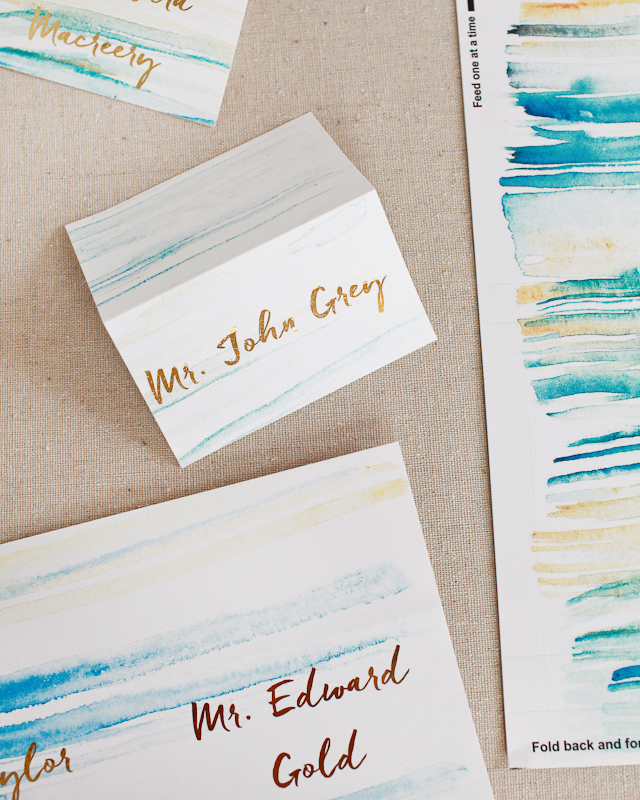
The Minc works with a special type of reactive foil that adheres to toner ink. For custom designs, you need to be able to print the foil portion of your design on a laser printer or copier but you don’t need any special design software. You can use Photoshop, Illustrator, or even Word – as long as you can print it out using toner ink you can foil it with the Minc! Heidi Swapp also offers a range of products that you can use for non-custom designs!

DIY Gold Foil Place Cards with Watercolor Background / Heidi Swapp Minc Foil Applicator / Oh So Beautiful Paper
These place cards would look gorgeous and completely classic with just gold foil against white paper, but I decided to make things a bit more interesting with a whimsical watercolor background! I used a printable watercolor download from one of Antiquaria’s past DIY tutorials – you could also hand paint your watercolor background!

Supplies

Minc foil applicator and transfer folder

Reactive gold foil

Printable tent cards

DIY Gold Foil Place Cards with Watercolor Background / Heidi Swapp Minc Foil Applicator / Oh So Beautiful Paper
Instructions

1. Download the watercolor background right here and print it onto the printable tent cards using an ink jet printer. Print your text in a favorite font on the tent cards (you can find templates right here) using a laser printer. Black toner ink works best with the reactive foil.

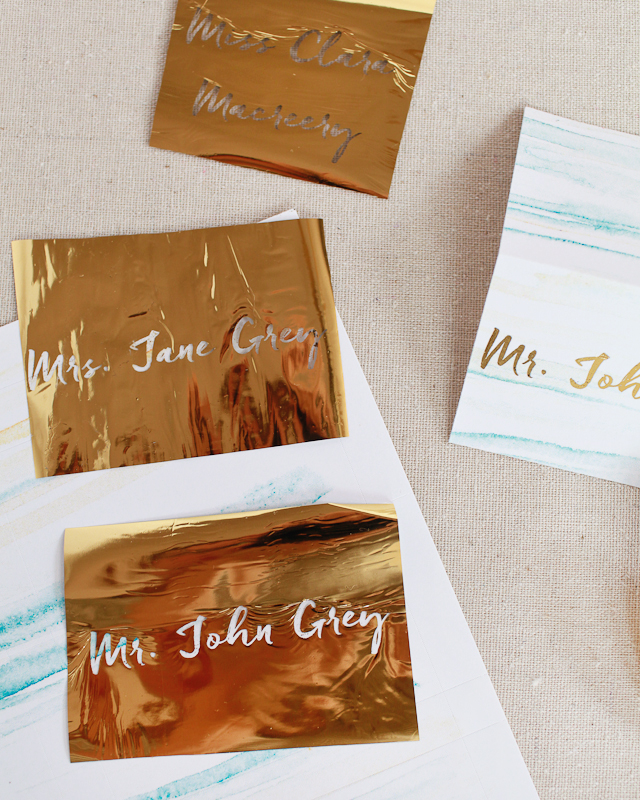
2. Cut strips of gold foil just big enough to cover the text you want to foil. Place the foil strips over the printed tent cards, then place everything in the transfer folder foil side up.

3. Run the transfer folder with your tent cards and gold foil through the Minc foil applicator. Peel away any excess foil and voila!

DIY Gold Foil Place Cards with Watercolor Background / Heidi Swapp Minc Foil Applicator / Oh So Beautiful Paper
DIY Gold Foil Place Cards with Watercolor Background / Heidi Swapp Minc Foil Applicator / Oh So Beautiful Paper
DIY Gold Foil Place Cards with Watercolor Background / Heidi Swapp Minc Foil Applicator / Oh So Beautiful Paper

DIY Gold Foil Place Cards with Watercolor Background / Heidi Swapp Minc Foil Applicator / Oh So Beautiful Paper
Photos by Oh So Beautiful Paper
This post was created in partnership with American Crafts. All content and opinions are my own. Thank you for supporting the sponsors that make Oh So Beautiful Paper possible!

Guest Post: Erin Austen Abbott of Amelia + Cooking with Tom Otis

I’ve asked some of my favorite creative mamas to help out while I’m away with our new baby. Today, the wonderful Erin Austen Abbott from one of my most favorite shops – Amelia – is sharing a recipe from one of her favorite activities with her son Tom Otis: cooking! Thanks Erin! –Nole

When I was in the fourth grade, my mom had me start making my dinner for myself each night. I had cooked with her a little before that, but I was more or less thrown to the wolves to figure it out. She also dropped me off at the grocery store and I did my own shopping. While that was REALLY young, it taught me some valuable lessons. How to shop on a budget yet still get the most for your money, the beauty of fresh veggies, and it allowed me to not be scared to create my own recipes. –Erin

Erin-Austen-Abbott-Amelia-Cooking-with-Tom-Otis-8

Erin-Austen-Abbott-Amelia-Cooking-with-Tom-Otis-10

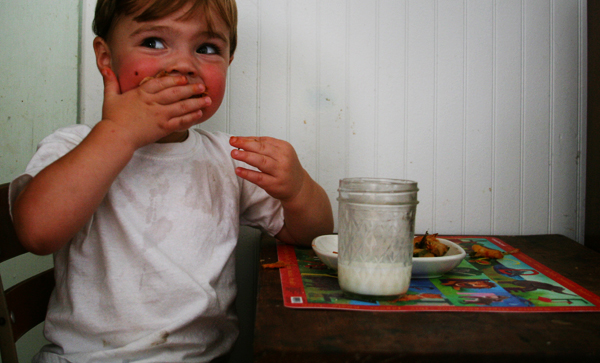
I’ve grown to love cooking… I cook breakfast each weekend for my family. I make dinner six nights a week and I’ve started cooking with my two year old. He gets out his stool and climbs up to sit where he can see. I talk to him about each step that goes into the dish. If I mince the onion, we talk about it. When I select a spice, we talk about it. I tell him about flavor of the spice and how they go with the other ingredients. We might talk about the country that the dish is from. I let him stir, pour and his favorite part, taste test. I hope that he will always want to cook with me, because everything is more fun with him around to help.

Below is a recipe, that is one of his favorites, that I created for him.

Erin-Austen-Abbott-Amelia-Cooking-with-Tom-Otis-1

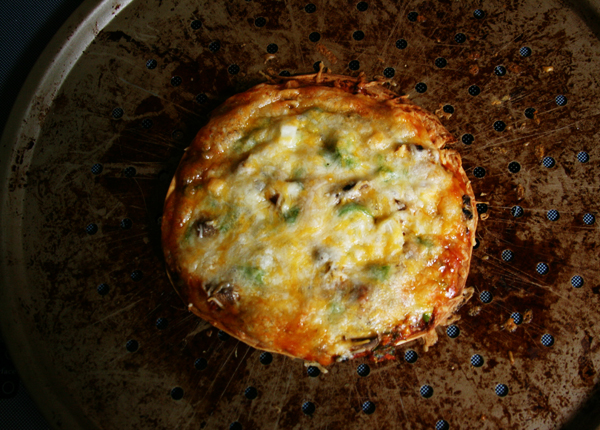
Veggie Pizza

Prep time, 10 mins

Cook time, 12-15 mins

Total 22-25 mins

Ingredients

One flour tortilla

Olive Oil

Basil

Garlic powder

Salt

Pepper

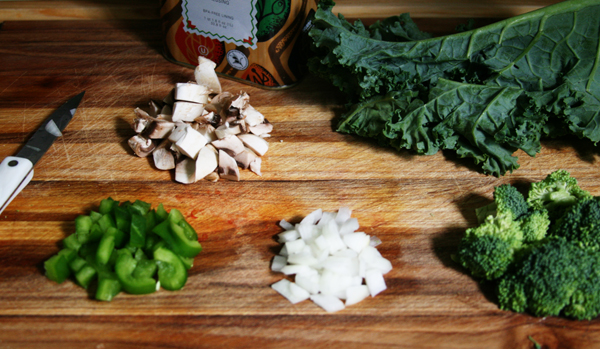
Several Broccoli florets

One stem of Kale

Mushrooms

Onion

Green Peppers

Spinach

Spaghetti sauce

Cheese

Directions

Preheat the oven to 400 degrees F.

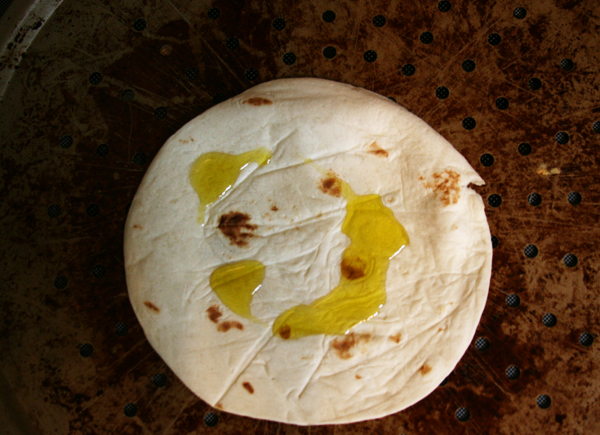
Lay the tortilla on a cooking sheet.

Erin-Austen-Abbott-Amelia-Cooking-with-Tom-Otis-2

Spread a light layer of olive oil on the tortilla.

Erin-Austen-Abbott-Amelia-Cooking-with-Tom-Otis-3

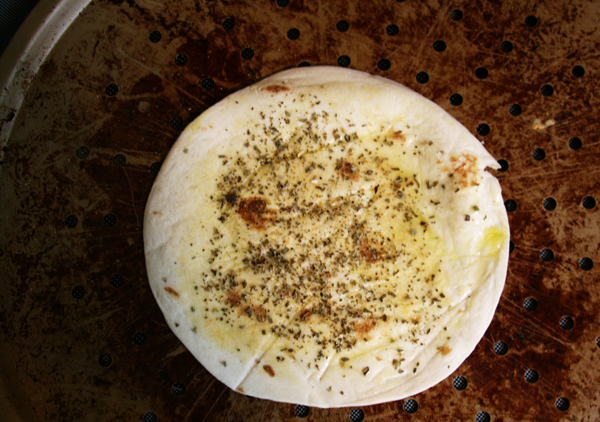
Sprinkle garlic powder, salt, pepper, and basil over the tortilla.

Add a spoonful of sauce onto of the spices.

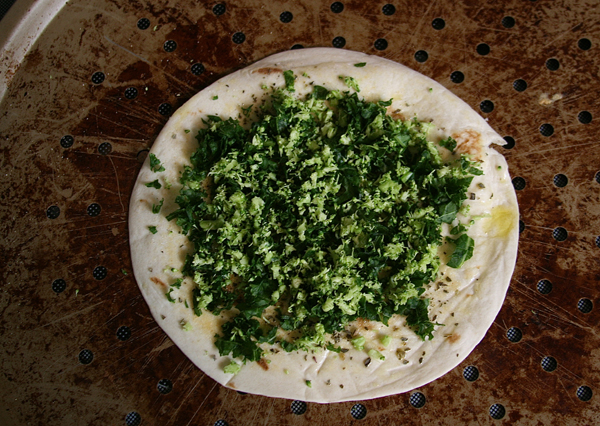
In a blender or food processor, blend the raw broccoli and raw kale until finely minced.

Erin-Austen-Abbott-Amelia-Cooking-with-Tom-Otis-4

Add a layer of the mixture over the sauce.

Erin-Austen-Abbott-Amelia-Cooking-with-Tom-Otis-6

Sprinkle cheese to cover.

Erin-Austen-Abbott-Amelia-Cooking-with-Tom-Otis-5

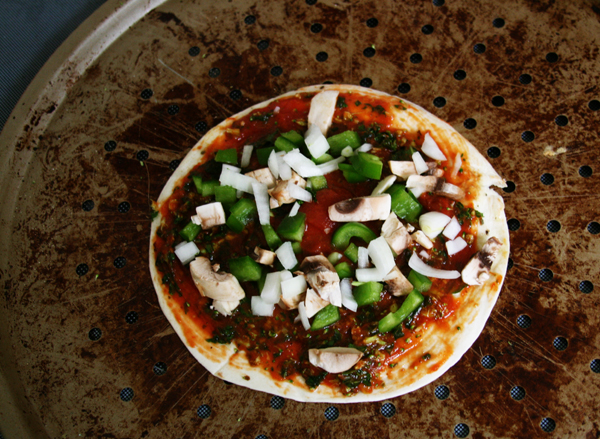
Add mushrooms, onion, green onion, chopped spinach.

Erin-Austen-Abbott-Amelia-Cooking-with-Tom-Otis-7

Bake for 12-15 minutes or until cheese begins to brown.

Erin-Austen-Abbott-Amelia-Cooking-with-Tom-Otis-11

*If your child is really picky about the veggies, you can blend them with the broccoli and kale and hide them under the sauce and cheese. None the wiser.
Enjoy!