I used a rubber stamp to create my own wedding save the dates approximately eight thousand years ago, and I’ve had a special place in my heart for rubber stamps ever since. Annie also went the rubber stamp DIY route for her own wedding save the dates last September, pairing a typography-focused design with gold ink and long kraft paper envelopes. Love!
From Annie:Â Going into the design I knew I wanted something simple and pretty, but not overly feminine or locked into a theme. I love the look and feel of letterpress, and I wanted to find a way to achieve a similar tactile quality while remaining budget conscious. I immediately thought a rubber stamp would be perfect.
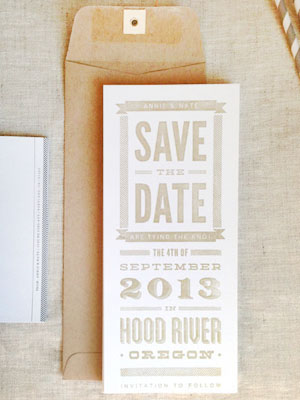
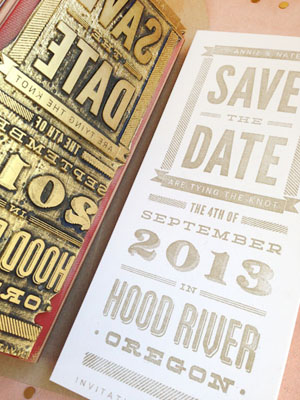
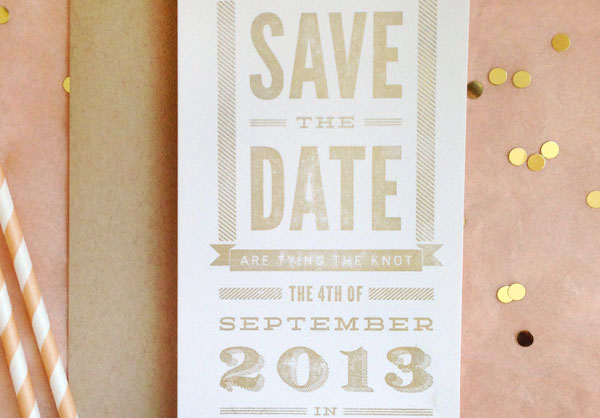
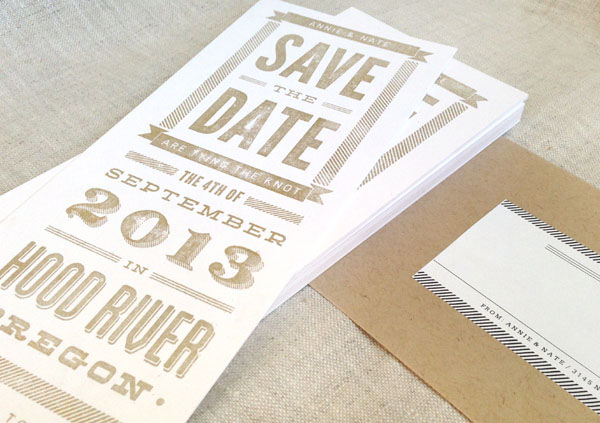
I had a custom rubber stamp made and lovingly hand printed each piece. I love how the stamp creates texture, interest, and depth, and each piece feels special as no two are the same. The crisp white paper and bold typography feel classic and modern, and and I love how the gold ink creates shimmer and shine without going over the top. I paired it with kraft envelopes to compliment the hand crafted look and neutral color palette.
Thanks Annie!
Check out the Designer Rolodex for more talÂented wedÂding inviÂtaÂtion designÂers and the save the date gallery for more beauÂtiÂful cusÂtom save the dates!
Photo Credits: Annie Carlson
Where did you get your design made into a rubber stamp?
I used a local shop in Portland, OR called Atlas Stamp. Highly recommend them if you are in the area!
Your design is beautiful and the stamp created a great look for your Save the Date card!
What size stamp did you use?
Hi Brooke! The stamp is approx 3.85″ x 9″, perfect for a #10 envelope.