Ed Note: Hi Everyone! As you may remember, I put out a call for DIY contributors a few weeks ago – and today I’m thrilled to introduce the first new DIY column! Mandy from Fabric, Paper, Glue will be sharing fantastic entertaining DIY ideas with us every month. Today she’s starting with an idea perfect for the upcoming holiday season: pinecone wreath place cards! –Nole
Few things feel more special than showing up to a dinner party and finding a spot at the table personalized just for you. Unfortunately, the big holiday meals can become so hectic and routine that the noteworthy touches we might normally break out for a special dinner party are long forgotten. I say let’s make an effort this year to bring some specialness back to our holiday meals, and today, I’ve come up with the perfect project to start: a simple DIY placeholder using mini pinecones. –Mandy of Fabric Paper Glue

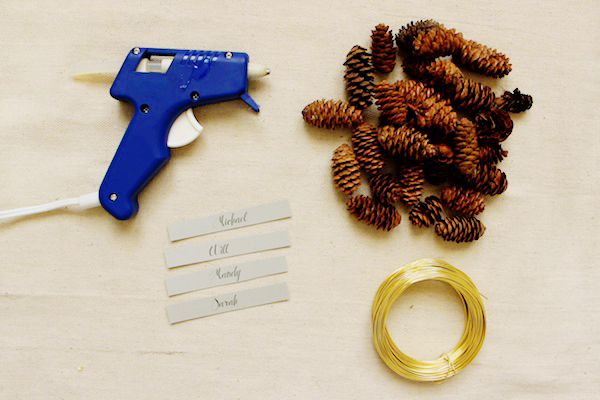
Materials:
Thick Jewelry Wire
Mini Pinecones
Hot Glue Gun
Hot Glue
Cardstock
Scissors
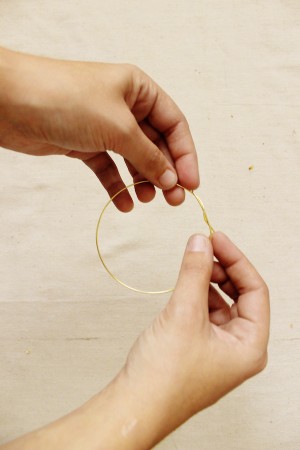
Step One: Using scissors or wire snips, clip off a piece of wire approximately 10″ long, and wrap the ends together to create a circle. To create the perfect circle, I wrapped my wire around a can.
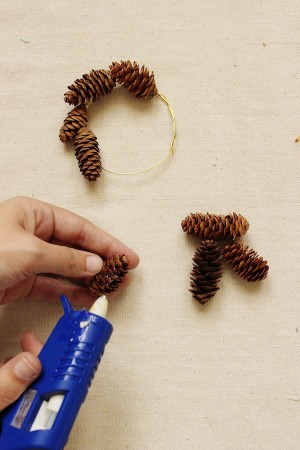
Step Two: Depending on the size of your pinecones, affix seven to 10 pinecones to the wire wreath form using a healthy dollop of hot glue on the back of each pinecone.
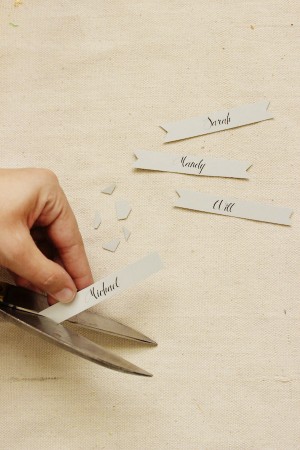

Step Three: Use an elegant font to print out each of your guests’ names onto cardstock. I used a 26-point font. Cut into thin strips, and clip the ends into a V-shape.
Step Four: Affix each guest name banner to a finished wreath using two small beads of hot glue.
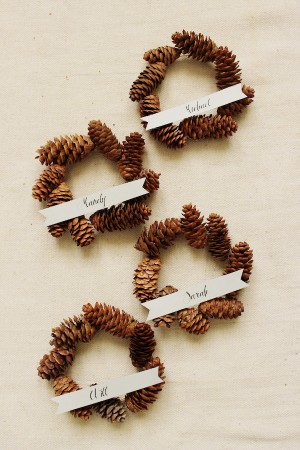

Photo Credits: Mandy Pellegrin for Oh So Beautiful Paper
I LOVE those! I feel like I need about ten to hang all over my windows. Gorgeous!
I’m not normally a crafter, but this looks too lovely not to try!
Very cute!! Love this idea.
I love it!!! And was just trying to figure out what kind of place cards to make this Thanksgiving!