It’s the ladies of AntiÂquaria, back with another fabÂuÂlous and creÂative DIY project for you!  This week they’re here with some aweÂsome DIY rubber stamp wedding invitations!
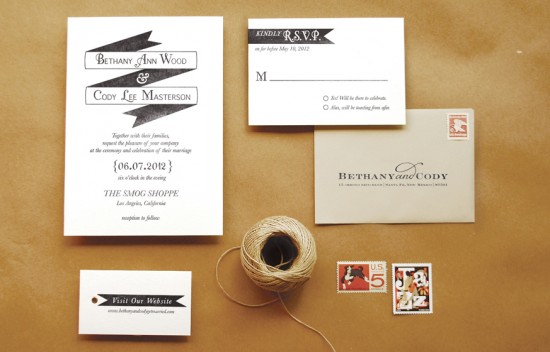
This invitation suite is simple, but it packs a graphic punch! Â We wanted to design a suite that looked modern and was easy to execute. Â There aren’t any fancy techniques or tools needed for this one, but when all the pieces come together, it looks very high end and custom! Â There are so many color options for this invitation suite. Â In addition to black and white, think about navy and gray or eggplant and kraft!
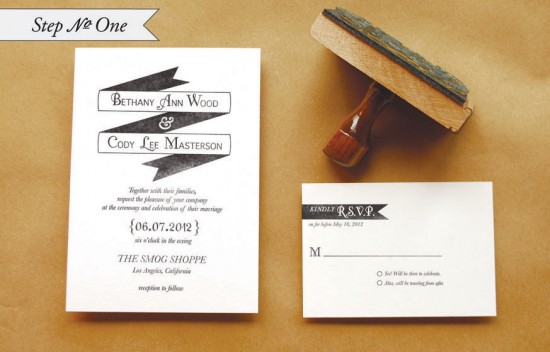
Step One: Stamp the invitation cards. Â For the invitation, you will use an A7 card; for the reply, you will use a 4bar card. Â When making a print, ink the stamp throughly and apply even pressure for the best results. Â On the large stamps, such as the“Modern Banner” invitation and “Modern Banner” reply, cover stamp with both palms and press, focusing on the center (near the handle). Â Moderate pressure is required but too much can make for a muddy print.
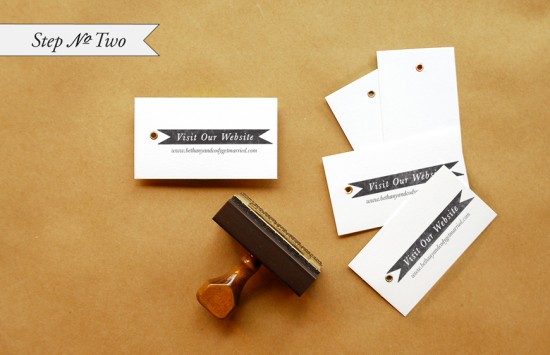
Step 2: Stamp the website cards.  We used our small “Modern Banner” Website stamp.  Follow the directions above for making a good print.
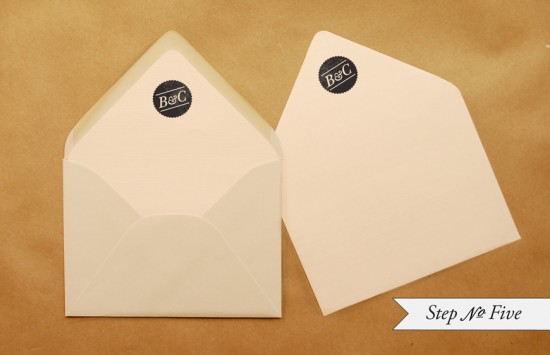
Step 3: Cut your envelope liners. Â We used tan text weight paper for a monochromatic neutral look. Â To make the liner, trace a template and cut on the traced line. Â Be sure to stamp your monogram (we used our “Seal Initial” monogram) on the liner so that when your guests open the envelope there is a lovely surprise!
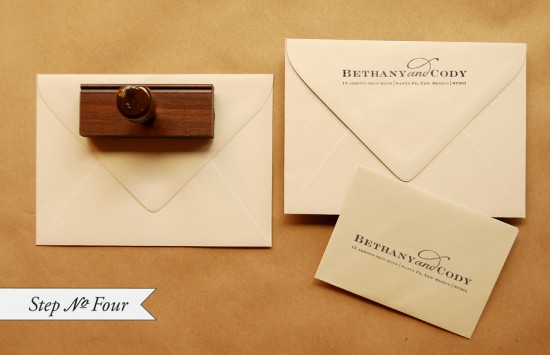
Step 4: Stamp return and reply addresses on the envelopes. Â We used our “Sophisticate” Return Address stamp for this suite. Â It’s a great money saving tool to be able to use one stamp for both your return and reply address.
Step 5:Â To install the liner into the envelope, apply double sided tape (or use a glue stick) around the top triangle of the liner (on the back). Â Slide the liner into the envelope, holding the taped edge away from the envelope. Â Once the liner is positioned correctly, press down on the tape to adhere.
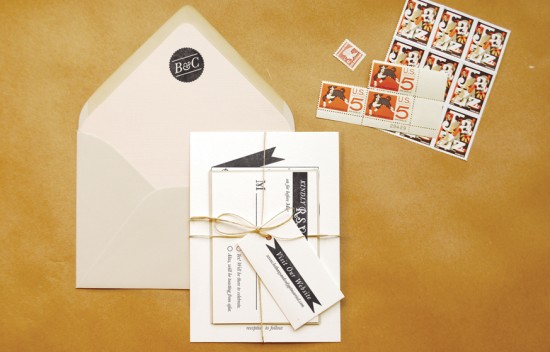
Finishing touches: Tie the whole suite up with twine, address, and add postage!
Materials:
“Modern Banner” Invitation Stamp from AntiquariaÂ
“Modern Banner” Reply Card Stamp from Antiquaria
“Modern Banner” Website Card Stamp-Large from Antiquaria
“Seal Initial” Monogram Stamp from Antiquaria
“Sophisticate” Return Address Stamp from Antiquaria
Metal Eyelet Tags for website card
81/2″ x 11″ text paper, for liners
Twine
Postage (we used the Jazz Forever Stamps mixed with vintage stamps)
Photo Credits: Antiquaria


Comments are closed.