Wedding Details: Creative Menu Ideas

Today we have more wedding day stationery ideas to share – this time focusing on wedding menus.  Menus are one of my favorite details at a wedding, and I love seeing how the bride and groom choose to give their guests a sneak peek of the meal to come.  Whether you go with a menu at each place setting or as part of the centerpiece, I’ve gathered some of the best ideas to share with you!

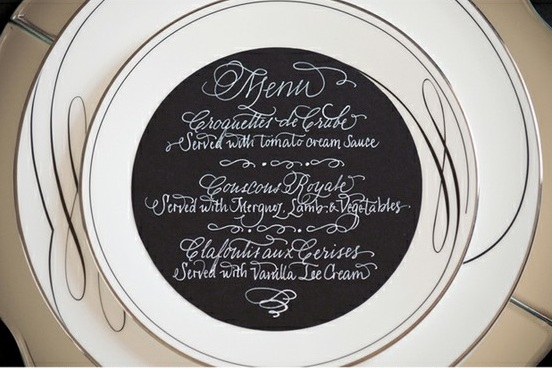
A classic round menu with beautiful calligraphy by Calligraphy Katrina. Photo by Krista Mason via Grey Likes Weddings.

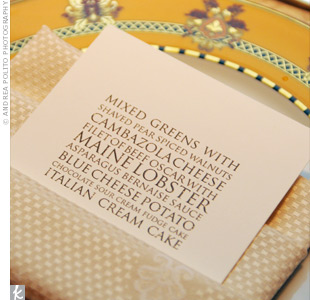
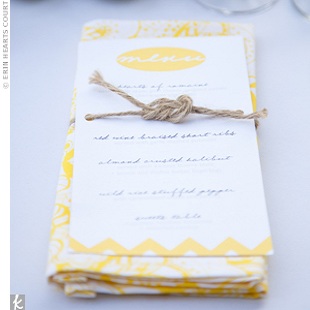
This modern type menu (left) would be so easy to DIY.  Photo by Andrea Polito Photography via The Knot.  I also love the idea of tying the menu to a coordinated napkin with a piece of twine (with a love knot, of course!) for more a casual wedding (right).  Photo by Erin Hearts Court via The Knot.

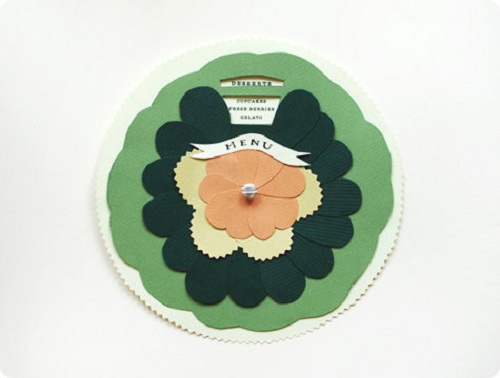
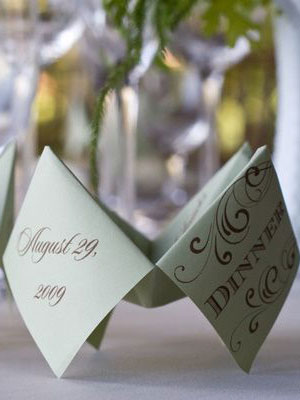
I think just about everyone around the blogosphere fell in love with Anna Bond’s DIY wedding menu wheel – and for good reason!  Details and instructions on Design Sponge.

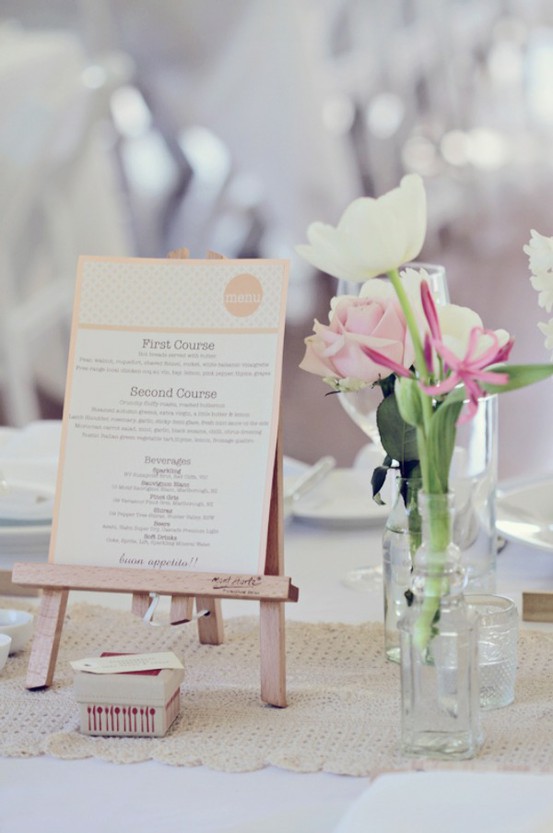
This napkin wrap menu (left) is so creative and modern! Design by Wiley Valentine, photo by Aaron Delesie via Gina DeDominici.  And these tiny art easels are perfect for making your menu part of table’s centerpiece (right). Photo by Poppy Lane via Style Me Pretty.

Having a western themed affair?  Carry it throughout all of your wedding stationery for a cohesive look.  Designed by Things Are Better with a Parrot.

Hand-illustrated menus have become really popular and they I think they add a great personal touch.  Check out these examples:

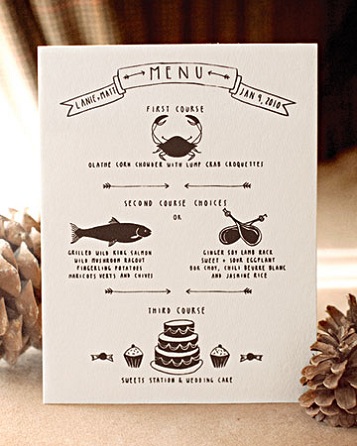
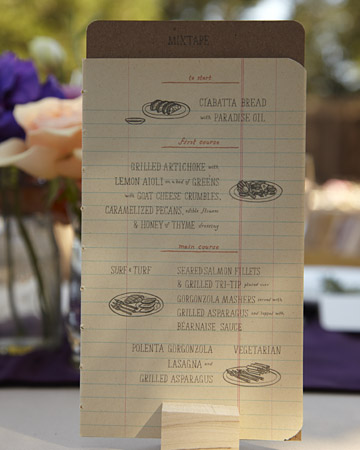
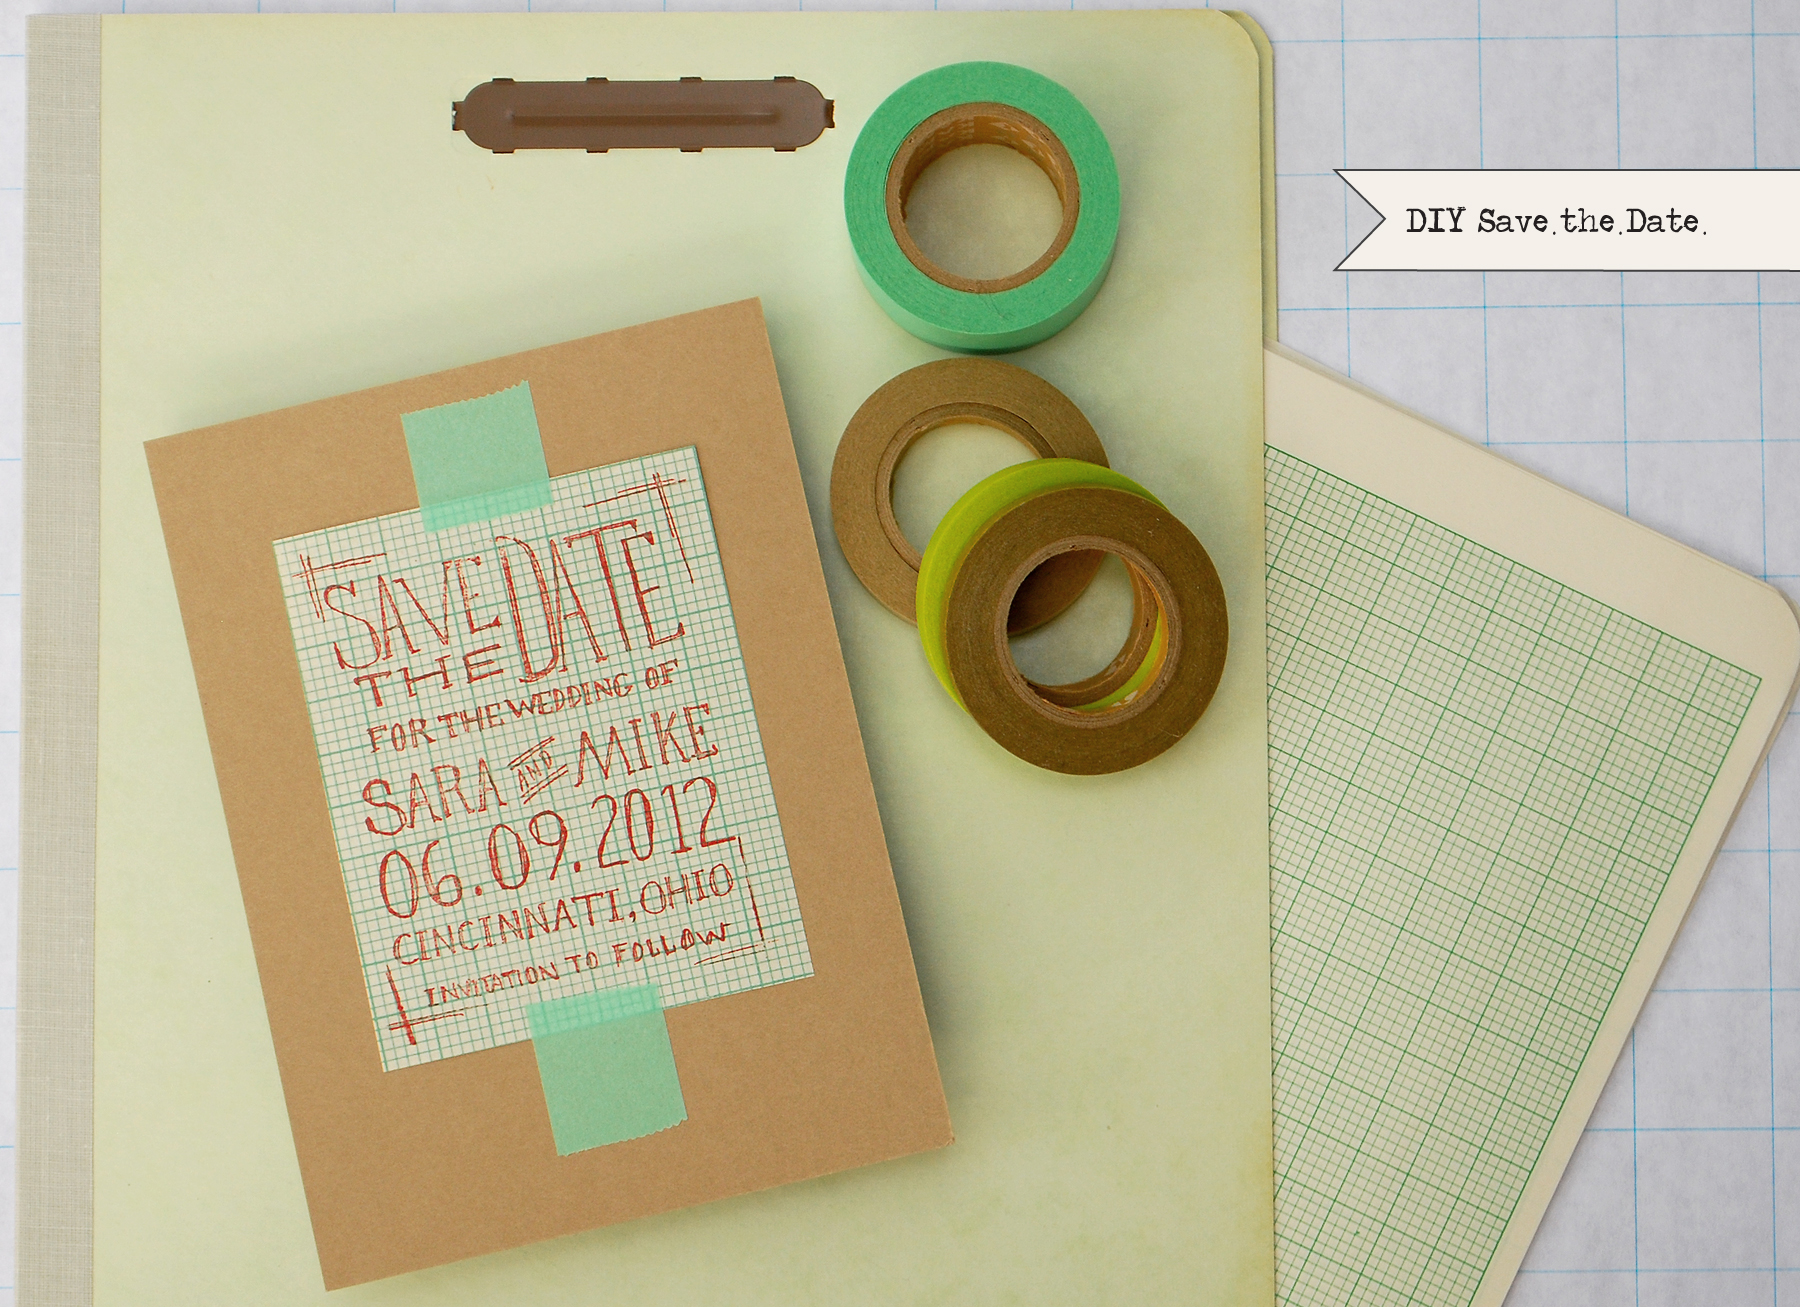
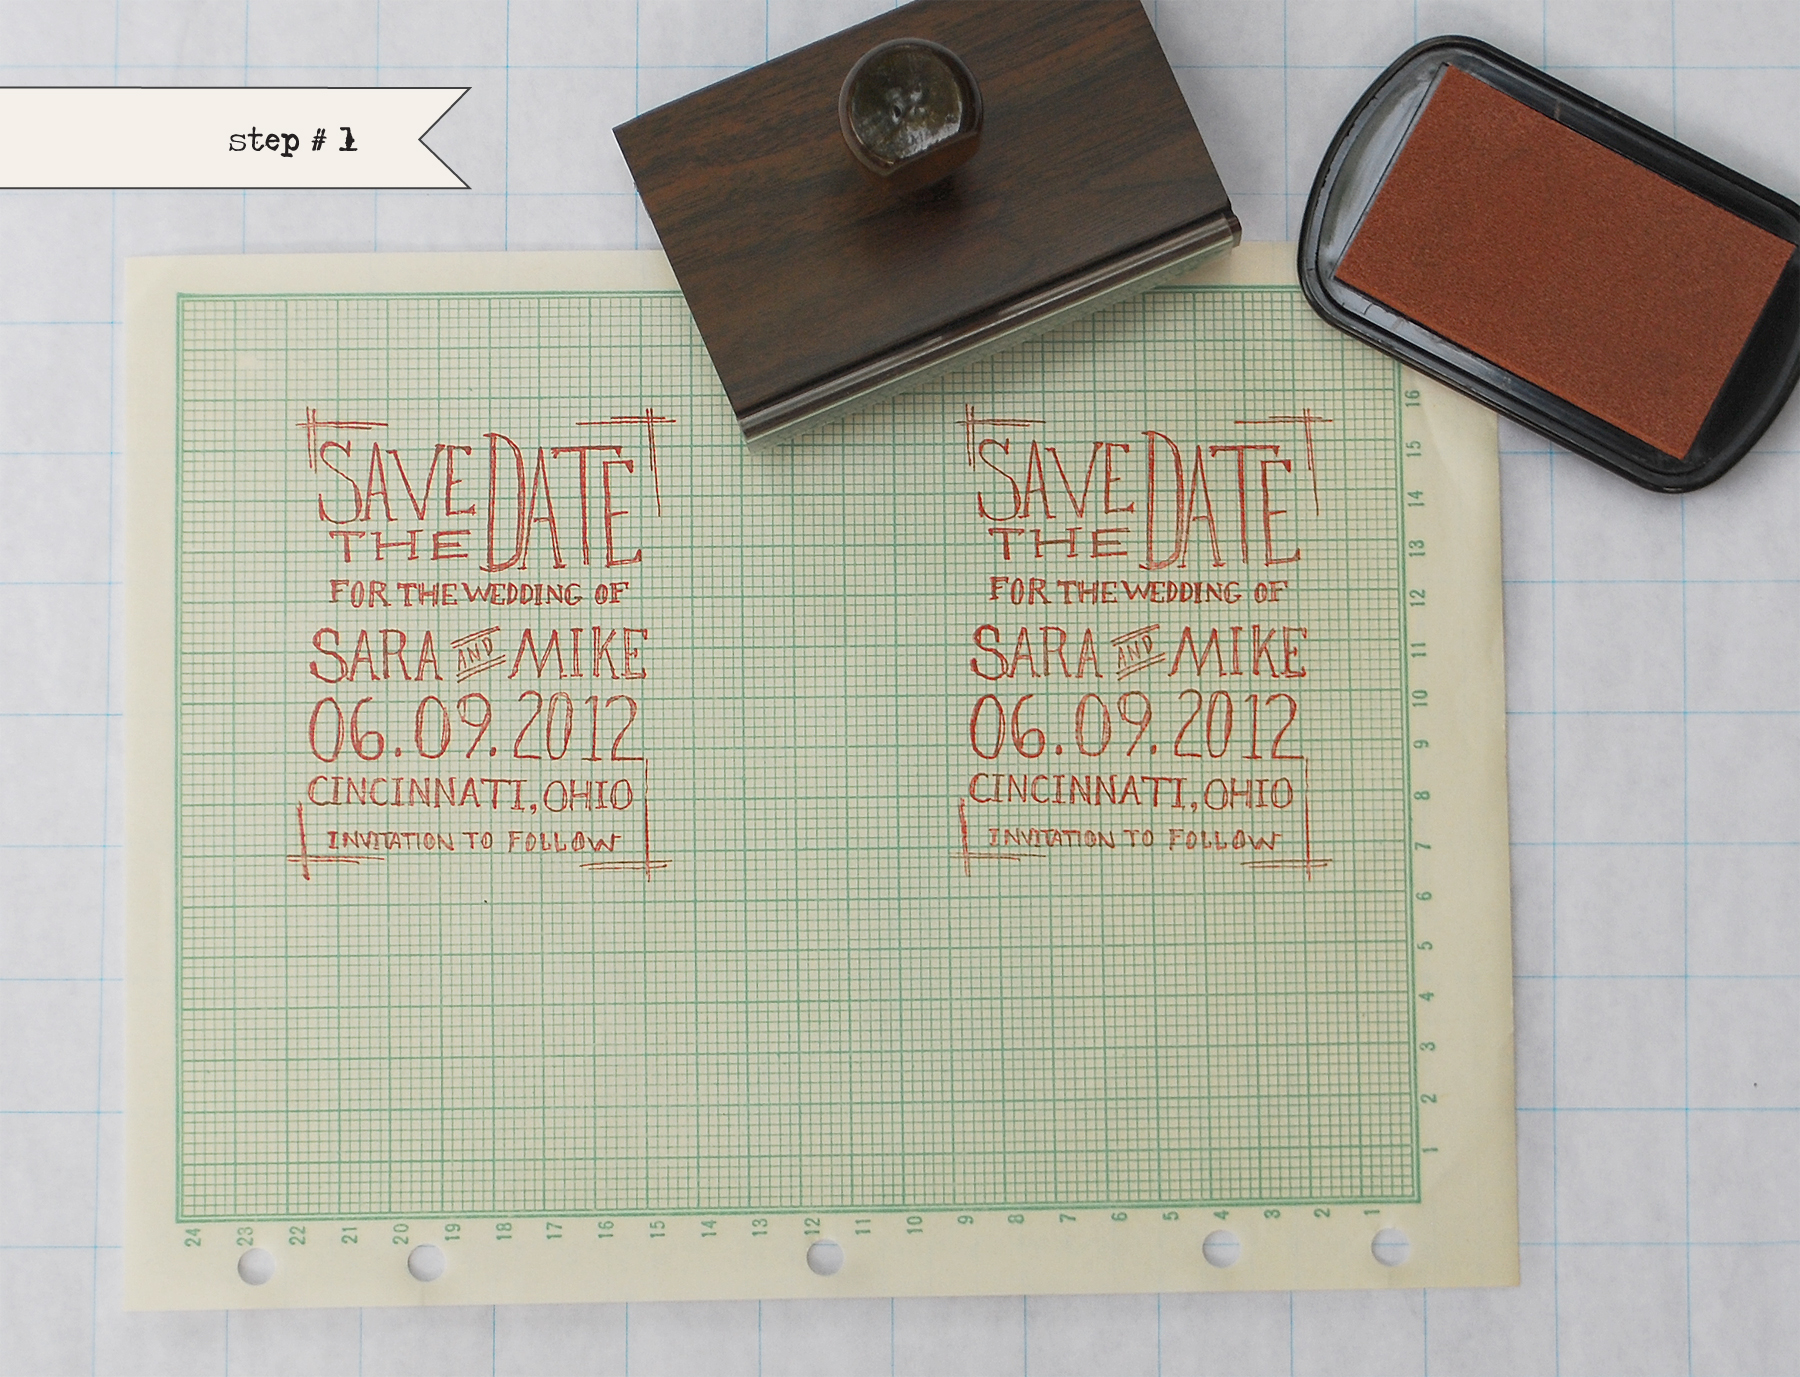
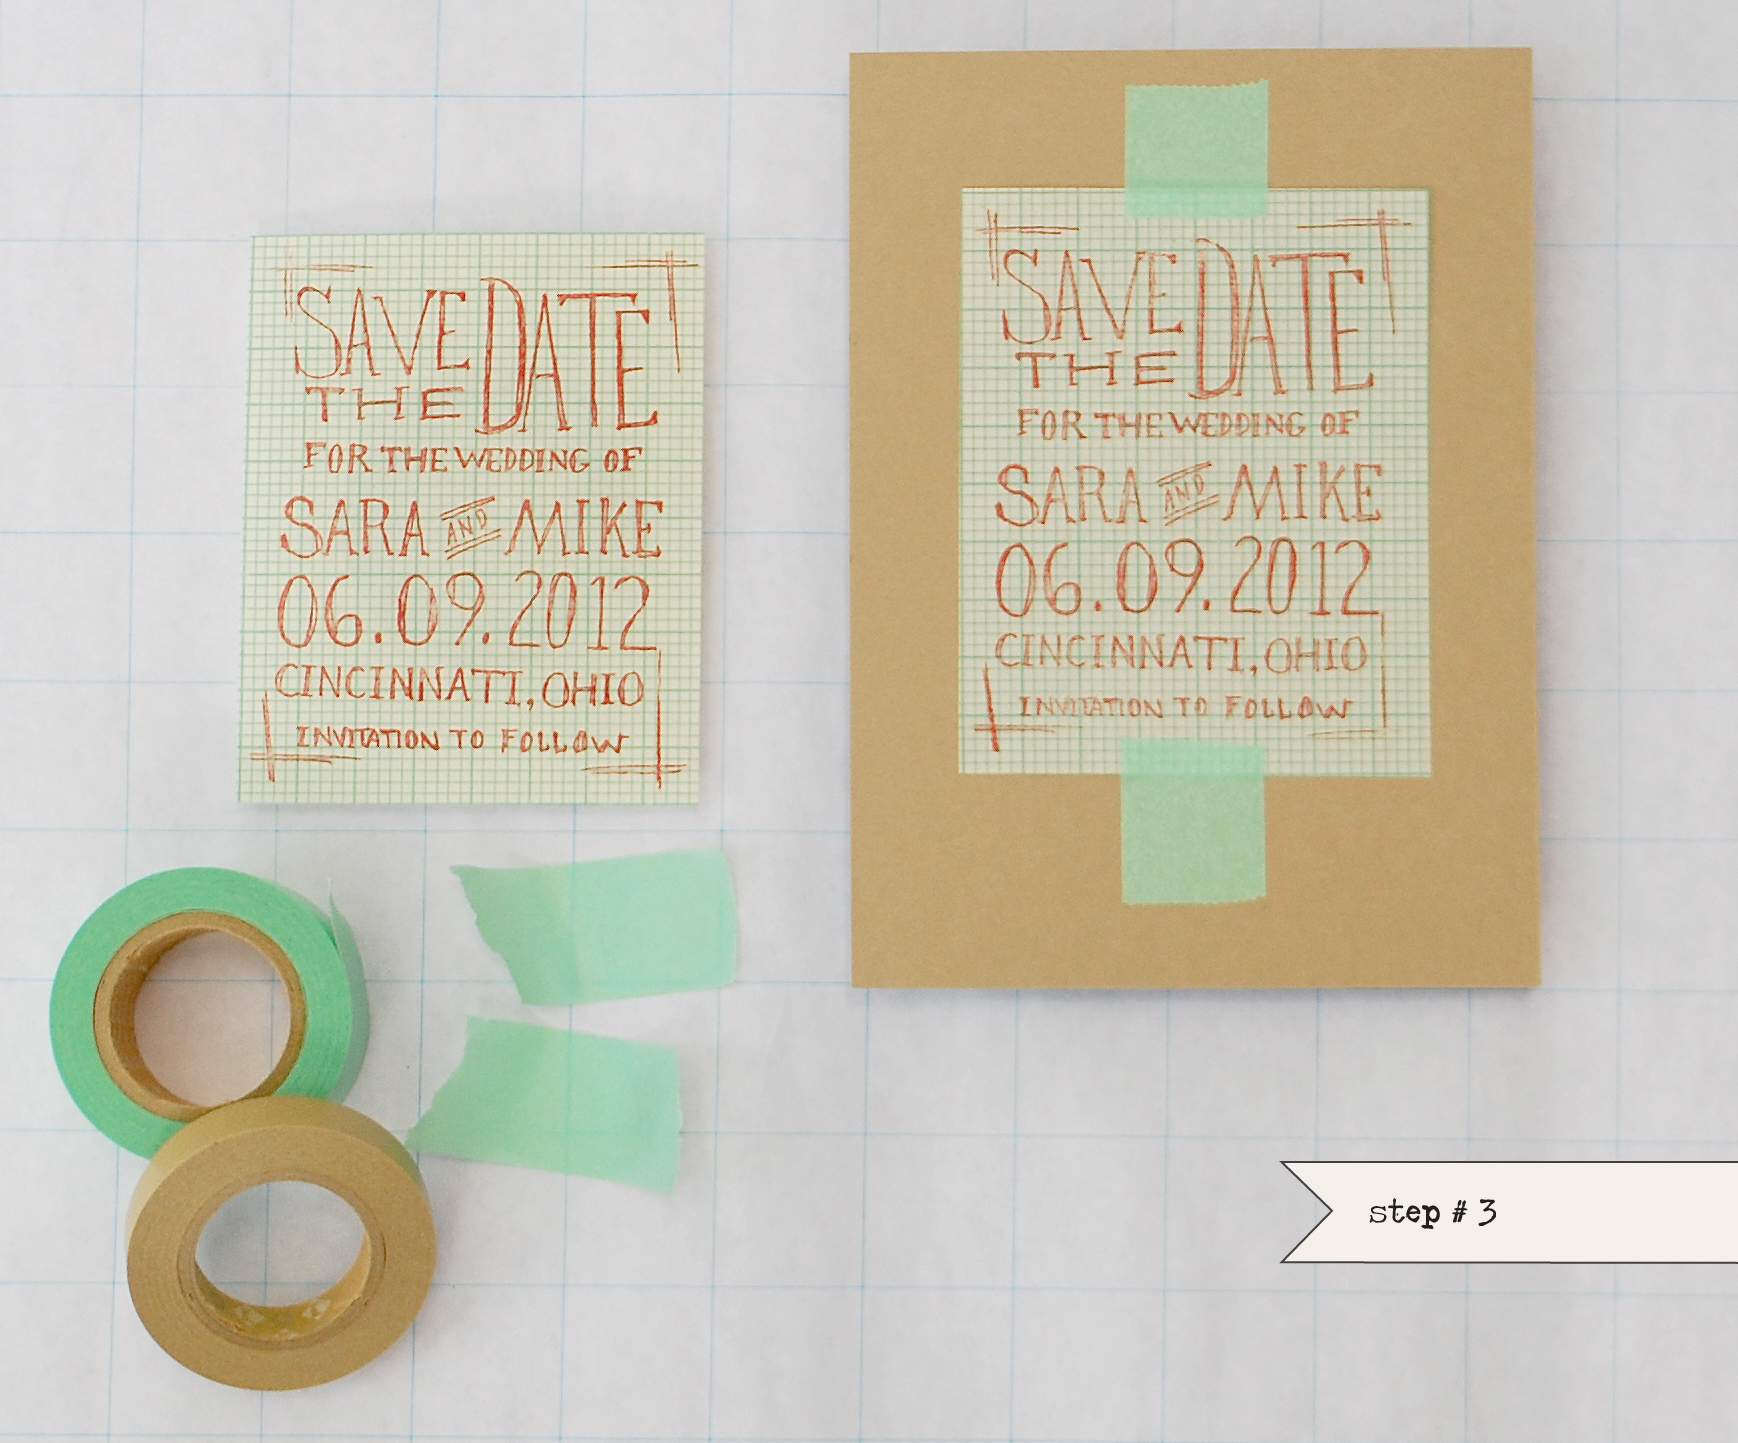
Stationery by Christine Schmidt of Yellow Owl Workshop and photo by Aaron Delesie, via MS Weddings (Left).  Notebook sketch menu designed by the groom, Erik Marinovich, and photo by Thayer Photo, via MS Weddings (Right).

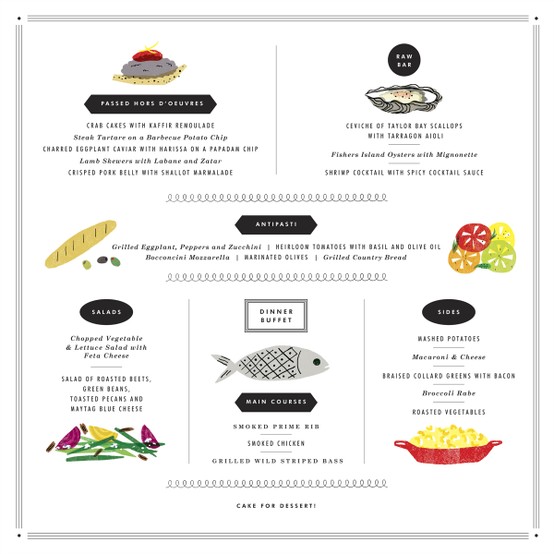
Artwork by Erin Jang via her blog, The Indigo Bunting.

Another beautiful custom menu by Anna Bond of Rifle Paper Co.  Photo by Weddings by Two via Style Me Pretty.

These two ideas are genius!  An “interactive” menu photographed by Jennifer Roper via The Knot (left); and a menu that doubles as a favor bag designed by Good On Paper Design, photographed by Janae Shields, via Snippet and Ink (right).

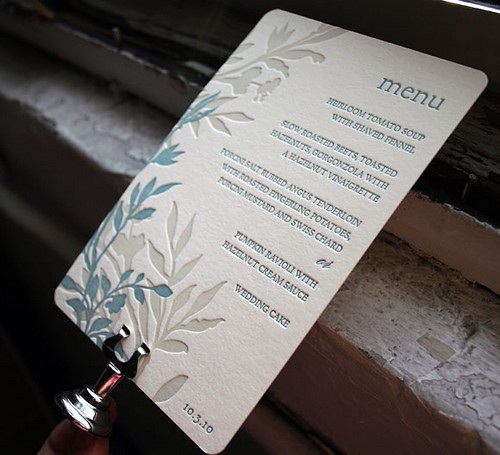
Smock has some beautiful letterpress printed menus; this is the Engadine design with one of my favorite color combinations.

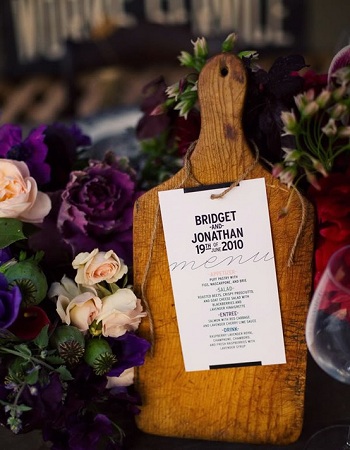
I’m in love with both of these rustic menu designs!  Cutting board centerpiece menu designed by Blue Pool Road and photographed by Bonnie Tsang via Snippet and Ink.  Wood menu created by Melangerie and photographed by Docuvitae via Style Me Pretty.


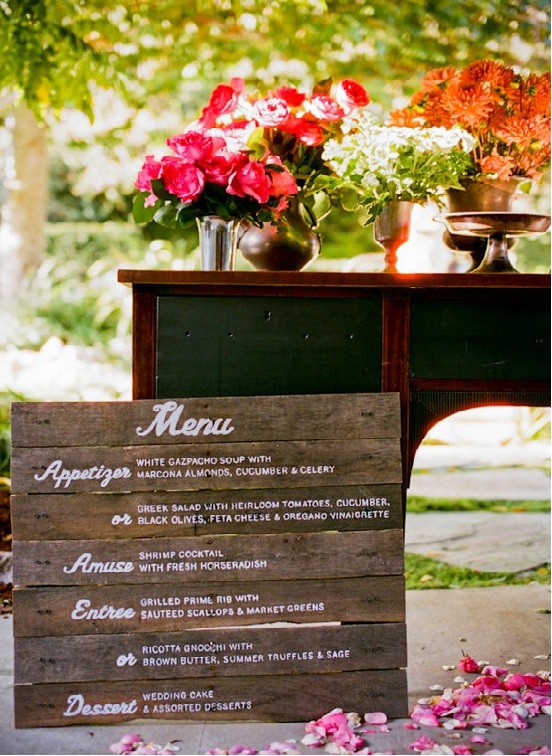
And while they’re not completely paper-related, how could I leave out chalkboard menus?  Here are two examples of how they can be done in a creative and stylish way.

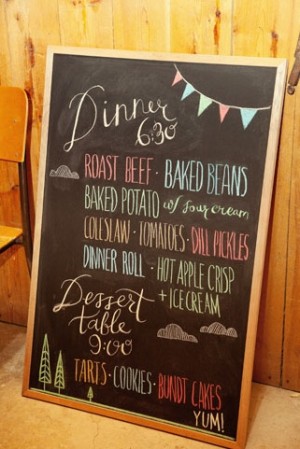
Colorful chalkboard menu (left)photographed by Kamp Photography via Green Wedding Shoes.  Sundae chalkboard menu (right) features calligraphy by Love, Jenna, photographed by Scott Clark via 100 Layer Cake.

Thanks so much for joining me today!  I hope you’ve enjoyed this round up of creative and stylish wedding menu designs, and if you missed our earlier round-ups of wedding escort and place card ideas you can find them here and here.  I hope this serves as some inspiration for you as your plan your big day!

{images via their respective sources}

*Smock is a spon­sor of Oh So Beau­ti­ful Paper.  For more on my edi­to­r­ial poli­cies, please click here.

{happy weekend!}

Happy Friday everyone!  Do you have something fun planned for the weekend?  Tomorrow I’m helping a wedding planner friend with a wedding in Virginia and I’m a wee bit nervous.  Hopefully it will be a fun day, but it’ll definitely be interesting!  Can you believe this is the last weekend of June?  This summer is just flying by!  But in the meantime…

Strawberry Rosemary Sangria via A Cozy Kitchen

…a few links for your weekend!

This week on Oh So Beautiful Paper:

That’s it for me this week!  I hope you all have a wonderful weekend, and I’ll see you back here on Monday!  xoxo

p.s. I still have a bunch of items available in my tag sale.  Check it out!

Rosemary + Lavender

It’s been a bright and colorful week, so I thought I would help end the week on a more subdued note.  These rosemary and lavender invitations from Satsuma Press combine two of my favorite herbs (and scents!) in one gorgeous wedding invitation suite.  Ah, rosemary and lavender – a soothing combination even through the computer screen…

Rosemary-Lavender-Letterpress-Wedding-Invitations

Rosemary-Lavender-Letterpress-Wedding-Invitations


Rosemary-Lavender-Letterpress-Wedding-Invitations

You can check out lots more pretty wedding invitations from Satsuma Press right here!

DIY Geek Chic Graph Paper Save the Dates

It’s the ladies of Antiquaria, back with another fabulous and creative DIY project for you all!  This project is for wedding save the dates, but you can easily apply this tutorial to any party invitations or announcements!

Inspired by some awesome vintage graph paper we found while rummaging through an estate sale, we crafted up this super easy (only 3 steps!) and affordable DIY save the date perfect for a casual and cheeky affair!!  This project requires just a few materials and most that are extremely easy to find – you might even have them hanging around your office at this very moment.

DIY Geek Chic Rubber Stamp Wedding Save the Date Tutorial

Step One: Choose the paper you wish to stamp on (a list of options follows below) and lay it on a flat surface.  Ink the stamp; we used the “Sketchbook” save the date stamp for this design.

Hand Stamped Save the Dates: Step 1

Step Two:  Once you have all of your images stamped, use a paper cutter or a cutting mat, x-acto knife and ruler to cut them to the correct size.  Our suggestion is to give 1/8″ to 1/4″ of border on each side of your image.

Hand Stamped Save the Dates: Step 2

Step Three: Tear pieces of decorative washi tape to secure the stamped image in place on the backer (size A6).  If you want the stamped image to be more securely affixed to the backing, use spray adhesive to adhere them together.

Hand Stamped Save the Dates: Step 3

Materials List:

Custom rubber stamp: “Sketchbook” Save the Date

Washi tape

Spray adhesive

Decorative Paper: (this can be found at your local office supply store, thrift stores, estate or garage sales or in your own office!)  Or, if you want, go here to print your own customizable graph paper for free!!

Paper cutter or self healing matt, X-acto and ruler

Color Box Stamp Pad: We chose a rust/brown color for this tutorial

Backing Paper: We used pre-cut Kraft card stock, size A6

Photo Credits: Antiquaria

The Lettered Olive – TwentyEleven Collection

The ladies at The Lettered Olive have a brand new collection coming out next month, and today I’m thrilled to be giving you all a little sneak peek!  The new album made its debut at the National Stationery Show, and includes some seriously pretty invitation suites inspired by fashion and textile prints, nature, and good old classic elegance.  Stunning!

The-Lettered-Olive-Couture-Wedding-Invitation-Collection-Anson

The Anson Collection

The-Lettered-Olive-Couture-Wedding-Invitation-Collection-Woodland

The Woodland Collection

The-Lettered-Olive-Couture-Wedding-Invitation-Collection-Laurens

The Laurens Collection

The-Lettered-Olive-Couture-Wedding-Invitation-Collection-Calhoun

The Calhoun Collection

The-Lettered-Olive-Couture-Wedding-Invitation-Collection-Beaufain

The Beaufain Collection

You’ll have to wait until July to see the rest of the new collection, but in the meantime you can see many, many more beautiful wedding invitations over at The Lettered Olive!

Photo Credits: The Lettered Olive