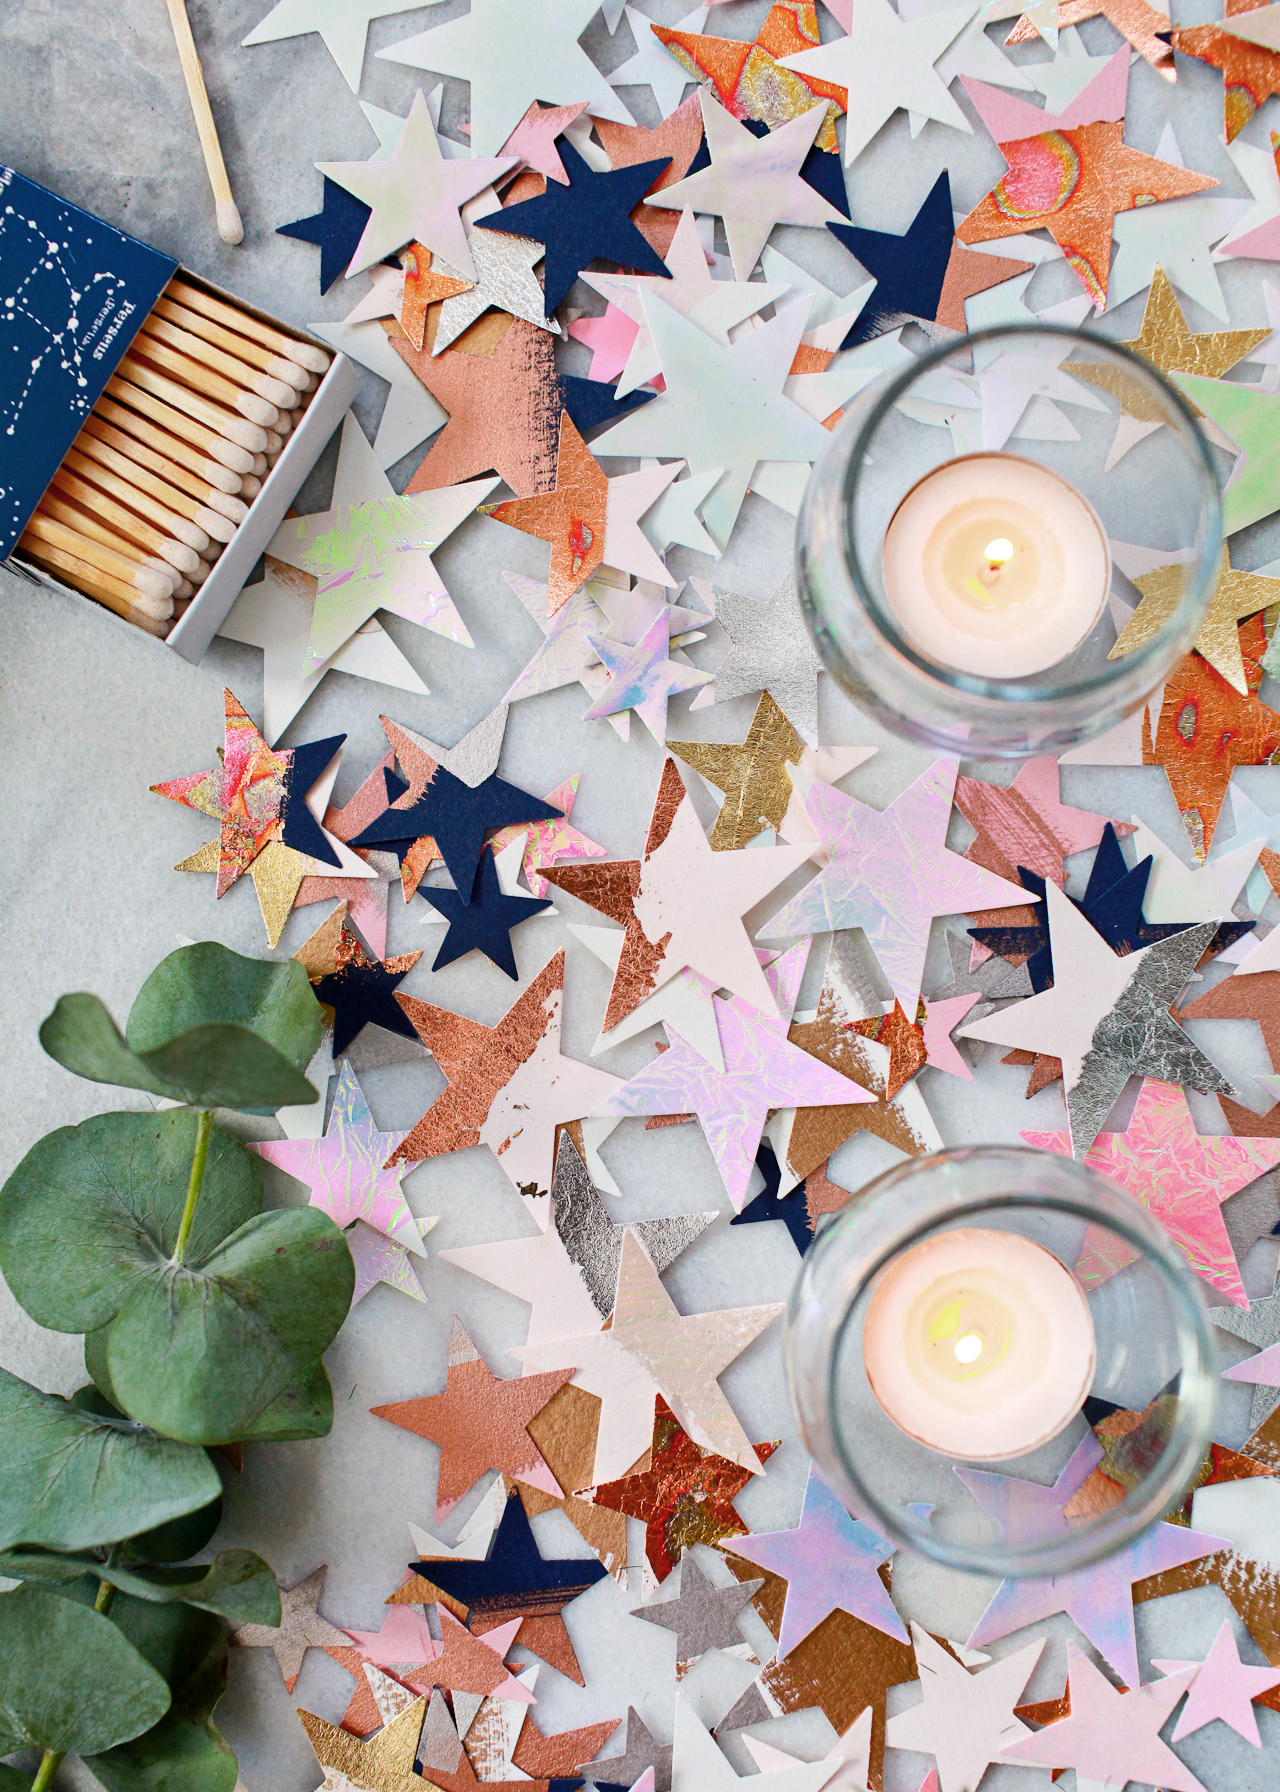
All I really want during the holidays is a whole lot of sparkle. Metallics, glitter, iridescent – I’ll take it all! So when Fiskars asked me what I’d do with their Star Thick Materials Shape Punches, I knew it had to involve plenty of sparkle and shine. Stars also happen to be the perfect way to dress up a Christmas or New Year’s Eve table. So I combined some colorful paper with lots of shimmery materials to make some DIY metallic and iridescent star table confetti! Use them as an informal table runner or to decorate a bar or buffet!
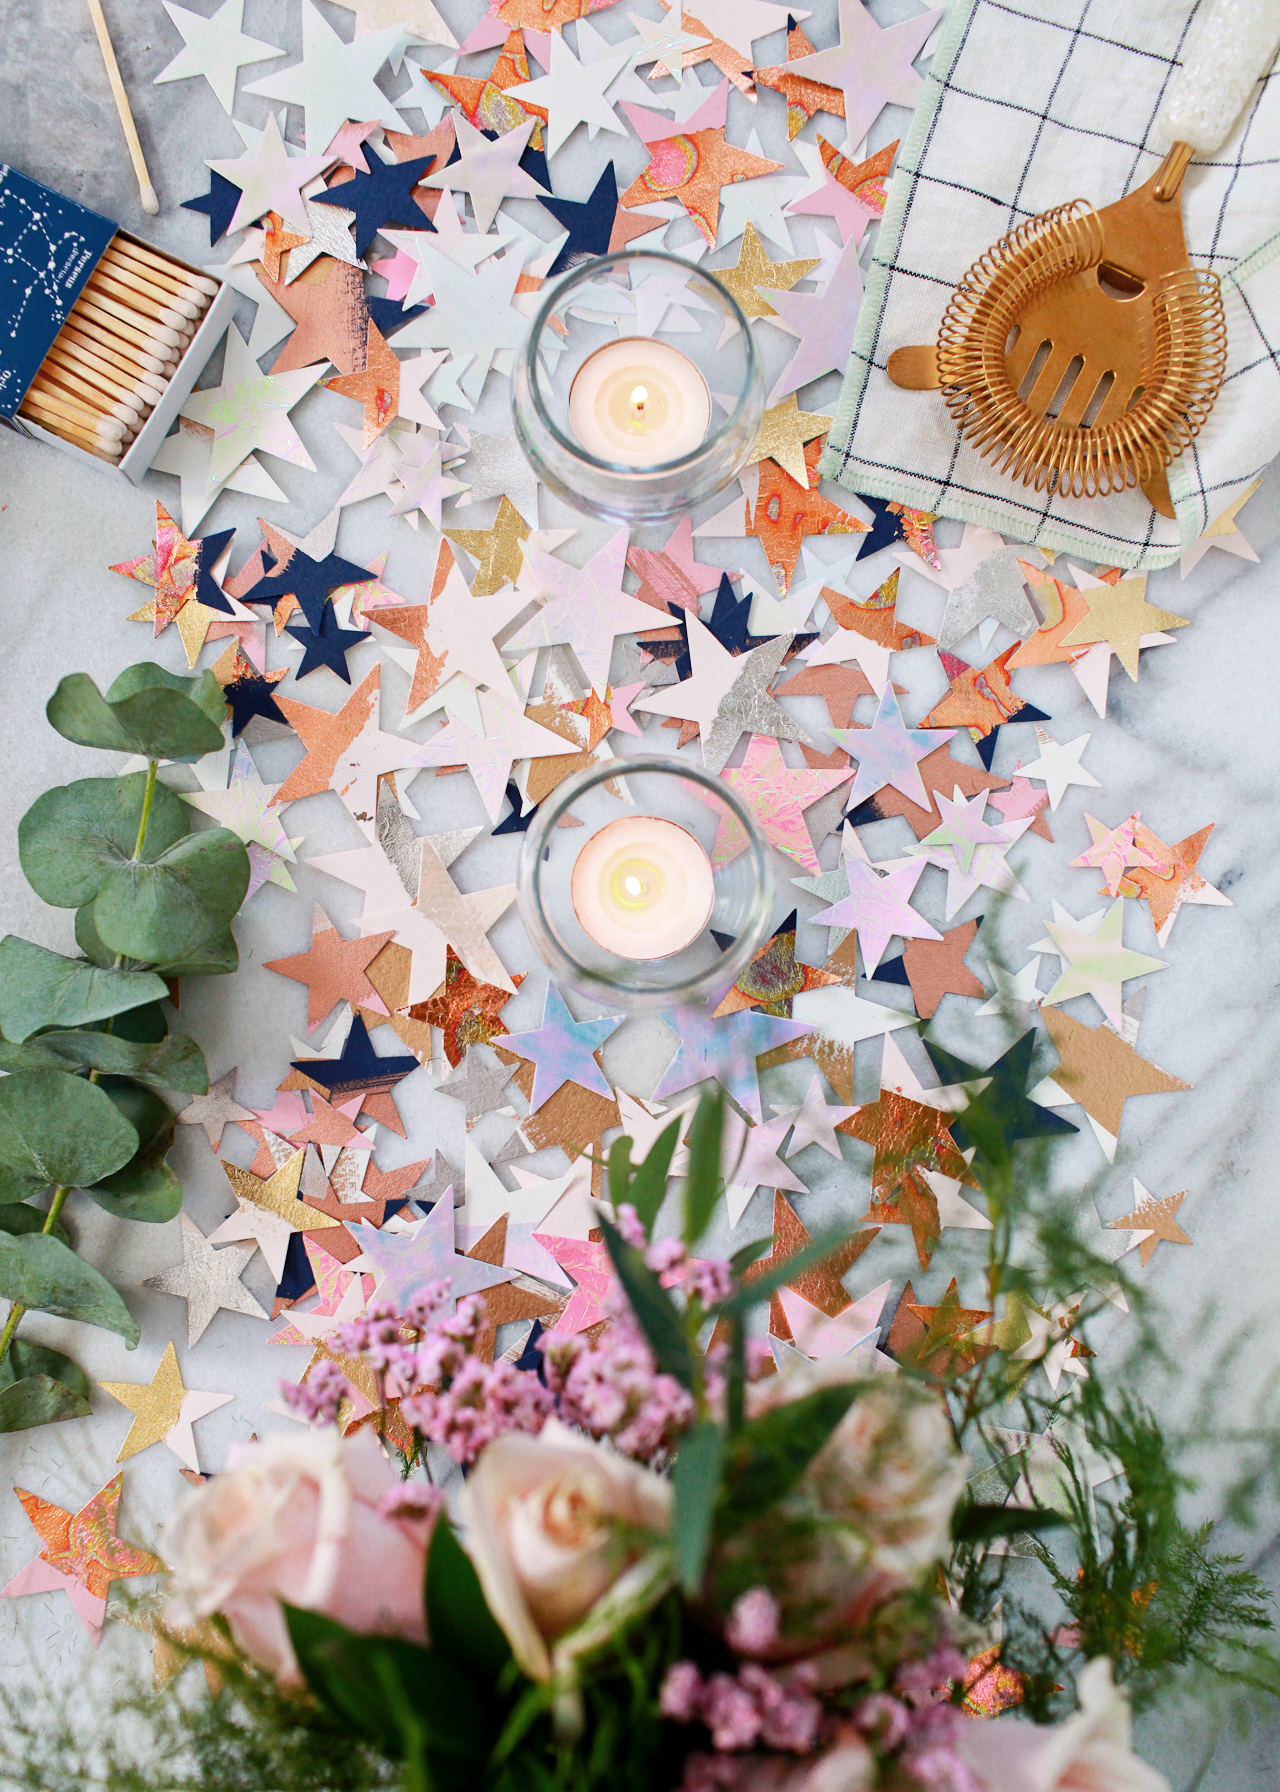
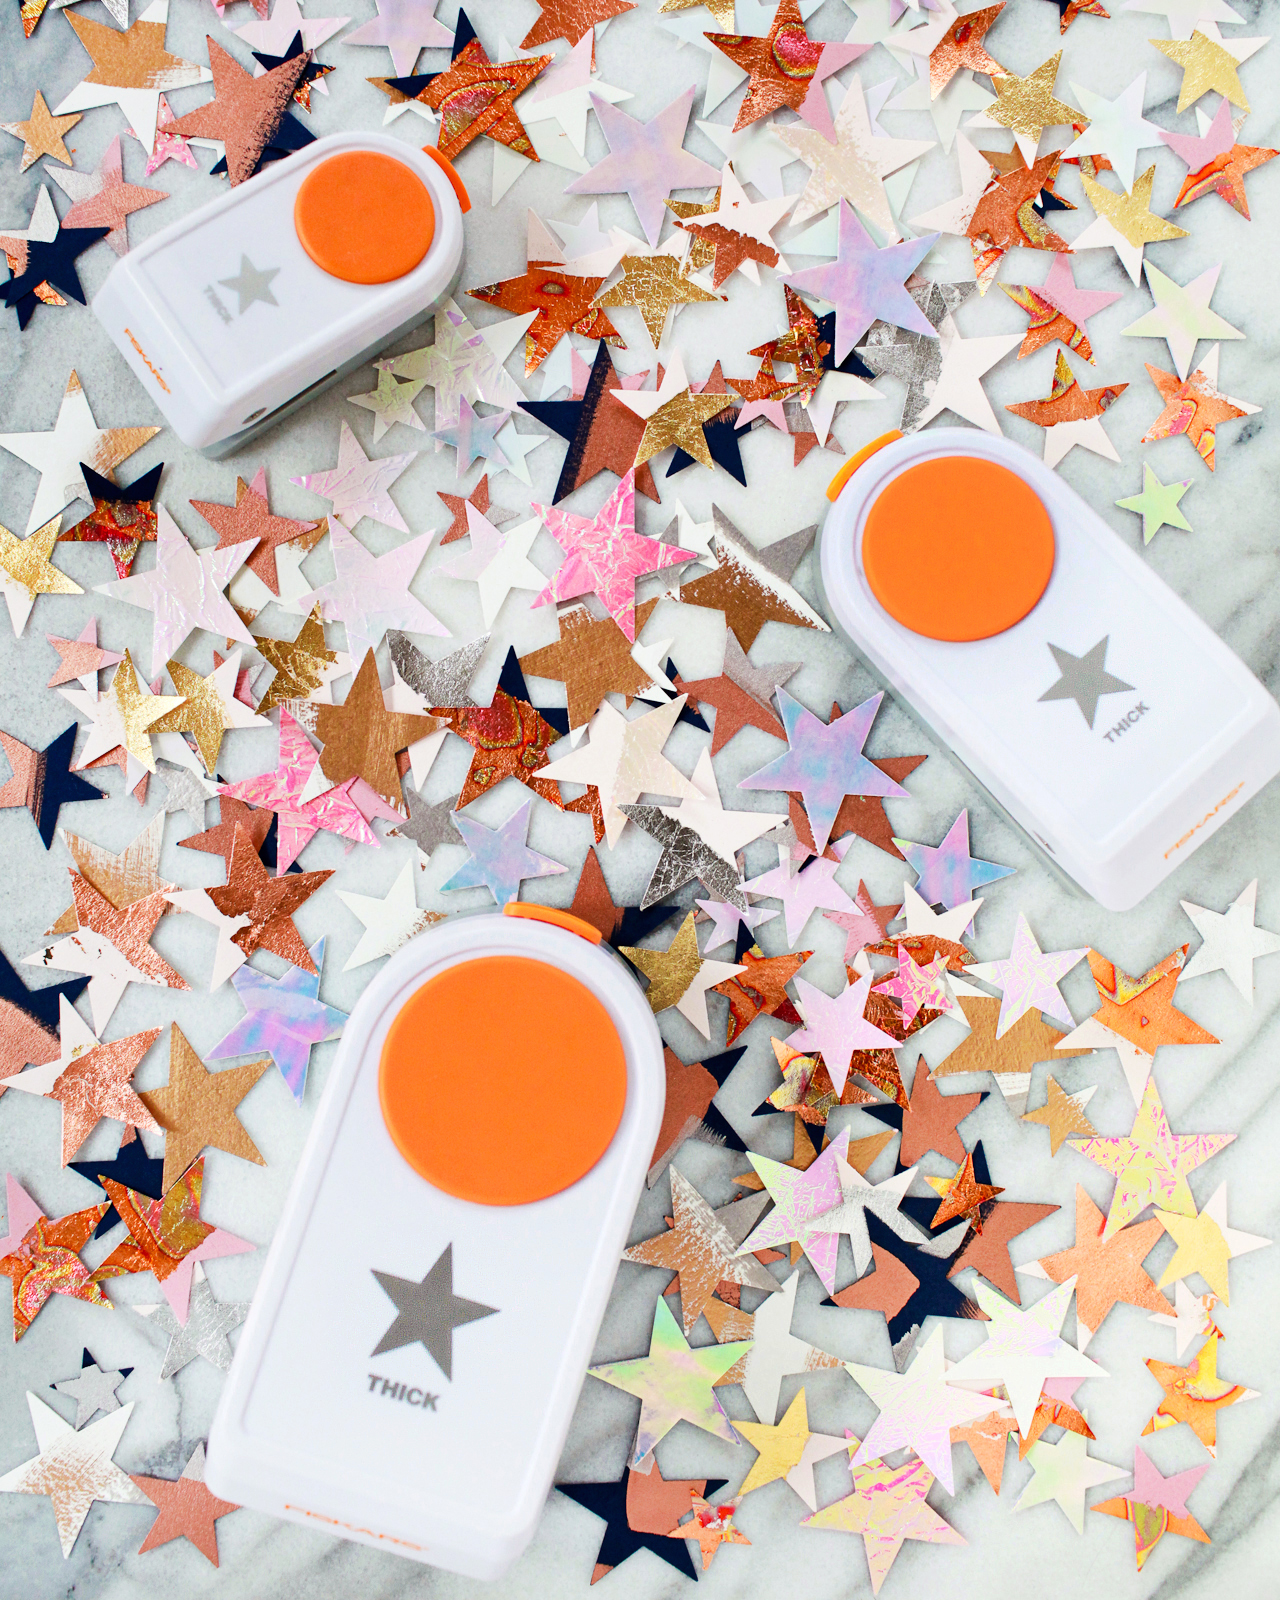
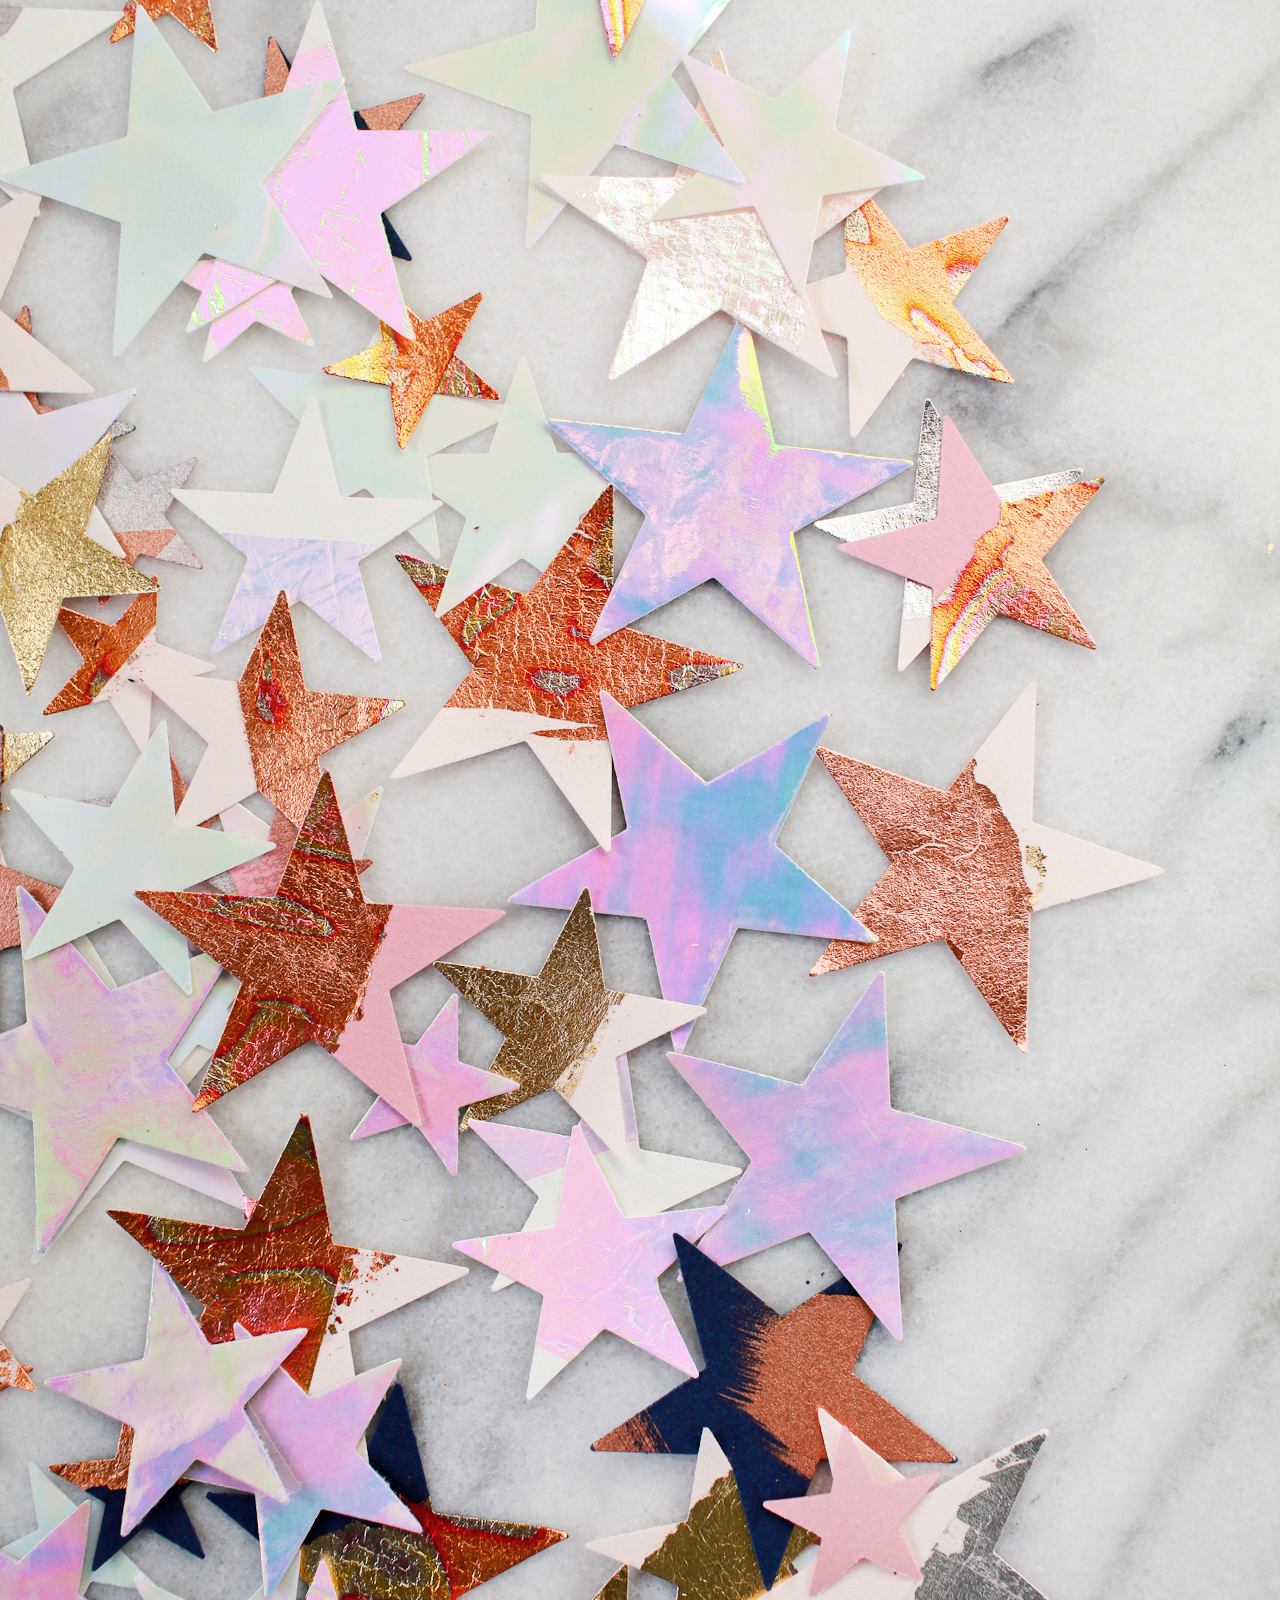
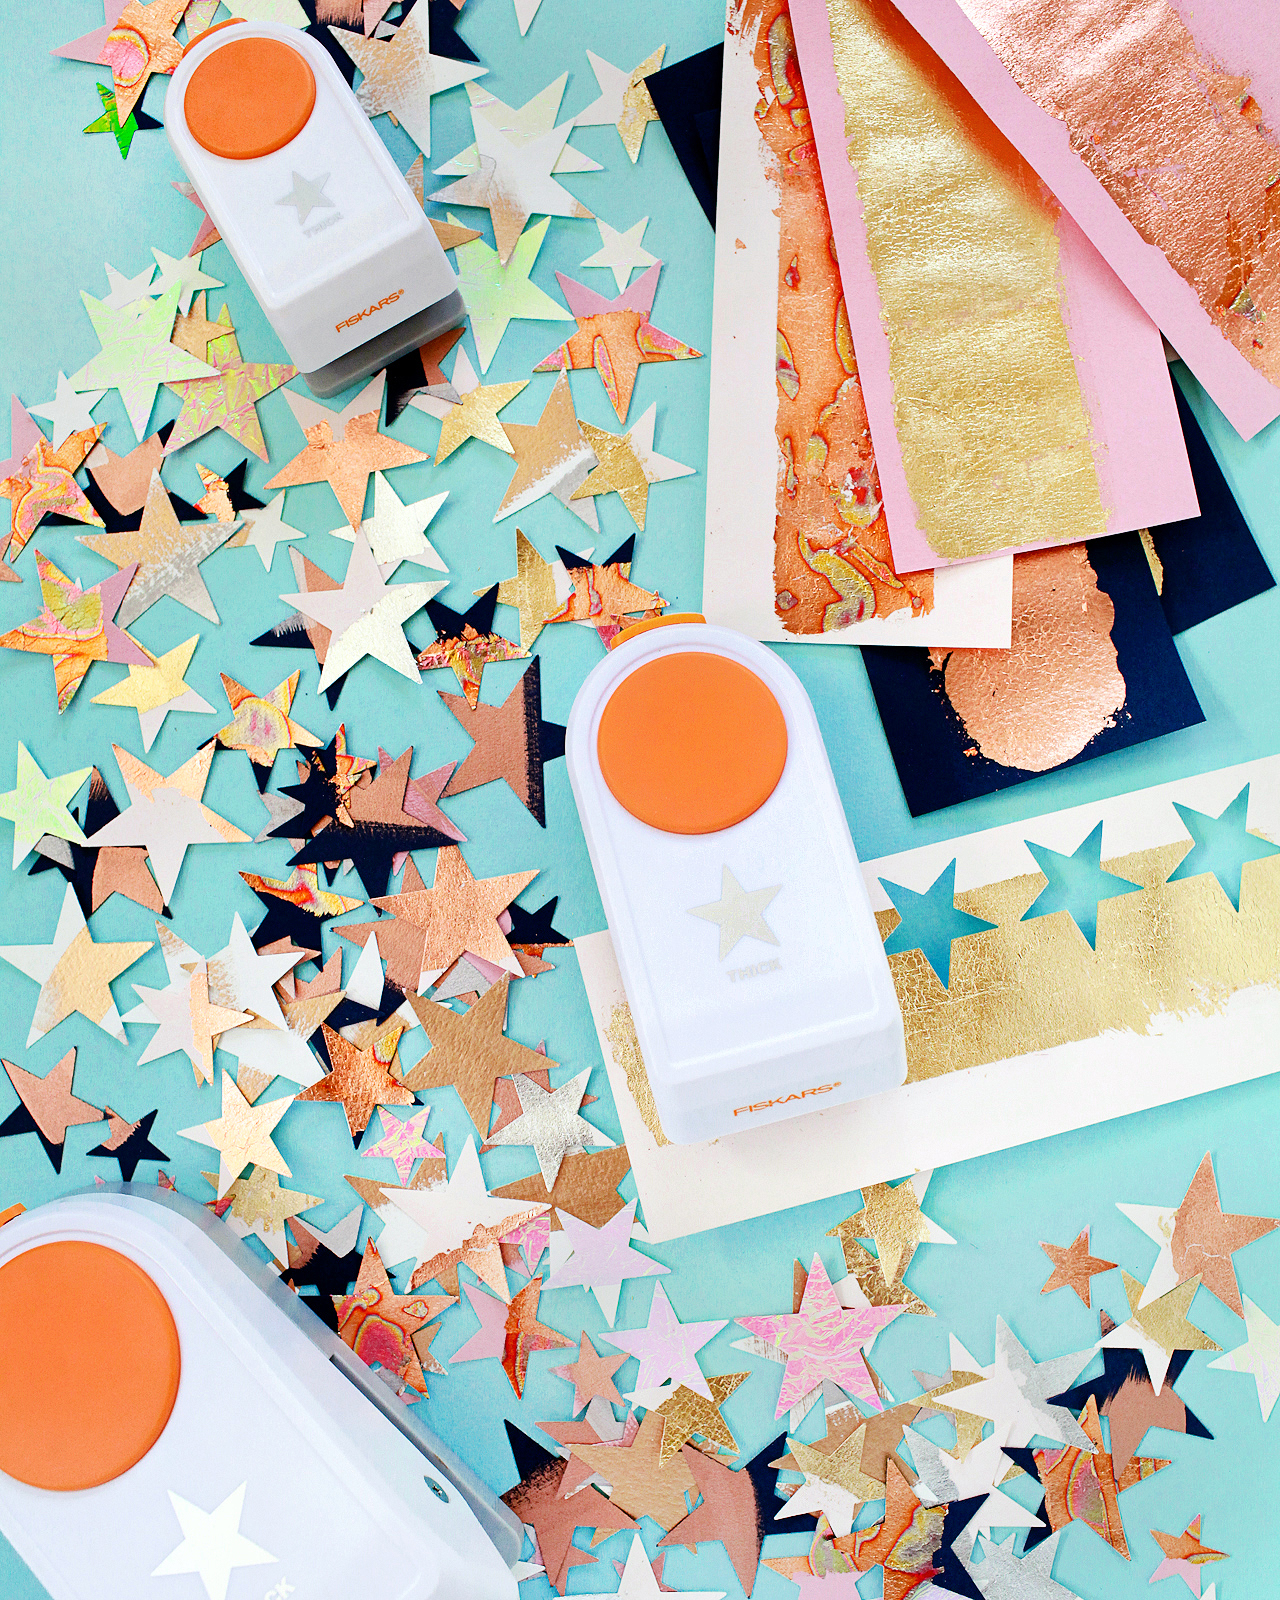
Stars are one of my favorite shapes all year long, but especially when it comes to the holidays. They echo the clear and crisp winter night skies, evoke the twinkling lights on Christmas trees, and add a sense of warmth during the cold winter months. The star punches come in three sizes – small (1″), medium (1.5″), and large (2″) – and create the most beautiful effect when scattered over a table together. And these punches from Fiskars are perfect for working with all of my favorite crafting materials, like cardboard, card stock, canvas, corkboard, and more! I went with a non-traditional color palette of white, pale pink, rose pink, and navy blue card stock mixed with metallics, but you could even make a bunch of stars in different shades of the same color for an ombré effect – or do a rainbow table runner made of dozens of stars in every color! Gah, the possibilities!
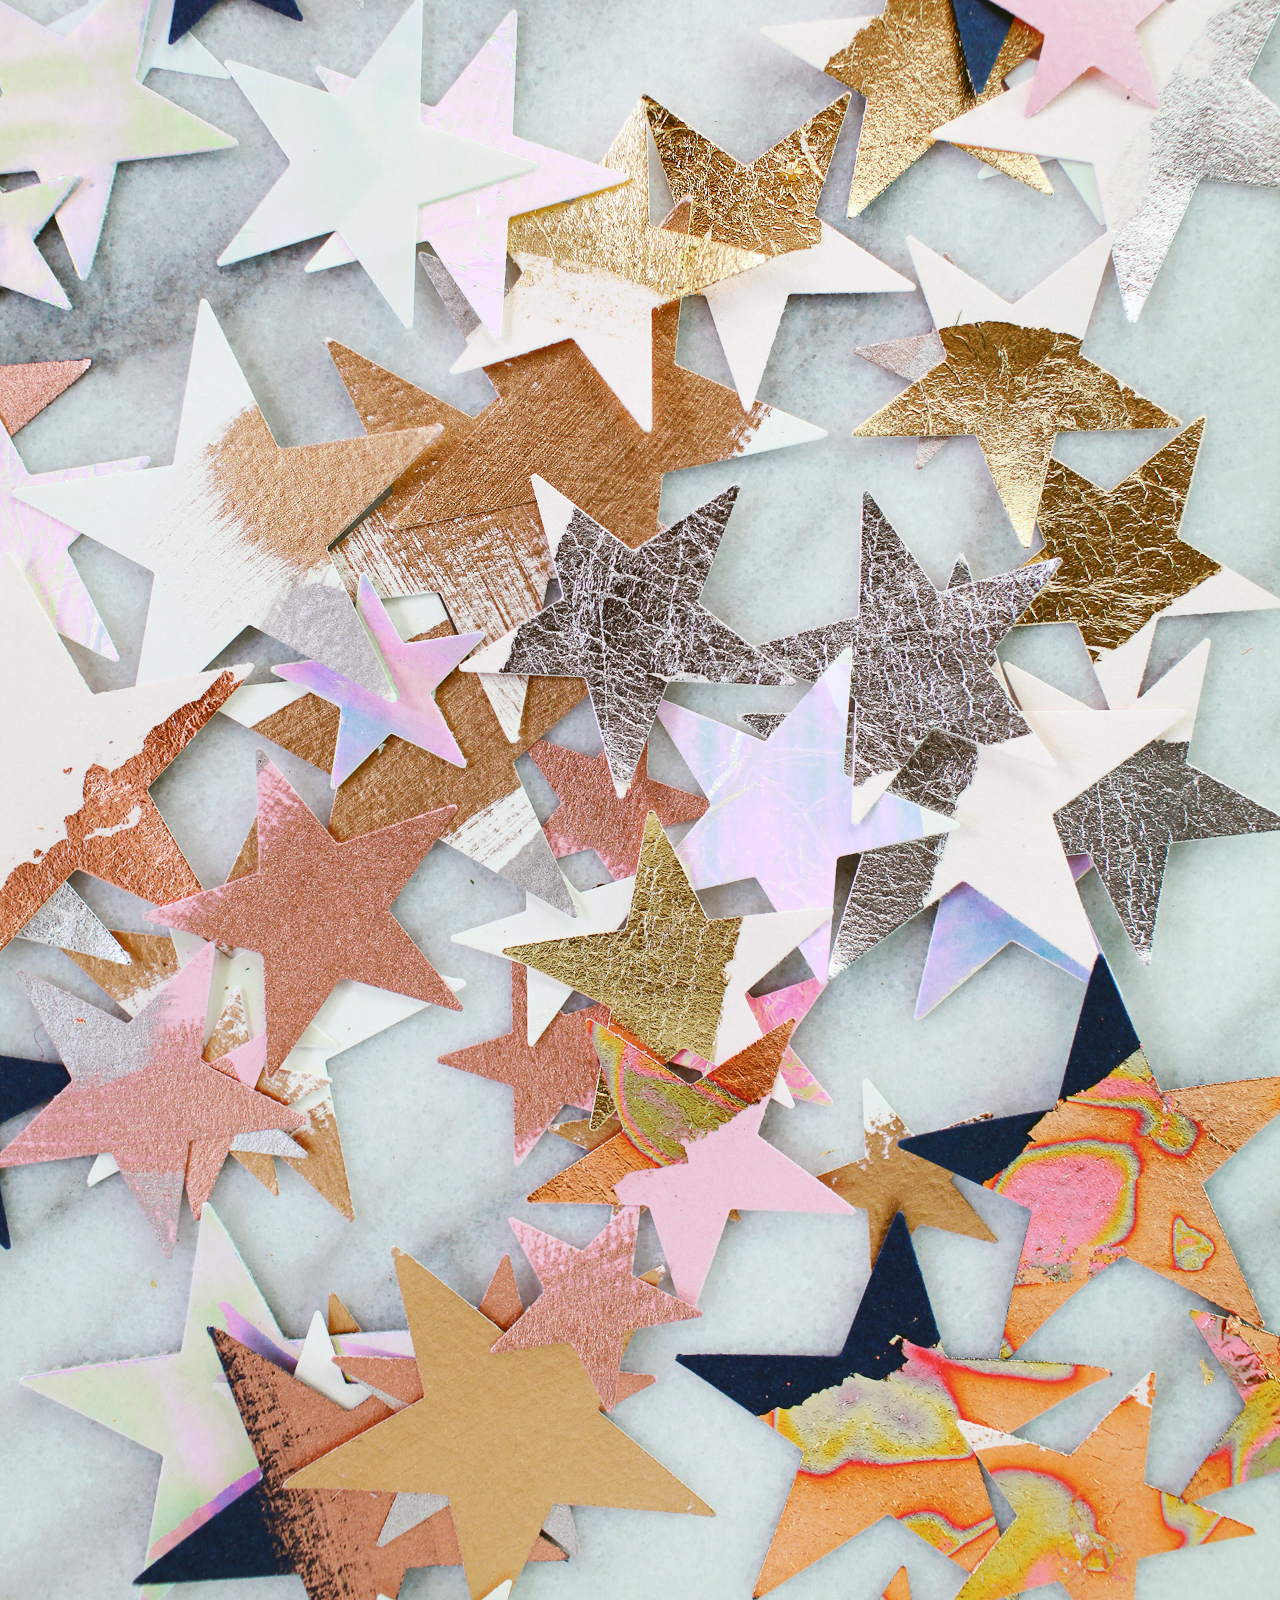
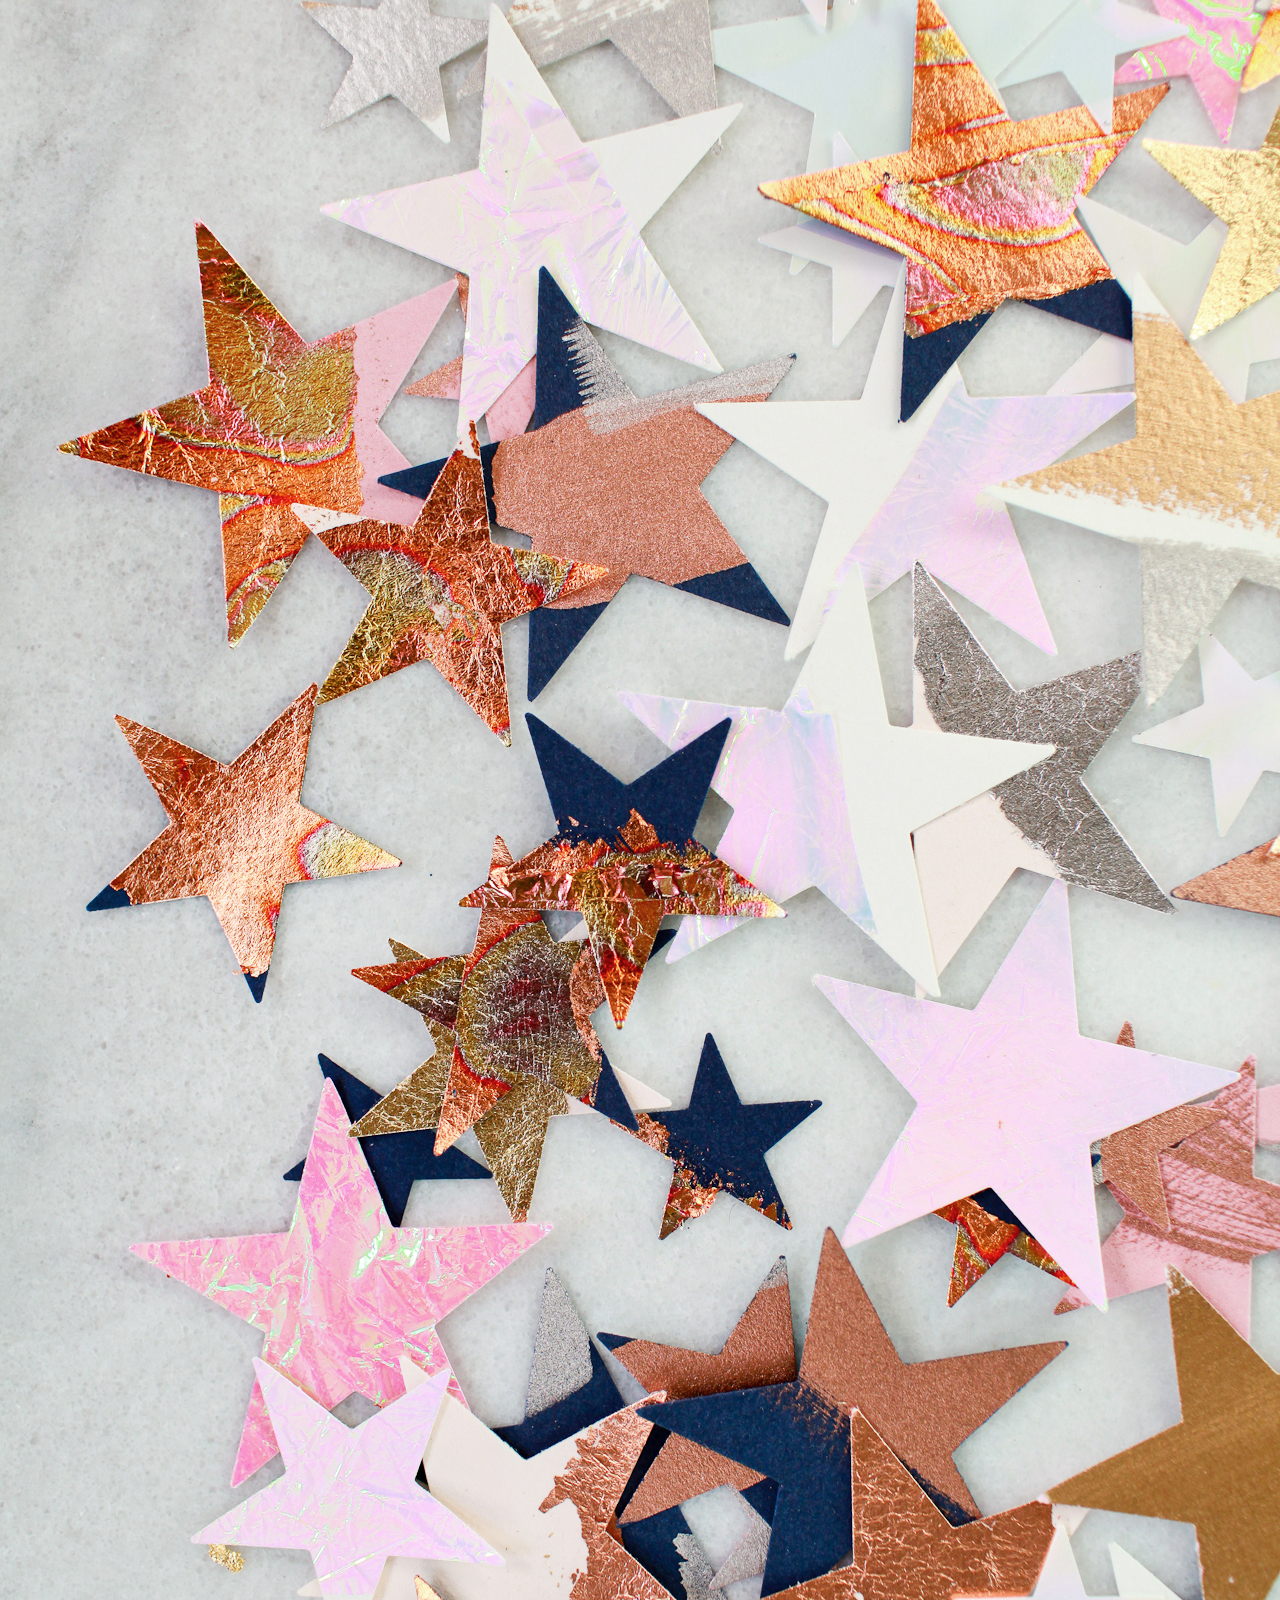
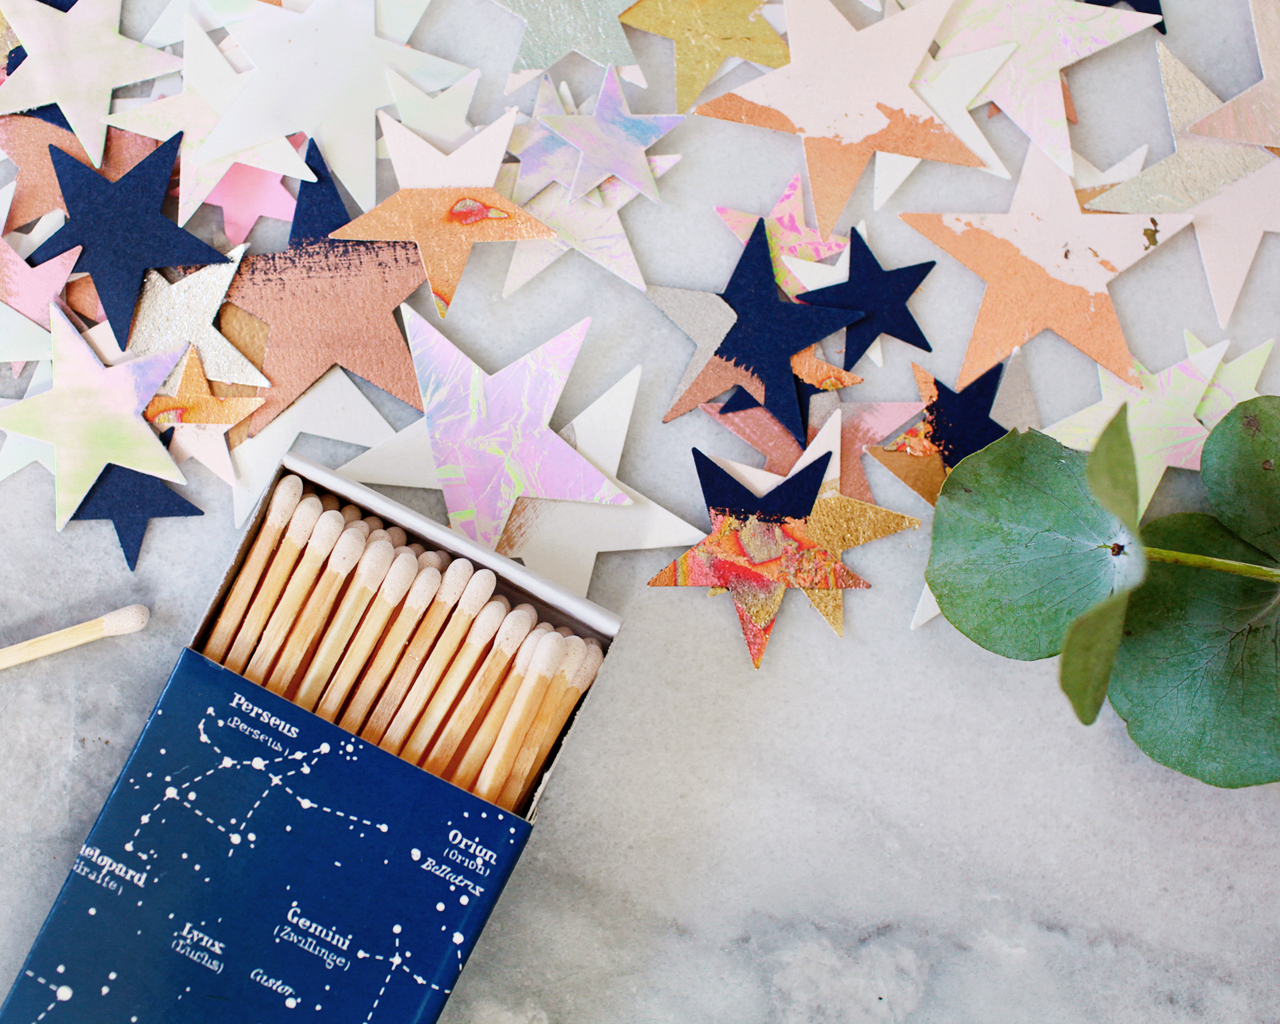
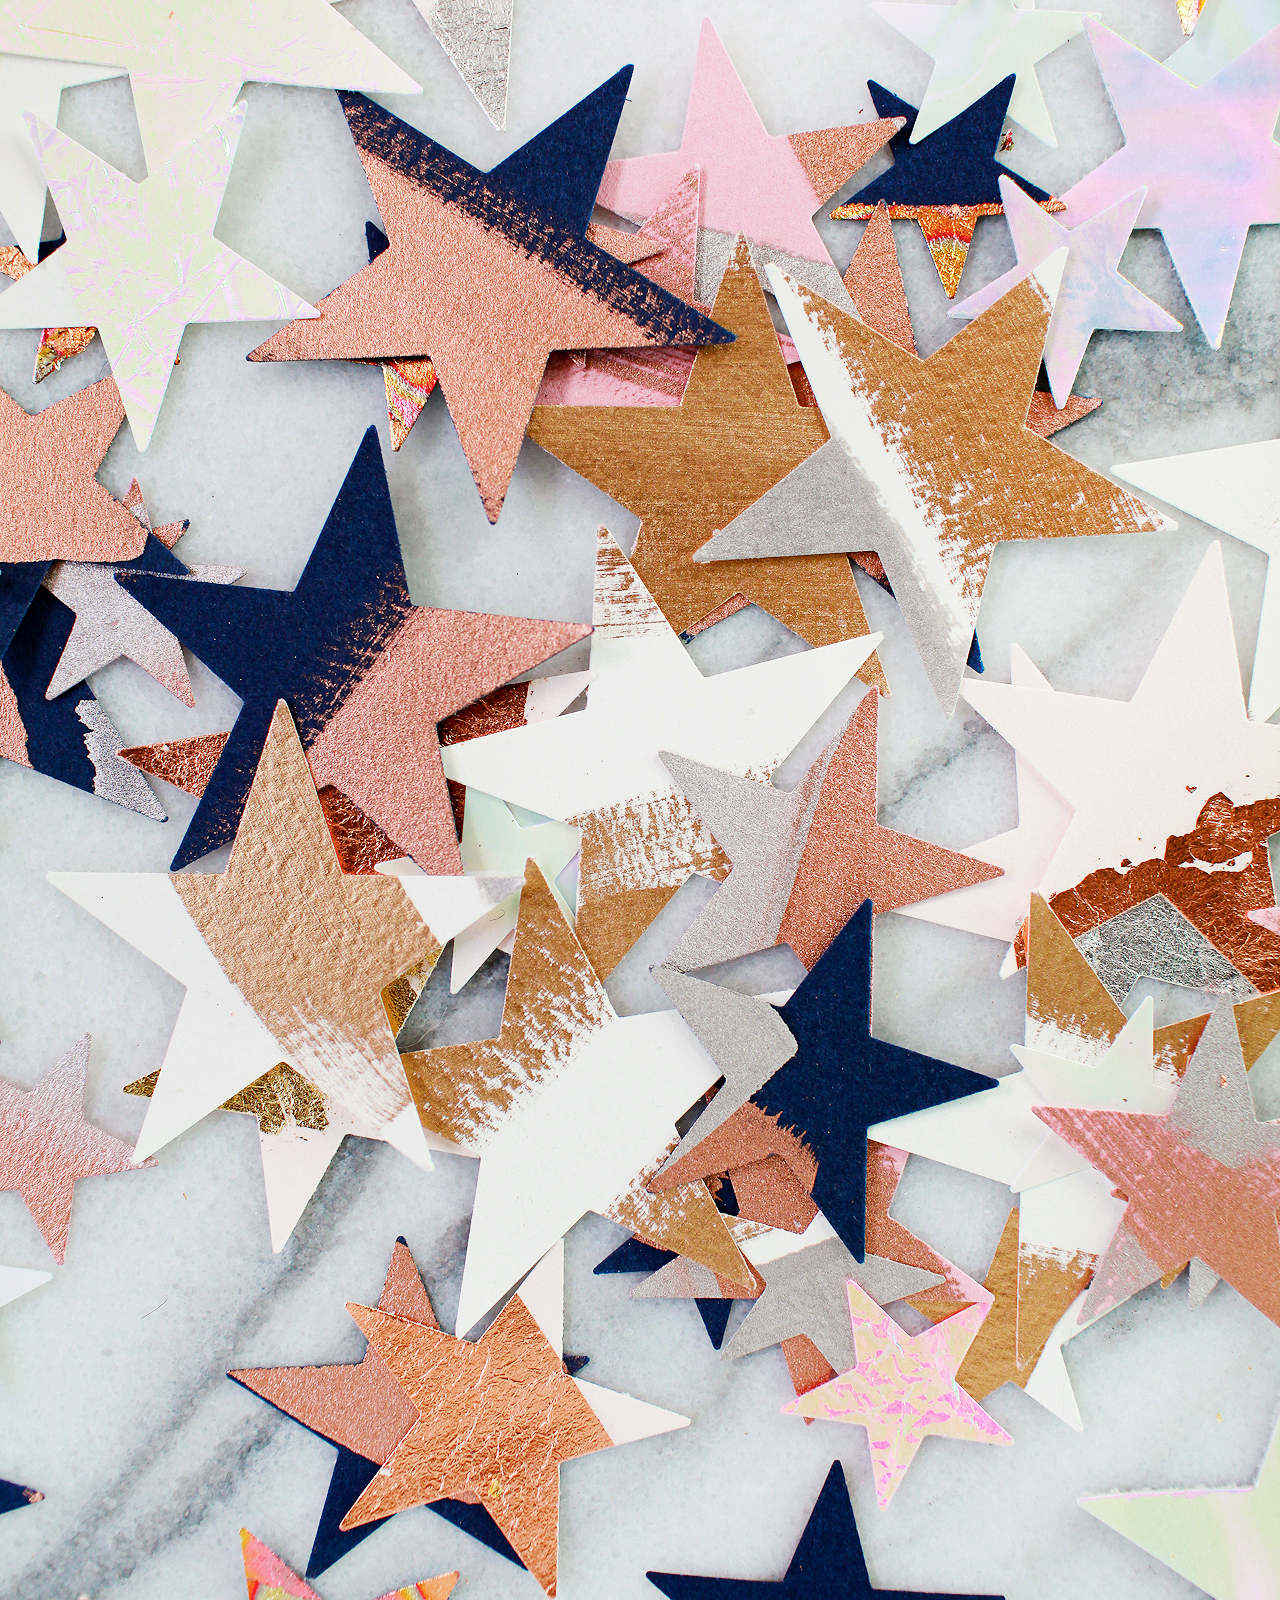
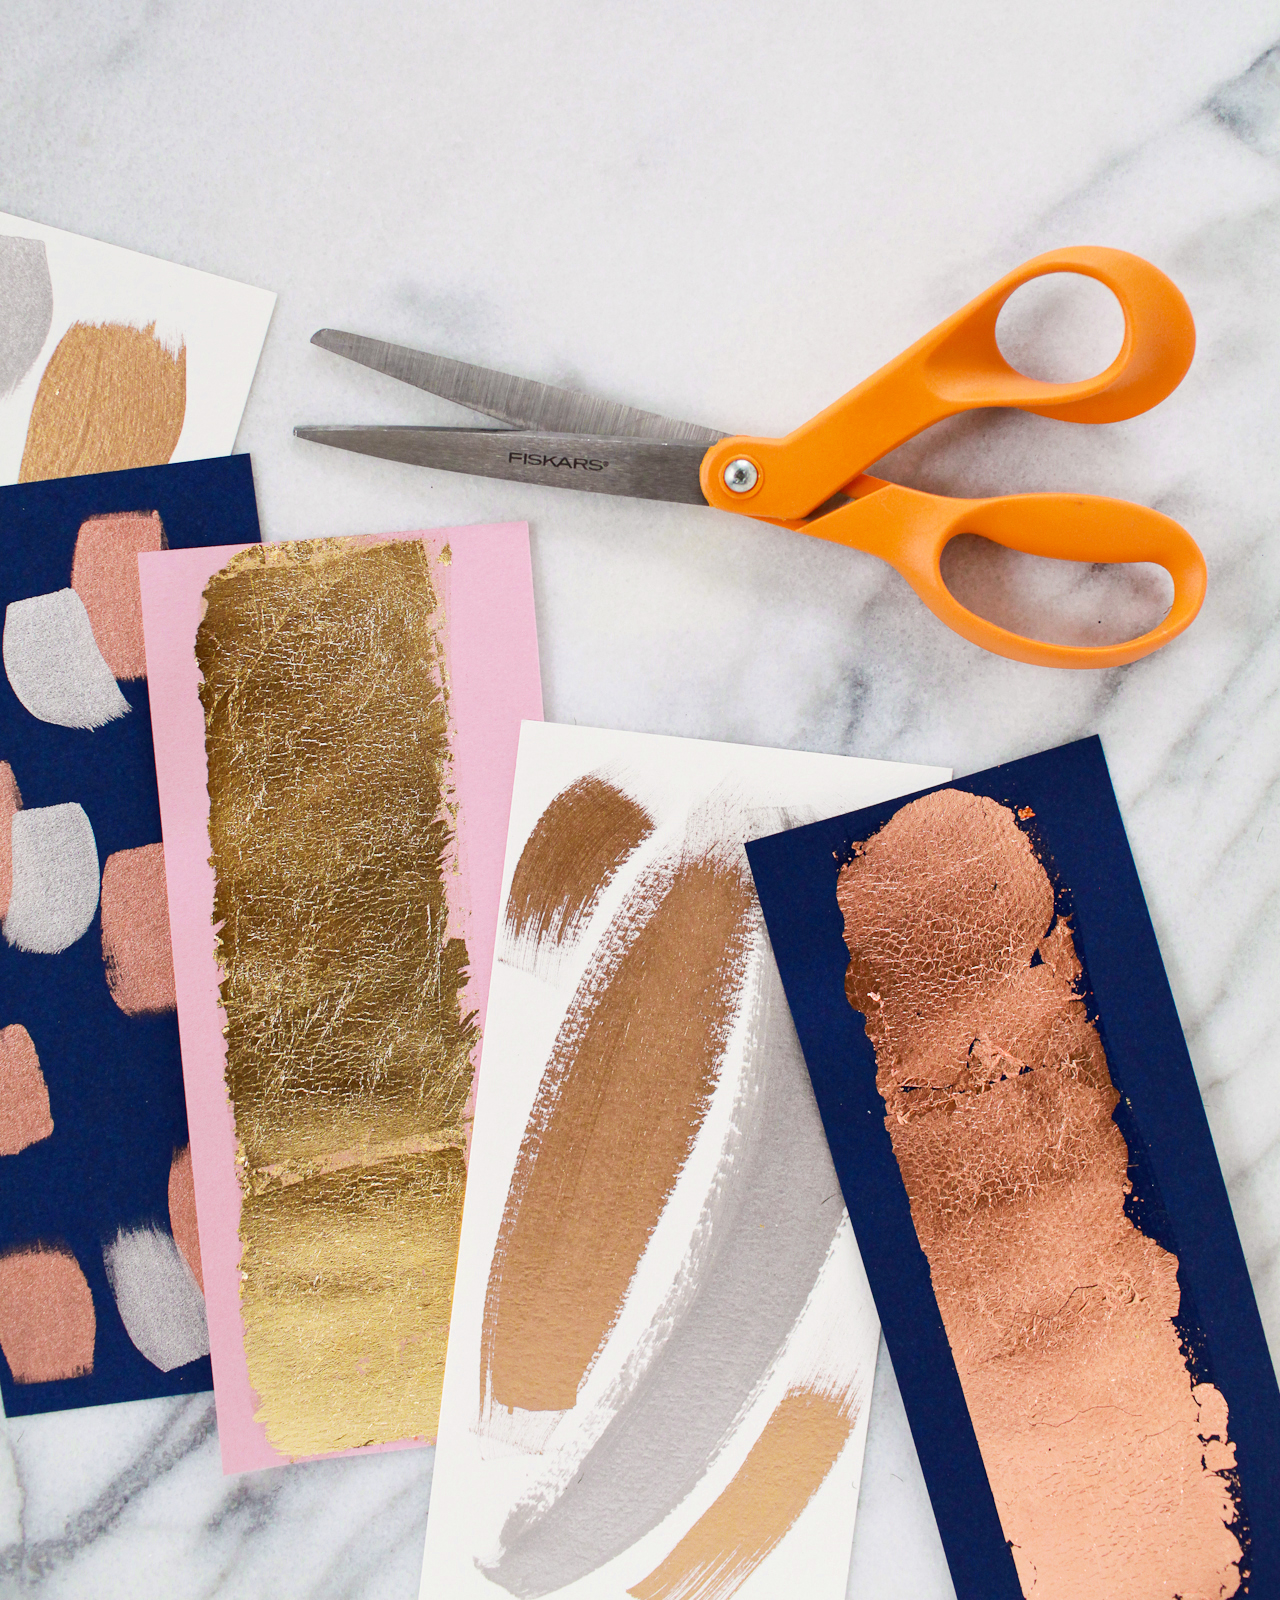
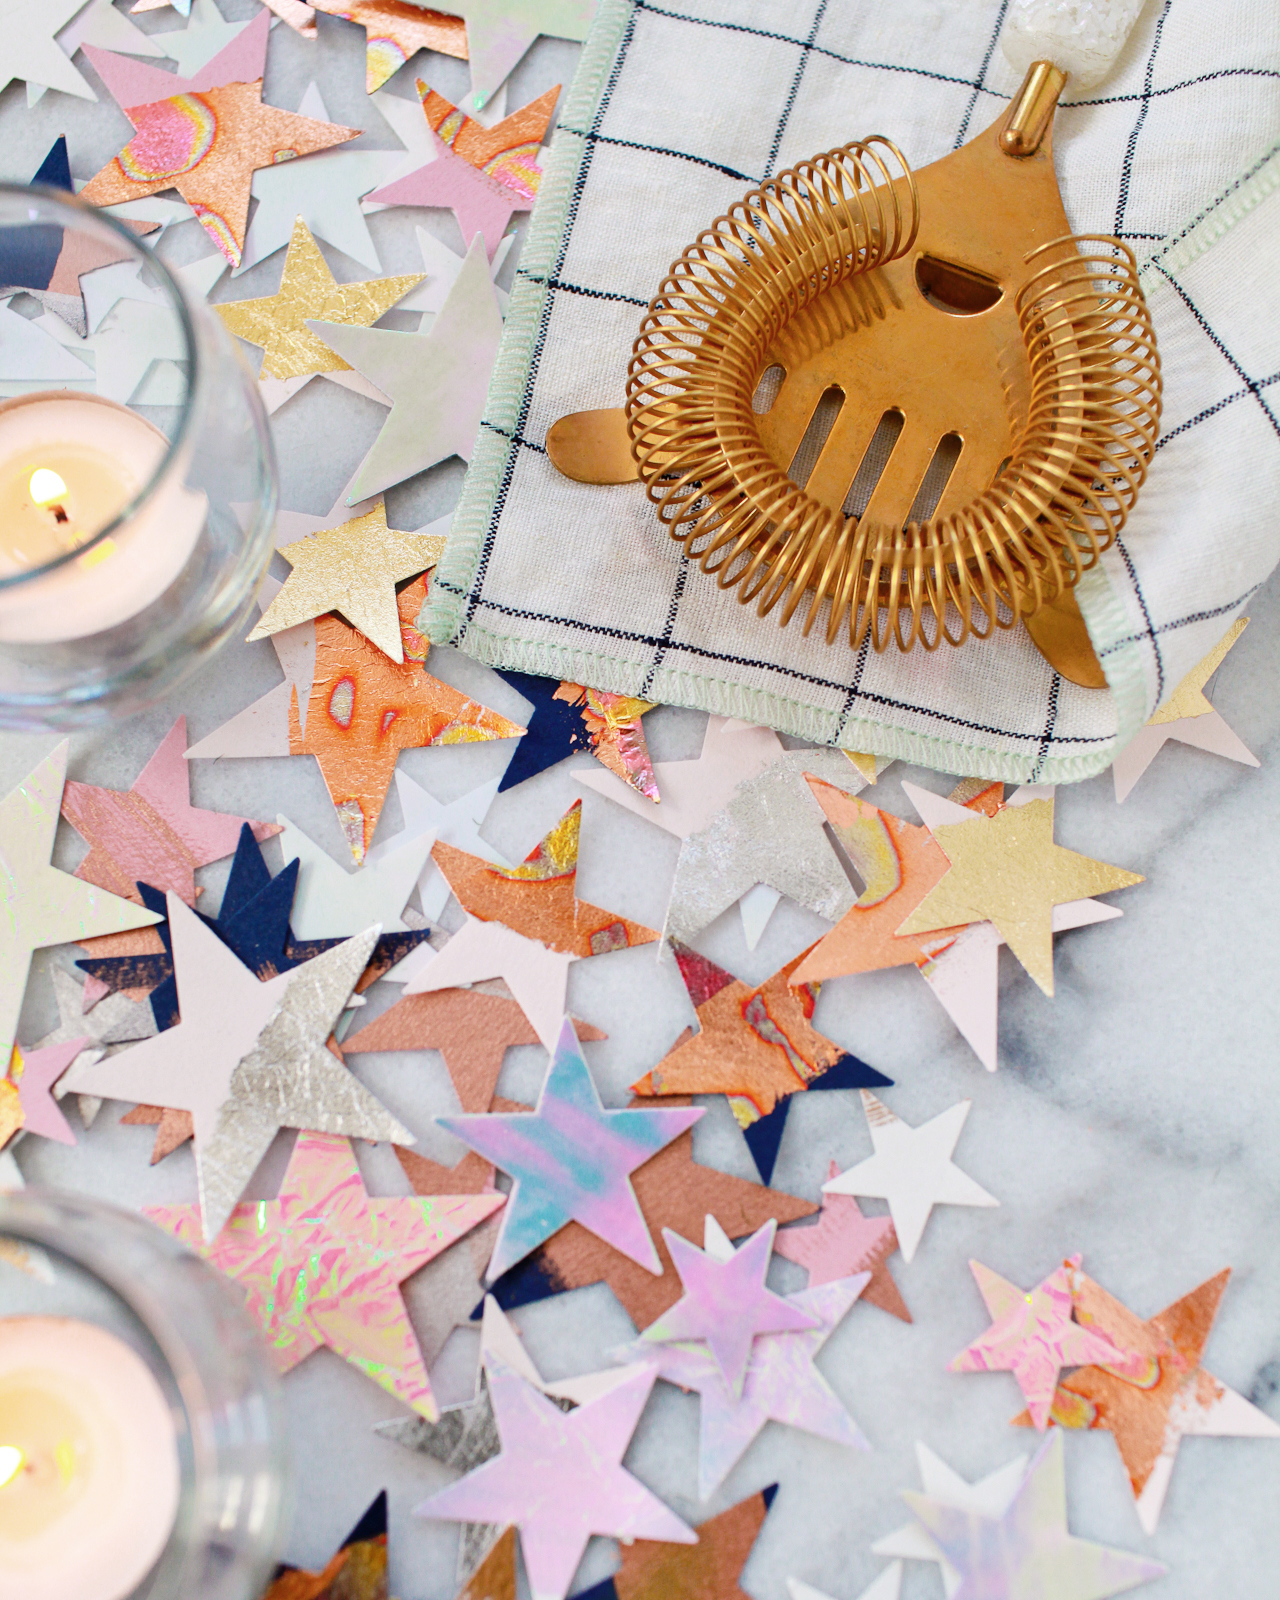
Did you notice the beautiful rainbow gold leaf above? It’s variegated red gold leaf and it’s ridiculously beautiful. It actually looks a bit more like copper leaf, which is just fine by me, and looks amazing against the pale pink and deep navy paper. In addition to the variegated leaf, I used traditional gold, silver, and copper leaf, along with the same metallics in liquid leaf form. For the liquid leaf, I wanted to experiment with punching the stars out of an abstract brushstroke pattern with all three metallics: gold, silver, and copper. Mixed metals for the win!
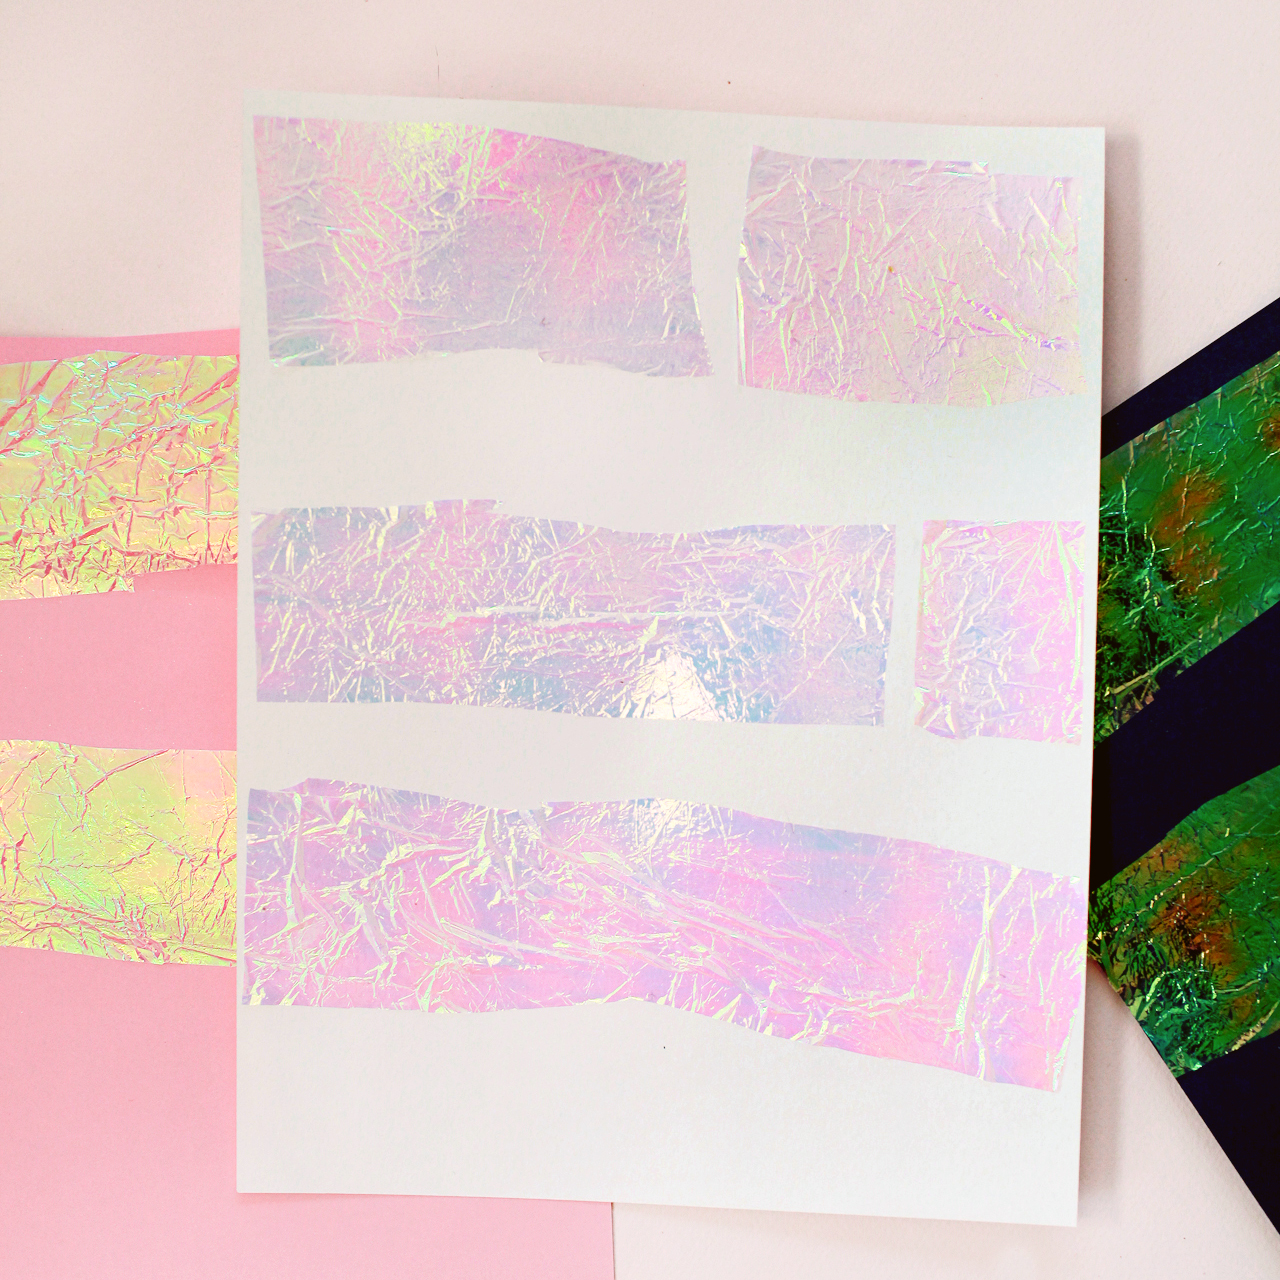
And of course I couldn’t resist adding in some iridescent stars made by layering iridescent cellophane over card stock. I also punched a few star shapes out of this iridescent white mylar, which looks way more shiny and iridescent in real life than it does in the photos! I may have gone slightly overboard with the number of materials in this project – I just couldn’t help myself! The good news is that you can definitely simplify the materials and still get the same gorgeous result! A table covered entirely in iridescent white stars would be gorgeous for New Year’s Eve, or just use easy-to-apply liquid gilding if time is a concern! When it comes to metallic sparkle, you really can’t go wrong.
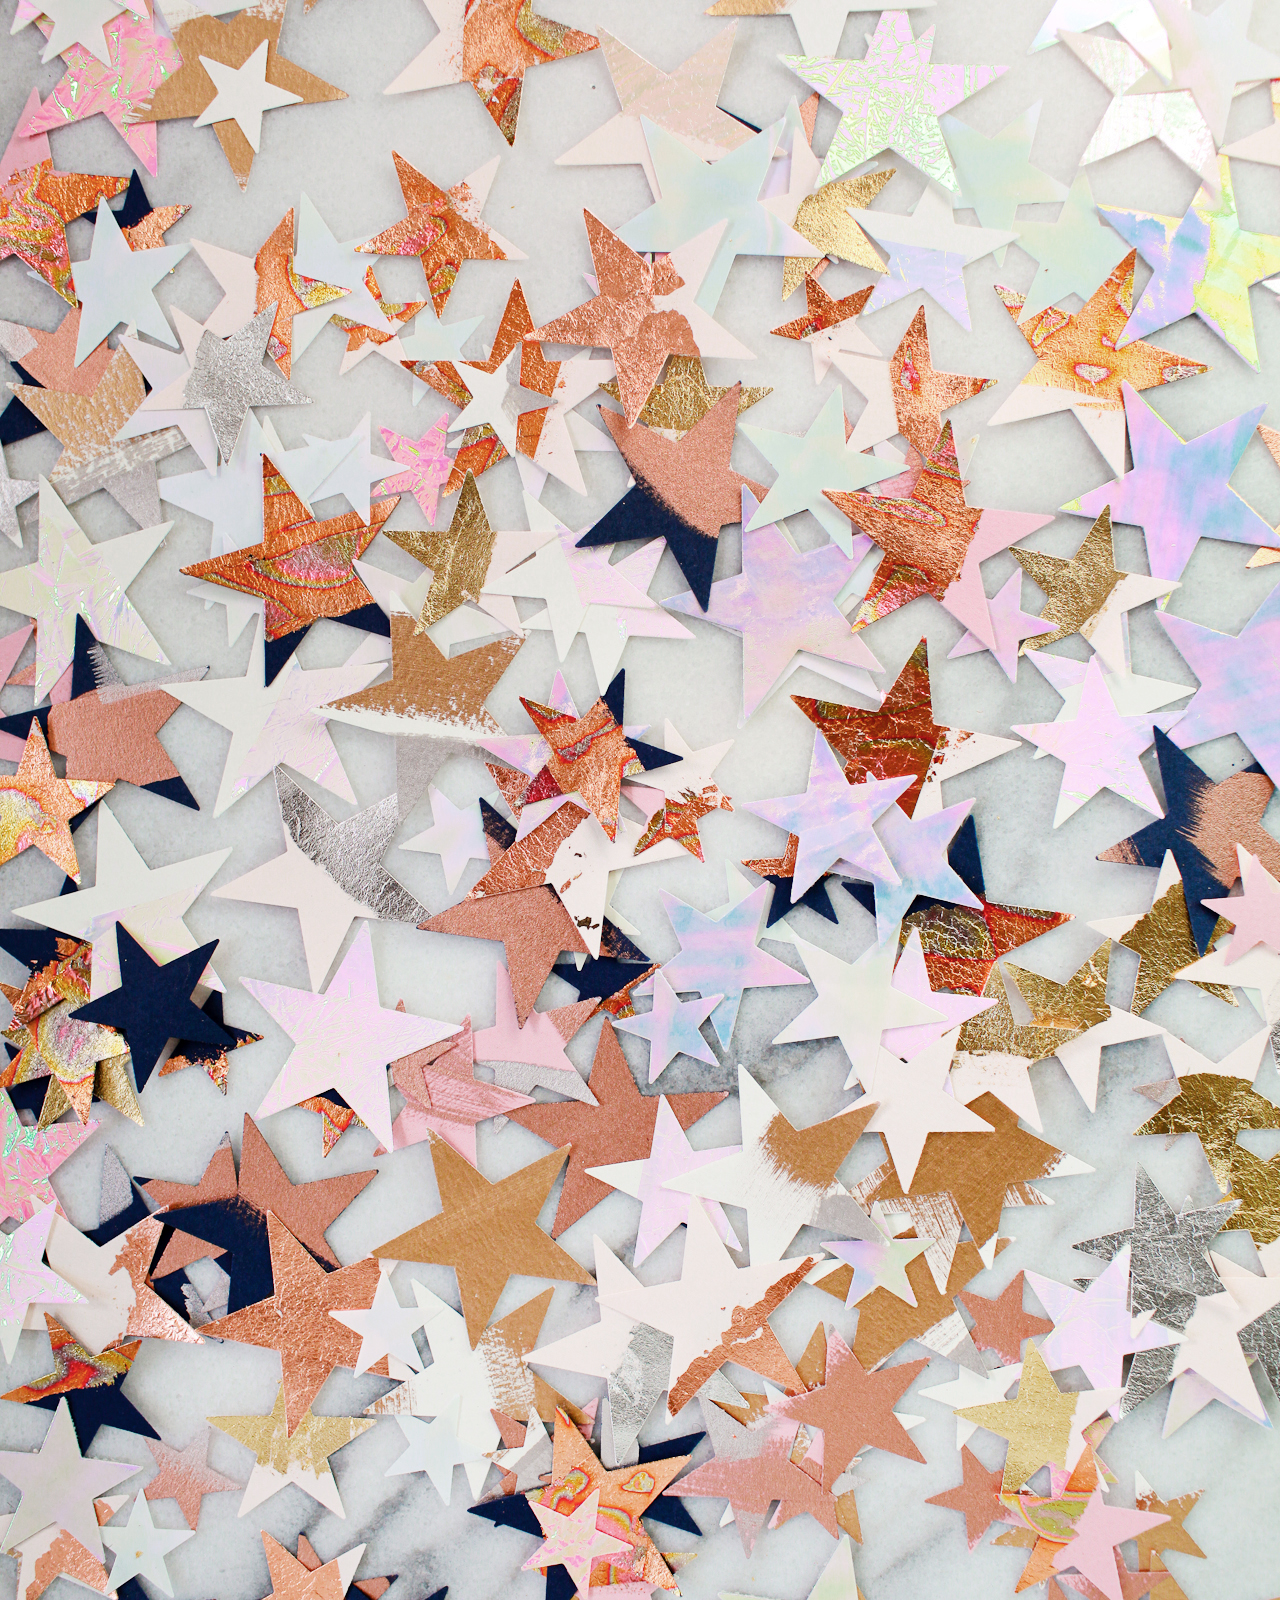
Don’t they look so gorgeous all mixed up together? Let’s make some stars!
Supplies
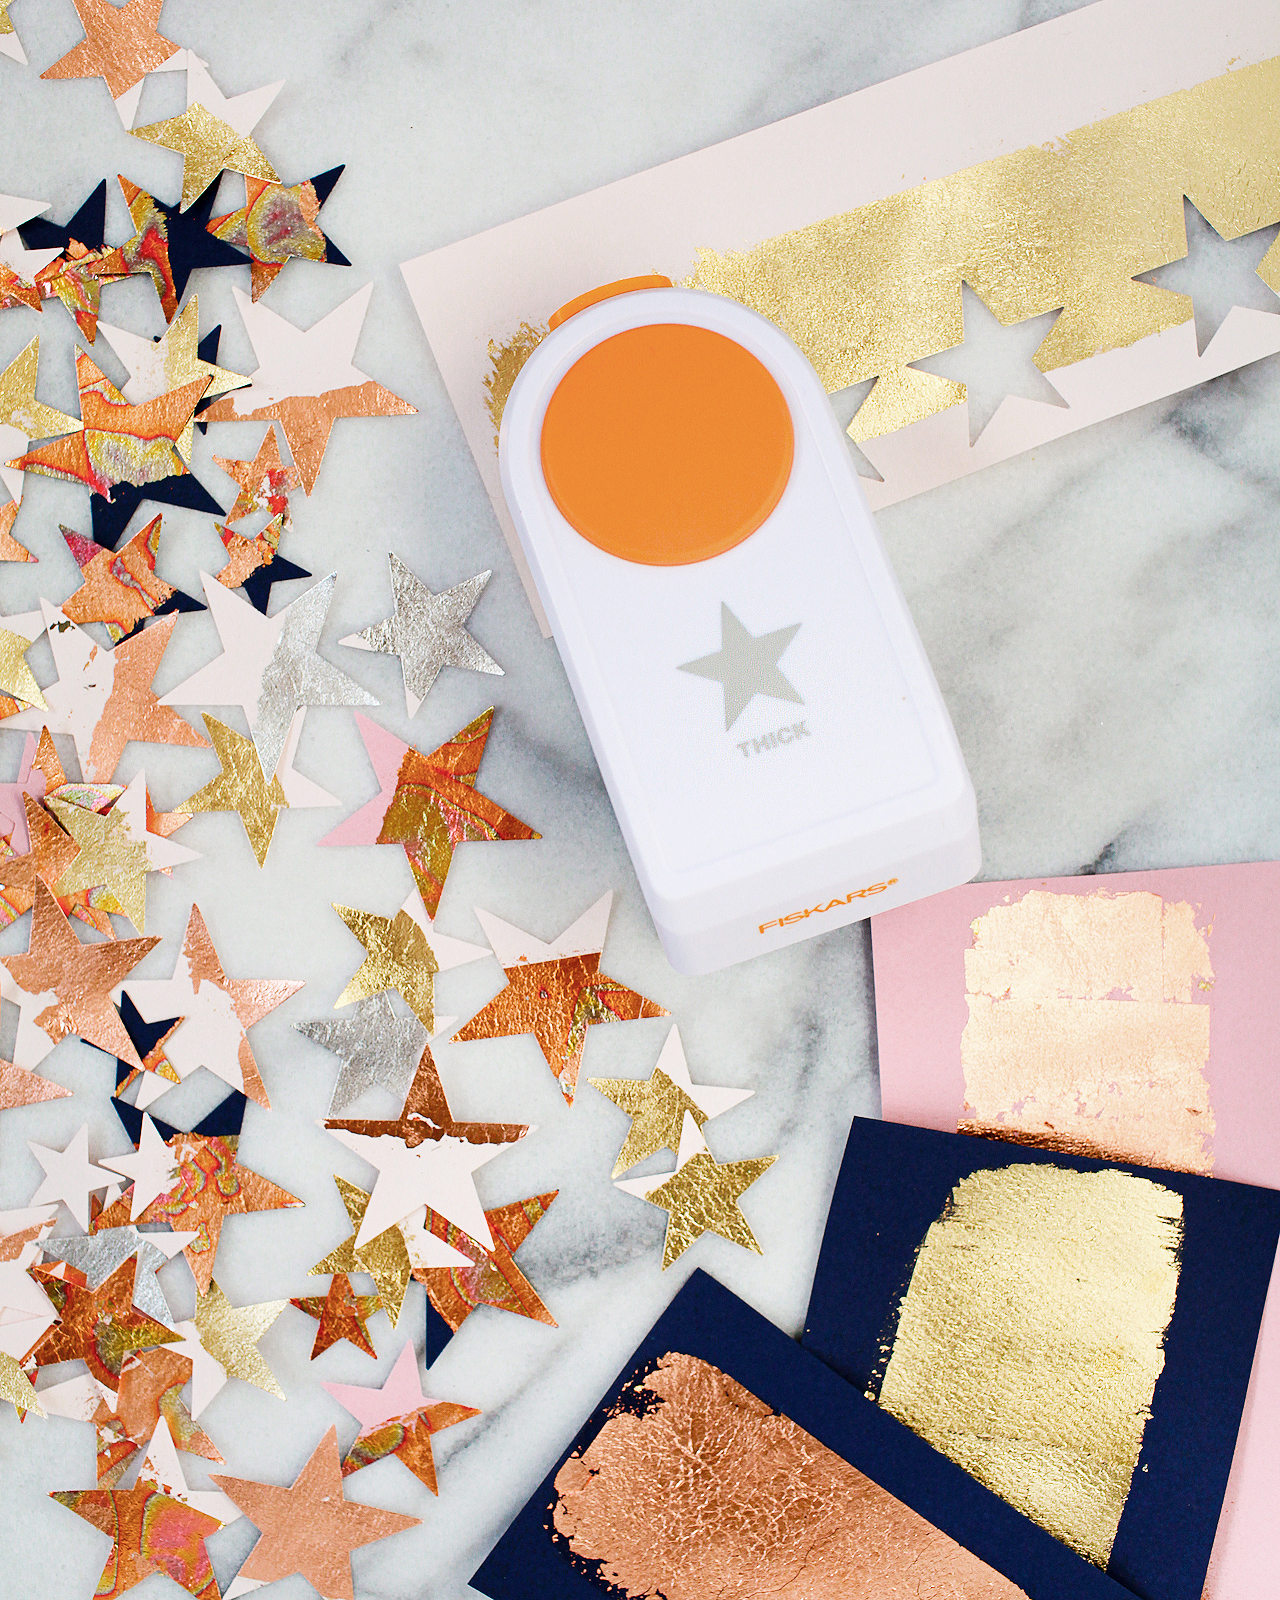
Fiskars Thick Materials Star Punch in small (1″), medium (1.5″), and large (2″)
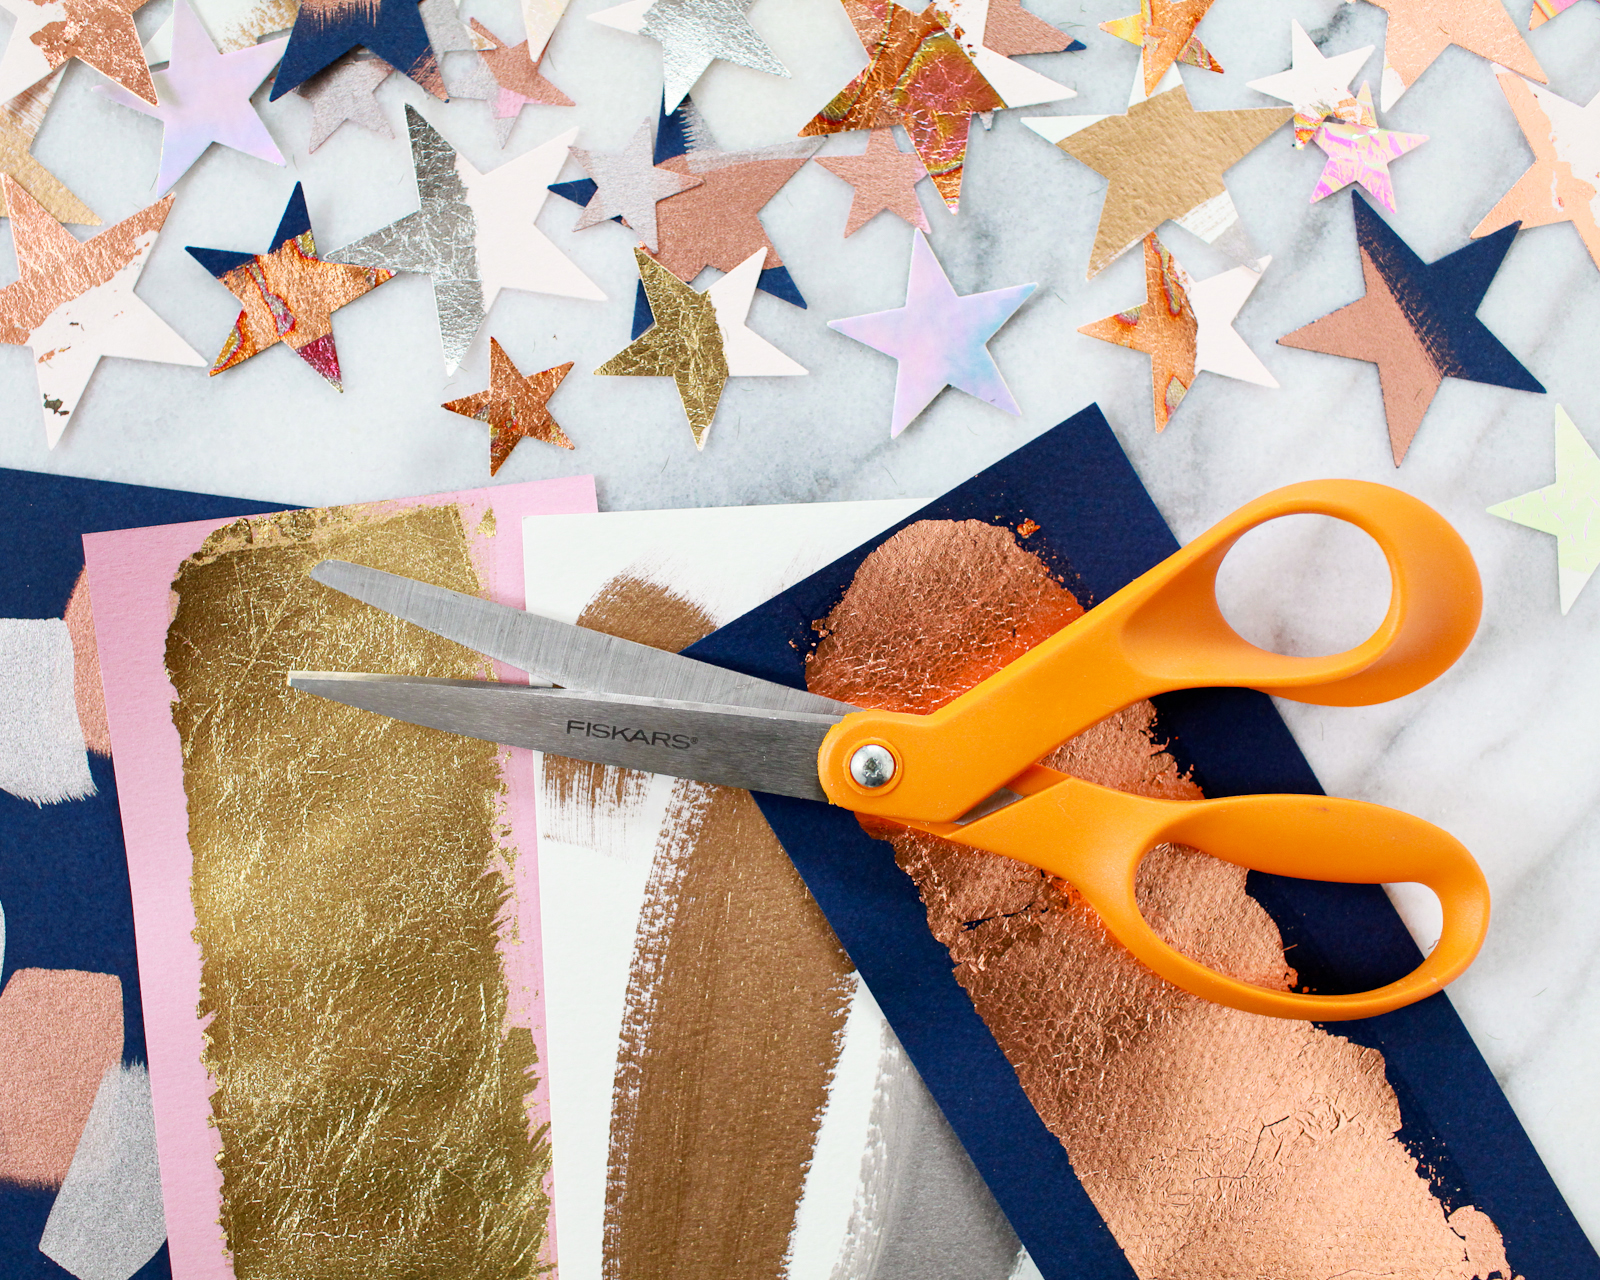
Fiskars Original Orange-handled Scissors
Card stock in your desired color palette (I used white, pale pink, rose pink, and dark navy blue)
Metallic leaf in gold, variegated red gold, silver, and copper
Liquid metallic leaf in gold, silver, and copper
1″ paint brushes
Iridescent cellophane (from your local party or craft store)

For the metallic leaf star table confetti:
Apply 2″ strips of metallic leaf across a letter-sized sheet of card stock, following package instructions to apply the gold and copper leaf and leaving approximately 1-2 inches of space between each strip of metallic leaf. The application of metallic leaf usually involves applying a thin layer of gilding adhesive with a paint brush, allowing it to dry until clear and tacky, applying a small sheet of metallic leaf, then brushing off the excess metallic leaf with a clean paint brush.
I also used my Fiskars Original Orange-handled Scissors to carefully cut the sheets of metallic leaf down to size before applying them to the paper to minimize waste and get the maximum coverage from each individual sheet of metallic leaf. Each 2″ metallic strip used about half a sheet of metallic leaf. I wanted an abstract painterly pattern, so I freehanded the adhesive application, but you can use washi tape to tape off straight lines if you want a cleaner look.
The Fiskars Original Orange-handled Scissors are my all-time favorite scissors to use for crafting! They’re known for their quality and precision and I’ve been using them as long as I can remember. Can you believe that these iconic scissors are celebrating their 50th Anniversary next year!?

For the liquid metallic gilding star table confetti:
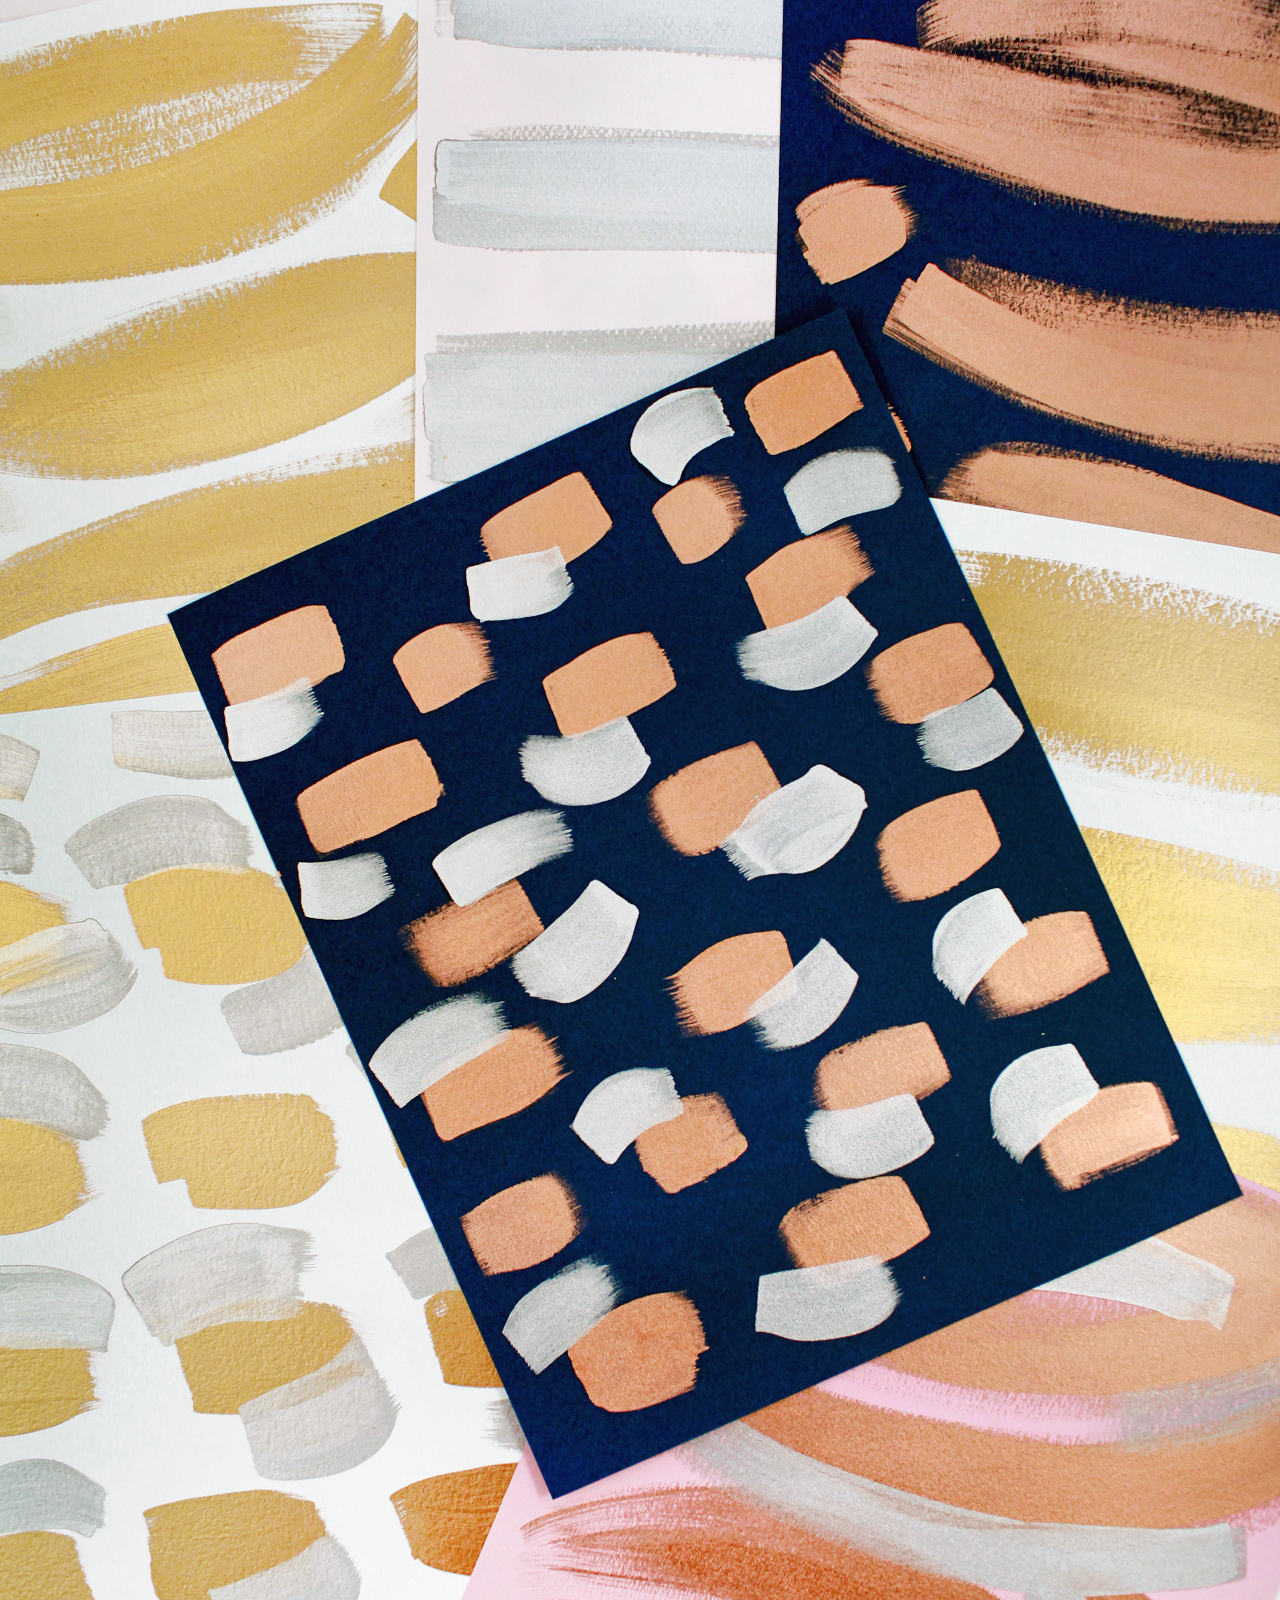
Using 1″ paint brushes, apply the liquid gilding across a sheet of card stock in an abstract pattern. I did a mix of long brush strokes on a few sheets of paper, and shorter brush strokes on other sheets of paper. I also layered short brushstrokes of silver liquid gilding over gold and copper gilding for additional dimension. The whole thing is meant to be abstract and painterly, so just have fun with whatever pattern you choose!
For the iridescent star table confetti:
Use Fiskars Original Orange-handled Scissors to cut 2″ strips of iridescent cellophane. Apply a thin layer of PVA glue to one side of the iridescent cellophane and apply the cellophane to a sheet of card stock. Allow the glue to dry completely.
To make the star shapes:
Step 1. Using a paper trimmer or Fiskars Original Orange-handled Scissors, cut each letter sized sheet of card stock into thirds, so that each section of paper measures approximately 3.6″ x 8.5″. I used the ProCision Rotary Bypass Trimmer to cut up to three sheets of card stock down at once, which definitely helped save time!
Step 2. Use the Star Thick Materials Shape Punches to punch out star shapes from the paper. I made sure to place the paper punch so that some of the resulting star shapes would be approximately half metallic or iridescent, and half uncovered card stock. You’ll often have enough room between the large star size to make a few small stars from the same piece of paper.
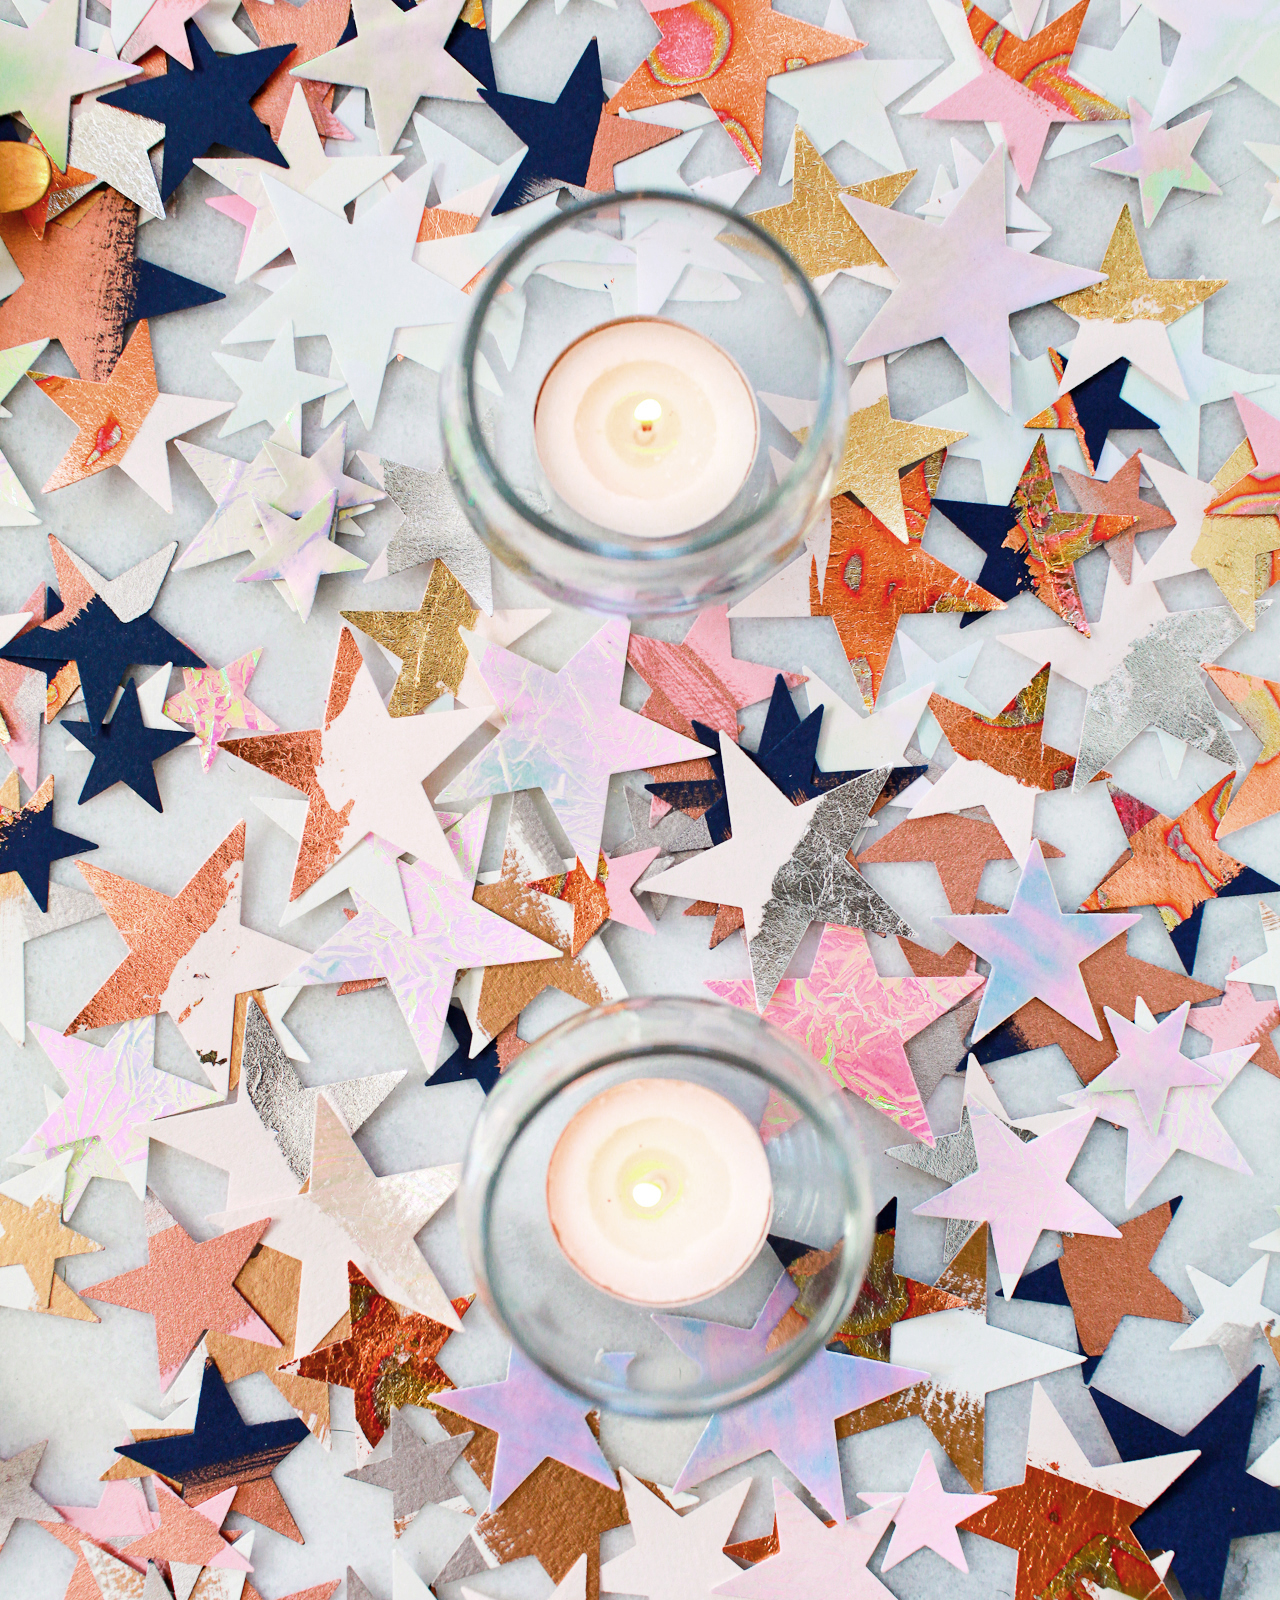
Step 3. Sprinkle the stars down the center of your table, or around any pitchers or punch bowls on your bar. Add in a few flowers and some votive candles – and have a great party!

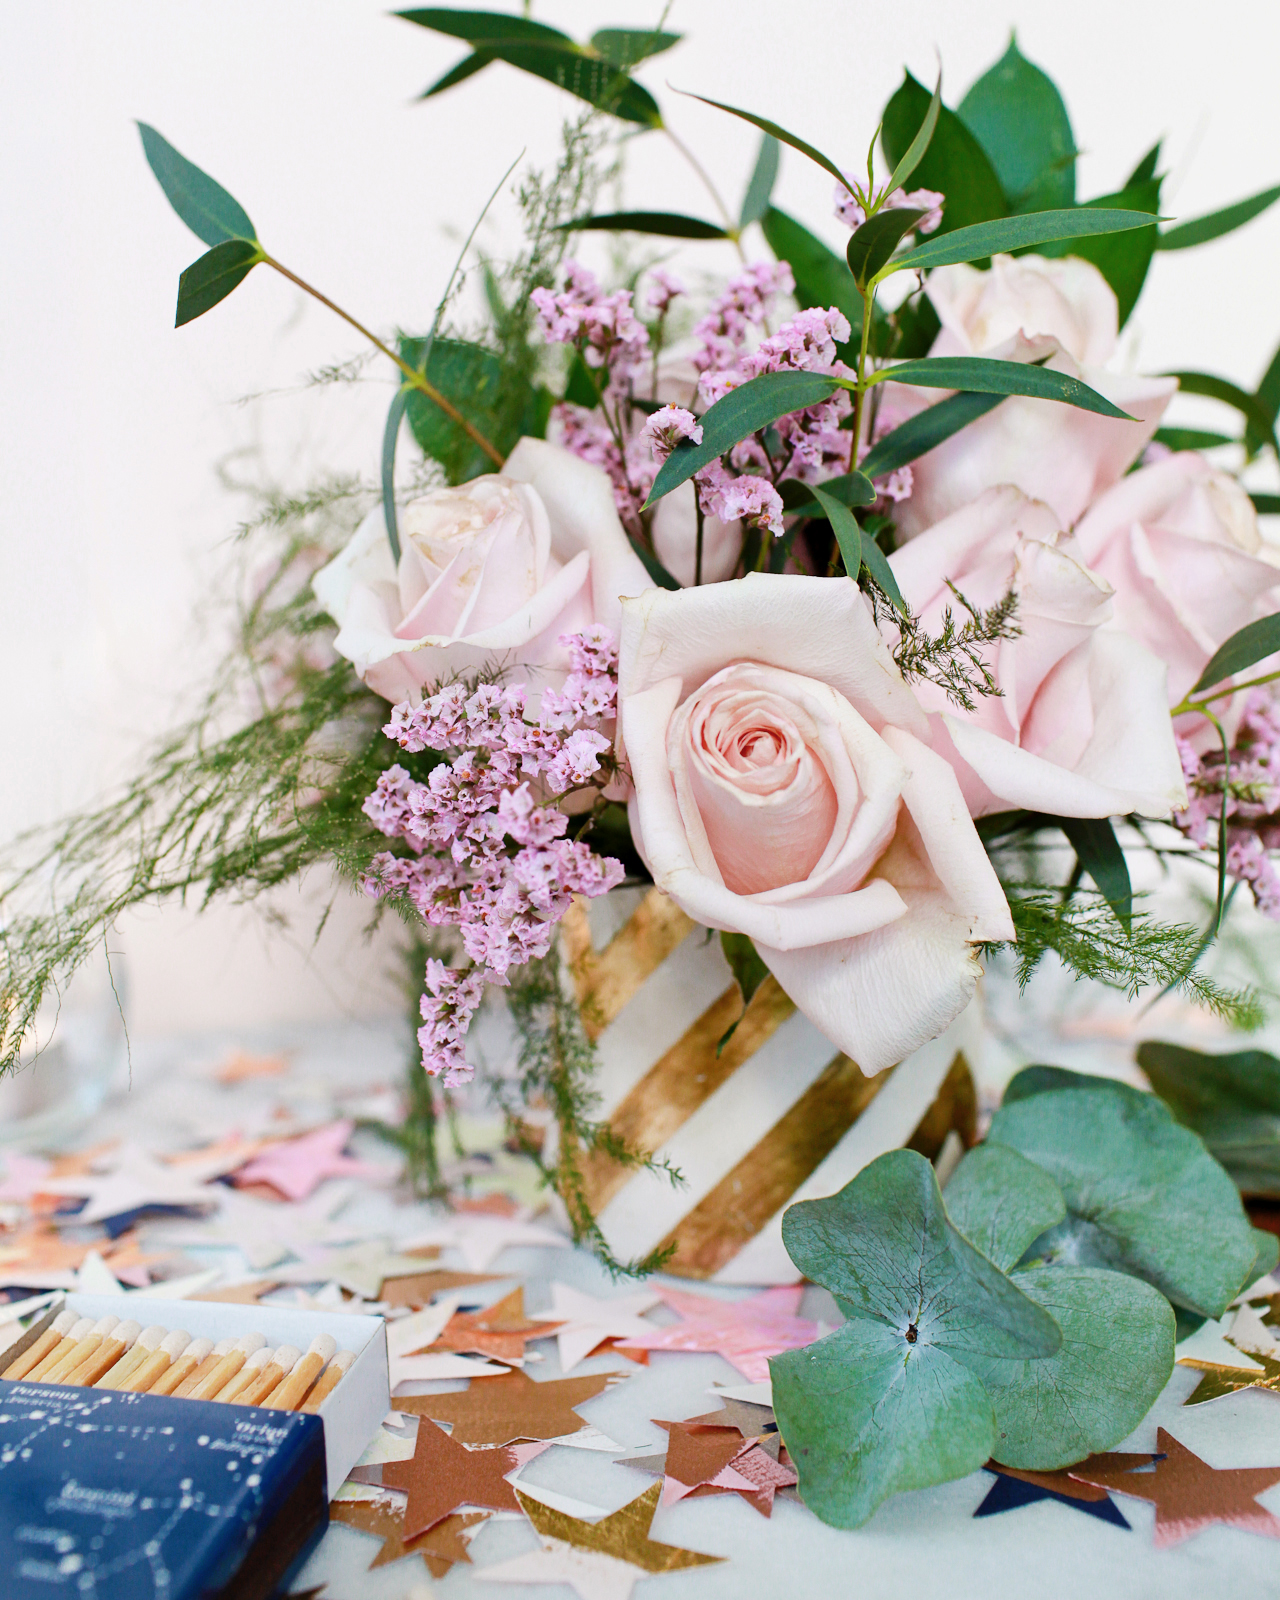
These metallic and iridescent star shapes are the perfect way to decorate your holiday table, don’t you think? And such an easy way to add some celebratory sparkle to your holiday or New Year’s Eve party!
This post was created in partnership with Fiskars. All content and opinions are my own. Thank you for supporting the sponsors that make Oh So Beautiful Paper possible!
For more information on Fiskars crafting products, check out their website or follow Fiskars on Facebook, Twitter, Instagram, and Pinterest!