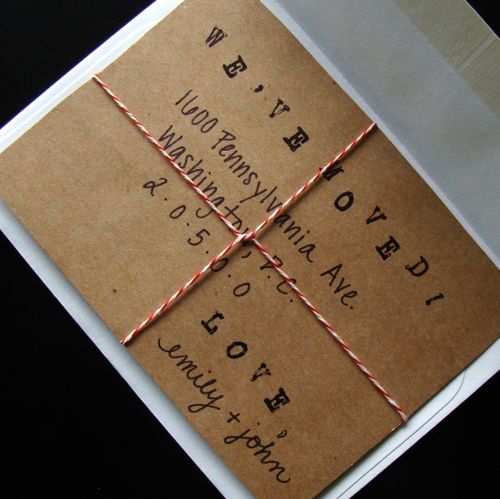
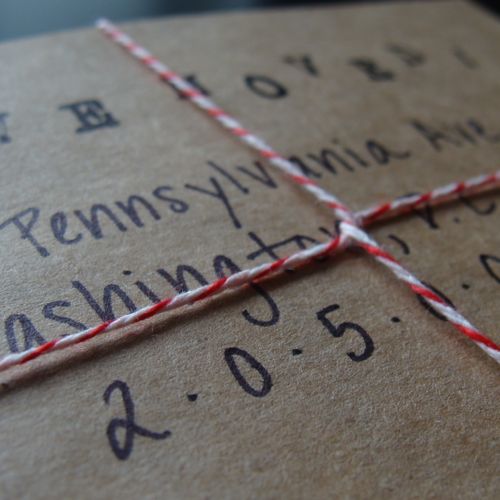
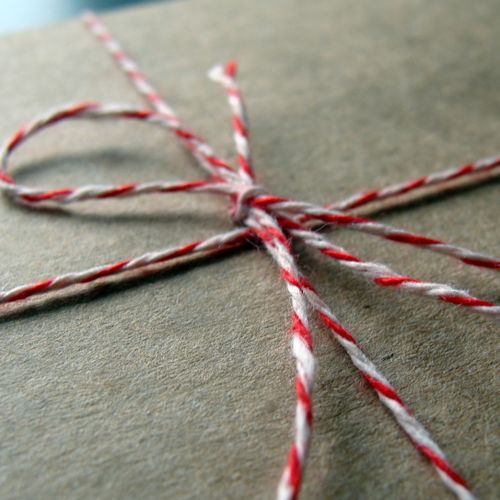
Emily from Peach and Pearl created these announcements for her own recent move – and I'm loving that she made them using recycled cardboard and striped baker's twine:
Search Results for: mad men
Happy Weekend!
Hi Everyone! I thought I'd follow Alyson's tradition of a Friday afternoon post about all the things making me happy right now. So here goes!
I'm so glad:
that I get to sleep in tomorrow (I really need it!).
that the Gus and Ruby stationery and invitation boutique is finally open! I've been following their progress on twitter - if you're near Portsmouth, NH I hope you'll go check it out.
I'm really loving:
this gorgeous table featuring linen and queen anne's lace by chelsea for project wedding.
these patterned books over at the SeeSaw blog.
french chic at {this is glamorous}.
the invitations – and everything else in this gorgeous wedding photographed by Jose Villa.
these sweet letterpress gift tags.
this post from Liene at Think Splendid.
I'm looking foward to:
the farmer's market this weekend, and trying out new recipes next week.
a trip to NYC next weekend for the NY International Gift Fair on August 17 and a couple of other fun things that I can't share just yet – but if you're a vendor planning to exhibit at the NYIGF, let me know so I can make sure to stop by your booth!
and I'm greatly honored and thankful:
to Alyson and Maddy for helping me out last week – and that this lovely little blog community has lead me to develop relationships with so many amazing people.
happy weekend everyone!
{photo from here}
Hello again! And thank you.
Hi Everyone – I’m back! Â And before I say anything else I just want to send the biggest “thank you!” to Alyson and Maddy for being such wonderful guest bloggers last week! Â I hope you all loved reading their posts as much as I did!
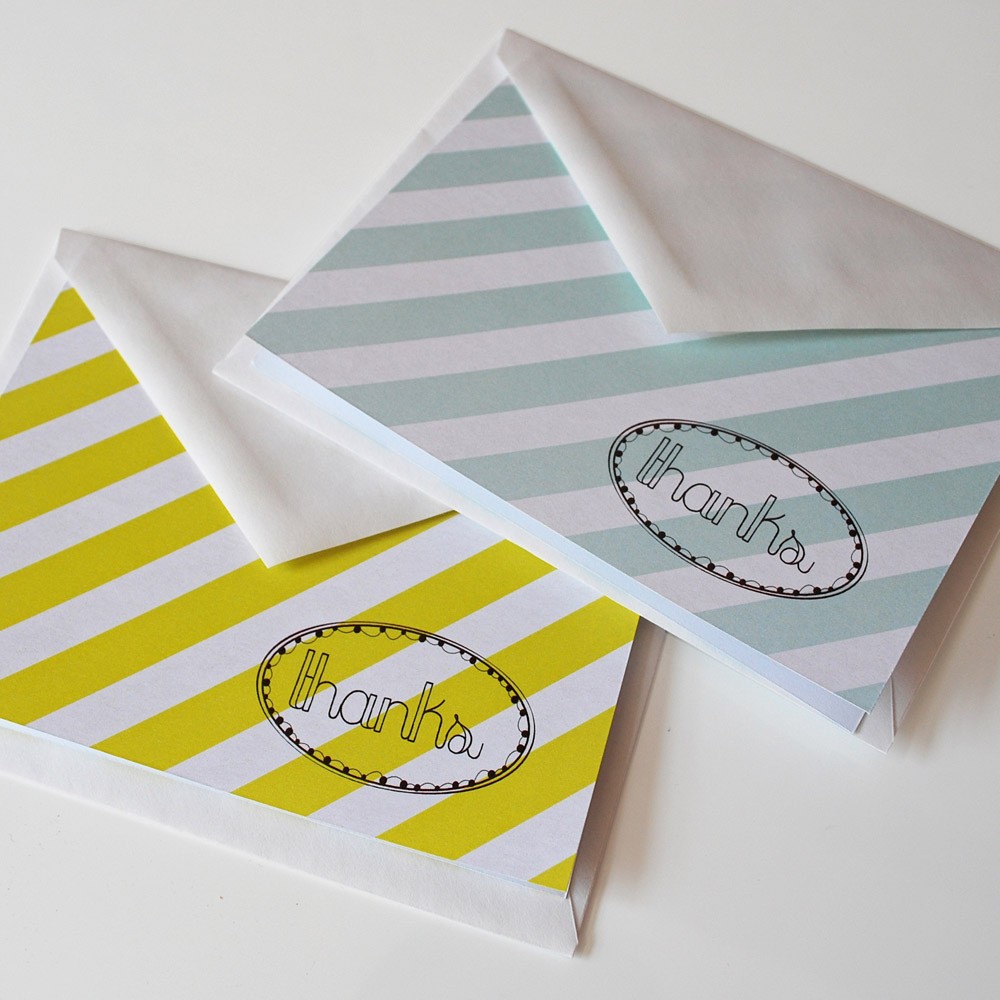
{thank you cards via hello tenfold}
So, since I’m still trying to catch up from last week, I thought I’d start off with a quick round-up of some of my favorite posts from last week:
- Beautiful framed baby announcements from bird dog press
- fabulous invitations from promise tangeman via once wed
- LOVE these paper feathers that suann found over at simplesong
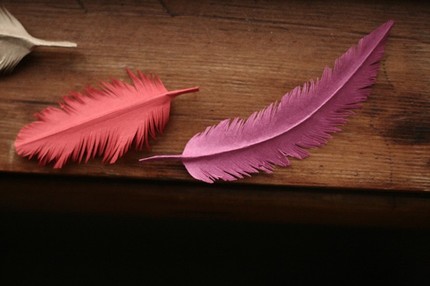
{paper feathers via alicia lynn}
- katy had an amazing vacation in Maine – now I have the strongest urge to go antiquing and spend some time at the beach!
- very cool cross-stitch bowls by panier percé over at seesaw designs
- amy + jason’s awesome wood + stitched + gocco invitations on brooklyn bride
- beverly + neil’s lovely hand-made letterpress invitations were featured on mint:
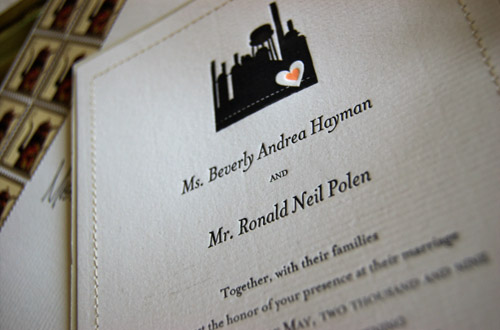
{beverly + neil’s invitations from here}
- Did you hear about this fabulous DIY contest going on over at Classic Bride?
- For anyone in the DC area – Maria from ritzy bee is partnering with jcrew for an event on August 9 – click here for more info!
- Finally – a solution to all those paper scraps that I never want to throw away over on design sponge
- I love these invitations that Jordan designed and letterpress printed for a 50th wedding anniversary party:
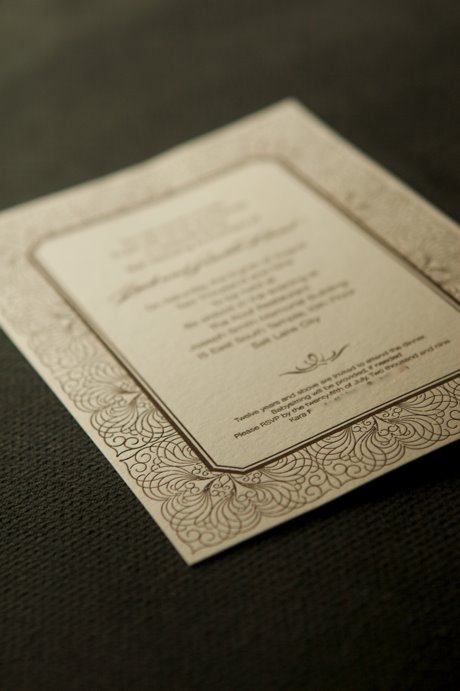
{invitations via oh happy day}
Those are a few of my favorites from last week – I’ll be back with some more goodies a bit later!
{images from their respective sources}
Trimming the Budget without Sacrificing the First Impression
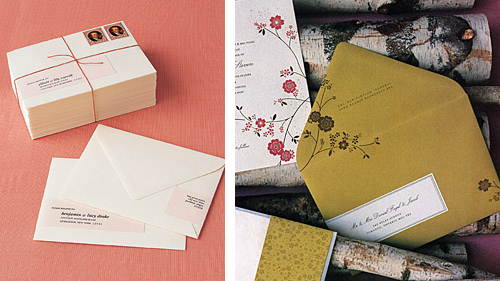
Images from Martha Stewart Weddings (right styled by Rebecca Thuss)
Hello, everyone! It's Maddy from the Inspired Bride blog, here to once again fill in for Nole.
Everybody is thinking of ways to save money nowadays, and the first things to go are the ones that aren't in the "absolutely necessary" column. For a lot of brides, that means sacrificing hand calligraphy – while it's gorgeous, it also can rack up quickly if you have lots of guests. Here are some suggestions on how to cut the calligraphy without losing the great first impression it makes.
Make an investment in a commercial calligraphy face and print your envelopes. Please don't go down the free font route! I've pleaded this case on my blog before because, as a graphic designer, it can be a little painful to see. There's a reason they're free – typographically, they're generally not up to par with pay fonts, and when that craftsmanship is not there from the get go, you won't be leaving the impression with your guests that you want. There are plenty of typefaces available for affordable prices, and I've covered some on the Inspired Bride. A great resource for affordable fonts is MyFonts – I would recommend you start there. Remember that the more you use the fonts, the better deal you're getting, so consider using them on favors, place cards, and programs, as well – anywhere you would have originally considered using calligraphy.
Do the wrapping label. Normally, it's considered a faux pas to put labels on an invitation, and in most cases I'd agree – however, the trend of making a wrapping label (as shown above), I think, is incredibly modern and gives an added element of "specialness". Plus, it just looks great – I loved the look so much, I nixed the hand calligraphy on the envelopes of my escort cards and used wrap labels instead in my own wedding two months ago.
DIY, literally. I came across a brilliant idea a few months back, but I definitely would recommend this only for those of you with steady hands and a heck of a lot of time and patience. This blogger had the brilliant idea to print her envelopes with a slightly darker ink on dark envelopes to use as a "trace line". She then went back over the slightly visible letters with an opaque white ink pen to give the quirkiness of hand calligraphy to the letters without being a trained professional.
DIY scratch pad notebooks
hi there! this is Alyson again with Unruly Things and I’m so happy to be here blogging for Nole while she’s out this week. on Unruly Things I’ve been talking about my newest venture called Postal Press. Postal Press is a little shop I’ve been working on stocked with letterpress stationery and packaging goodies.
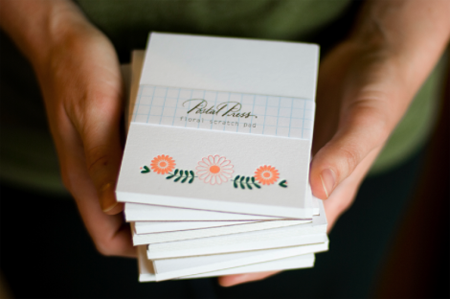
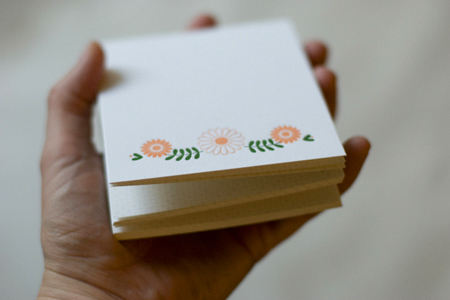
last weekend, I participated in the Summer Social Sale, hosted by Abby of Abby Try Again, and debuted my collection of goods. one of the hottest sellers was this little scratch pad, letterpressed and assembled by me. and today is your lucky day because I’m here to share with you how you can make your very own scratch pad notebooks.
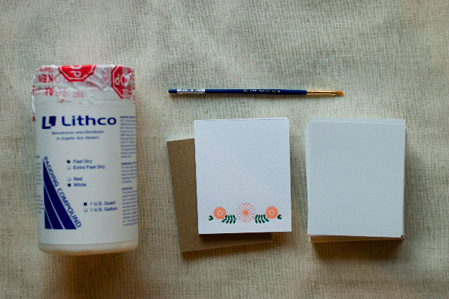
here are the supplies you’ll need:
- padding compound – the consistency of elmer’s glue and available in white or red.
- scratch pad covers – for mine I used Crane’s 110lb Lettra paper, letterpressed with my own design and cut to size.
- interior paper – unless you have a high power paper cutter, I’d suggest having it professionally trimmed.
- cardboard backing – I used a thin piece of kraft colored cardboard backing, also pre-cut to fit my pads.
- a small paint brush.
- a big working table with a good edge.
- something heavy like a small book, glass jar or that insanely huge quart of padding compound that you have.
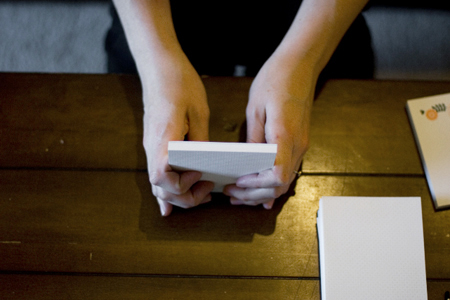
1. start by gathering all of the paper together for the scratch pad, including the cover and backcover, and make sure that all of the sides match up evenly by striking it on your table or workspace.
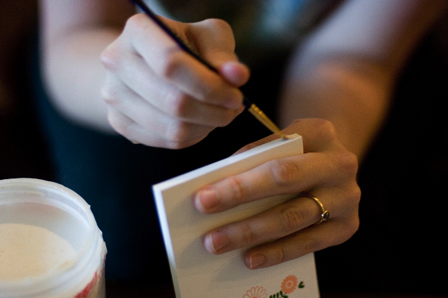
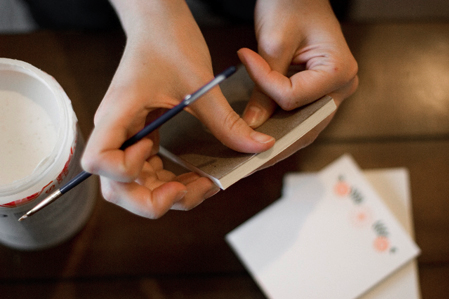
2. next, grip the paper with your pointer finger and thumb on one side and your other fingers on the back for support.
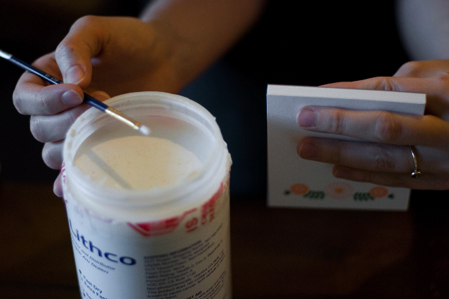
3. take a small amount of padding compound on your brush {seriously, this stuff will last you forever} and lightly brush it onto the edge of your scratch pad.
4. brush the padding compound on in a light layer. {you’ll do a second coat so don’t feel like you need to pile it on there}
5. wipe off any excess padding compound from the edges of the scratch pad.
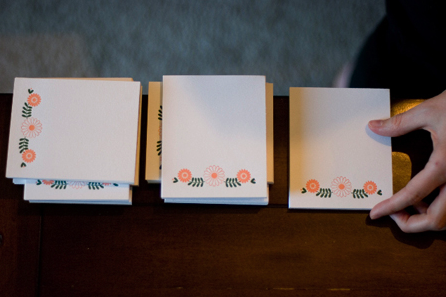
6. set your scratch pads on the edge of your working surface, as close to the edge as you can get them without smearing the compound. place something heavy on top of them to keep the pages from popping up. make sure to keep the pressure even over the edge where you’ve brushed the compound. I like to stagger my scratch pads on top of one another so that I don’t use up too much of my workspace.
7. once the padding compound has dried, repeat with another light layer. allow to dry completely.
et voilà ! you have a handmade scratch pad, ready for use! and pretty darn cute scratch pad at that. I’m sold out of these scratch pads at the moment, but I hope to have more ready to put in the Summer Social online shop, which opens this Friday July 31 at 10am PST. the Postal Press online shop will open in August.

