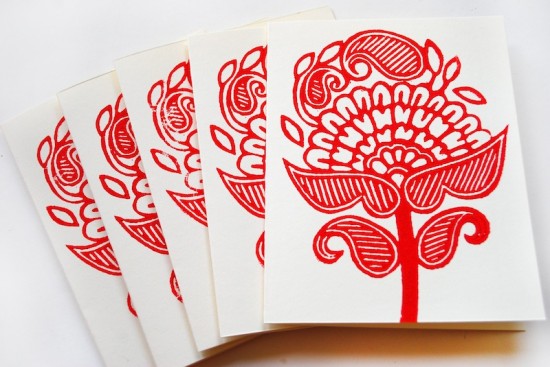
The Printing Process: Block Printing

Happy Monday everyone!  Every morning this week, I’ll be running a series of guests posts about different printing methods – so if you’ve ever wondered why certain printing methods are best for certain kinds of designs (or cost more than others), this is for you!  You can read the previous installments covering digital printing, engraving, screen printing, letterpress printing with antique type, and foil stamping all right here.  Today we have the talented Katharine Watson stopping by to tell us about one of the oldest printing methods – a technique known as block printing.

What is Block Printing?

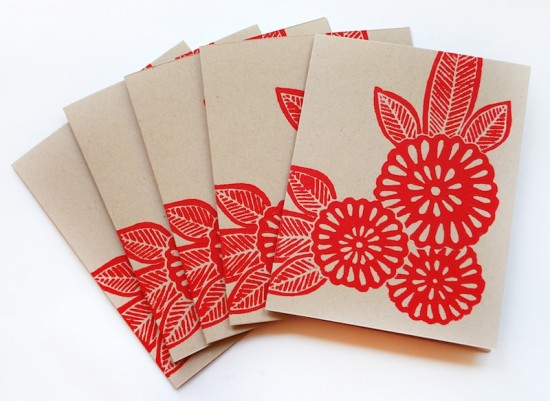
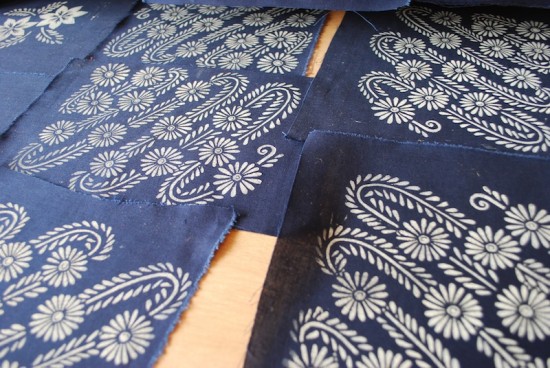
Block Printing is one of the oldest types of printmaking, and has been around for thousands of years.  There is evidence that it existed as early as the fifth century BC, with actual fragments found from as early as the fifteenth century.  It has been done around the world, with roots in India, China and Japan.

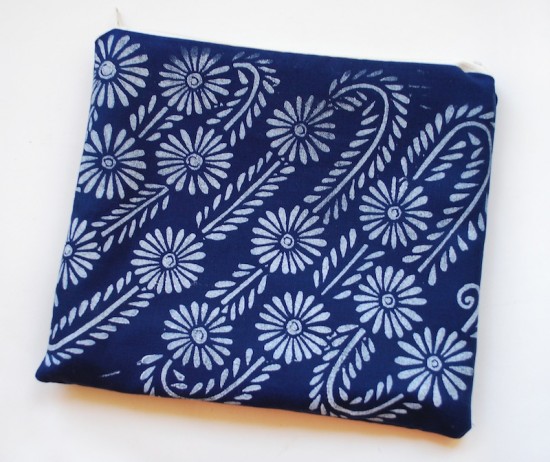
Since there is such a long history of block printing, there are many different techniques, but it is essentially using a carved material covered in ink to transfer an image on to paper or fabric.  Block printing can be done with wood, linoleum, rubber, or many other materials, but I use linoleum for my work.

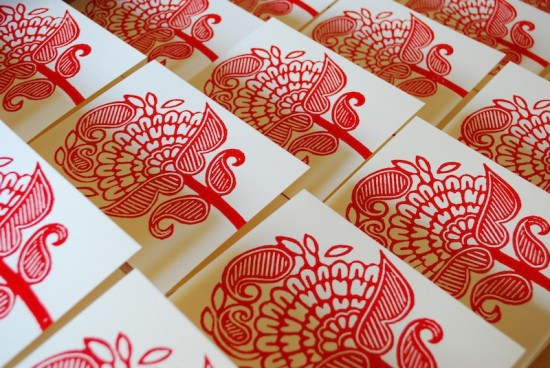
Images that are printed with this technique are typically much bolder than other types of printmaking: since the blocks are carved by hand, there is often less detail and more texture to the prints.  It is possible however, when using a very small knife, to carve blocks with a huge amount of detail.

Block printing is also known as “relief printing” because the ink leaves a raised texture on the paper.  This is different than letterpress where the image is applied with enough pressure to leave an indent on the paper; typically block printing is done by hand, so the ink sits on the surface adding a raised texture to the paper.

The Printing Process

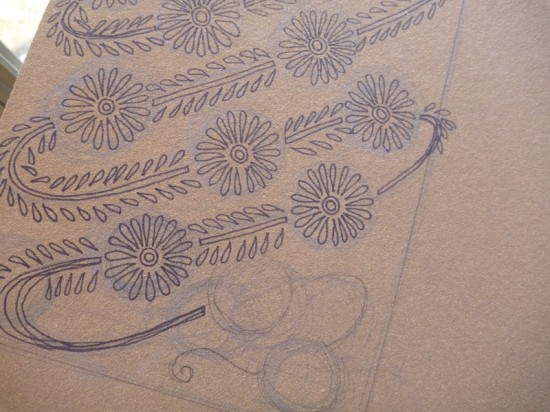
The first step is to sketch the design.  It is important to reverse the image if you are using text, as the printed image will be the reverse of what is on the block.  Once I have the image ready, I then transfer the design on to the linoleum to give me an outline of where to carve.

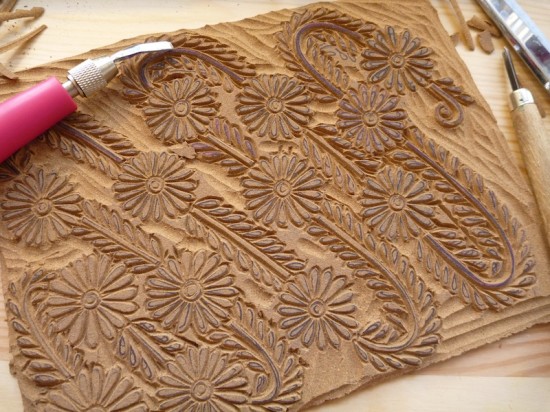
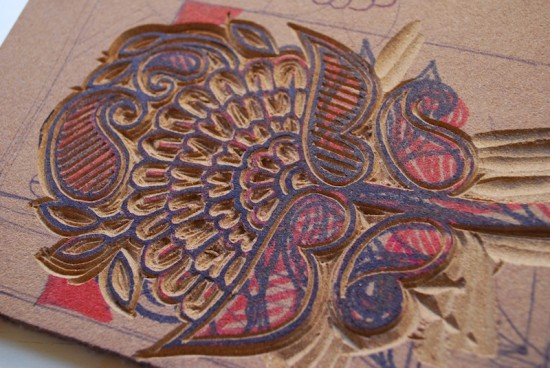
The next step is to carve the design.  I carve away the parts that I don’t want to print, as the ink will be applied to the raised surfaces to print the design.  Whatever surface is untouched will be what prints onto the paper.  Carving a block can take anywhere from an hour for a small piece, to several weeks or even months depending on the size and detail of the image.

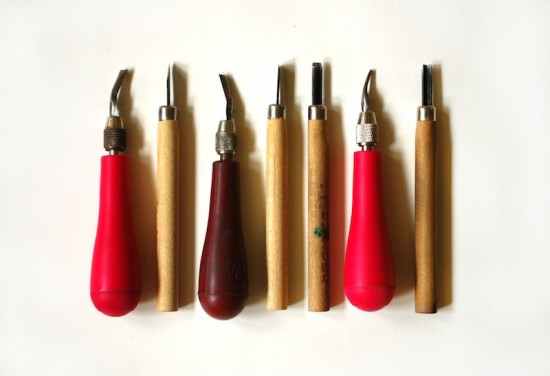
I use a range of knives, with very small-tipped knives for carving outlines and details, and much larger ones for cutting away the background.  Carving the blocks takes a lot of patience, because if your hand slips it can ruin the whole piece.  With practice, you can learn the amount of pressure it takes to carve the material, and the best techniques to use for certain designs.

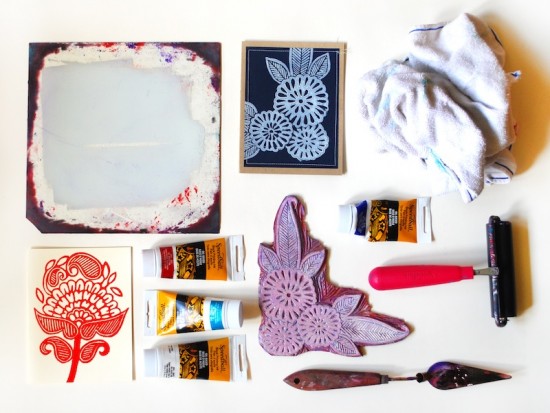
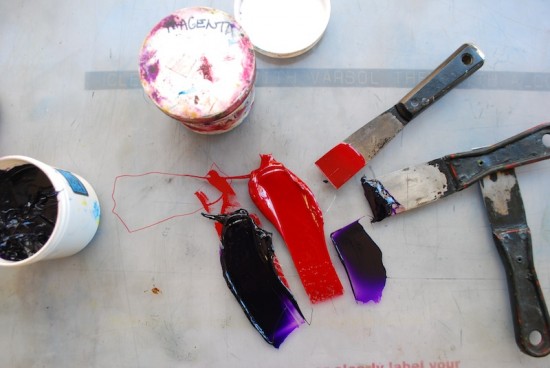
Once the block is carved, I trim the excess off with scissors to give it a straight edge, and then it is ready for printing.  There are many different types of ink on the market, and it’s important to test them out to find the best one.  I use oil-based inks because they give the best even coverage and print well on both fabric and paper, but there are lots of options out there.

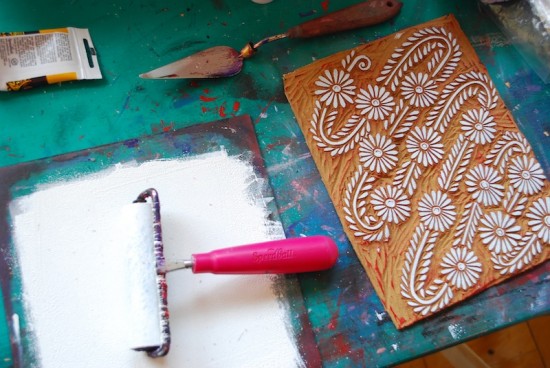
To print, I squeeze a small amount of ink onto a piece of glass or plexiglass, and roll it out with a roller (also called a brayer).  I do this to get a thin, even layer, because it’s important to apply the ink evenly to the block.

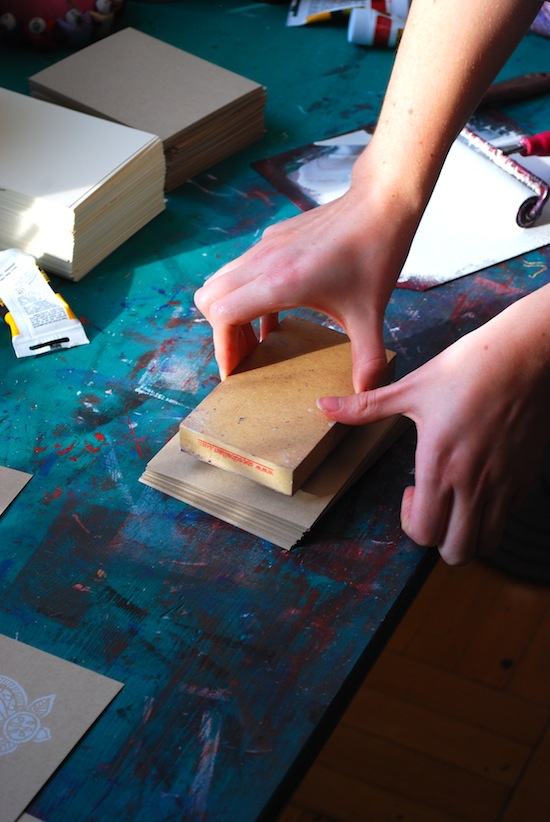
I then roll the ink on to the block, making sure there is a thin but even layer on the whole design. Then I take the block and press it down onto the paper or fabric. You can do this with your hands, a printing barren (a specific tool to apply pressure to a block), a rolling pin, by walking on it, or with a printing press – whatever it takes to apply even pressure.

The most important part is applying the pressure evenly, since the color will be stronger in some areas of the print than others if uneven pressure is applied.  This is also a step that takes some practice and perfecting.

The ink then takes several days to dry, so unlike other printing processes, there is a long wait time before the prints are ready to use.  The oil based inks can take from two days to a week to fully dry, whereas water-based inks will dry slightly faster.  The inks are made to dry slowly so that you are able to print without having the ink dry on the block; if you print with a fast-drying ink or paint, it will sometimes start to dry before you have even finished the print, giving a very uneven coverage.

Tips and Advice

I love block printing because of the bold and simple designs that can be created, but that simplicity takes a lot of steps to achieve.  The technique is excellent for images with just a few colors and fewer details, but can be difficult to use for images with lots of small text, or very fine details that tend to break off the block with too many uses.

One of the advantages of block printing is that it can be done on a surface of almost any size and texture.  I print on fabric, paper, canvas, wood and other materials, and you don’t have to worry about fitting it through a printer or a press.

Block printing is also an excellent way to produce a something that is truly handmade, but can be very easily replicated.  Carving the block is time consuming and requires a lot of patience, but once you have the block you can use it hundreds or thousands of times.

Block printing is also one of the easiest printing methods to get started with, since the materials needed to start are relatively inexpensive, and you don’t need a lot of equipment for printing.  It’s a great way to get into printmaking!

Thanks Katharine!  Check out more of Katharine’s beautiful work right here!

Photo Credits: Katharine Watson


Friday Happy Hour: Puritan’s Punch

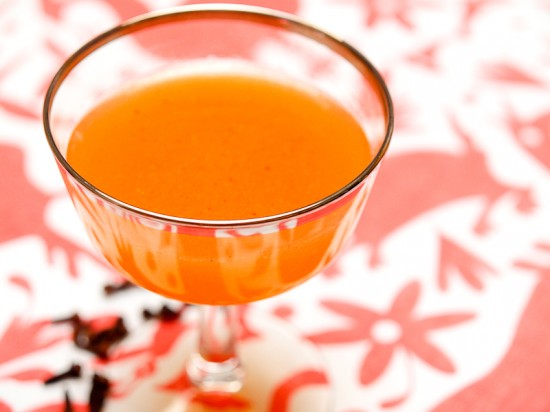
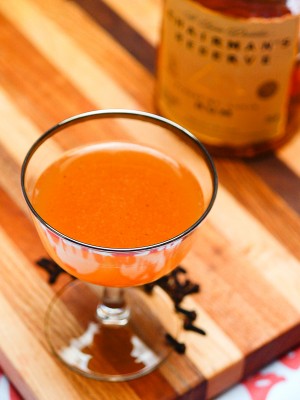
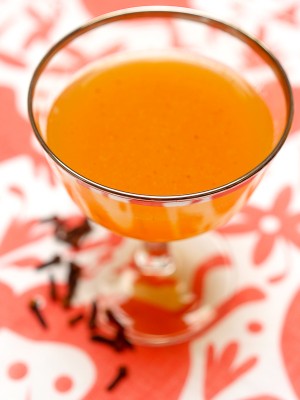
Here’s a drink that branches out from our recent run of classic, mostly pre-Prohibition cocktails: the Puritan’s Punch.  This rum-based cocktail is a great cold weather drink, sweet and tart, earthy and spicy: delicious!

Read below for the full recipe!

Puritan’s Punch

2 oz Dark Rum
1/2 oz Lime Juice
1/2 oz Honey Syrup
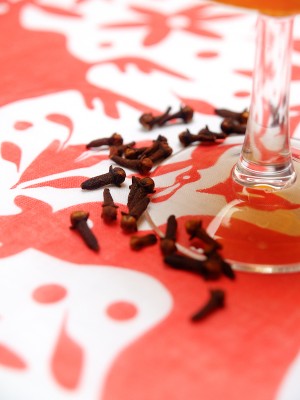
2 Dashes Clove Bitters

Combine all of the ingredients, shake with ice, strain into a chilled cocktail glass, and enjoy.


For a thicker Punch, increase the honey syrup to 3/4 oz, but you should probably also push the lime juice up to 3/4 oz to balance the sweetness of the honey syrup.  You can make honey syrup the same way you make simple syrup: mix equal parts honey and water, then heat gently while stirring until combined.

Clove bitters aren’t the easiest to come by, so try using a dash or two of Angostura bitters and mix in some real cloves (whole or ground) when shaking to get the deep spiciness that makes this drink so great. Or, you can try heating the cloves–and some cardamom pods, cinnamon sticks, ginger, and whatever other spices you feel like–with the honey to make a nicely spiced honey syrup. Some fresh-grated nutmeg on top is also a nice touch.


We first had this drink at one of our new favorite restaurants in DC, Fiola.  The food is great, but we’re also big fans of their bar and, more specifically, their bartenders – who experiment all the time with interesting cocktails.  This Puritan’s Punch is their take on a creation that honors the early Puritan settlers of America, based on the theory that the they probably would have made punch with rum.  Rum was first distilled in New England from molasses imported from the Caribbean as far back as the late 1600s and was the biggest industry in New England for a long time.  It’s a good theory, but an even better drink.

Photo Credits: Nole Garey for Oh So Beautiful Paper

Friday Happy Hour: The Jack Rose

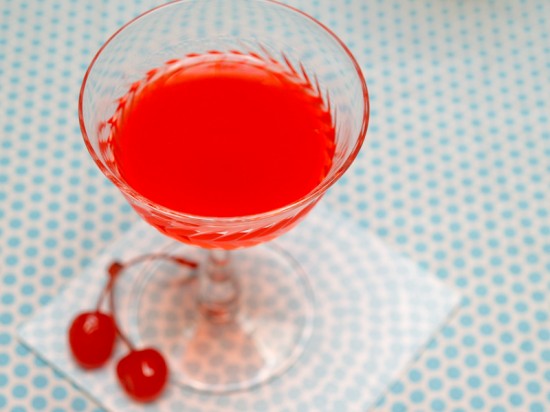
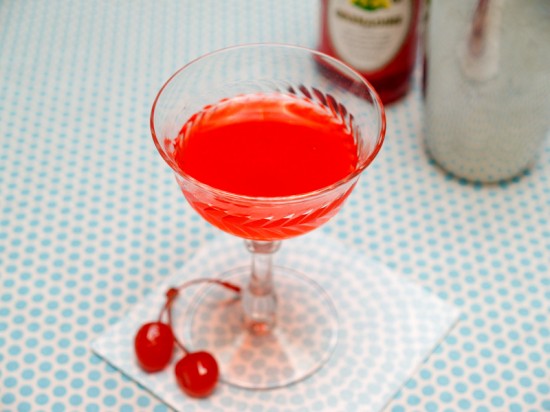
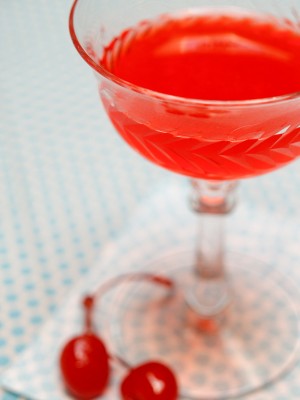
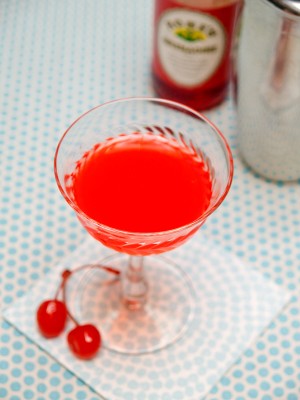
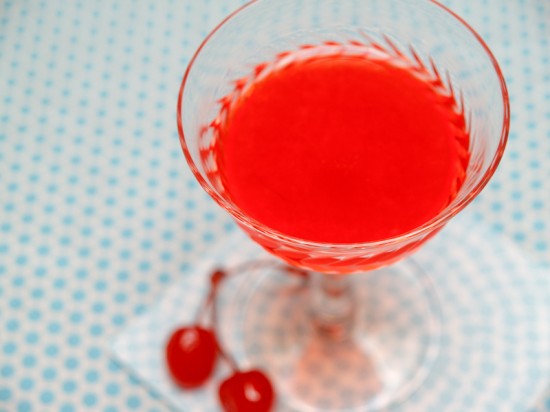
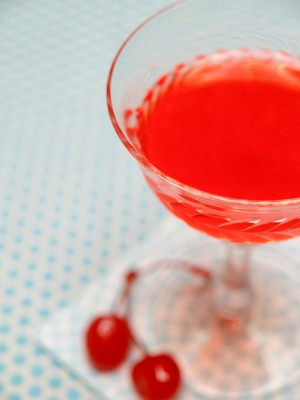
With its pink color and its half-ounce of grenadine, the Jack Rose might seem like a syrupy party drink.  It’s definitely not! The Jack Rose is sweet and tart, yes, but with a rich, complex flavor from its inspired pairing of apples and pomegranates.

Read below for the full recipe!

Jack Rose

2 oz Apple Brandy
1/2 oz Lemon or Lime Juice
1/2 oz Grenadine

Combine the ingredients, shake with ice, strain into a chilled cocktail glass, and enjoy.

Whoever mixed up the first Jack Rose, and complemented the smooth, oaky tartness of apple spirits with the sweet-tartness of pomegranate-based grenadine was really on to something. The grenadine is definitely not around just to make the drink sweeter or give it color (though those help too).


The Jack Rose was traditionally made with applejack, but stick with true aged apple brandy here.  There are some spirits that call themselves applejack around, but I don’t know of any that’s truly jacked, or freeze distilled.

Lemon or lime?  I don’t think it matters much, honestly.  The oldest recipe in print, from 1905, calls for lemon, but Jacques Straub’s 1914 Drinks calls for lime.  I don’t notice much of a difference, except that lemon maybe creates a slightly mellower cocktail.


Much more important is choice of spirits.  A mellow, delicate spirit, such as Laird’s 7 1/2 year apple brandy, will let the pomegranate stand out.  If you want the flavor of apples to really shine, like I do, try a really bold spirit, like Clear Creek’s 8 year eau de vie de pomme, which puckers with tart apple flavor.

The name?  Maybe from the applejack and its color (boring).  Maybe from the jacqueminot rose, which shares a remarkably similar dark pink color (boring).  Maybe from Frank May, a bartender to whom the drink was first attributed in 1905, who went by the nickname Jack Rose (probably true, but still boring).  Or maybe it was named after Baldy Jack Rose, the gambler and gangster whose gambling den, the Rosebud, had a bar where the Jack Rose may have been invented.  Unlikely, but exciting!

Photo Credits: Nole Garey for Oh So Beautiful Paper

Lauren + John’s Rustic Home Letterpress Wedding Invitations

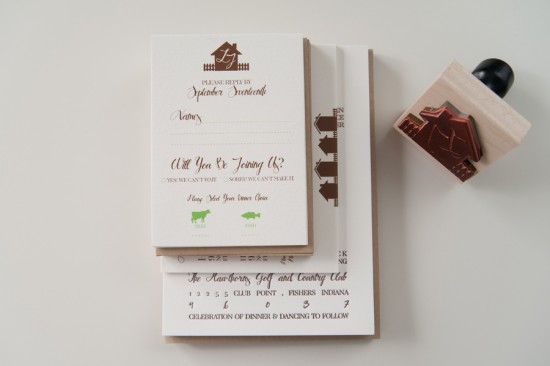
This set of beautiful and incredibly meaningful rustic wedding invitations comes to us from Ravyn of Three Fifteen Design.  Ravyn included illustrations of houses with picket fences to represent Lauren and John’s new home together, along with a lyric from one of their favorite songs.  Just perfect.

From Ravyn: John & Lauren are an awesome couple: They met in high school and have had a long distance relationship ever since.  John was deployed overseas as a lieutenant in the Army while Lauren was planning their Fall wedding back in Indiana.  Right before the wedding, John made it back to the U.S., and they bought their first home together.  They loved the idea of incorporating a rustic home theme into their suite, as they had never shared an actual house when we started the process… and they felt at home with each other.

We took the line, “Home Is Wherever I’m With You” from one of their favorite songs, and used it as the base for the entire suite.  We wanted everything to feel natural and comfortable.  We created a series of little houses with the picket fence as the common graphic element that was used throughout the set.  We modified a script font a bit and traced it by hand to give it a more handmade feel.

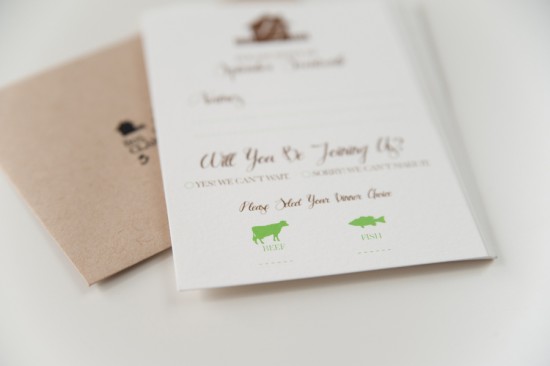
The suite was printed by our amazing letterpress printer, Czar Press.  The invitation was printed by letterpress on beautiful and thick cotton paper.  The response and accommodations cards were flat printed on the same paper, which allowed us to bring in the pop of apple green they wanted.

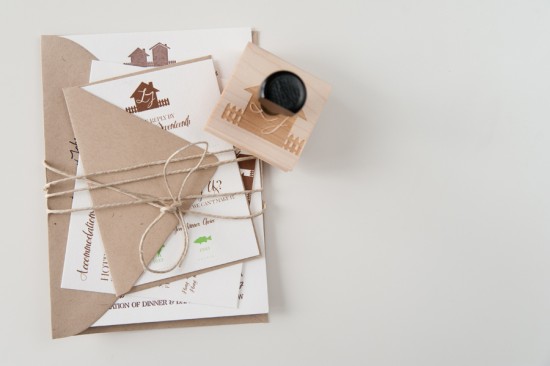
The entire suite was wrapped up with kraft paper envelopes and finished off with a custom return address stamp we created to match the stationery.  Lauren & John also had us create a little house stamp they could use for favor tags & bar napkins at the wedding.

Thank you so much Ravyn!

Design: Three Fifteen Design

Letterpress Printing: Czar Press

Check out the Designer Rolodex for more tal­ented wed­ding invi­ta­tion design­ers and the real invi­ta­tions gallery for more wedding invitation ideas!

Photo Credits: Three Fifteen Design

*Czar Press is a spon­sor of Oh So Beau­ti­ful Paper; for more on my edi­to­r­ial poli­cies please click here.

{happy new year!}

I’m always excited to start a new year – something about turning over a new leaf and embarking on new projects and adventures, all with a sense of purpose and optimism.  I’m still looking forward to 2012, but this year it’s more about putting 2011 behind me than anything else.  While 2011 had some great and exciting moments, it was a really hard year for me; being separated from my husband for six months while he was deployed in Iraq, struggling with some difficult family issues, and generally just trying to keep my head above water.  I’m not complaining, because things really could have been a lot harder, but I’ll just be very happy to toast to 2012 and leave 2011 behind.  In the meantime, I’m reflecting on all of the people and things for which I’m incredibly grateful this year, including my amazing husband (I’m so happy he’s back home) and our three adorable cats, my loving family, some truly wonderful and supportive friends (without whom I really don’t think I could have made it through the first six months of the year), and of course the amazing stationery and blog community that inspires me each and every day.  I wake up each morning excited to get to work and see what the day brings, and that makes me feel like the luckiest girl in the world.  Thank you all so very much for reading, and I’ll see you all in 2012!

Photo Credit: Katie Stoops Photography

p.s. We have a fun New Year’s Eve cocktail coming up for you in just a bit, so check back soon!