{happy weekend!}

In all the hubbub of Alt last week, I kind of forgot about an important personal milestone – the anniversary of my husband’s deployment to Iraq.  He’s now been home as long as he was deployed, but I still wake up every day feeling grateful that he’s here.  Everything felt so chaotic and overwhelming this time last year; a feeling that continued up until the day he came home.  So if you know of anyone with a spouse or family member deployed overseas, give them a few extra hugs – I’m sure they would appreciate it.  I’m looking forward to enjoying a weekend here in DC before heading up to NYC on Sunday for the New York International Gift Fair and to help judge the 2012 Louie Awards.  But in the meantime…

…a few links for your weekend!

This week on Oh So Beautiful Paper:

A big welcome to the newest Designer Rolodex members!

As usual, we have a fun cocktail coming up for you this afternoon, so check back a bit later for the recipe!  I hope you all have a wonderful weekend, and I’ll see you back here on Monday with some favorite finds from the Gift Fair! xoxo

Photo Credit: Madelene Lindqvist

Inspired By: Papercuts!

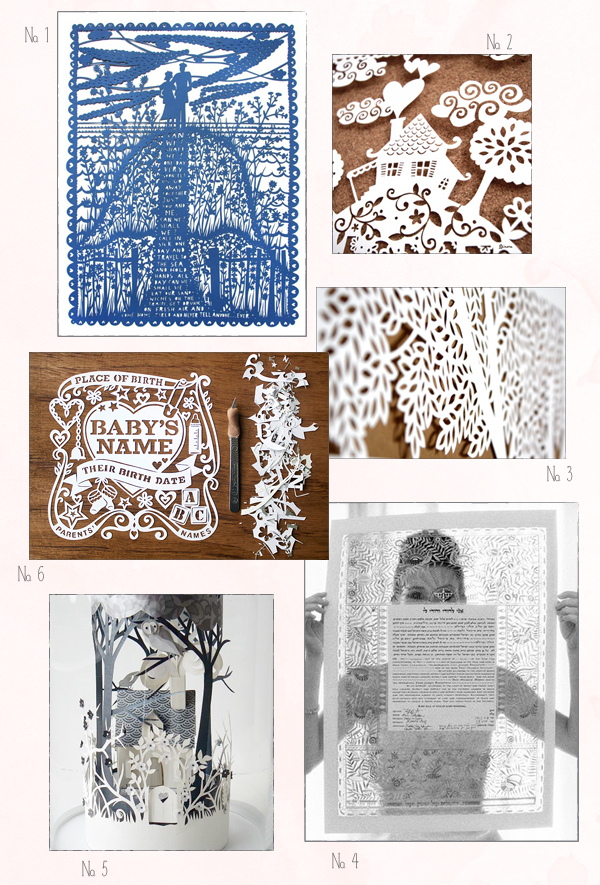
I’ve been in love with papercut pieces as long as I can remember, as any longtime readers will know from my love for all things Rob Ryan.  I’m completely in awe of this stunning technique (the precision! the patience!) and the even more stunning results.  So today I’m rounding up a few of my favorite papercut pieces, from artwork to baby announcements.

No. 1 Rob Ryan; No. 2 Dinara Mirtalipova (originally posted here); No. 3 Woodland Papercuts; No. 4 Elizabeth Messina; No. 5 Helen Musselwhite; No. 6 Julene Harrison

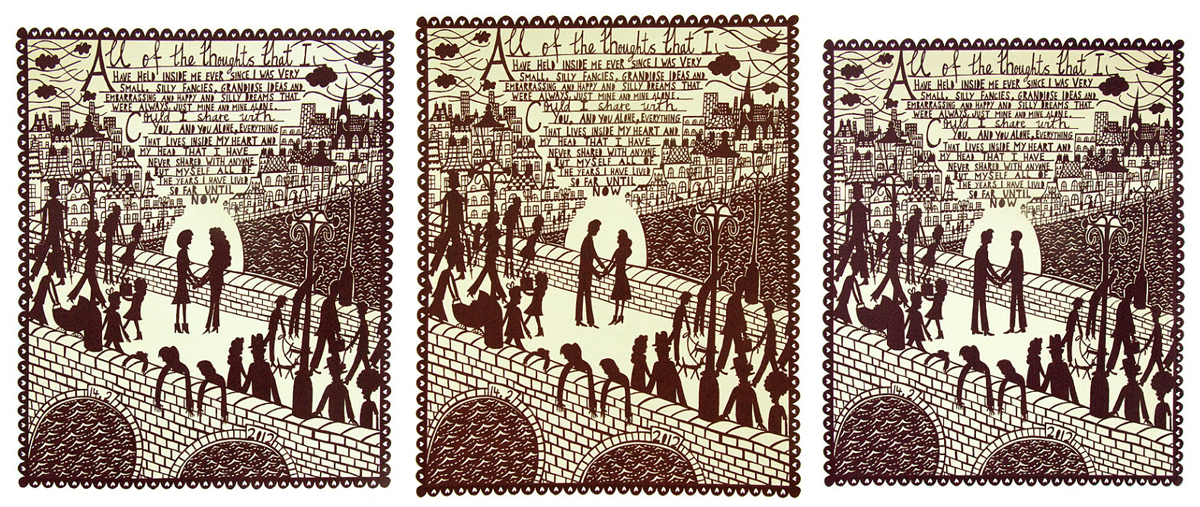
And speaking of Rob Ryan, he just released his 2012 Valentine’s Day print!  This year, Rob is offering a beautiful screen print in burgundy ink on off-white paper.  Check out all three designs right here.  So gorgeous!

Woodland Papercuts is a mem­ber of the Designer Rolodex â€“ you can see more of Naomi’s beau­ti­ful work right here!

{images via their respective sources}


The Printing Process: Offset Printing

Every morning this week, I’m running a series of guests posts about different printing methods â€“ so if you’ve ever wondered why certain printing methods are best for certain kinds of designs (or cost more than others), this is for you!  You can read the previous installments covering digital printingengravingscreen printingletterpress printing with antique type, and foil stamping all right here.  Today we’re talking about offset printing, with help from Katie of Kelp Designs and Nicole of Barrington Printing.

Offset printing is often confused with digital printing – both are four-color flat printing methods, but the process is quite different!  While offset printing is incredibly common, the printing process and procedures are often not well known.  Barrington Printing, a family-owned print shop in Cranston, Rhode Island, provides offset printing to a range of clients around the United States, including Katie of Kelp Designs in Los Angeles, California.  Katie recently interviewed Nicole about the offset printing process.

What is Offset Printing?

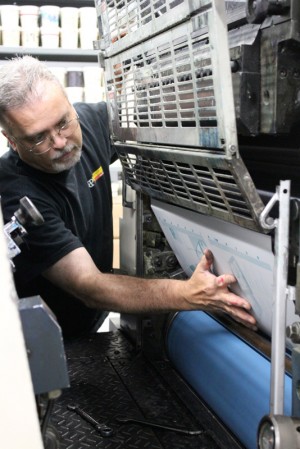
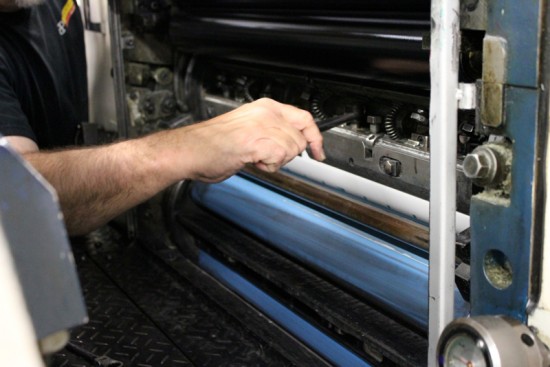
Offset printing is one of the most common flat printing techniques, wherein ink is transferred from a plate to a rubber blanket, then back to the printing surface.  Like most types of printing, offset printing is a mix of art and science.   Although the process is very technical (the science part), the press operator also carries a lot of weight in achieving the desired outcome of the printed piece.


Offset printing (or lithography) is what you probably see most often in your day to day travels.  It is often used for direct mail postcards, business cards, brochures, pocket folders, signage and, yes, greeting cards and stationery.  Offset varies from other print methods in many ways including technology, process, cost, material options and turn around time.

The Printing Process

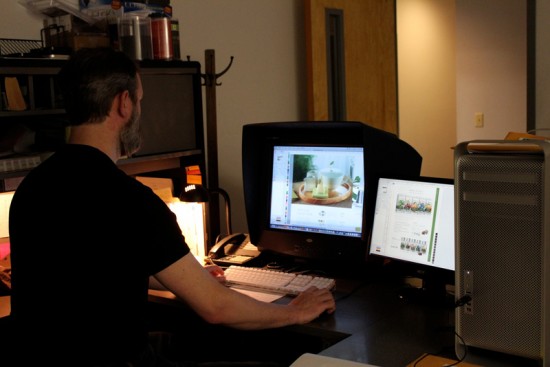
The most important part of the offset printing process is the very beginning.  It is important to ensure that you have very well prepared files.  One of the biggest mistakes we see is a simple one, files must be converted from RGB to CMYK in order to print offset.  This conversion will change the look of your piece, sometimes marginally, sometimes dramatically.  Many designers are unsure how to prepare their files for an offset print job and can end up running into unplanned prepress costs to correct them.  My best advice is to call your local printer and ask to speak with the pre-press manager.  These people are such valuable resources to an artist or designer and can help you avoid trouble spots through the rest of the print process.  Often, much of this information can be found online on the printer’s website.


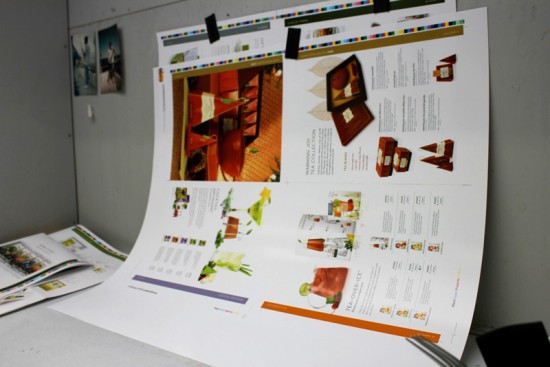
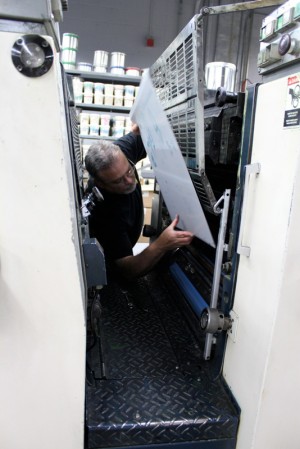
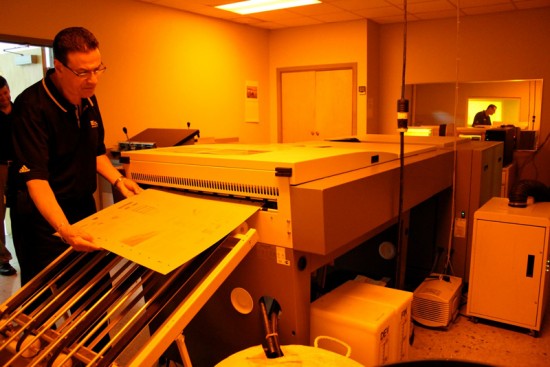
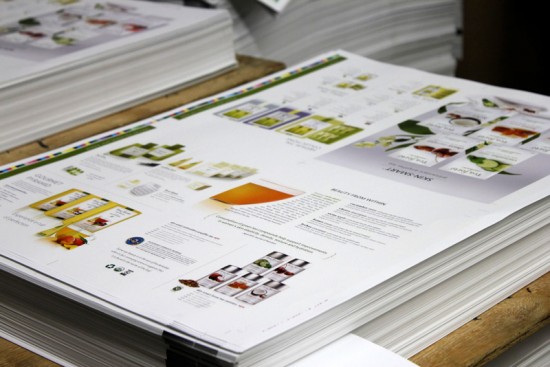
Once the files are in place a proof is prepared, which will give a very close representation of what the final printed piece will look like.  It is never exact, as the process of making the proof is different from the offset print process.  In addition, often times the proofing material is different from the stock that will be used on press which can vary the color slightly.  Once the proof is approved, the job moves onto plating.  Metal plates are made that get “hung” on press.  There is one plate for each color used (Cyan, Magenta, Yellow and Black – aka CMYK – to make four color process, or any Pantone Color for a single color job).


The stock will be cut to the size of the press it is being run on and depending on the size and scope if the project it can run for as short as 30 minutes or as long as multiple days. Once the press run is complete, bindery is the next stage.  That could mean, die cutting, scoring, stamping, numbering, folding, stitching, etc.  This can be a multi day process as ink needs to dry before you can finish a job and get it boxed for delivery.

Offset Printing vs. Digital Printing

Offset is typically considered the gold standard for quality, although the process is longer and it can be more expensive depending on the quantity being printed.  Offset printing also allows for more material options.   Digital printing is quick and can be less expensive especially when printing smaller quantities, however, the image quality might not be 100% accurate.  Most offset printers offer digital printing, so always check with your printing representative to gauge your options!

Tips and Advice

Offset printing is the highest quality flat printing process available, and there are many paper stock and material options for offset printing.  Projects can also be tweaked for color adjustments on the press during the run. Like other artisan printing methods, such as letterpress and engraving, you’ll find better pricing value in higher volume jobs.  Conversely, offset printing requires a more expensive set up time, which can be an issue for smaller projects.  Offset printing also requires a longer turn around time.

My best advice is to get a good referral to a printer!  It doesn’t have to be in your area (although it may help).  It is super important to find a printer that is invested in YOUR project and understands the exact outcome you are trying to achieve.  If the printer is a good and honorable one, they will give you all of the options and recommend the best one, even if it’s not something that they offer.  It is important to keep in mind that all printers have different niche’s, some have smaller presses, some have larger and your project may or may not be an economical fit for their equipment.  Don’t be afraid to ask them if your project is a good fit for them.

Nicole Couto is a sales person at the family-owned Barrington Printing in Cranston, Rhode Island.  They are celebrating their 30th anniversary this year!

Thanks Nicole and Katie!

Photo Credits: Process photos by Barrington Printing, example photos by Kelp Designs

1960s-Inspired Save the Dates for a 70th Birthday Party

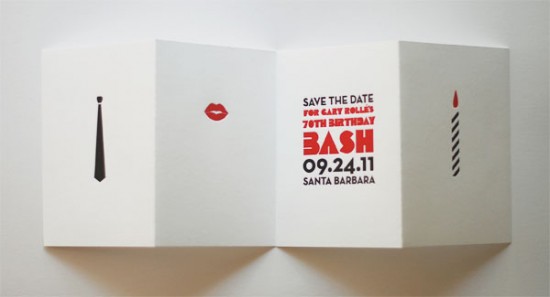
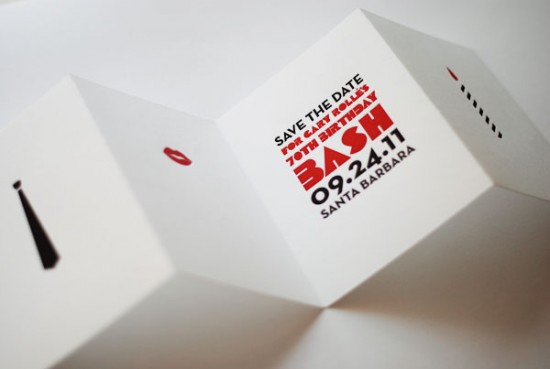
Leslie from Lilly and Louise sent over these super-fun save the dates for a 70th birthday party – all inspired by the 1960s!  Leslie kept things simple with Mad Men-inspired icons in a black and red color palette, letterpress printed on bright white cotton paper.  I love the fold-out design and modern font selections!

From Leslie: For this 1960s-themed 70th Birthday Party Save the Date we created a simple, clean, Madmen-esque look, using bold red and black against a bright white.  To enhance the experience, we letterpress printed these elements into a thick cotton paper.

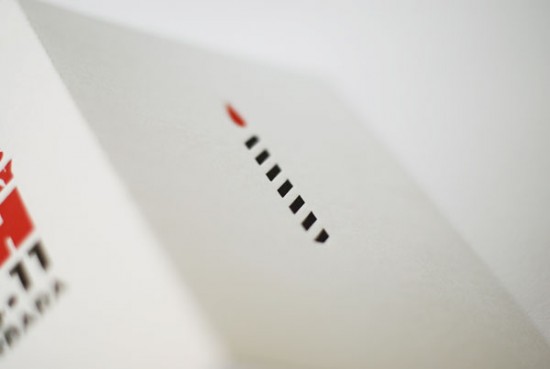
Guests literally unfold each element as they open the card.  The graphic illustrations of a black tie, red lips, red glasses and a birthday candle give a hint of the celebration to come at this B-A-S-H, without giving away too much.

Thanks Leslie!

Design: Leslie Lewis Sigler of Lilly & Louise

Letterpress Printing: Lumino Press

Photo Credits: Leslie Lewis Sigler of Lilly & Louise


The Printing Process: Letterpress Printing

Every morning this week, I’m running a series of guests posts about different printing methods â€“ so if you’ve ever wondered why certain printing methods are best for certain kinds of designs (or cost more than others), this is for you!  You can read the previous installments covering digital printingengravingscreen printingletterpress printing with antique type, and foil stamping all right here.  Today Kim and Kyle from Baltimore Print Studios are here to walk us through modern letterpress printing!
Hello OSBP!  We’re Kim and Kyle from Baltimore Print Studios, a public-access letterpress and screen printing studio where we also print commercially and for ourselves.  We’re thrilled to share the process of letterpress printing with you and how things work in our shop.

What is Letterpress? 

Letterpress printing has become the go-to printing technique for wedding invitations, greeting cards, and business cards for anyone hoping to make an impression (pun intended) on the recipient.  Today’s cottage industry of letterpress printers has been built on the shoulders of 100 years of printing industry, starting around the late 1800s.  It’s easy to forget that what we treasure today as an artisan product, made by a well-trained craftsperson, was once known simply as printing.

What began with hand-set wood and metal type (read more about this from Jen of Starshaped Press here) has become an industry centered around the photo polymer plate.  Designing for letterpress today begins on a computer, and as such, new fonts, embellished ornaments, graphics, patterns, and complicated multi-color designs can be produced with relative ease.  The printing part is still by hand, one at a time.

The Printing Process

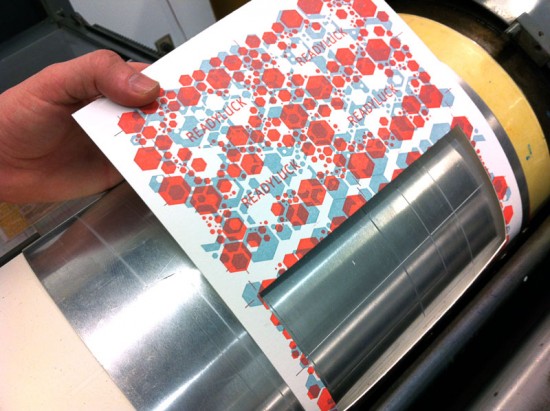
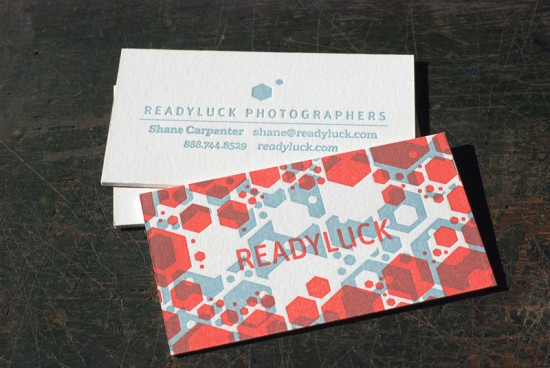
The images below walk you through the process of printing 2-color, double-sided business cards on a Vandercook SP-20 printing press.  They were designed for a wedding photography company called Readyluck, by Baltimore designer Christopher Clark.  These cards were printed on Crane Lettra 220 lb Pearl White cotton paper.

This is the Vandercook SP-20.  In this press’s first life it probably pulled proofs of pages for a daily newspaper.  Today, these presses are sought after for their quality and large printing size.
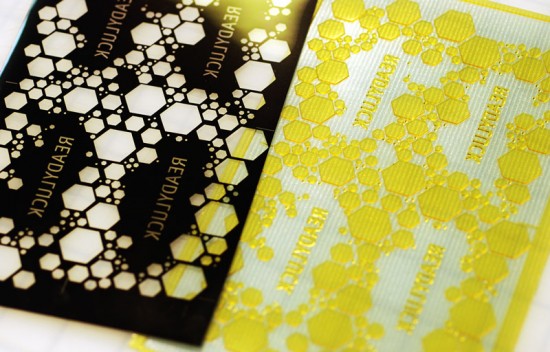
Polymer plates are produced using a photographic process.  The digital design is output to a film as a negative (left), and then exposed to a polymer plate using UV light (right).  The polymer plate is made of a light-sensitive, water-soluble plastic with a clear backing.  The portions of the plate that are exposed through the clear parts of the film hardens, and what is not washes away.  What remains is a raised surface in the shape of the design.  A separate plate is produced for every color being printed, and the paper is run through the press at least once for each color in the design.  We send our designs to Boxcar Press, where they transfer your digital design onto a polymer plate.  These plates match a gridded Boxcar Base, a machined aluminum plate that raises the plate to type high.
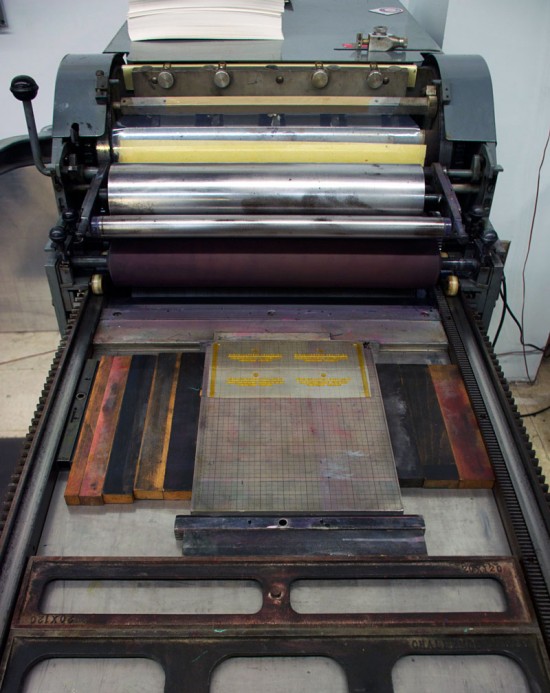
The plate is affixed to a machined metal base which is in turn locked into the press.
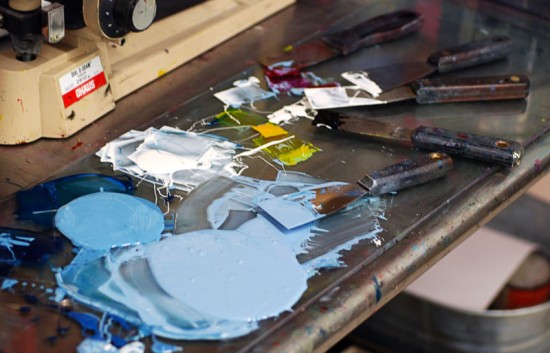
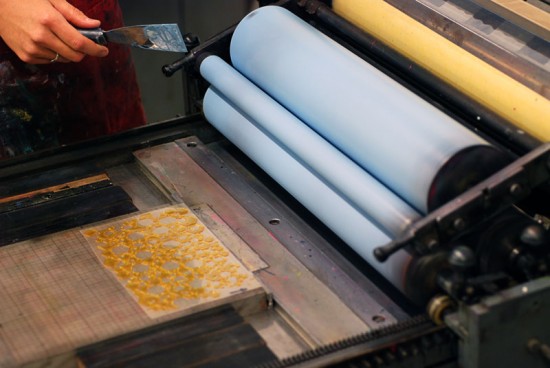
Ink is mixed by hand.  When possible, ink can be weighed out to match a specific color recipe, but in our shop we mix everything by eye, often matching to a specific Pantone color.  We use oil-based, lithography inks.

The press is inked.  Even the inking process has to be done carefully.  Too much ink will produce a sloppy print.  Too little, and the color will not be solid.

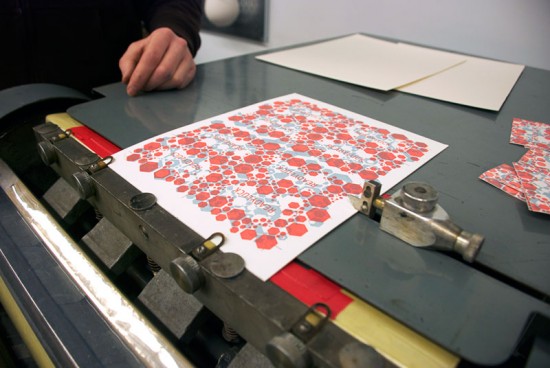
Printing begins.  This plate prints an area half the size of the sheet.  The sheet of paper is hand-fed through the press twice, once from each end of the paper.  This produces 8 cards per sheet in a process called a work-and-turn.  The 220 lb Crane Lettra paper, double than the standard 110 lb weight (and more than twice the cost), allows for a deeper impression on both sides, which was desired by the client.

The ink is allowed to dry and the next day the press is inked up in red.  Differences in pressure and the amount of ink can dramatically affect the printed color.  Adjustments are made to produce the desired color, and the print run is checked periodically to be sure the color is consistent.  For this particular run, the red ink ran out relatively quickly and frequent re-inkings were required.
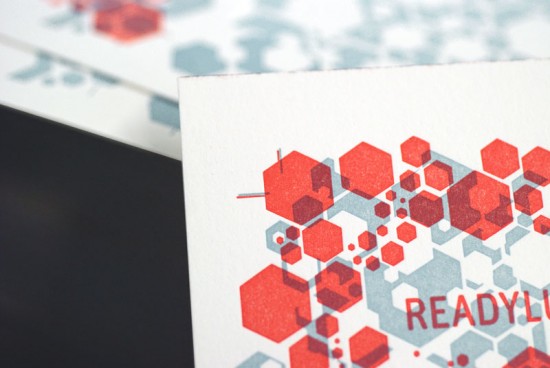
All presses have a system of registration.  Consistent placement of every print on every sheet is a must for quality printing.  This design, like most we produce, has cross-hair trim marks made into the plate that serve not only as cutting guides, but printing guides as well.  After this print run dried, a third printing run was made on the reverse of the pages.
Cutting!  Printing is finished and the job is ready to cut.  We usually die cut our business card jobs, even when the job doesn’t call for an unusual shape.  Our business card die cuts four cards in a single pass.  The press is outfitted with a metal die-jacket for protection, and the die itself is made up of metal cutting blades surrounded by protective foam pads. (Ed. Note: We’ll be covering die cutting in greater detail tomorrow!)
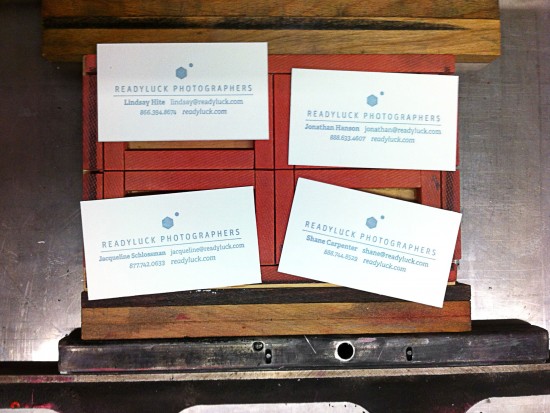
Each pass on the press cuts four cards.  While this is an extremely inefficient press for die cutting, its accuracy far out-weighs speed for us.
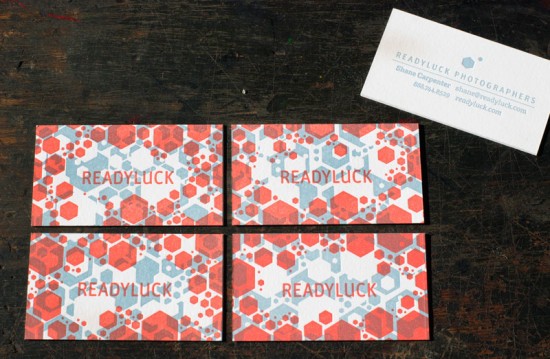
The design for these cards utilized a random, non-repeating pattern and intentionally transparent colors.  The four cards together create one overall design, but each business card is unique.

Tips and Advice

Letterpress printing takes some time.  In our shop, each page is fed by hand, and each color of a print job can be several hours on press from start to clean-up.  Add to that designs that need to be sent out to be made into plates.  A two-week turn-around is common.

Letterpress excels at printing fine type and line work.  Letterpress printing is not ideal for solid fields of color.  Most large solid shapes result in the color printing ‘salty’, a term used to describe the texture and color of the paper showing through the ink.  Your printer can tell you what is possible on their equipment.

While letterpress was never intended to be printed with a dramatic impression, or deboss, into the paper, it is often the most desired feature today.  Printing like this will quickly damage wood and metal type, but polymer plates are more durable (and more easily replaced).  Certain papers show off this impression better than others.

Thanks Kim and Kyle!  You can learn more about Baltimore Print Studios right here.

Photo Credits: Baltimore Print Studios