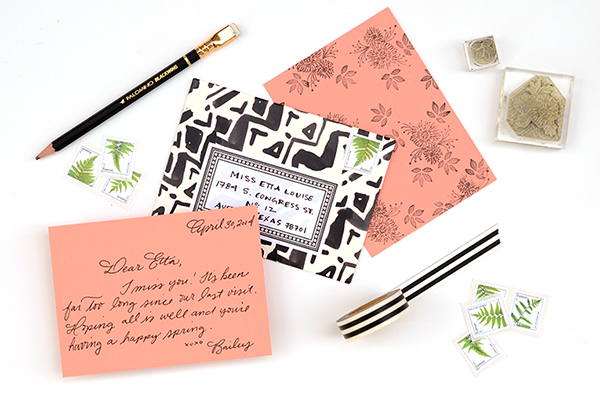
With Mother’s Day right around the corner and a ton of summer birthdays on our calendar, we’ve had DIY gifts on the brain. As you might could guess, we typically prefer to make our friends and family gifts so that we know that they’re both thoughtful and unique. Today, we’ve put together a gorgeous DIY stationery set, perfect for all of those summer occasions that pop up requiring a killer gift. We used a mix black and white patterned paper for the envelopes and added a punchy coral card to make these sets modern and fun! – Bailey and Emma of Antiquaria
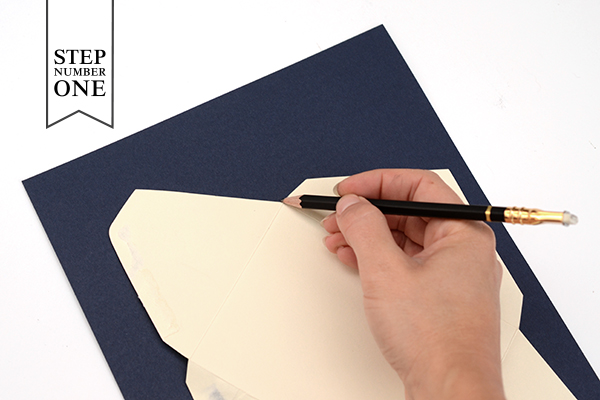
Step One: First, you’ll need to make your template for the handmade envelopes. We deconstructed one of our favorite sizes (it also fit nicely on an 8.5″ x 11″ inch sheet of paper, so use that as a consideration) and traced it onto card stock. We then cut it out with scissors to use as our tracing guide for the patterned paper.
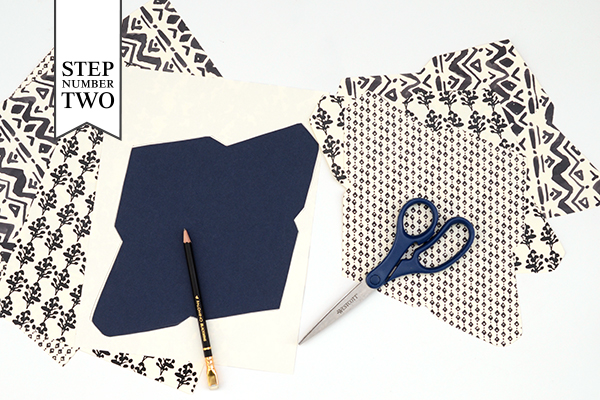
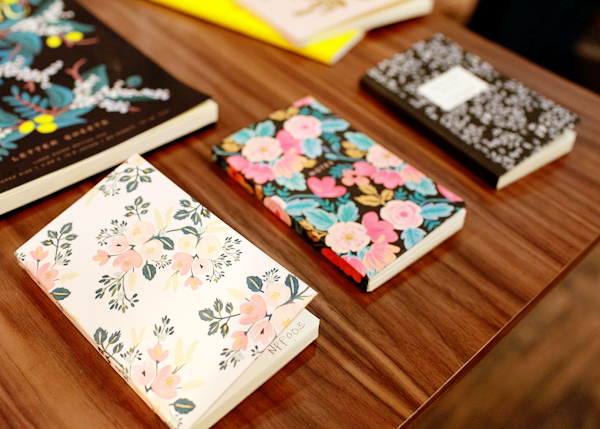
Step Two: Trace your envelope template onto the backs of your patterned paper (we used our Brushed Floral No.1, Brushed Floral No.2, Brushed Geo No.1 and Brushed Geo No.2) and cut them out with scissors.
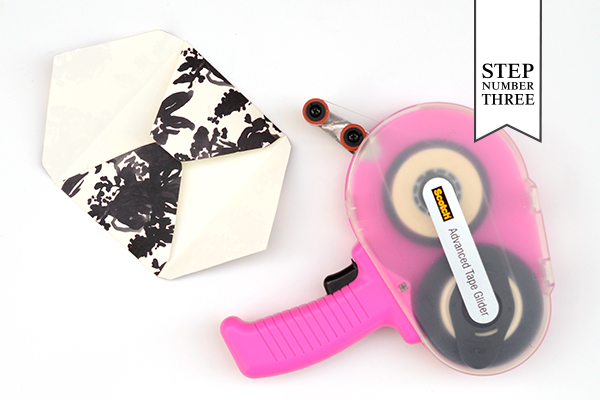
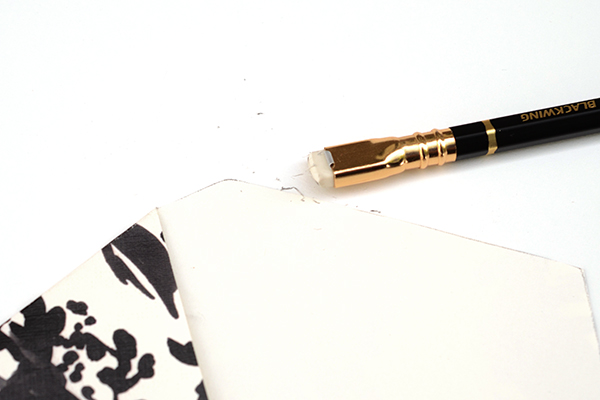
Step Three: Fold each side of your envelope inward  to crease. Fold in the two sides (as shown above) and affix double sided tape to the lower fold’s edge. Fold it up to meet the sides and press to adhere. If there are stray pencil lines on the top flap of the envelope, gently erase them with your pencil (see below).
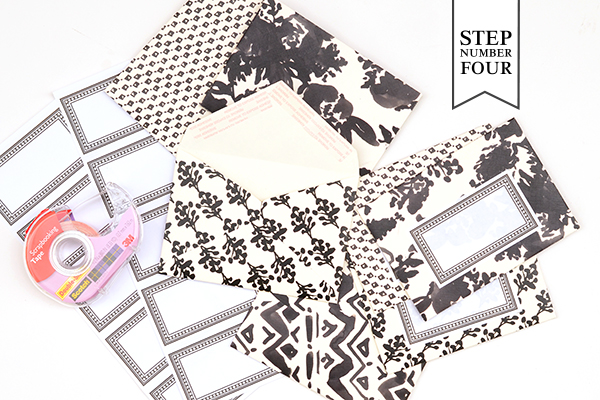
Step Four: Adding an address label will make writing on the patterned envelopes much easier. We found cute black and white labels and stuck them onto the front of each envelope. This also helps all of the patterns come together into a cohesive set. In addition, you’ll need to add scrapbooking tape onto the top flap of the envelope in lieu of the typical gumming you find in commercial envelopes. (So that they can be sealed for mailing)
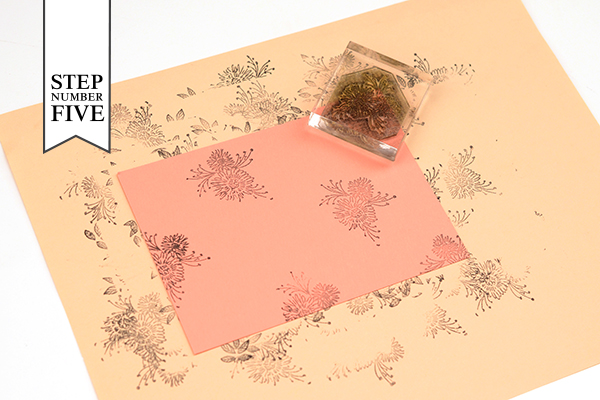
Step Five: Next, we made our patterned note cards using 2 floral pattern stamps. First we stamped the largest floral stamp (our Daisy Pattern Stamp) randomly across the back of the card. As you can see, we stamped some of the prints off of the edge of the card to give it the look of a pattern repeat.

Step Six: After the large stamping is done, we filled the rest in with our Small Leaves Pattern Stamp. Again, we stamped some off of the edge. Once we were happy with the clusters and spacing, we set the card aside and repeated Step 5 and 6 on the rest of the note cards.
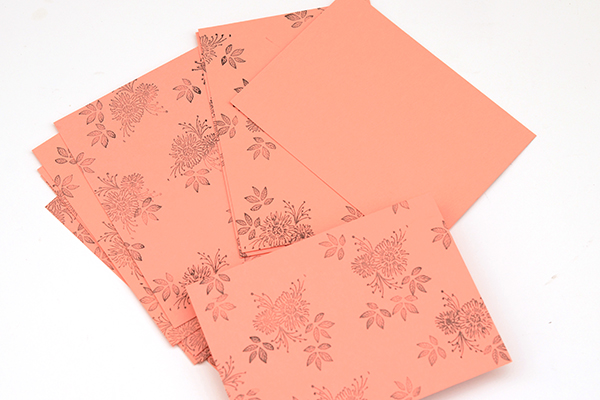
Each card back is a little different which makes the assortment really fun! You can also experiment with different colored cards and ink colors!
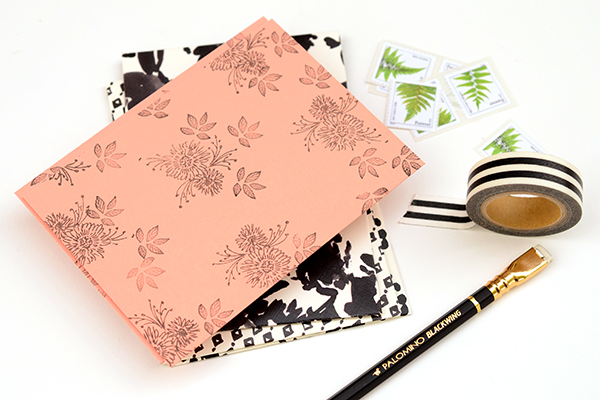
The set is ready to be gifted! Add in some pretty washi tape and some fun postage to complete the gift!
Materials
Patterned Paper (Brushed Floral No.1, Brushed Floral No.2, Brushed Geo No.1, Brushed Geo No.2)
Pattern Stamps (Daisy Pattern, Small Leaf Pattern)
Address Labels
Note Cards cut to fit in your handmade envelope
Card Stock
Double Sided Tape
Scrapbooking Tape
Pencil
Scissors
Washi tape and Postage for gifting
Photography: Antiquaria for Oh So Beautiful Paper
