Wedding Stationery Inspiration: Seating Charts

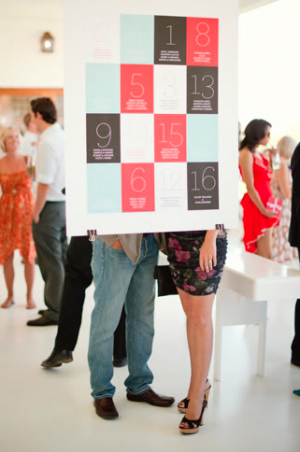
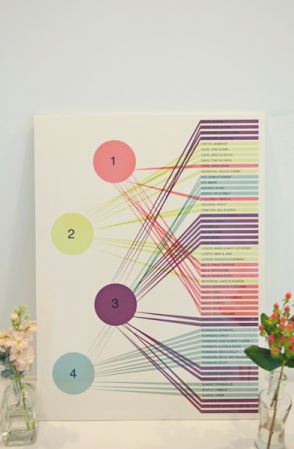
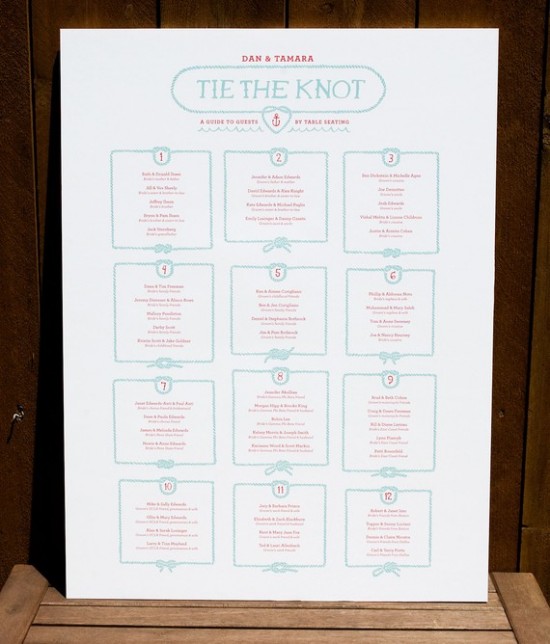
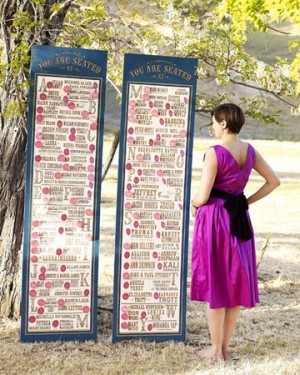
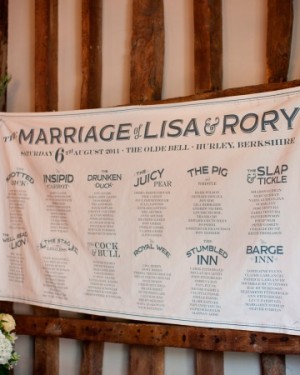
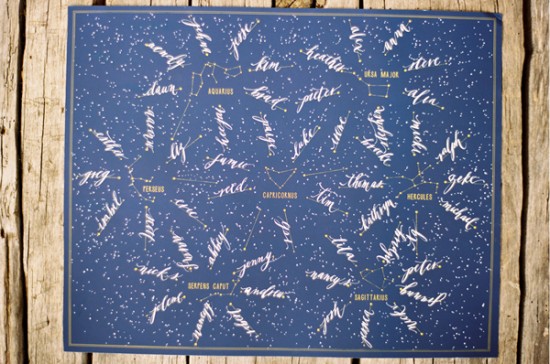
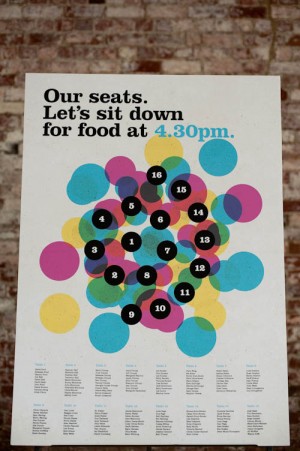
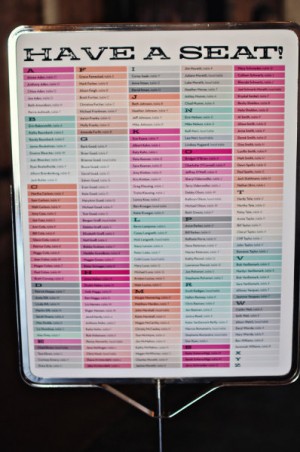
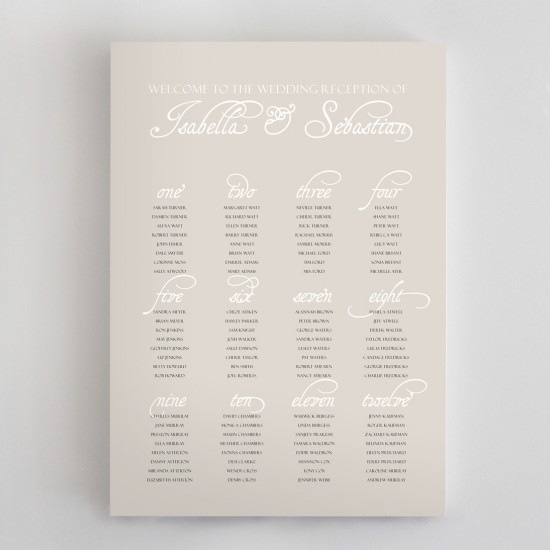
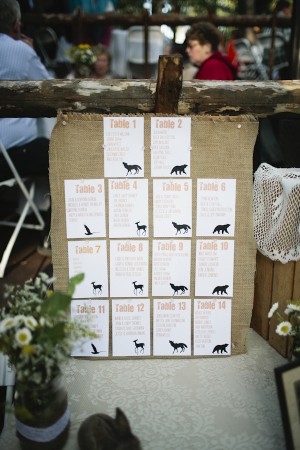
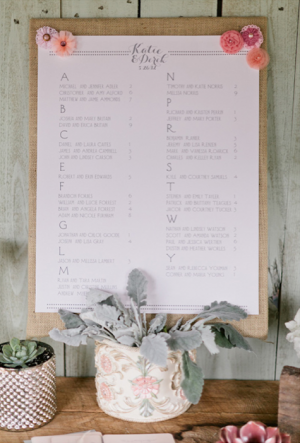
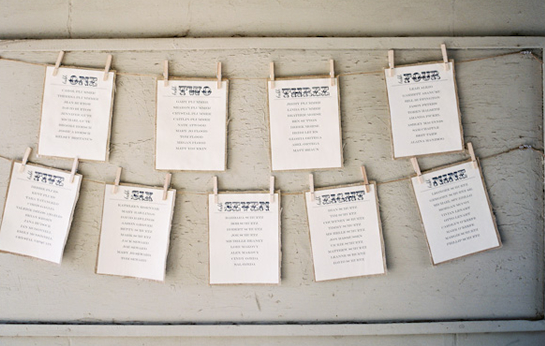
I am a sucker for tiny wedding details, which is probably why I love escort cards so much. But sometimes a bigger statement is in order, and that’s where a seating chart can come in. Often a budget saving option for weddings, a seating chart encompasses all your table assignments in one larger sign, banner or other creative element! You can really have fun incorporating your color scheme, style or stationery elements with these pieces and I’ve rounded up a bunch that covers a whole array of options! Which is your favorite? I’m madly in love with the constellation take on this idea! — Kelly

Day-Of Wedding Stationery Inspiration and Ideas: Seating Charts via Oh So Beautiful Paper (1) Colorful-Modern-Seating-Chart-Untamed-Heart-Photography

Photo by welovepictures (left), Photo by Untamed Heart Photography via Brooklyn Bride (right)

Day-Of Wedding Stationery Inspiration and Ideas: Seating Charts via Oh So Beautiful Paper (12)

Seating Chart by Melangerie

Day-Of Wedding Stationery Inspiration and Ideas: Seating Charts via Oh So Beautiful Paper (5) Day-Of Wedding Stationery Inspiration and Ideas: Seating Charts via Oh So Beautiful Paper (10)

Photo by Gia Canali, Seating Chart by Because We Can via Martha Stewart Weddings (left), Photo by Caught the Light, Seating Chart Banner by Hello!Lucky via Martha Stewart Weddings (right)

Day-Of Wedding Stationery Inspiration and Ideas: Seating Charts via Oh So Beautiful Paper (3)

Calligraphy by Neither Snow, Seating Chart by Mr. Boddington’s Studio

Day-Of Wedding Stationery Inspiration and Ideas: Seating Charts via Oh So Beautiful Paper (11)  Day-Of Wedding Stationery Inspiration and Ideas: Seating Charts via Oh So Beautiful Paper (6)

Photo by Depict Photography via Rock n Roll Bride (left), Photo by The Photography Shoppe, Seating Chart by Mi Mi Design via Style Me Pretty (right)

Day-Of Wedding Stationery Inspiration and Ideas: Seating Charts via Oh So Beautiful Paper (2)

Seating Chart by Akimbo

Day-Of Wedding Stationery Inspiration and Ideas: Seating Charts via Oh So Beautiful Paper (13) Day-Of Wedding Stationery Inspiration and Ideas: Seating Charts via Oh So Beautiful Paper (14)

Photo by Katherine Elizabeth Photography via Ruffled (left), Photo by Brandon Chesbro, Seating Chart by Southhall Eden via 100 Layer Cake (right)

Day-Of Wedding Stationery Inspiration and Ideas: Seating Charts via Oh So Beautiful Paper (9)

Photo by Kurt Boomer Photo, Seating Cards by The Pomegranate Basket via Wedding Chicks

{images via their respective sources}


4 Reasons to Work with a Stationer

Sam and Whit here again from Gus & Ruby Letterpress! Today, we want to chat about the value of working with a stationer when it comes to creating your wedding invitations (though the same can be said for parties, graduations and all of life’s important and fabulous events!). It’s a topic near and dear to our hearts (of course!) and one that we think is of real importance for you planning lovebirds out there. And, we know this post is L-O-N-G, but we hope you’ll find it insightful and valuable in the LONGrun (<– did you see what I did there? ha!).

Choosing and/or designing your wedding stationery, from the save-the-dates to the invitations to the menus and seating cards, can be a daunting task full of questions and details. Working (in person or via phone and email) with an expert invitation retailer or designer can make the process inspirational, celebratory and seamless – the way all your wedding planning should be!

The Internet has opened a Pandora’s box of available information, inspiration and services for the bride(s) and groom(s)-to-be. Scouring the ‘net can be a fabulous way for the savvy betrothed to get inspiration, follow trends and begin his/her research on paper products. Of course, you know this – just look where we are! Oh So Beautiful Paper is inspiration heaven!

But, purchasing wedding stationery online and without guidance can be a risky choice for many couples. Paper products are both visual and tactile; it is incredibly hard to truly know the quality of printing, paper and color from a computer screen. While the Internet has made many things easier and faster, nothing beats working with an expert to work through all the details, tips, tricks, etiquette and creative ideas that go into planning the perfect suite of wedding stationery.

There are so many benefits to working with a real, live invitation retailer or designer. Being able to meet with and/or speak to a real person about your specific needs, special circumstances and wishes can make all the difference in your final package. Just a few benefits include:
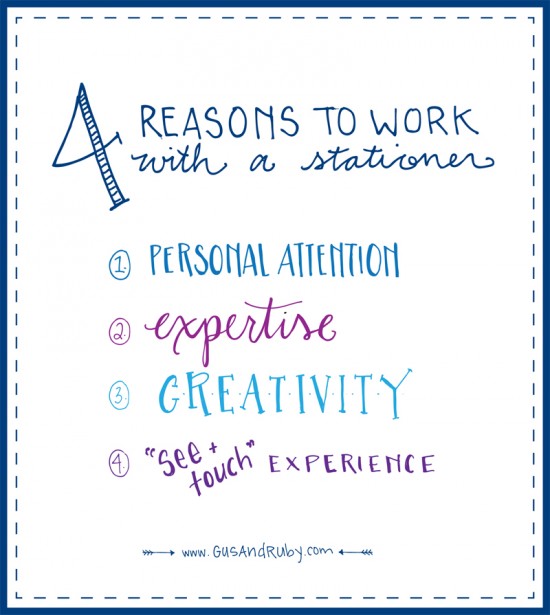
1. Personal Attention – Every bride and groom deserves to be treated like royalty! You only get married once, so why not enjoy each and every part of the wedding planning process? Wedding invitation retailers and designers will welcome you into their studios, stores (or phone chat or Skype from afar) for a personal one-on-one consultation to discuss all your stationery needs. Having the undivided attention of a stationery expert is the best way to ensure that your vision is truly understood and executed. Additionally – as with all your vendors – working with a retailer/designer means that he or she will have your back for all things paper. A good stationer will provide endless inspiration and tips, comb through your invitation wording and make grammatical suggestions or point out the small typo on your return address. Your invitation designer/retailer is there to be your advocate as you navigate through the world of wedding stationery and make sure you are comfortable and happy throughout the process. Retailers are able to “talk the talk” with other designers and make sure that what you hope and wish for is exactly what you get. We become friends, confidants and trusted vendors for our clients and will stop at nothing to make sure he or she is jumping for joy when his or her invitations arrive.

2. Expertise – Invitation retailers and designers are experts in all things paper. We have done it all, seen it all and have learned from each and every package that we put together. From tips on wording and design trends to tricks about assembly – invitation experts are there to help you make the best decisions for your paper products. Inviting Aunt Jenny and her ex-husband that she is now dating again? No problem – a talented stationery retailer or designer will advise you on the proper way to address her envelope! Wondering when exactly you should be asking for your reply cards to be returned? We’ll explain the entire process in detail and help you schedule all the important dates along the way.

3. Customization and Creativity – As with any wedding vendor, invitation retailers and designers spend their days working with brides, grooms and families to come up with creative, unique ways to set the tone for their big day. We have creative ideas and suggestions that you may not think of yourself – from fun DIY embellishment projects to fabulous color palettes and trendsetting typesetting. A good retailer or designer will enjoy bouncing around ideas, helping you find your vision and voice and showing samples of other invitation suites to get the creative juices going! With the help of a savvy invitation expert, you will be able to craft a package that truly reflects your style and the tone of your big day.

And perhaps most importantly,

4. The “see and touch” experience – Have you ever ordered a dress online that looked adorable and then had it arrive at your door with less-than-stellar construction and made of cheap fabric? Choosing any product, invitations or otherwise, online can be a tricky thing. Computer screens all show color differently (You might look at a dress and see lime green and I might look at that same dress and see emerald) and it is impossible to judge paper and printing quality online. With clothing, you can usually return your product and get your money back. But ordering custom wedding stationery online means those invitations can’t be returned – no matter what your satisfaction level is when they arrive at your doorstep. Working with a retailer or designer in person allows you the opportunity to touch, feel and scrutinize paper, color and printing before you make any decisions. What does 90lb paper feel like versus 110lb paper? Can you truly tell the difference between digitally printed and offset printed pieces? What color will match your bridesmaids dresses? Do you like the texture of bamboo paper? Meeting with an invitation expert will allow you to see and touch various invitations, talk in detail about your needs and get all those questions answered. You’ll browse through albums of designs, hold in your hands three different weights of paper or pick an exact color from a PMS swatch-book. Really, there is no substitution for seeing things in person (or working with an expert who will willingly send you samples and make sure you see as much as possible in person to guide your choices).

Choosing your wedding stationery is an important part of setting the tone for your event. Bring your trusted friends and family to your consultations and enjoy the entire process. The time and effort you put into the all planning and details will pay off when you finally hold your invitation in your hands for the first time. It’s a pretty powerful experience!

Gus & Ruby Letterpress is a member of the Designer Rolodex â€“ check out more of their beautiful work right here or visit the real invi­ta­tions gallery for more wedding invitation ideas!

Calligraphy Inspiration: Laura Hooper Calligraphy

Sometimes you have to search for something.  Other times you just happen upon it.  I certainly didn’t have to go digging to find Laura Hooper Calligraphy.  I kept seeing her gorgeous work in real weddings, (including her own) and seeing her name in glowing recommendations.  Laura has 10 years of experience under her belt, as well as work featured in Martha Stewart Weddings and Town & Country Weddings.  (Ed Note: Laura also provided place card calligraphy for my wedding four years ago! –nole)  Laura has calligraphed everything from ginkgo leaves to sand dollars and offers some great products, including her wonderful maps, in her Etsy shop.  Take a look for yourself and I’m sure you’ll understand why she has such satisfied customers!  – Julie
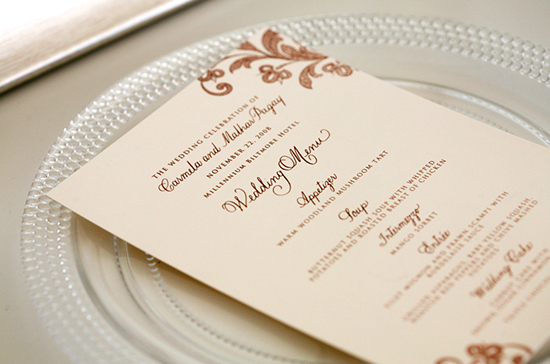
Laura Hooper Calligraphy Wedding Menu via Oh So Beautiful Paper

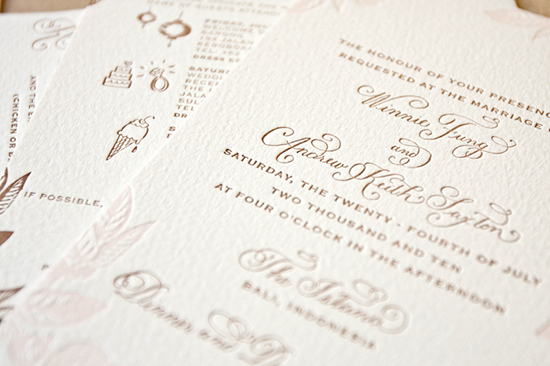
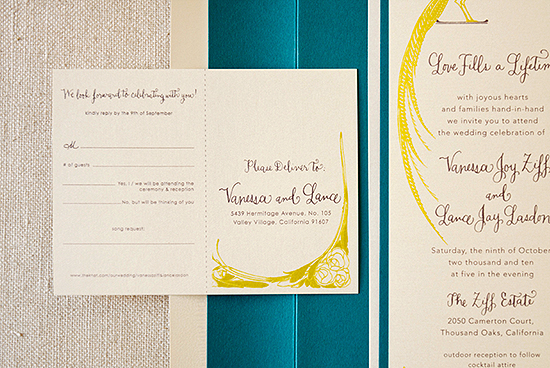
Laura Hooper Calligraphy Wedding Invitations via Oh So Beautiful Paper

Laura has a wide selection of invitation designs (like the one pictured above) available in her Etsy shop, as well as on her website.  She also offers a number of printing processes like letterpress to thermography.

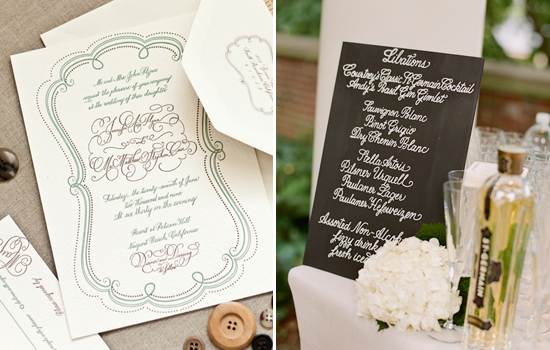
Laura Hooper Calligraphy Wedding Calligraphy via Oh So Beautiful Paper

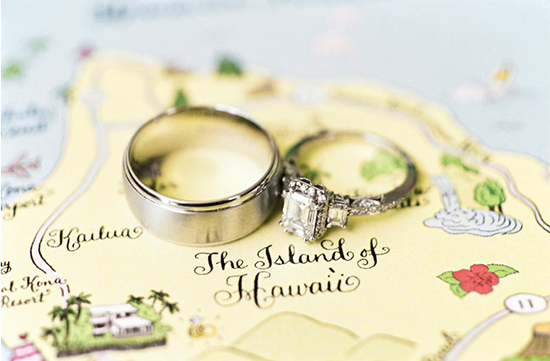
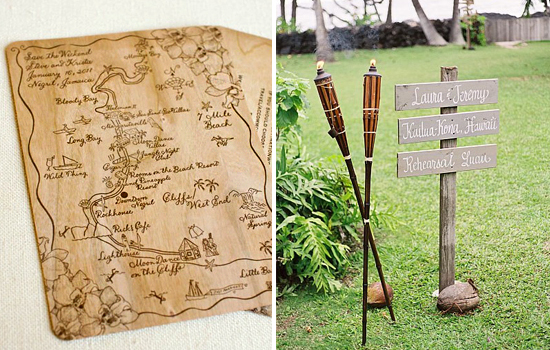
Laura Hooper Calligraphy Map via Oh So Beautiful Paper

Whether you’re having a destination wedding or simply have a lot of out of town guests, Laura’s custom maps are a great addition to your invitation suite.

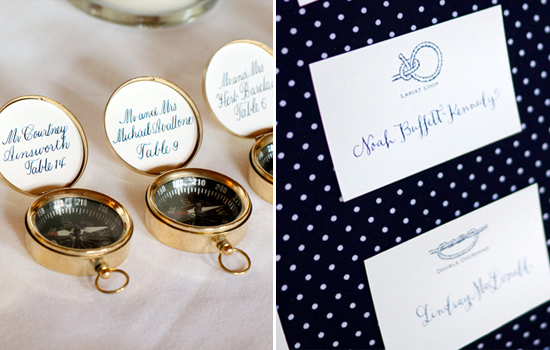
Laura Hooper Calligraphy Seating and Escort cards via Oh So Beautiful Paper

Laura Hooper Calligraphy Wedding Calligraphy via Oh So Beautiful Paper

Laura Hooper Calligraphy Wedding Calligraphy via Oh So Beautiful Paper

I’m a huge fan of great wedding details.  With charming wooden signs, embroidered napkins and even totes, Laura’s got you covered!  Be sure to check out her blog, website and shop for more.
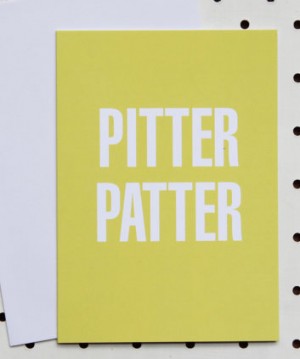
Photo credits: 1, 2, 3 left, 6, 7 left Laura Hooper; 3 right Kate Headley; 5 left Agnes Lopez; 4, 5 right, 7 right Steve Steinhardt

Stationery A – Z: New Baby Congratulations

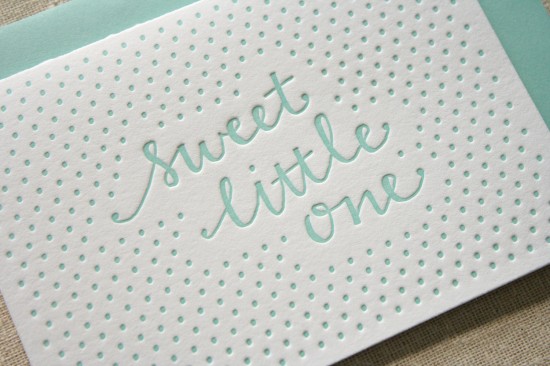
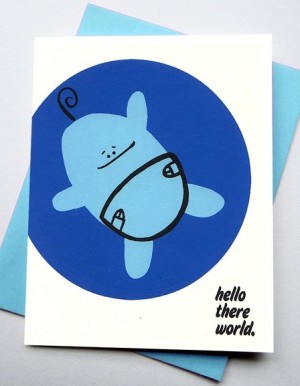
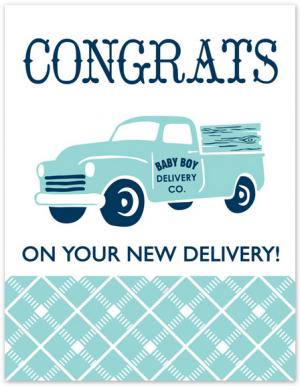
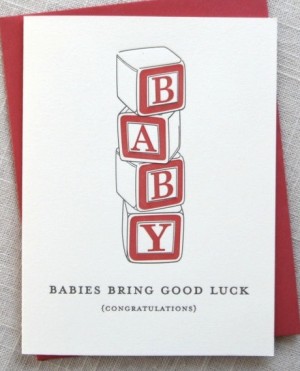
Boy or girl, little ‘peanut’ or ‘monkey’ (for those hoping to be surprised on the due date), there are so many clever new baby congratulations cards out there.  Don’t even think about going to get those generic ones at the corner drugstore!  These cards are just a click away or, if you’re lucky, waiting for you at your local stationery shop.  Plus, you’ve got time, due dates are subjective, right?*  Nearly every gender-specific card on our list is also accompanied by its counterpart on their website.  As for the perfect baby shower gift … best wishes!  — Tashia

Little One Boy Letterpress Card by Parrott Design Studio

Parrott Design Studio

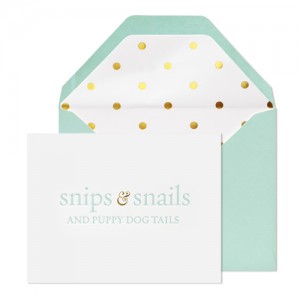
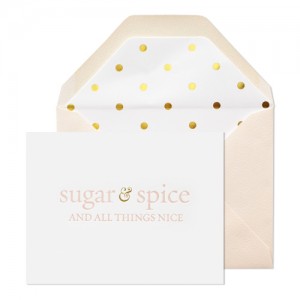
Snips & Snails Card by Sugar PaperSugar & Spice Card by Sugar Paper

Sugar Paper

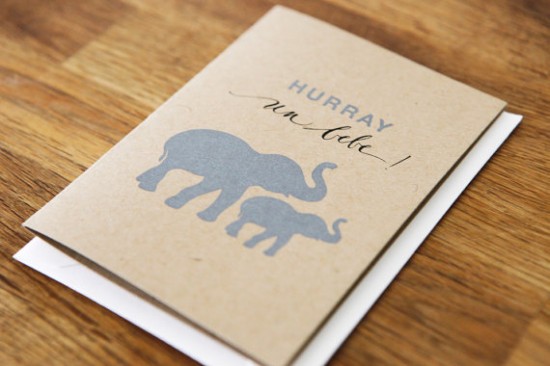
Baby Congratulations Card by Humunuku via Oh So Beautiful Paper

Humunuku


Fisk and Fern (left); and Two Trick Pony (right)

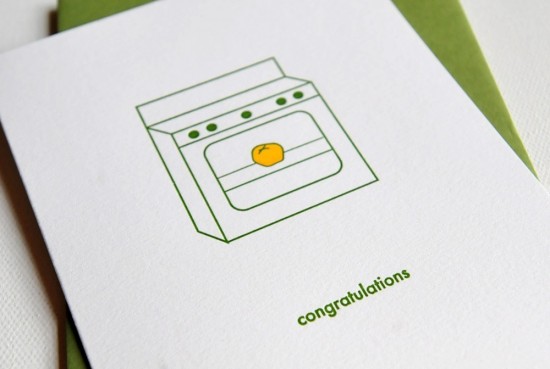
Bun in the Oven Card by Vandalia Street Press

Vandalia Street Press

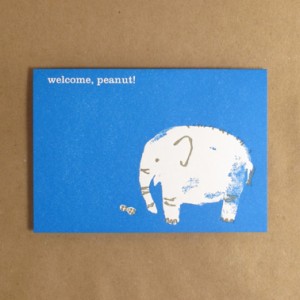
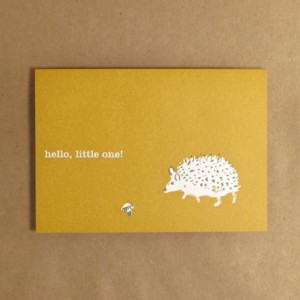
Welcome Peanut by Egg Press Hedgehog Little One by Egg Press

Egg Press

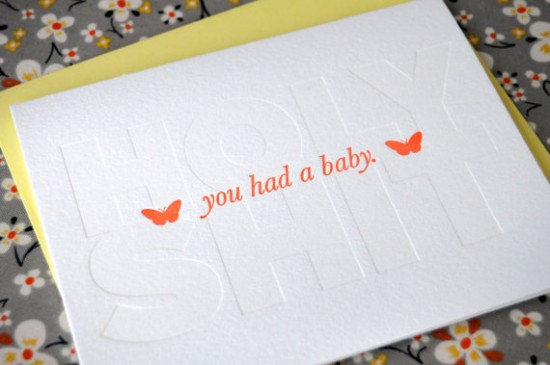
Holy Bleep You Had A Baby Card by Farewell Paperie

Farewell Paperie

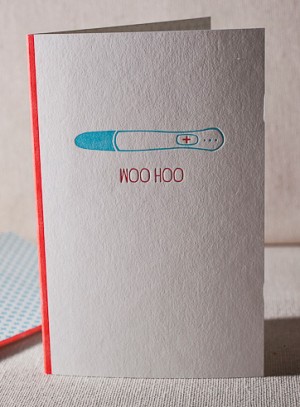
 Woo Hoo by Smock

Ink & Iron (left); and Smock (right)

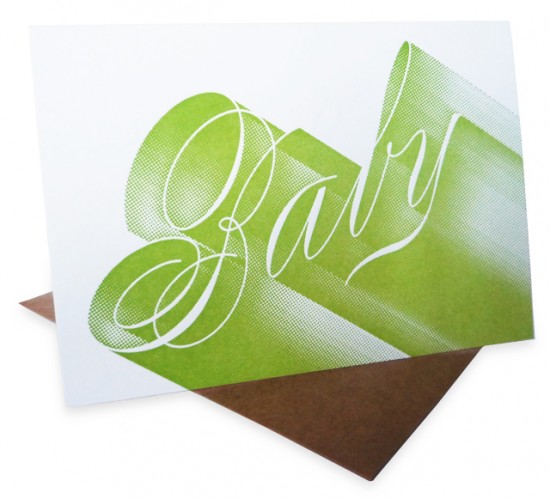
Baby Script by Enormous Champion

Enormous Champion

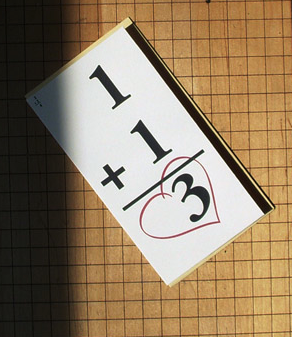
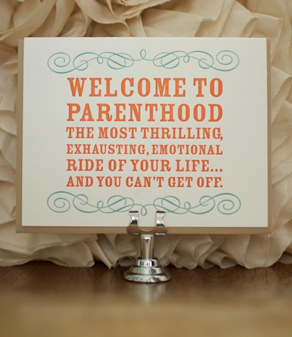
flash card baby by A Favorite Design Welcome to Parenthood by Sugarcube Press

A Favorite Design (left); and Sugarcube Press (right)

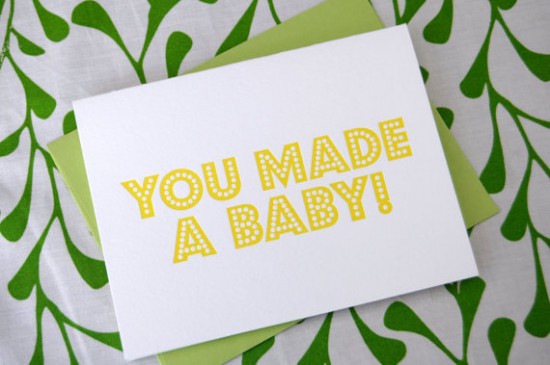
You Made a Baby Card by Farewell Paperie

Farewell Paperie

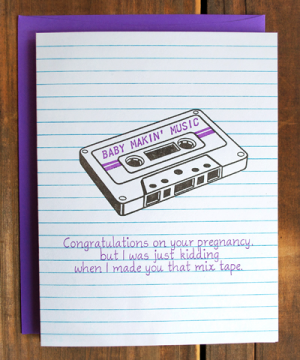
Baby Makin' by Greenwich Press Pitter Patter card by Akimbo Design

Greenwich Press (left); and Akimbo Design (right)

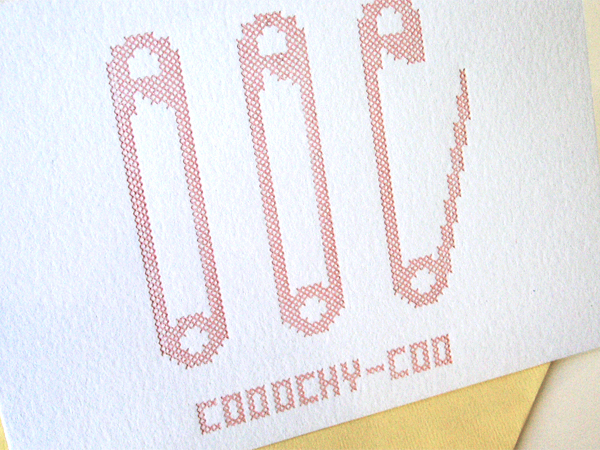
Coochy Coo Letterpress Baby Card by Mitchell & Dent

Mitchell & Dent

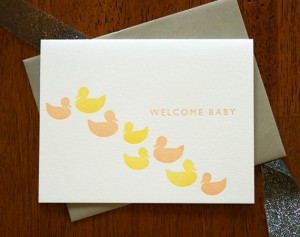
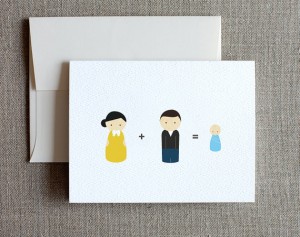
Welcome Baby Notecard by Letter & Lark Wooden Peg Doll Baby Congratulations Card by Jolie Jolie Design

Letter & Lark (left); and Jolie Jolie Design (right)

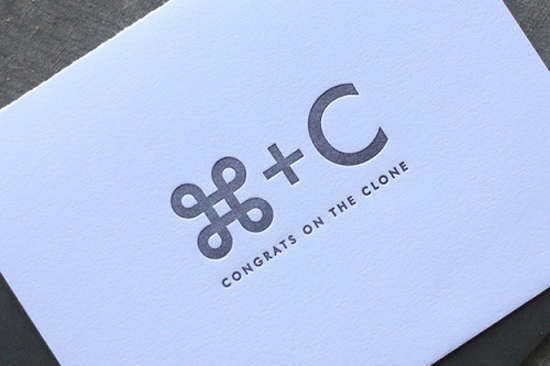
Congrats on the Clone by Dingbat Press

Dingbat Press

{images via their respective sources}

*we are all eagerly awaiting the arrival of Nole’s baby in early October!

Smock and Parrott Design Studio are sponsors of Oh So Beautiful Paper

DIY Tutorial: Rubber Stamp Fireworks Invitation

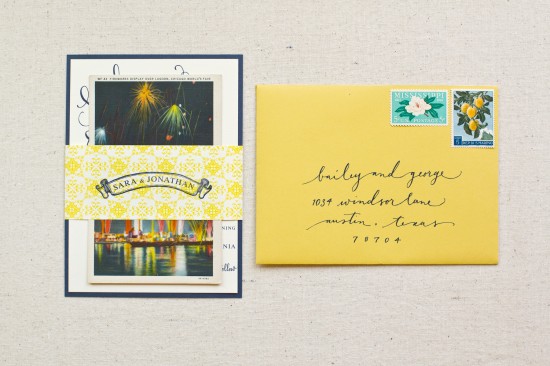
We love the challenge of creating an invitation suite based off of a unique theme, venue or color palette.  For this DIY tutorial, we were inspired by a fabulous vintage firework postcard (that we found while hunting at a local thrift shop)!  This combo would be so perfect for New Years Eve or July 4th nuptials – or even a Fourth of July party!  The mixture of colors and patterns is sure to make a statement to all of your guests. – Bailey and Emma of Antiquaria

DIY Tutorial: Rubber Stamp Fireworks Invitation by Antiquaria

DIY Tutorial: Rubber Stamp Fireworks Invitation by Antiquaria

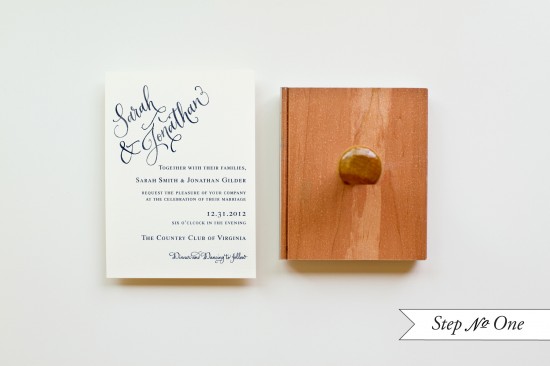
Step One: Lay a 4.25 x 6″ card (preferably a heavyweight card stock) on a stable and hard surface.  Ink your invitation stamp (we used our Calligraphy Accent Invitation Stamp) and center it over card.  Press down firmly with moderate pressure, using the handle as the anchor point.  Lift off the stamp and set card aside to dry.

DIY Tutorial: Rubber Stamp Fireworks Invitation by Antiquaria

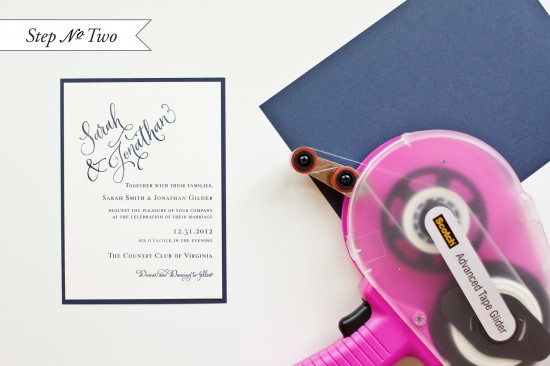
Step Two: Cut a navy sheet of paper into a 4.5 x 6.25″ rectangle.  Once the printed invitation piece is dry, flip over and adhere double stick tape to each edge.  Center over the navy card and stick it down pressing the edges to make sure that the two pieces are stuck together properly.

DIY Tutorial: Rubber Stamp Fireworks Invitation by Antiquaria

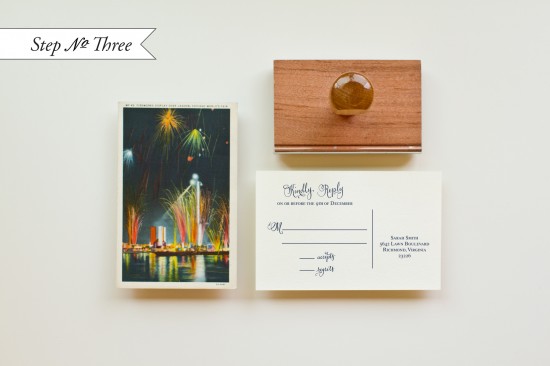
Step Three: In order to use our found postcard for all of our guests, we scanned the front image into the computer and printed out enough cards to suit our quantity.  (The cards ended up being 3.5 x 5.5″ rectangles).  We stamped the back of each card using our Calligraphy Accent Reply Postcard Stamp.  Of course, let the cards dry after inking.

DIY Tutorial: Rubber Stamp Fireworks Invitation by Antiquaria

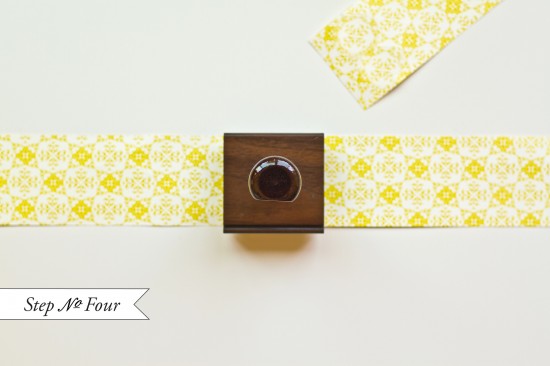
Step Four: To make the belly band, cut a fun, patterned paper into 2 x 11″ or 2 x 12″ (depending on the length of your paper) strips.  Stamp a monogram (we used our Banner Name Monogram Stamp) in the middle and wrap the band around your invitation suite, securing it in the back with double sided or decorative washi tape.  Now all of your pieces will stay together and look cute at the same time!

DIY Tutorial: Rubber Stamp Fireworks Invitation by Antiquaria

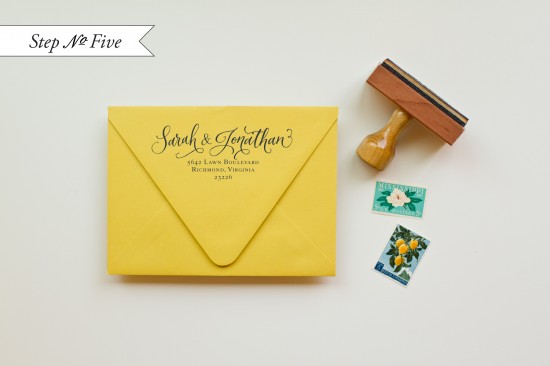
Step Five: Stamp an A6 envelope with your return address (we used our Calligraphy Ampersand Return Address stamp), address the front, pick out your postage and send them on their way!

Materials:

Calligraphy Accent Invitation Stamp

Calligraphy Accent Reply Card Stamp

Calligraphy Ampersand Return Address Stamp

Banner Name Stamp

Stamp Pad (we used Midnight)

Cream Cardstock cut to 4.25 x 6 inches

Vintage Postcard measuring 3.5 x 5.5 inches, found locally

Navy Blue Cardstock cut to 4.5 x 6.25 inches

Patterned Paper (ours was custom designed and printed by Antiquaria)

A6 Envelope (we used Curry)

Double sided tape

Washi Tape

Tape Gun (optional but definitely helpful in taping on the navy backers)

Photo Credits: Jamie of Intertwyned