Happy Weekend!

Happy Friday everyone! Spring is in the air – my favorite season here in DC! Sadly my entire family seems to be working through a cold this week – so I’m really looking forward to a couple of days of rest and recuperation. But in the meantime…

Thuss Farrell Paper to Petal via Instagram

Photo by Thuss Farrell via Instagram

…a few links for your weekend!

This week on Oh So Beautiful Paper:

Check back this afternoon for this week’s cocktail recipe! Have a wonderful weekend, and I’ll see you back here on Monday! xoxo

Calligraphy Inspiration: Wondrous Whimsy

This month, I’m excited to share the work of Samantha Burnett, the talented hand behind Austin, Texas-based Wondrous Whimsy. With a background in graphic design, Samantha taught herself the art of calligraphy, which was a wise decision in my opinion. Her wide array of lettering styles vary from dip pen to airy washes of painted letterforms. Her website and Instagram feed are filled to the brim with calligraphic inspiration. And while you’re at it, don’t forget to stop by her Etsy shop where you can pick up prints, custom stamps, and more. –Julie

Calligraphy Inspiration: Wondrous Whimsy via Oh So Beautiful Paper

Calligraphy Inspiration: Wondrous Whimsy via Oh So Beautiful Paper

Calligraphy Inspiration: Wondrous Whimsy via Oh So Beautiful Paper

Calligraphy Inspiration: Wondrous Whimsy via Oh So Beautiful Paper

Calligraphy Inspiration: Wondrous Whimsy via Oh So Beautiful Paper

Calligraphy Inspiration: Wondrous Whimsy via Oh So Beautiful Paper

Photo credits: 1 Jen Dillender Photography; 2, 4 Diana McGregor Photography; 3 left + right, 5 Jessica Christine Photography; 6 left Seen Photography, right Taylor Lord

DIY Tutorial: Neon Floral Save the Dates

After the dreary days of winter, we are in serious need of bright colors and cheerful designs. This save the date was inspired by an eye grabbing neon floral paper that we recently found. We used a standard highlighter to create the awesome pop of color on the save the date card. Who knew that it would make such a fun addition to the design? –Bailey and Emma of Antiquaria

DIY Neon Floral Save the Date Tutorial by Antiquaria for Oh So Beautiful Paper

Materials

Camellia Floral Save the Date Stamp

Laurel Wreath Return Address Stamp

Stamp Pad

Embossing Stamp Pad

Embossing Heat Tool

Embossing Powder

A6 Notecard (we used Pure White)

A6 Envelope (we used Fuchsia)

Highlighters

Decorative Paper

Envelope Liner Templates

Double Sided Tape

Calligraphy Pen

Finetec metallic watercolor set

DIY Neon Floral Save the Date Tutorial by Antiquaria for Oh So Beautiful Paper

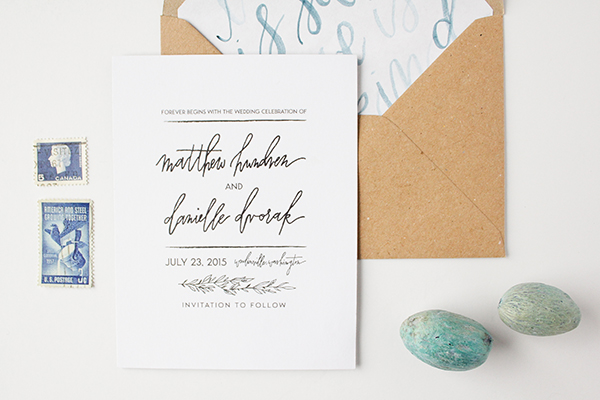
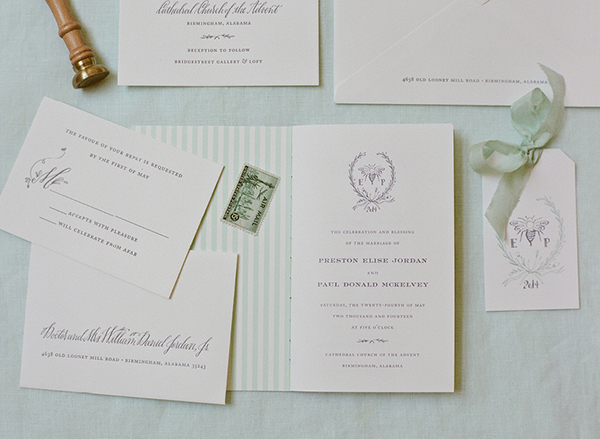
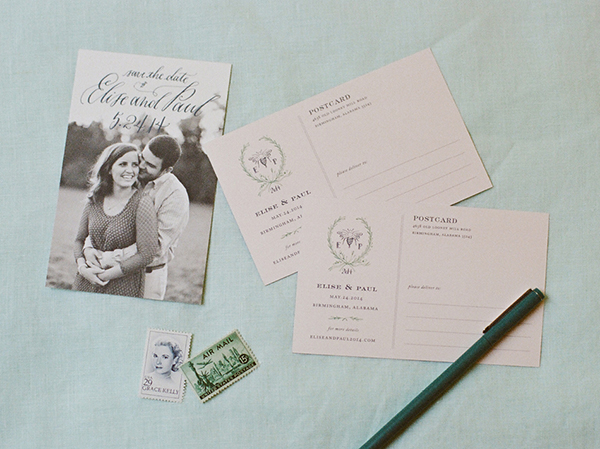
Step One: First, you will want to stamp your save the date (we used our Camellia Save the Date design) on an A6 card. When stamping your card, ink the stamp with the stamp facing you. Center the stamp over your card and press firmly and moderately (not too hard or the image will smudge) and gently lift the stamp off of the paper. Set aside to dry. Please watch this video for more information on inking and stamping an oversized stamp.

DIY Neon Floral Save the Date Tutorial by Antiquaria for Oh So Beautiful Paper

Step Two: To add a fun pop of color, we used a highlighter to color in the leaves and the center of the stamped flowers. This simple touch really makes the design come alive!

DIY Neon Floral Save the Date Tutorial by Antiquaria for Oh So Beautiful Paper

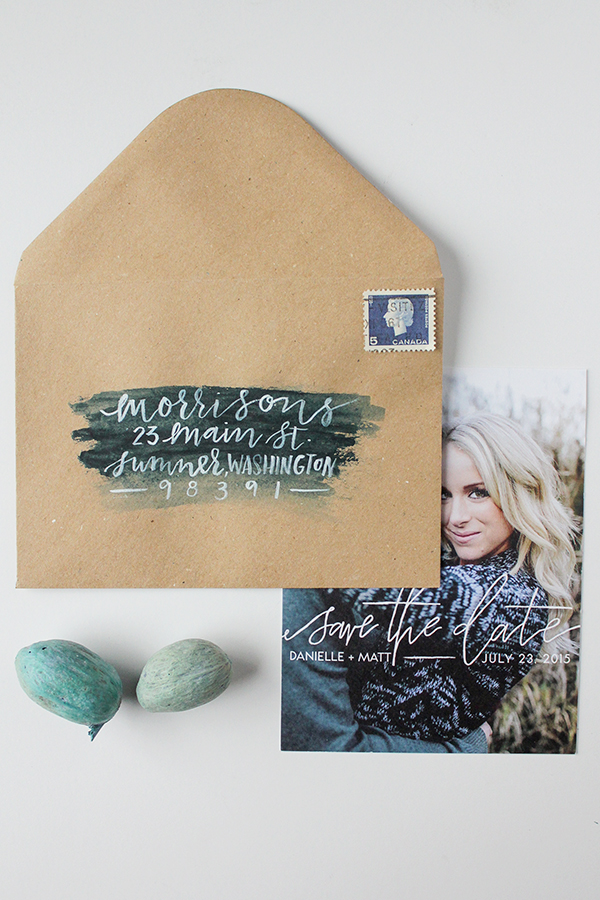
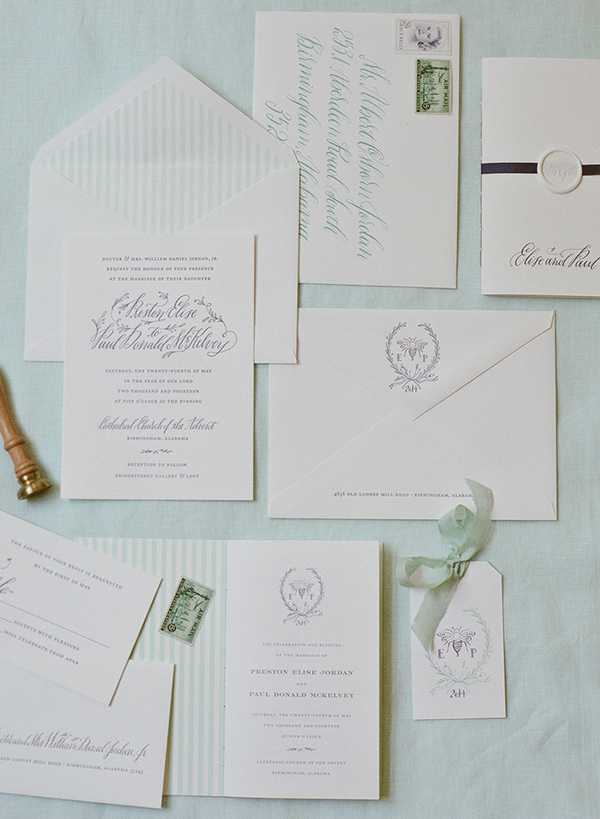
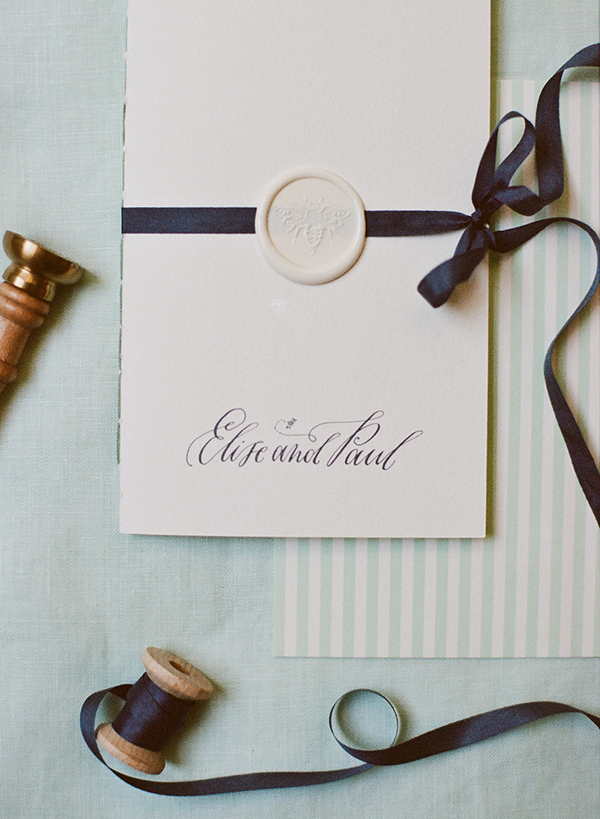
Step Three: Wanting to bring in some of the awesome neon pink from the patterned paper, we decided to use fuchsia envelopes and a tonal, neon grapefruit embossing powder to pull everything together. To emboss, simply stamp your desired return address stamp on the back flap (either in matching ink or with Versamark glue ink, as pictured) dust the powder over it, tap off the excess and heat set the print. For more information about how to emboss using stamps, please watch this instructional video.

DIY Neon Floral Save the Date Tutorial by Antiquaria for Oh So Beautiful Paper

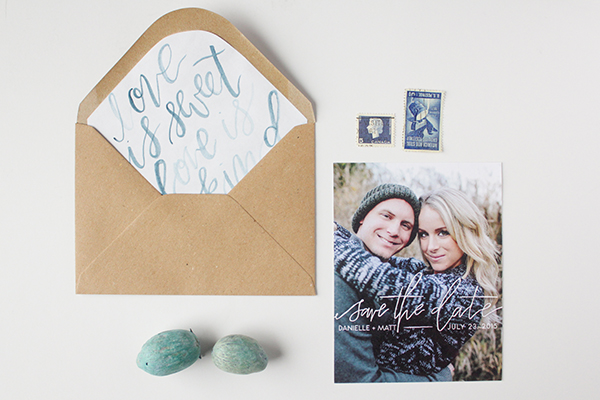
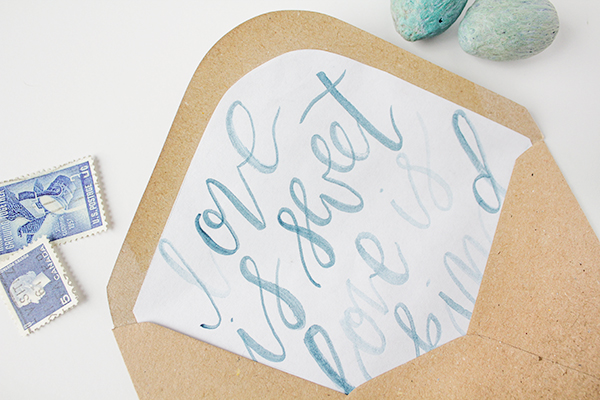
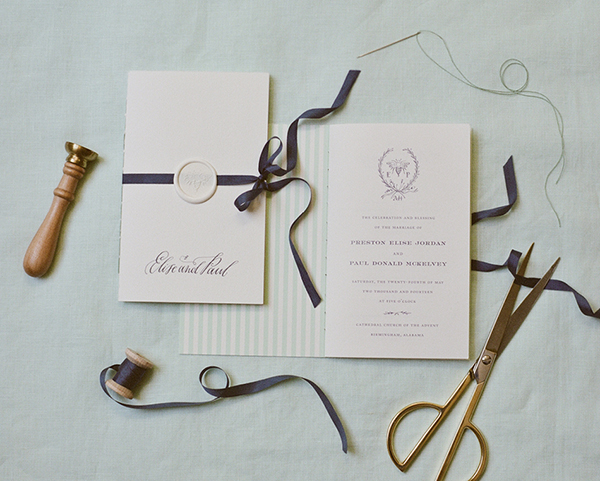
Step Four: Since this suite was directly based off of this amazing paper, it was an easy decision to incorporate it into the design as an envelope liner. We traced the liner template and cut out each liner by hand. Then, we used double sided tape (alternatively, you could use stick glue) to install the liners into the envelopes (adhere around the top triangle).

DIY Neon Floral Save the Date Tutorial by Antiquaria for Oh So Beautiful Paper

DIY Neon Floral Save the Date Tutorial by Antiquaria for Oh So Beautiful Paper

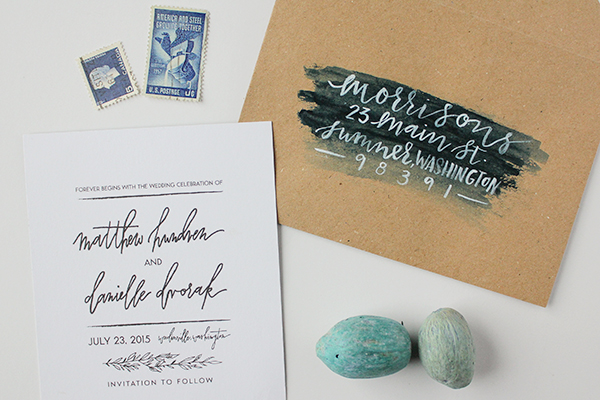
Step Five: It’s time to address your save the dates! We used a beautiful finetec metallic paint palette (the silver one) with a calligraphy pen for this design. Experiment with styles until something feels natural to you! You could also use a silver gel pen and your fanciest handwriting to achieve a similar look.

DIY Neon Floral Save the Date Tutorial by Antiquaria for Oh So Beautiful Paper

Anti­quaria is a mem­ber of the Designer Rolodex – you can see more of their beau­ti­ful work right here!

Photography by Antiquaria for Oh So Beautiful Paper

Danielle + Matt’s Calligraphy Watercolor Save the Dates

Calligraphy and watercolor is just the dreamiest combination – and such a wonderful complement to a photo-based save the date! Gina from Eleven and West Studio sent over these rustic blue and kraft paper save the dates featuring casual hand lettering and dreamy watercolor details. So pretty!

Calligraphy-Watercolor-Save-the-Dates-Eleven-and-West-Studio-OSBP7

From Gina: These hand-lettered save the dates were created for an outdoor Washington wedding. The save the dates feature an engagement photo on one side and casual hand lettering on both sides. An illustrated leaf detail was added to complement the rustic feeling of the outdoor wedding. The save the dates were placed in kraft paper envelopes then, finished with some beautiful blue watercolor and envelope liners with some sweet watercolored love words.

Calligraphy-Watercolor-Save-the-Dates-Eleven-and-West-Studio-OSBP2

Calligraphy-Watercolor-Save-the-Dates-Eleven-and-West-Studio-OSBP

Calligraphy-Watercolor-Save-the-Dates-Eleven-and-West-Studio-OSBP4

Calligraphy-Watercolor-Save-the-Dates-Eleven-and-West-Studio-OSBP6

Thanks Gina!

Design and Calligraphy: Eleven and West Studio

Check out the Designer Rolodex for more tal­ented wed­ding invi­ta­tion design­ers and the save the date gallery for more wedding save the date ideas!

Photography: Gina Hagerty / Eleven and West

Elise + Paul’s Mint and Navy Calligraphy Wedding Invitations

These classic-meets-vintage wedding invitations from designer and calligrapher Holly Hollon are just so incredibly gorgeous. From the beautiful calligraphy flourishes, to the mint and navy color palette, to the playful bumblebee incorporated throughout the suite, each detail fits together perfectly!

Classic-Mint-Navy-Calligraphy-Wedding-Invitations-Holly-Hollon-OSBP4

From Holly: Elise and Paul had a classic spring wedding here in Birmingham, Alabama. Elise wanted a classic meets vintage look for her wedding suite which evolved into combination of mint, navy, stripes, and flora embellished calligraphy.

Classic-Mint-Navy-Calligraphy-Wedding-Invitations-Holly-Hollon-OSBP

Classic-Mint-Navy-Calligraphy-Wedding-Invitations-Holly-Hollon-OSBP2

For her wedding logo, we found inspiration from a vintage French laurel wreath. I incorporated the couples initials into the hand illustrated design along with acorns and a bee. The bee became a playful design element in the suite.

Classic-Mint-Navy-Calligraphy-Wedding-Invitations-Holly-Hollon-OSBP5

Classic-Mint-Navy-Calligraphy-Wedding-Invitations-Holly-Hollon-OSBP3

Classic-Mint-Navy-Calligraphy-Wedding-Invitations-Holly-Hollon-OSBP8

For Elise’s wedding program we used the bee on a wax seal which secured a ribbon to the program. Each program was hand stitched with mint ribbon. I love these hand crafted details which so care and specialty to her wedding paper.

Classic-Mint-Navy-Calligraphy-Wedding-Invitations-Holly-Hollon-OSBP6

Classic-Mint-Navy-Calligraphy-Wedding-Invitations-Holly-Hollon-OSBP7

Classic-Mint-Navy-Calligraphy-Wedding-Invitations-Holly-Hollon-OSBP9

Thanks Holly!

Design: Holly Hollon

Letterpress Printing: Patrick Masterson

Check out the Designer Rolodex for more tal­ented wed­ding invi­ta­tion design­ers and the real invi­ta­tions gallery for more wedding invitation ideas!

Photo Credits: Mandy Busby Creative