10 Awesome Wedding Escort Card Ideas

It’s May – which means LOTS of weddings just around the corner! For those of you searching for some inspiration for your wedding day stationery, I thought I’d round up a few favorite escort card ideas!

Wedding-Escort-Card-Ideas-OSBP

1. Beautiful watercolor escort tags by Blue Eye Brown Eye Calligraphy

2. Forest green painterly brushstroke + gold ink escort card tags by Anne Robin Calligraphy 

3. Escort cards paired with boutonnieres for guests! Dreamed up by the ladies of Karson Butler Events with calligraphy by Meant to Be Calligraphy / Photo by Jodi Miller Photography via Style Me Pretty

4. White calligraphy + kraft paper is the perfect combination for a garden party wedding! Event design by True Event with floral design by Petal Floral Design / Photo by Judy Pak Photography via Style Me Pretty

5. Feather shaped escort cards paired with gemstones! / Photo via Snippet & Ink

6. Mini scroll escort cards by The Aerialist Press / Photo by Delbarr Moradi via Martha Stewart Weddings

7. Square escort cards with rosemary sprigs against a dark wood background by Carissa Jones

8. This bow + arrow escort card display is bananas in the best possible way! Arrows by Mineral + Matter with calligraphy by Curlicue Designs / Photo by Rebekah Westover via Ruffled

9. Color dipped escort cards with gold ink by Wild Hart Paper Co

10. Mini envelope escort cards by A Fabulous Fete

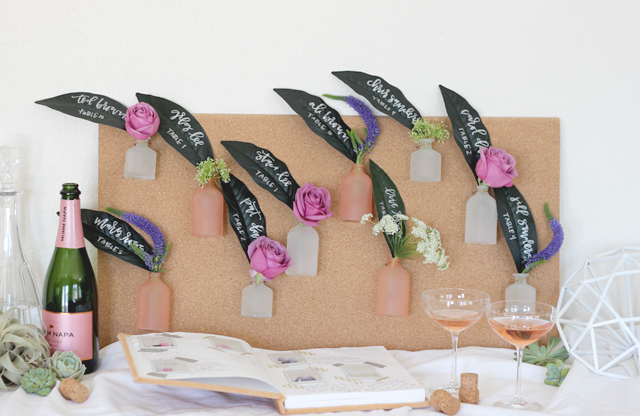
DIY Bottle Escort Card Display

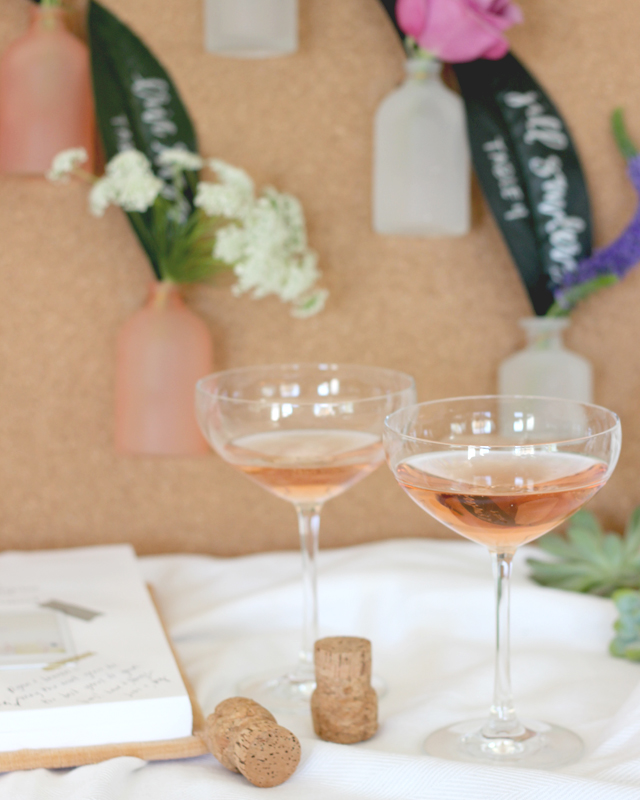
Gone are the days when a simple chart would lead you to your seat at a wedding. Beautiful calligraphy cards are one way to go, but creating a display can bring your reception to a whole new level. And I’m not one for putting effort into projects that get thrown away, so I crafted up a fun escort card display that adds that wow factor, but can also get taken home and displayed as decor! And while you’re at it, bring over a welcome cocktail along with your guest book and make this table a one stop shop. –Lauren

DIY Bottle Escort Cards by A Fabulous Fete for Oh So Beautiful Paper

DIY Bottle Escort Cards by A Fabulous Fete for Oh So Beautiful Paper

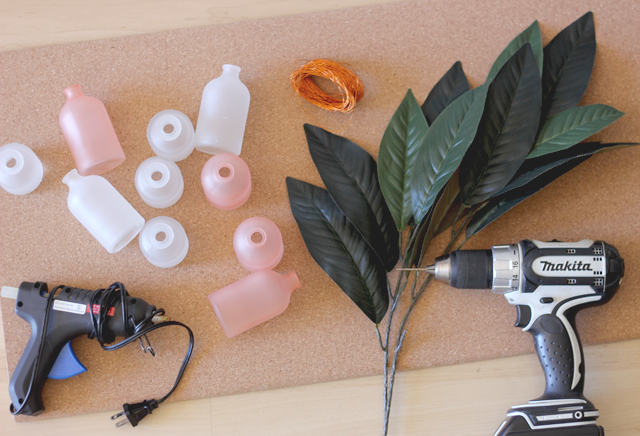
Supplies

– large cork board(s)

– small glass bottles

– faux leaves + fresh flowers

– wire

– hot glue gun

– drill

DIY Bottle Escort Cards by A Fabulous Fete for Oh So Beautiful Paper

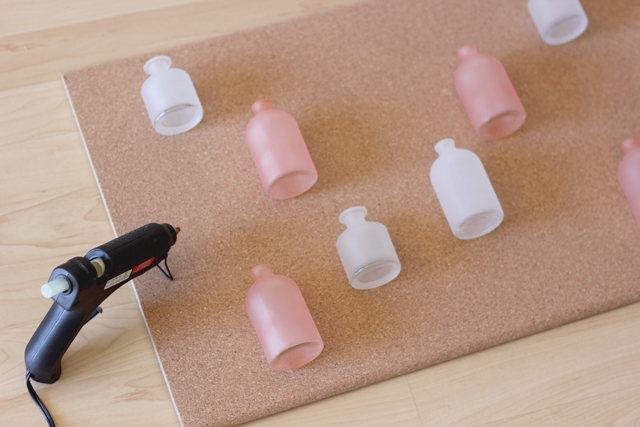
Step 1. Arrange your bottles on the board and attach with a small dot of hot glue.

DIY Bottle Escort Cards by A Fabulous Fete for Oh So Beautiful Paper

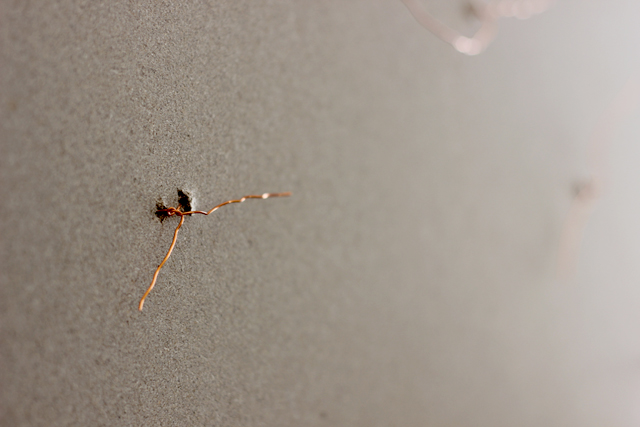
Step 2. Drill holes on either side of the bottle all the way through the board. If your bottles do not have a lip on the top, you might want to consider adding more holes down the base of the bottle to ensure they are secure.

DIY Bottle Escort Cards by A Fabulous Fete for Oh So Beautiful Paper

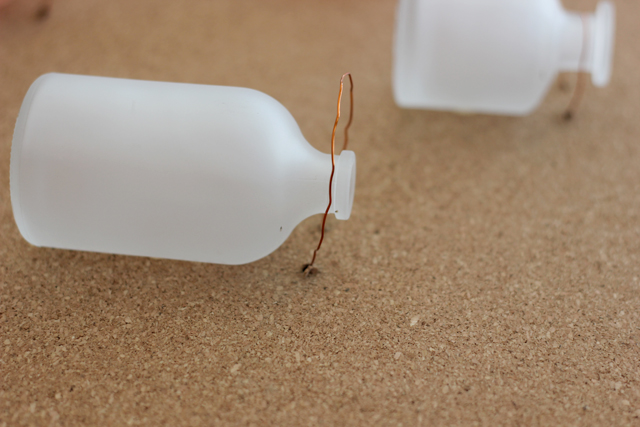
Step 3. Insert wire through the front of the board and around the bottle. Pull tightly on the back and twist the wire to secure each bottle.

DIY Bottle Escort Cards by A Fabulous Fete for Oh So Beautiful Paper

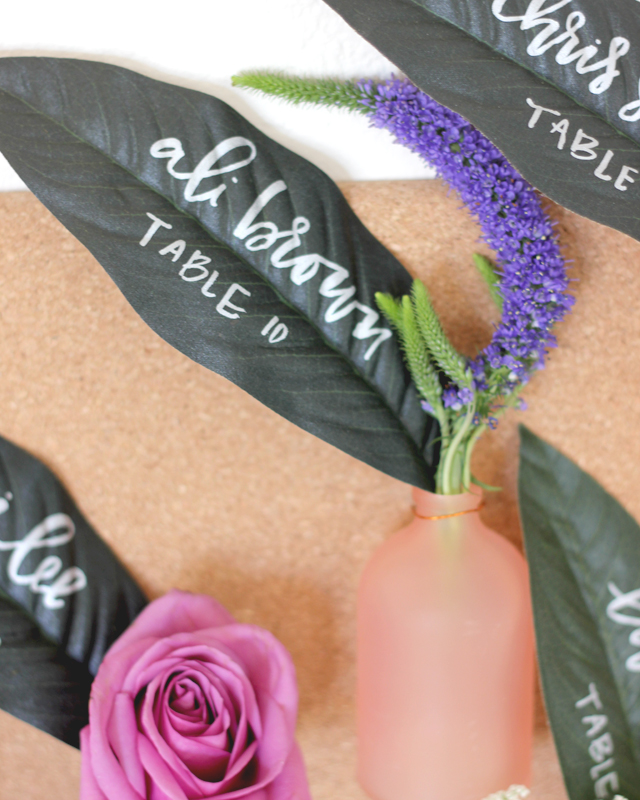
Step 4. Create your escort cards by writing each guests name on a leaf – real or faux!

DIY Bottle Escort Cards by A Fabulous Fete for Oh So Beautiful Paper

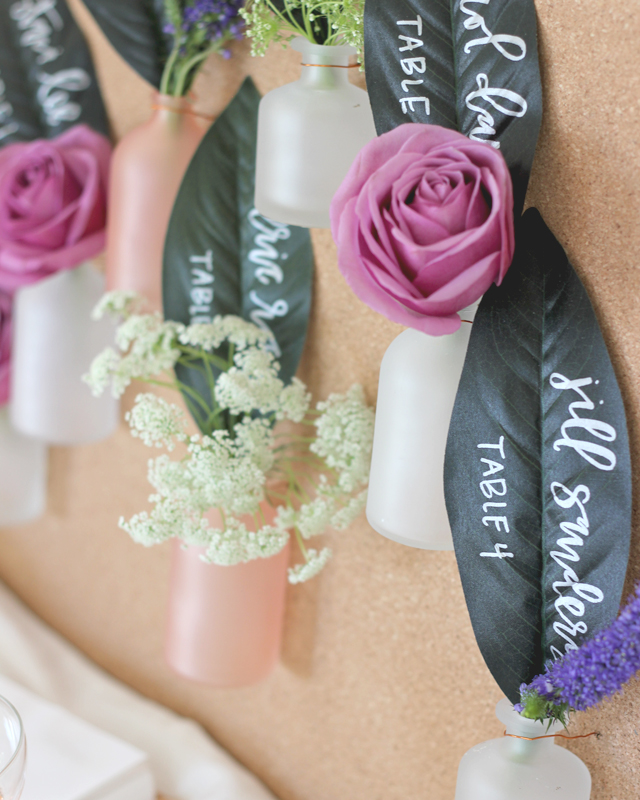
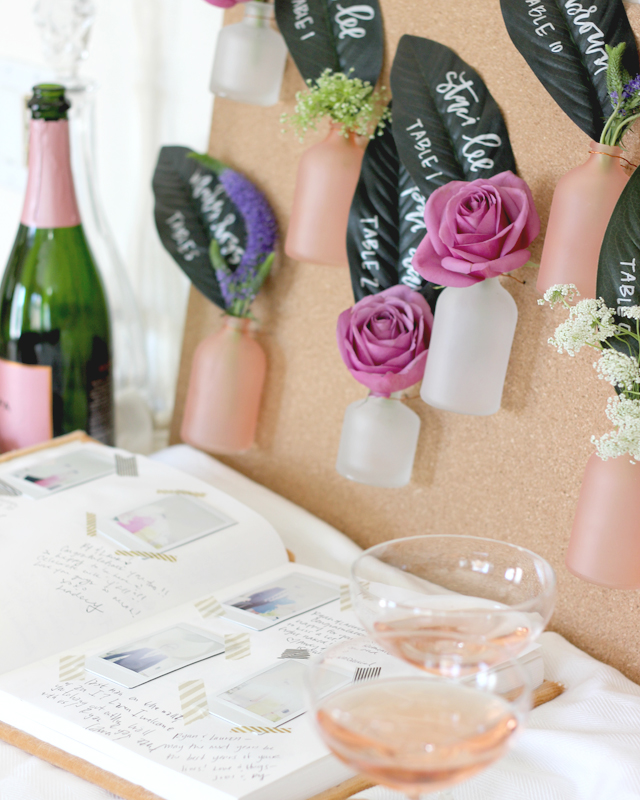
Step 5. Fill all of the bottles with water, add a fresh flower to each and top of with the escort “cards”!

DIY Bottle Escort Cards by A Fabulous Fete for Oh So Beautiful Paper

DIY Bottle Escort Cards by A Fabulous Fete for Oh So Beautiful Paper

Once all the guests have taken their cards, there is still a beautiful display left to look at!

Photo Credits: Lauren Saylor of A Fabulous Fete for Oh So Beautiful Paper

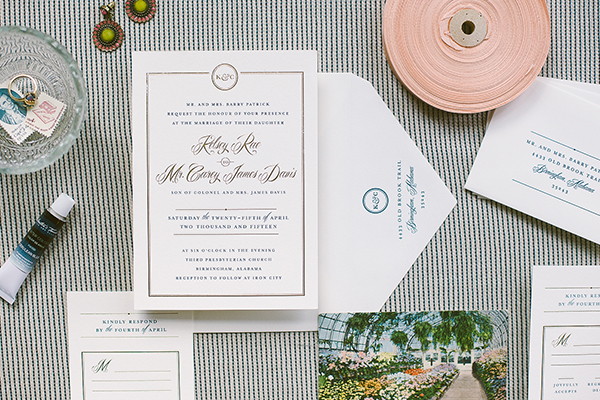
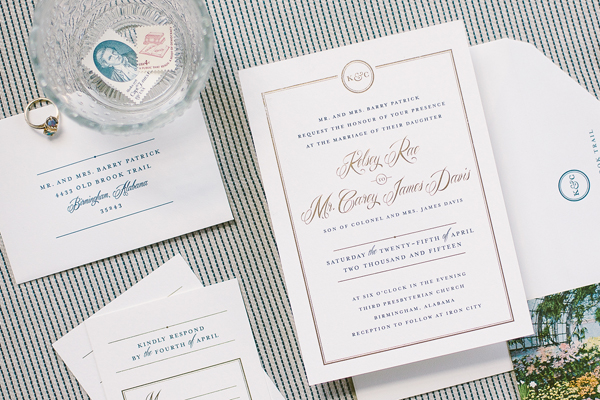
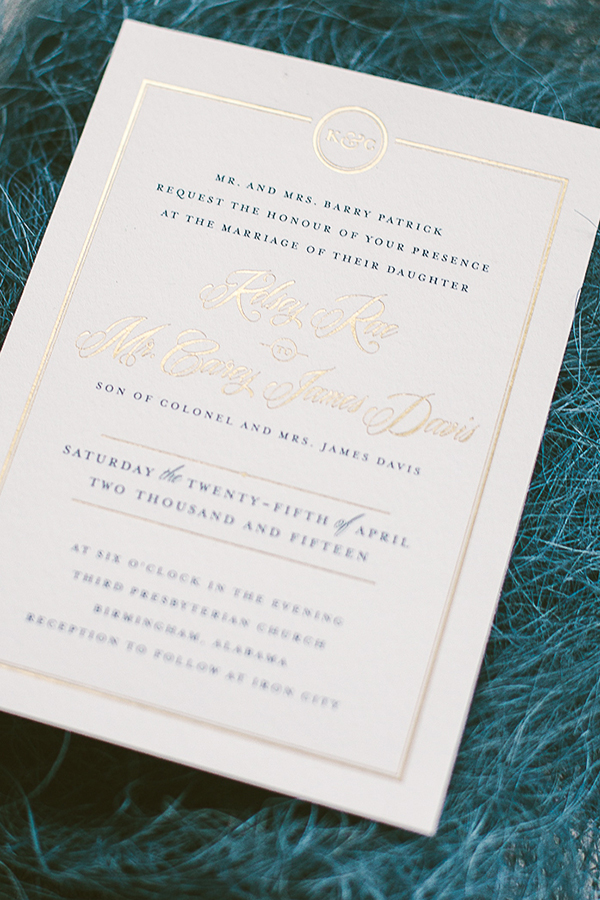
Kelsey + Carey’s Timeless Navy and Gold Foil Wedding Invitations

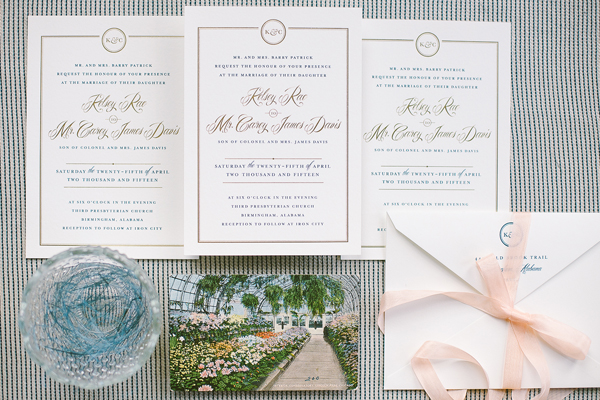
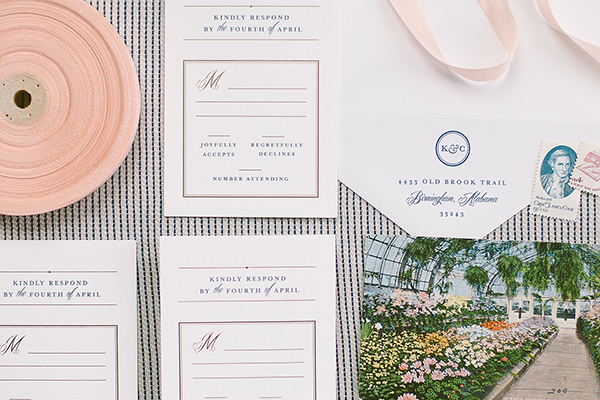
Classic navy paired with shiny gold foil. Classic serif text paired with a modern calligraphy script. A modern wedding logo in lieu of a monogram. I’m loving all the modern touches in these timeless wedding invitations from Sam and Kelly of Deliver!

Classic-Navy-Gold-Foil-Wedding-Invitations-Deliver-OSBP

From Sam and Kelly: Our bride, Kelsey, had a love for clean details, classic typography, and elegant design. Their wedding revolved around a navy and gold palette – we immediately knew to go with navy flat printing and touches of gold foil stamping to give her the sense of elegance she desired.

Classic-Navy-Gold-Foil-Wedding-Invitations-Deliver-OSBP2

We created a simple custom logo (a modernized version of a monogram) to incorporate at the top of her wedding invitation and on her return address to give her invitations a sense of identity. We used simple lines and shapes throughout to establish hierarchy and add interest. The entire suite was printed on the soft, lush cotton of Crane’s Lettra in Pearl White.

Classic-Navy-Gold-Foil-Wedding-Invitations-Deliver-OSBP3

Classic-Navy-Gold-Foil-Wedding-Invitations-Deliver-OSBP4

Classic-Navy-Gold-Foil-Wedding-Invitations-Deliver-OSBP5

Classic-Navy-Gold-Foil-Wedding-Invitations-Deliver-OSBP7

Thanks Sam and Kelly!

Check out the Designer Rolodex for more tal­ented wed­ding invi­ta­tion design­ers and the real invi­ta­tions gallery for more wedding invitation ideas!

Photo Credits: Deliver

DIY Hand Lettered Wall Art

We’re in the middle of prepping for the National Stationery Show in May, which for us means finalizing our latest product designs and finishing the catalogs. In the process, we have been designing new art prints for our line and shop – so we definitely have wall art on the brain! Our tutorial today is a break down of how to make your very own, one-of-a-kind hand lettered wall art for your house or to give as a gift. Just find your favorite quote and get pencil to paper! –Bailey and Emma of Antiquaria
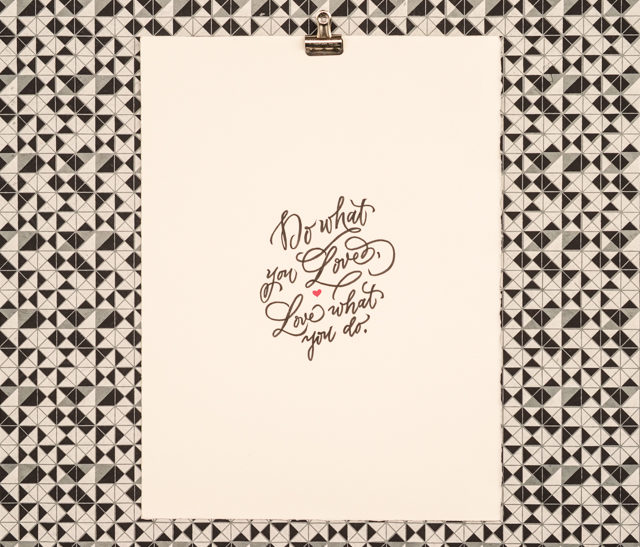
DIY Hand Lettered Wall Art by Antiquaria for Oh So Beautiful Paper

Materials

High quality archival paper, such as Arches Watercolor Paper Hot Press

Pencil

Kneaded Eraser

Brush Pen

Fine Felt Tipped Pen

Gouache (optional)

Copy Paper (to draft layout)
DIY Hand Lettered Wall Art by Antiquaria for Oh So Beautiful Paper

DIY Hand Lettered Wall Art by Antiquaria for Oh So Beautiful Paper

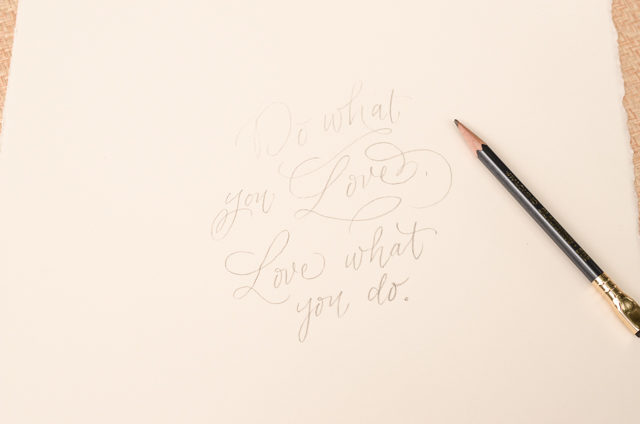
Step One: Using sheets of copy paper, sketch out your quote in a variety of different layouts/styles. Look at some of your favorite fonts for letter-shape inspiration if you feel stuck about how to make the letters go together. Once you’ve settled on a layout that you like, re-draw it on your nice archival paper. So that it pressure isn’t too high, make sure that you have a couple of sheets of the nice paper-in case you need to make a couple of drafts of the piece.
DIY Hand Lettered Wall Art by Antiquaria for Oh So Beautiful Paper

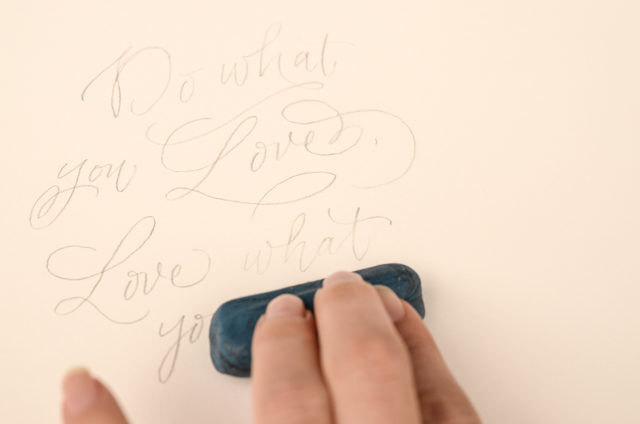
Step Two: Before putting any ink down onto your piece, you want to lift up the pencil lines so that they can act as a light guide for you but will not require heavy force once the ink is in place. A kneaded eraser does this job easily by rolling over the pencil and picking up the excess lead, as shown above.
DIY Hand Lettered Wall Art by Antiquaria for Oh So Beautiful Paper

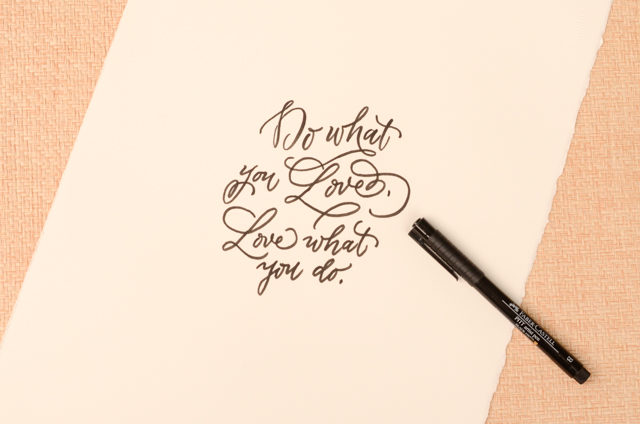
Step Three: Take a deep breath and do your lettering with ink using your very light pencil lines as a guide. You can use a brush pen as we did here, a brush and ink, a felt tipped pen or a calligraphy pen. Each of these will yield a different looking result so it’s worth figuring out what you like best (a great thing to do while your drafting your design on copy paper). We like the boldness that a brush pen gives, especially when it meant to be viewed from a distance, which it will be when hanging on the wall!
DIY Hand Lettered Wall Art by Antiquaria for Oh So Beautiful Paper

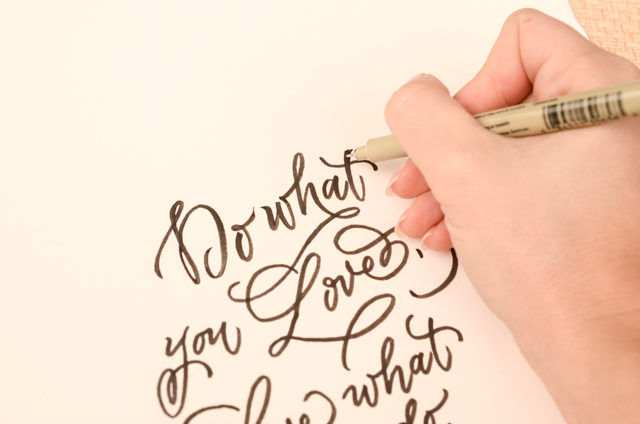
Step Four: To give some polish to the lettering, we like to go in with a fine tipped felt pen and do “touch-ups” to the outline. We typically smooth out any ending flourishes, tops of letters (like the “t”) and light areas that the brush didn’t get. The step is optional. You may achieve exactly the look you’re going for in step three! Once you’re happy with the lettering, gently erase the remaining light pencil lines.
DIY Hand Lettered Wall Art by Antiquaria for Oh So Beautiful Paper
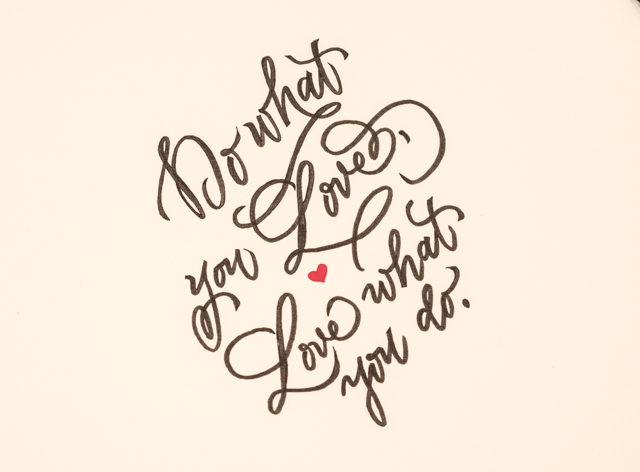
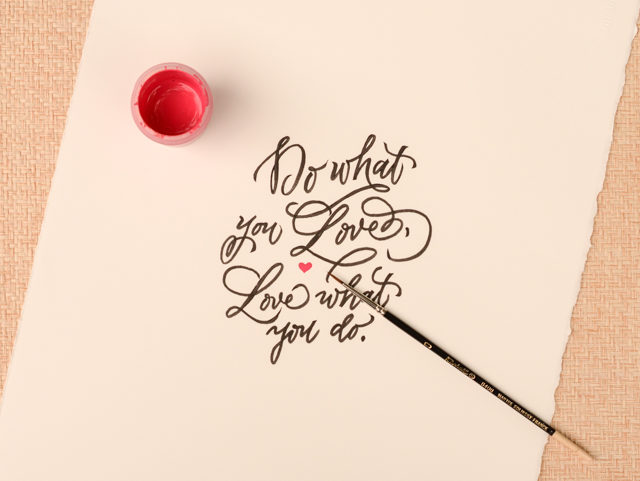
Step Five: We added a pop of color with a hot pink heart painted with gouache (opaque water color). This step is also optional and will depend on your design!

We hope that you have fun creating your own pieces and that you let your imagination run wild! If you’re new to lettering, it’s probably best to start with one word or a short phrase so that you can practice the process without the layout being too difficult. Have fun and Happy Lettering!

All artwork © 2015 Antiquaria, with DIY tutorials created exclusively for Oh So Beautiful Paper and intended for personal, non-commercial use only.
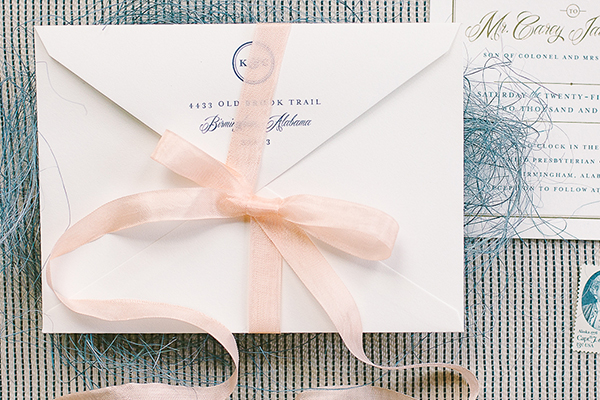
Photo Credits: Antiquaria for Oh So Beautiful Paper