Traditional Hot Rum Punch

Not that long ago, we wrote about making a single cup of hot rum punch. This week, since we made a big batch for our little cocktail party, we’re going to explain how to make an entire bowl of the stuff. It’s pretty much the single best thing you can make for a winter party. â€“ Andrew

Traditional Hot Rum Punch Recipe

Traditional Hot Rum Punch Recipe

Traditional Hot Rum Punch Recipe Card

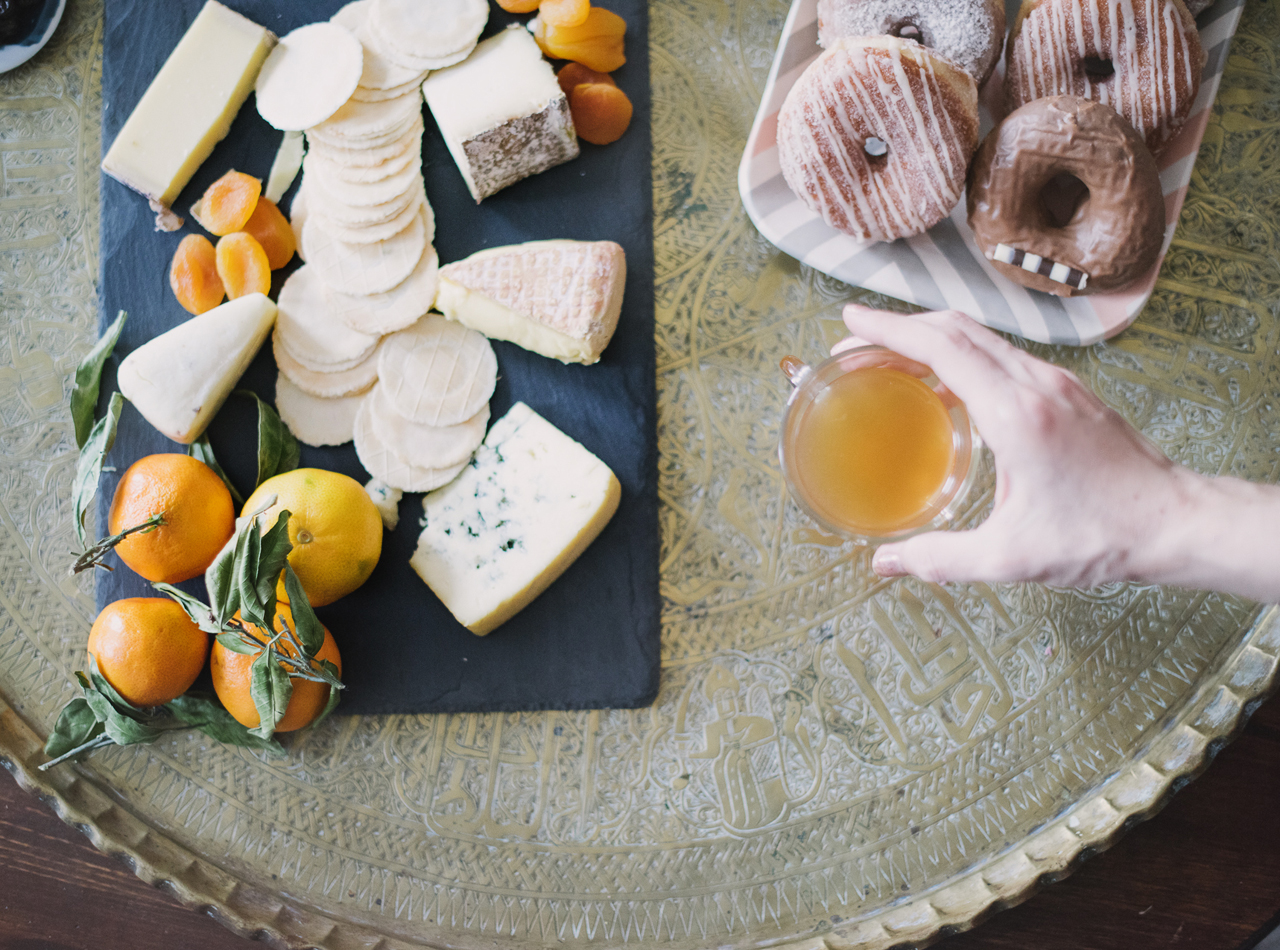
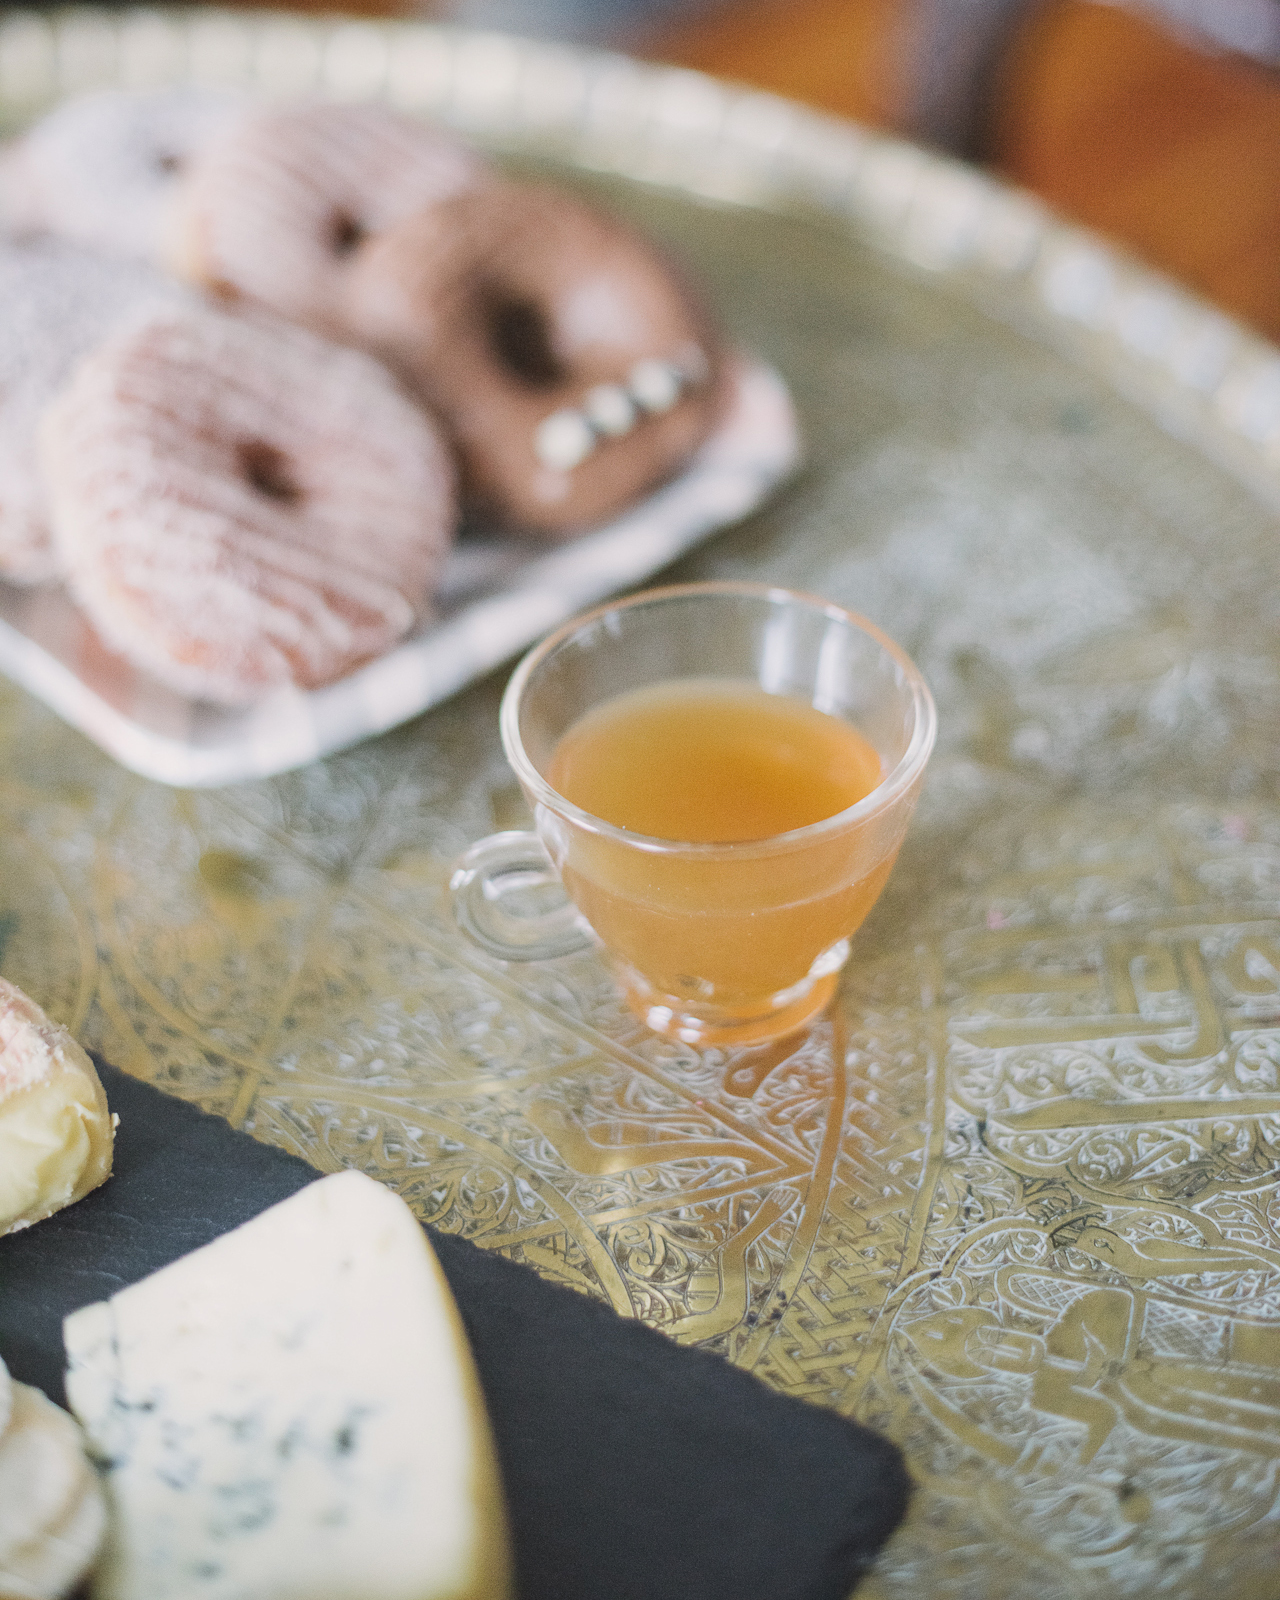
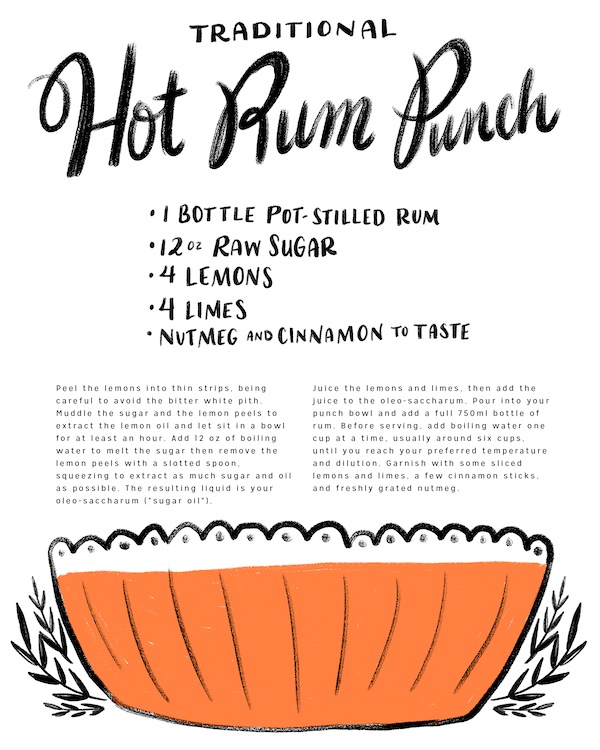
Illustration by Shauna Lynn for Oh So Beautiful Paper

Traditional Hot Rum Punch

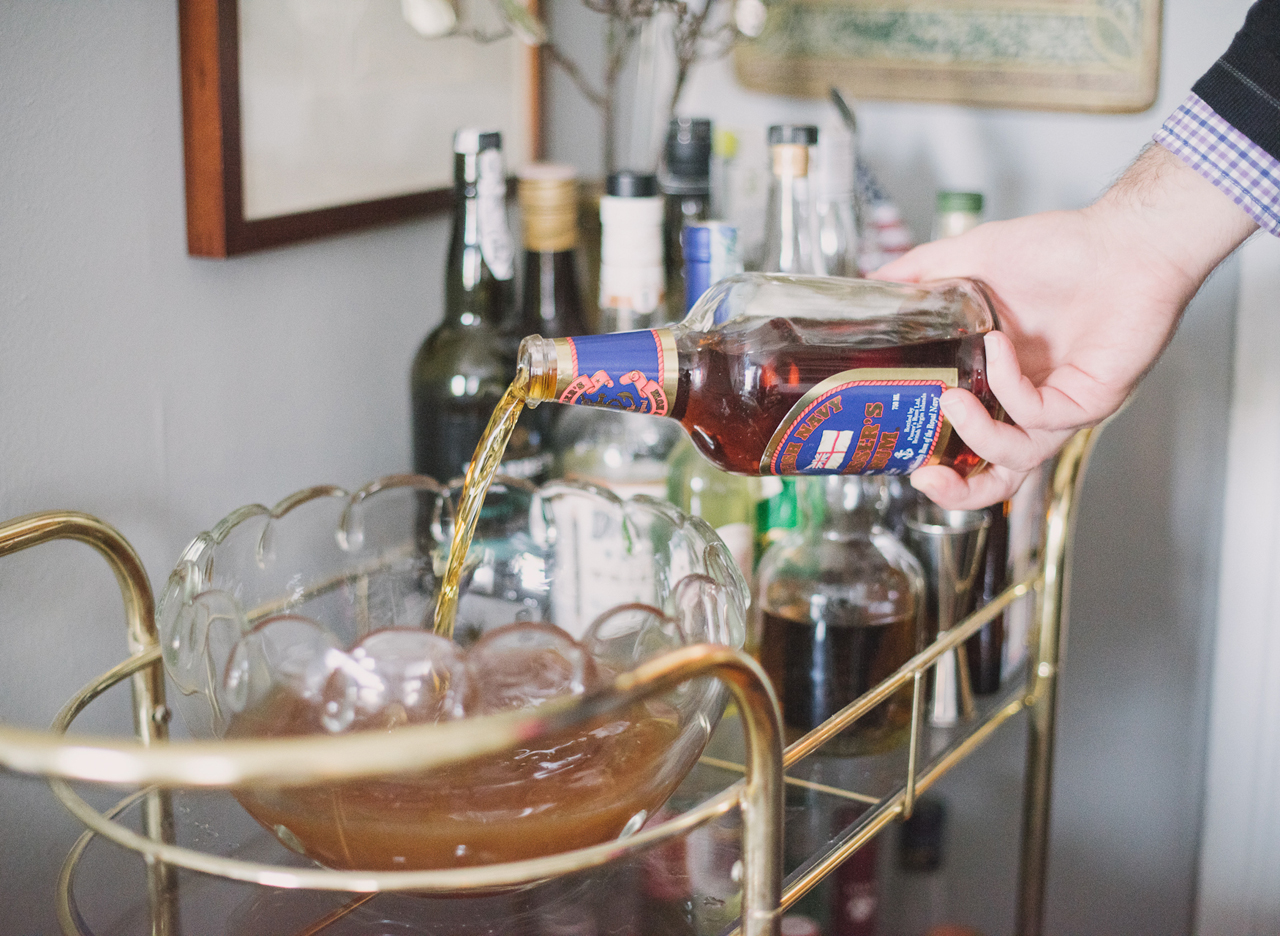
1 Bottle Pot-Stilled Rum
12 oz Raw Sugar
4 Lemons
4 Limes
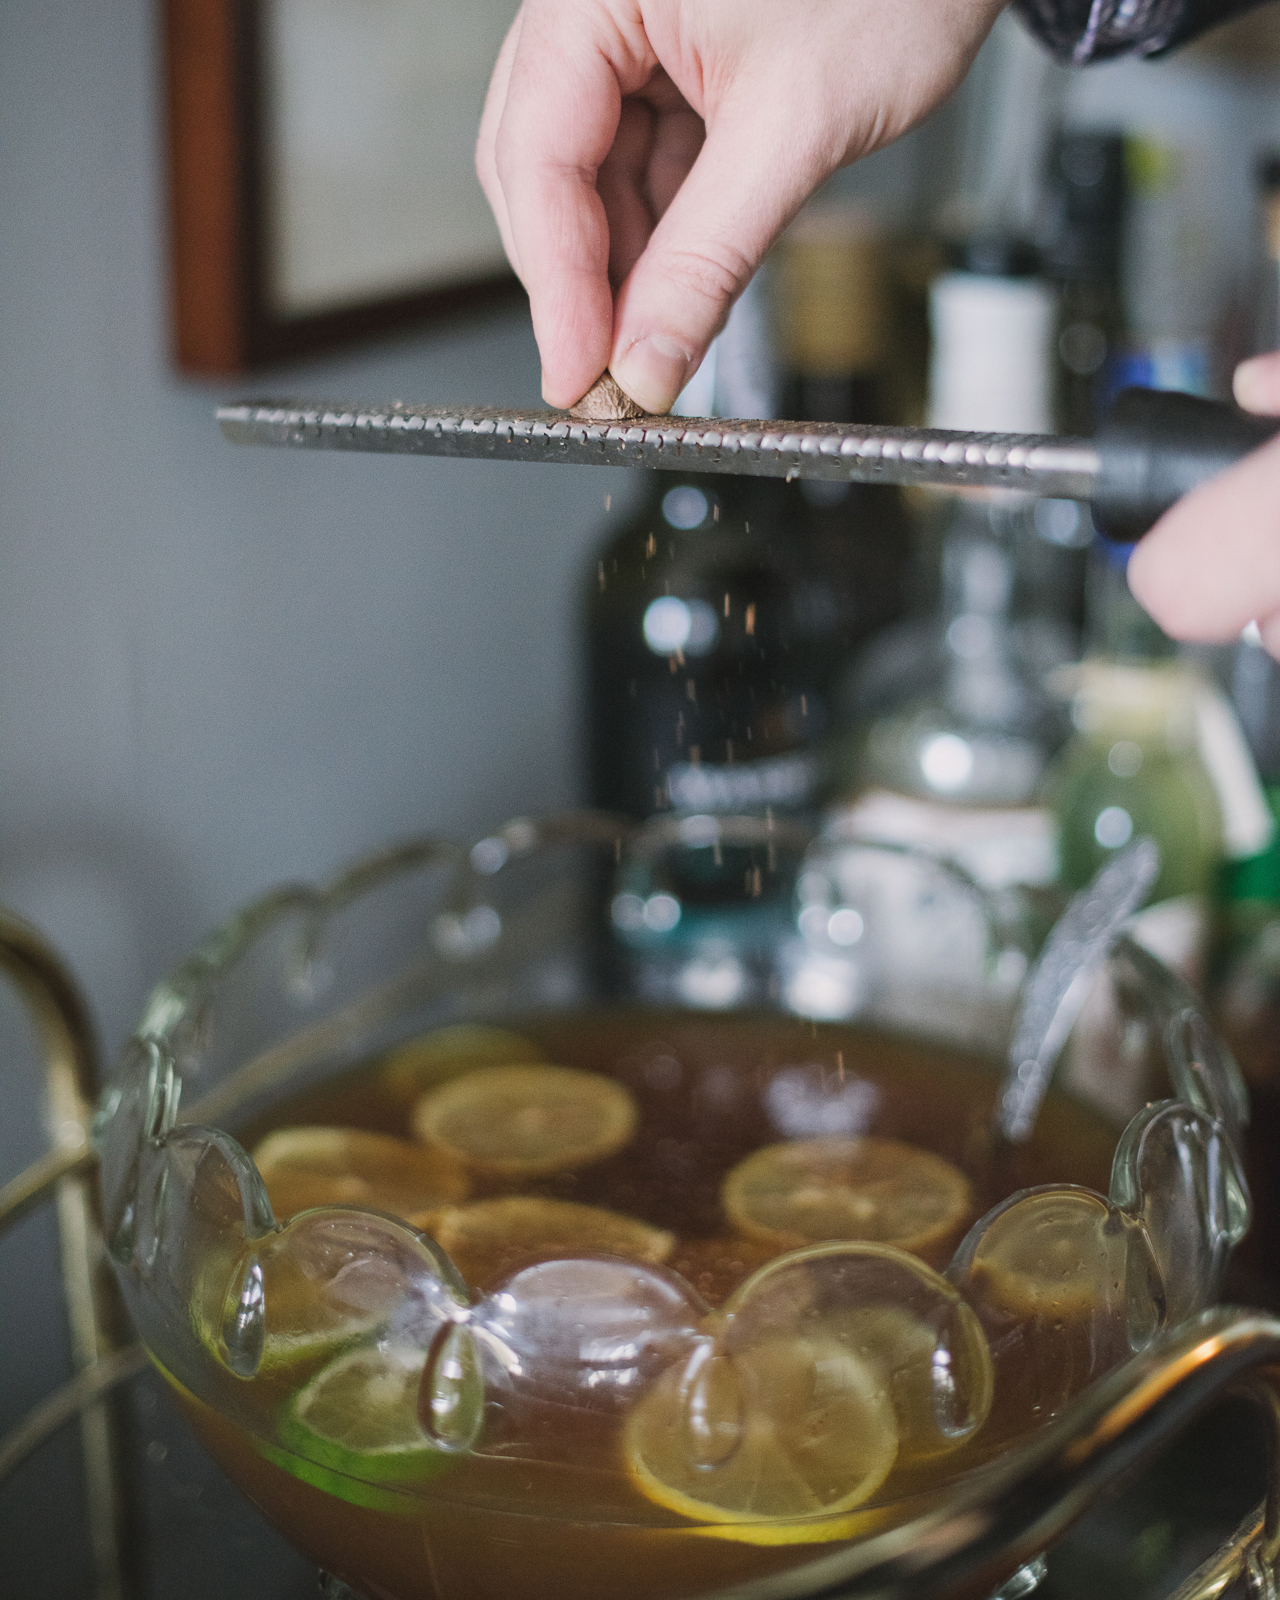
Nutmeg and Cinnamon to Taste

Peel the lemons into thin strips, being careful to avoid the bitter white pith. Muddle the sugar and the lemon peels to extract the lemon oil and let sit for at least an hour. (I left the sugar and peels in a sealed ziplock bag in the refrigerator overnight.) Add 12 oz of boiling water to melt the sugar and remove the lemon peels with a slotted spoon, squeezing to extract as much sugar and oil as possible. The resulting liquid is, in classic punch parlance, your oleo-saccharum (“sugar oil”).

Juice the lemons and limes, then add the juice – about 12-14 oz – to the oleo-saccharum. This, again in classic punch parlance, is your sherbet. Pour the sherbet into your punch bowl and then add a full 750ml bottle of rum. (We used Pusser’s Navy Rum, a pot-distilled rum that replicates the rum served as rations in the British Navy until the 1970s. It’s funky and delicious but it is not at all subtle.) This is your punch, with just one last step: adding some hot water to heat things up and dilute the very strong punch a bit.

Traditional Hot Rum Punch Recipe

Traditional Hot Rum Punch Recipe

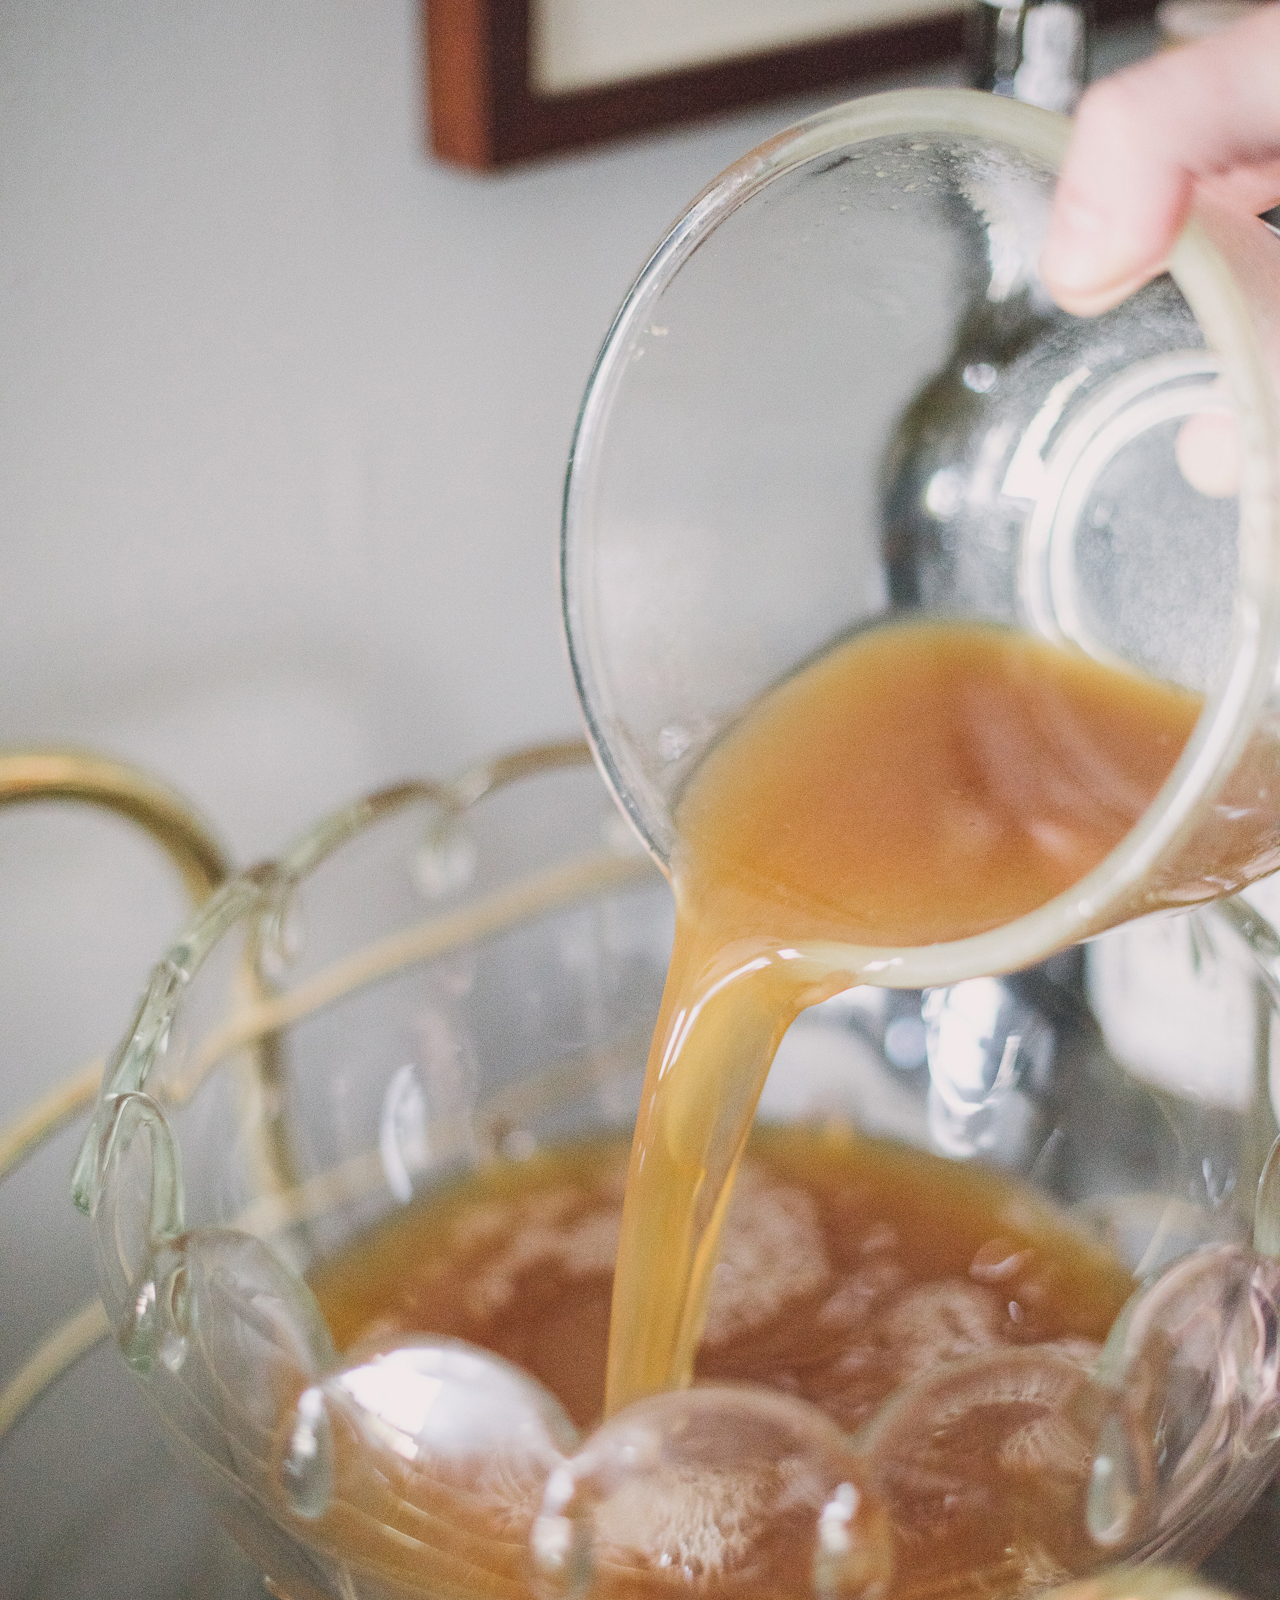
Right before you’re ready to serve, start adding boiling water to the bowl, a cup at a time, until you reach your preferred temperature and dilution. I added about six cups, but you can add as much or as little as you want. Garnish with some sliced lemons and limes, a few cinnamon sticks, and freshly grated nutmeg.

Traditional Hot Rum Punch Recipe

Traditional Hot Rum Punch Recipe

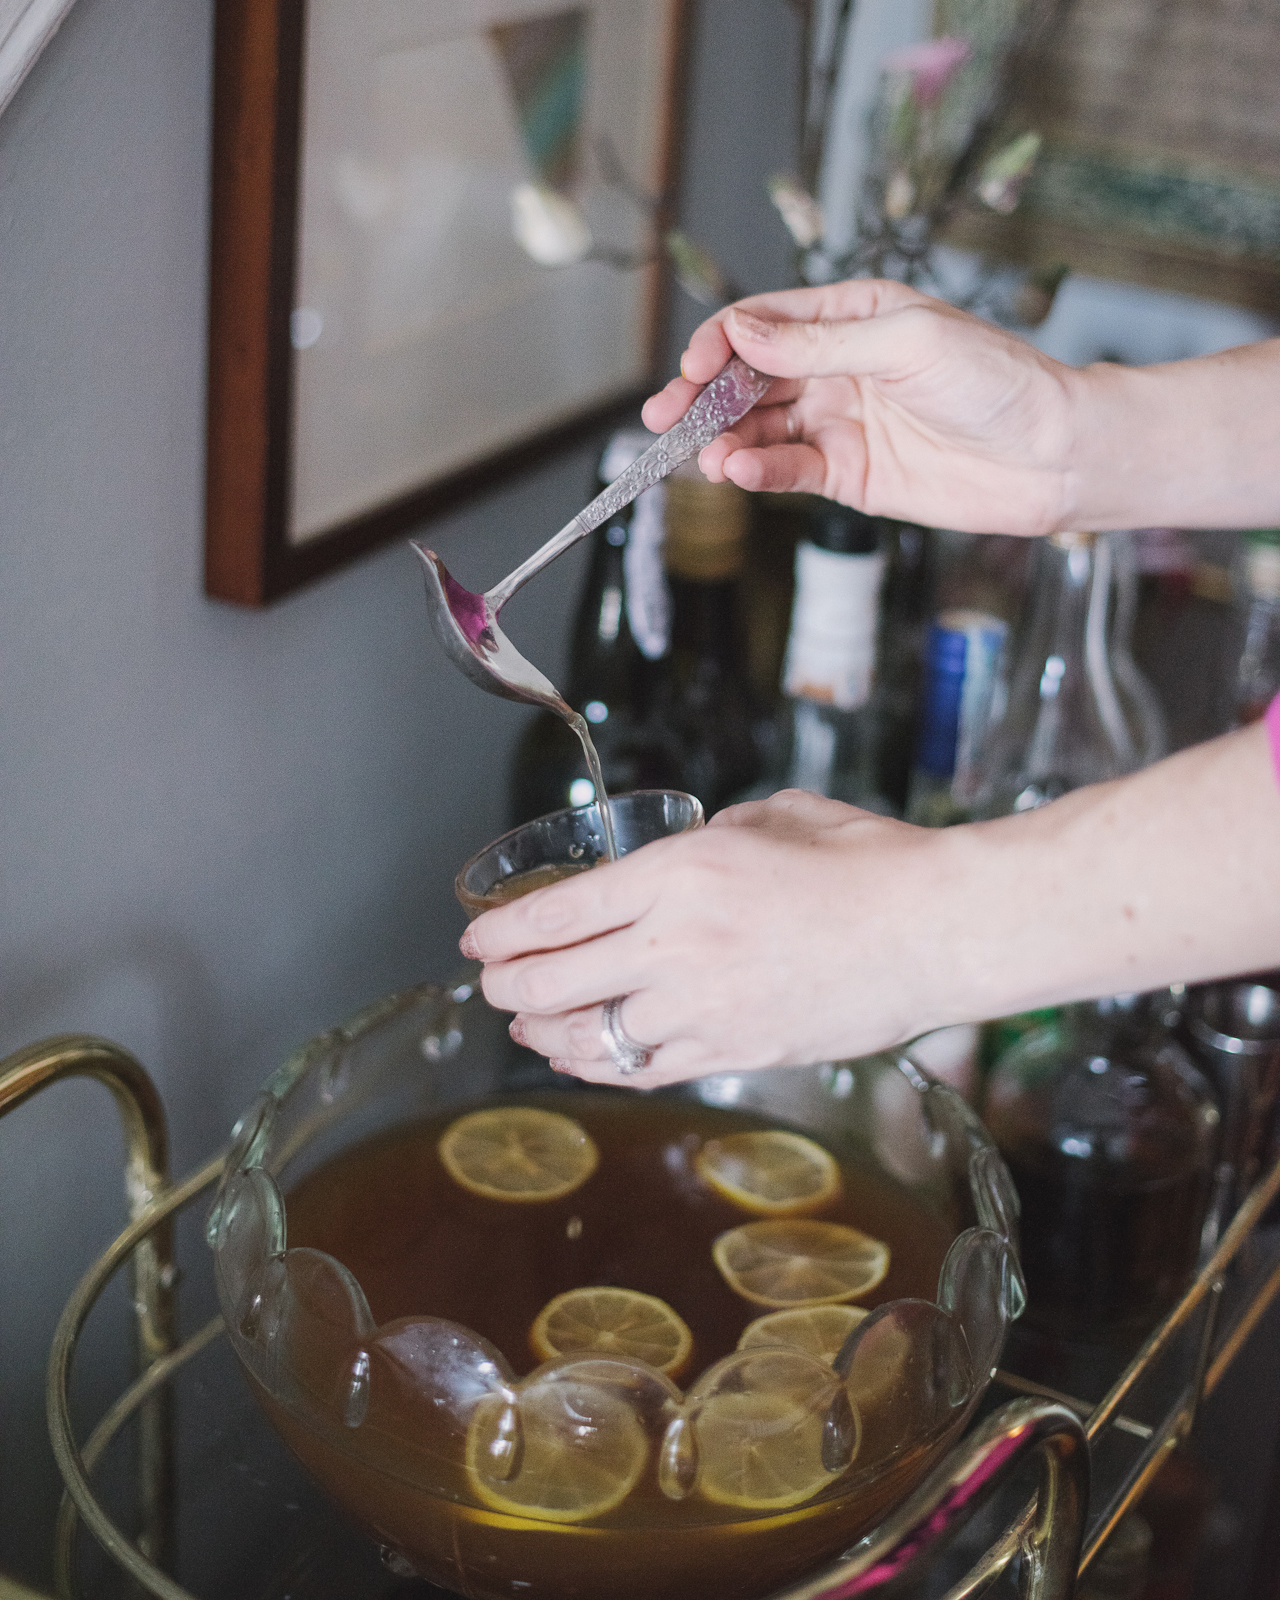
It’s hot – this will surprise a lot of people who have never had a hot drink before – which I love in a drink this time of year. It’s sweet and sour and rich and funky, thanks to that navy rum. And it’s big; although there’s a bit of work involved, you can do all of that before your party and have a single big drink you can serve to all your guests, leaving you free to enjoy your own party. A single bowl of punch also creates a single focal point at which people have to congregate (especially if you serve them in tiny punch cups, which you should, necessitating lots of return trips to the bowl and hence mingling).

Traditional Hot Rum Punch Recipe

Traditional Hot Rum Punch Recipe

I’ve never tried to figure out how many servings this make, but: it’s a lot. I’ve never run out of punch at a party, and typically have a bunch left over, enough to stick in a bottle and refrigerate to enjoy later.

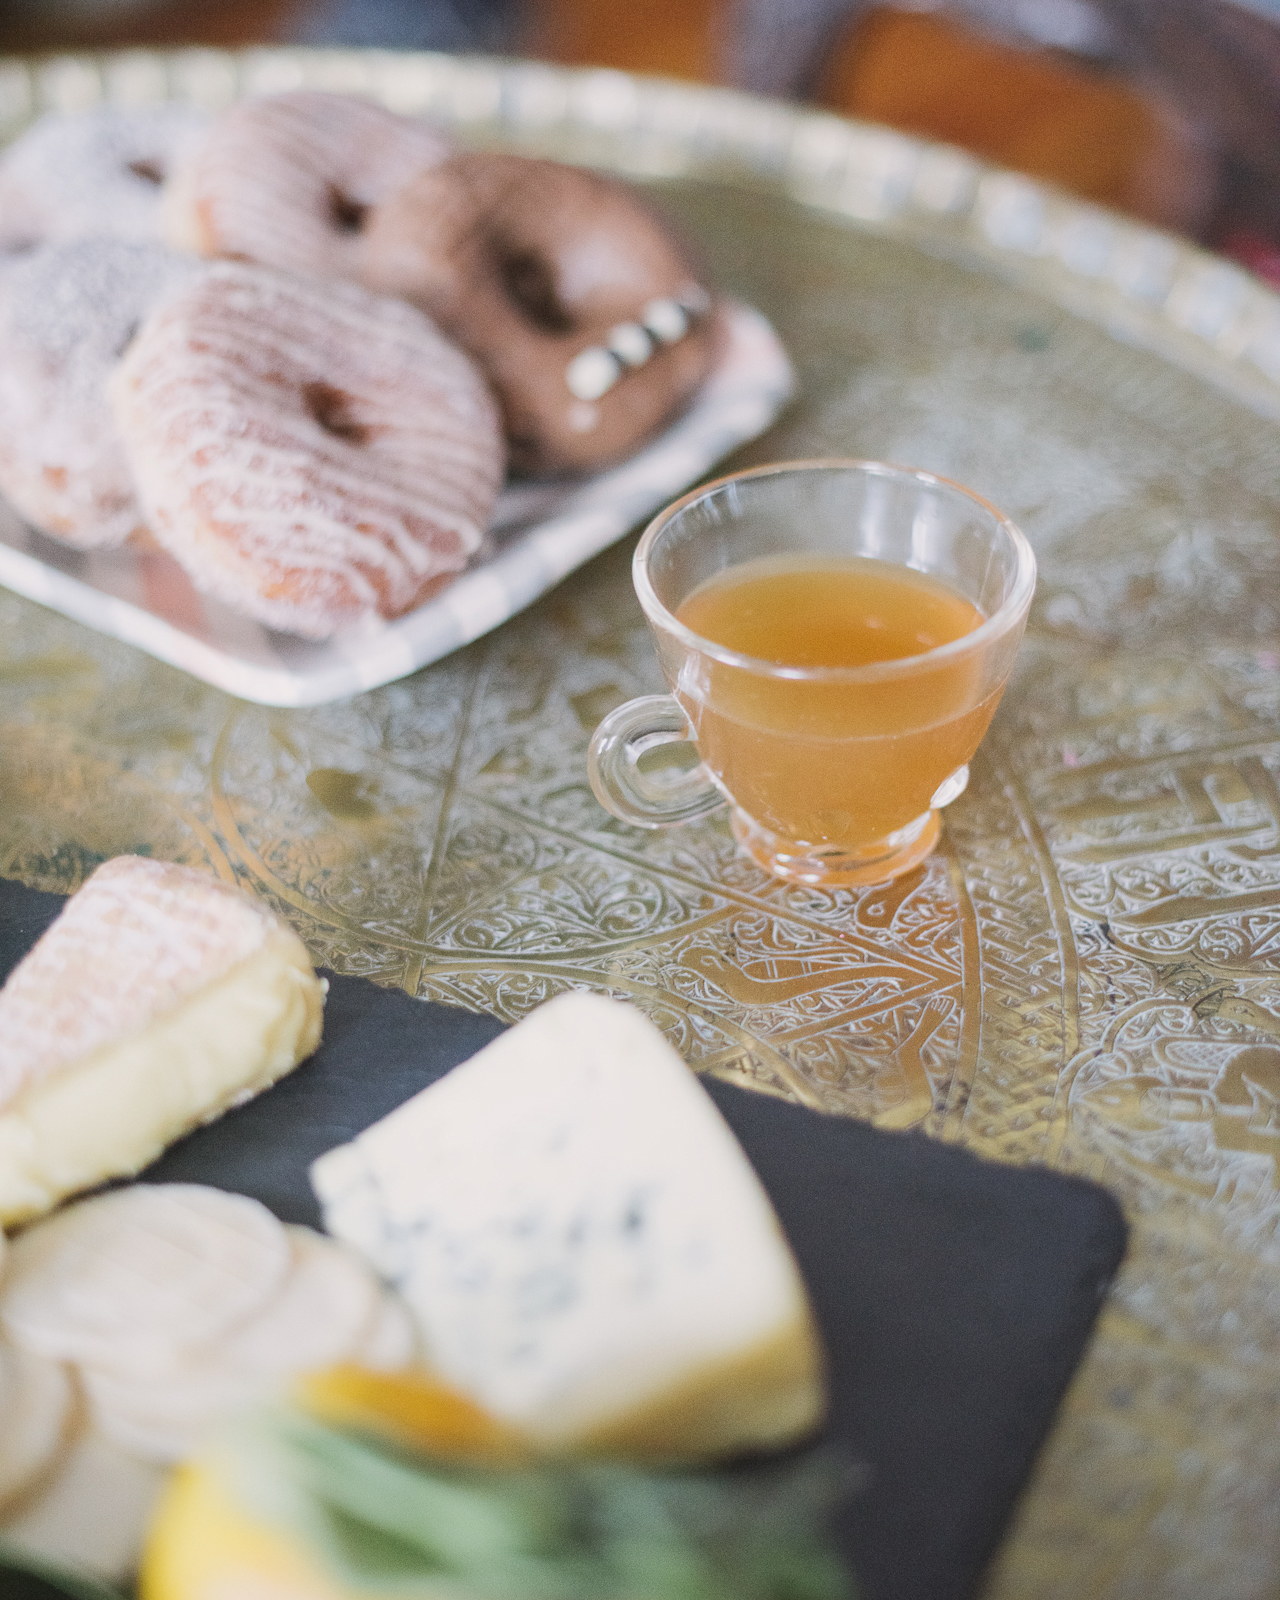
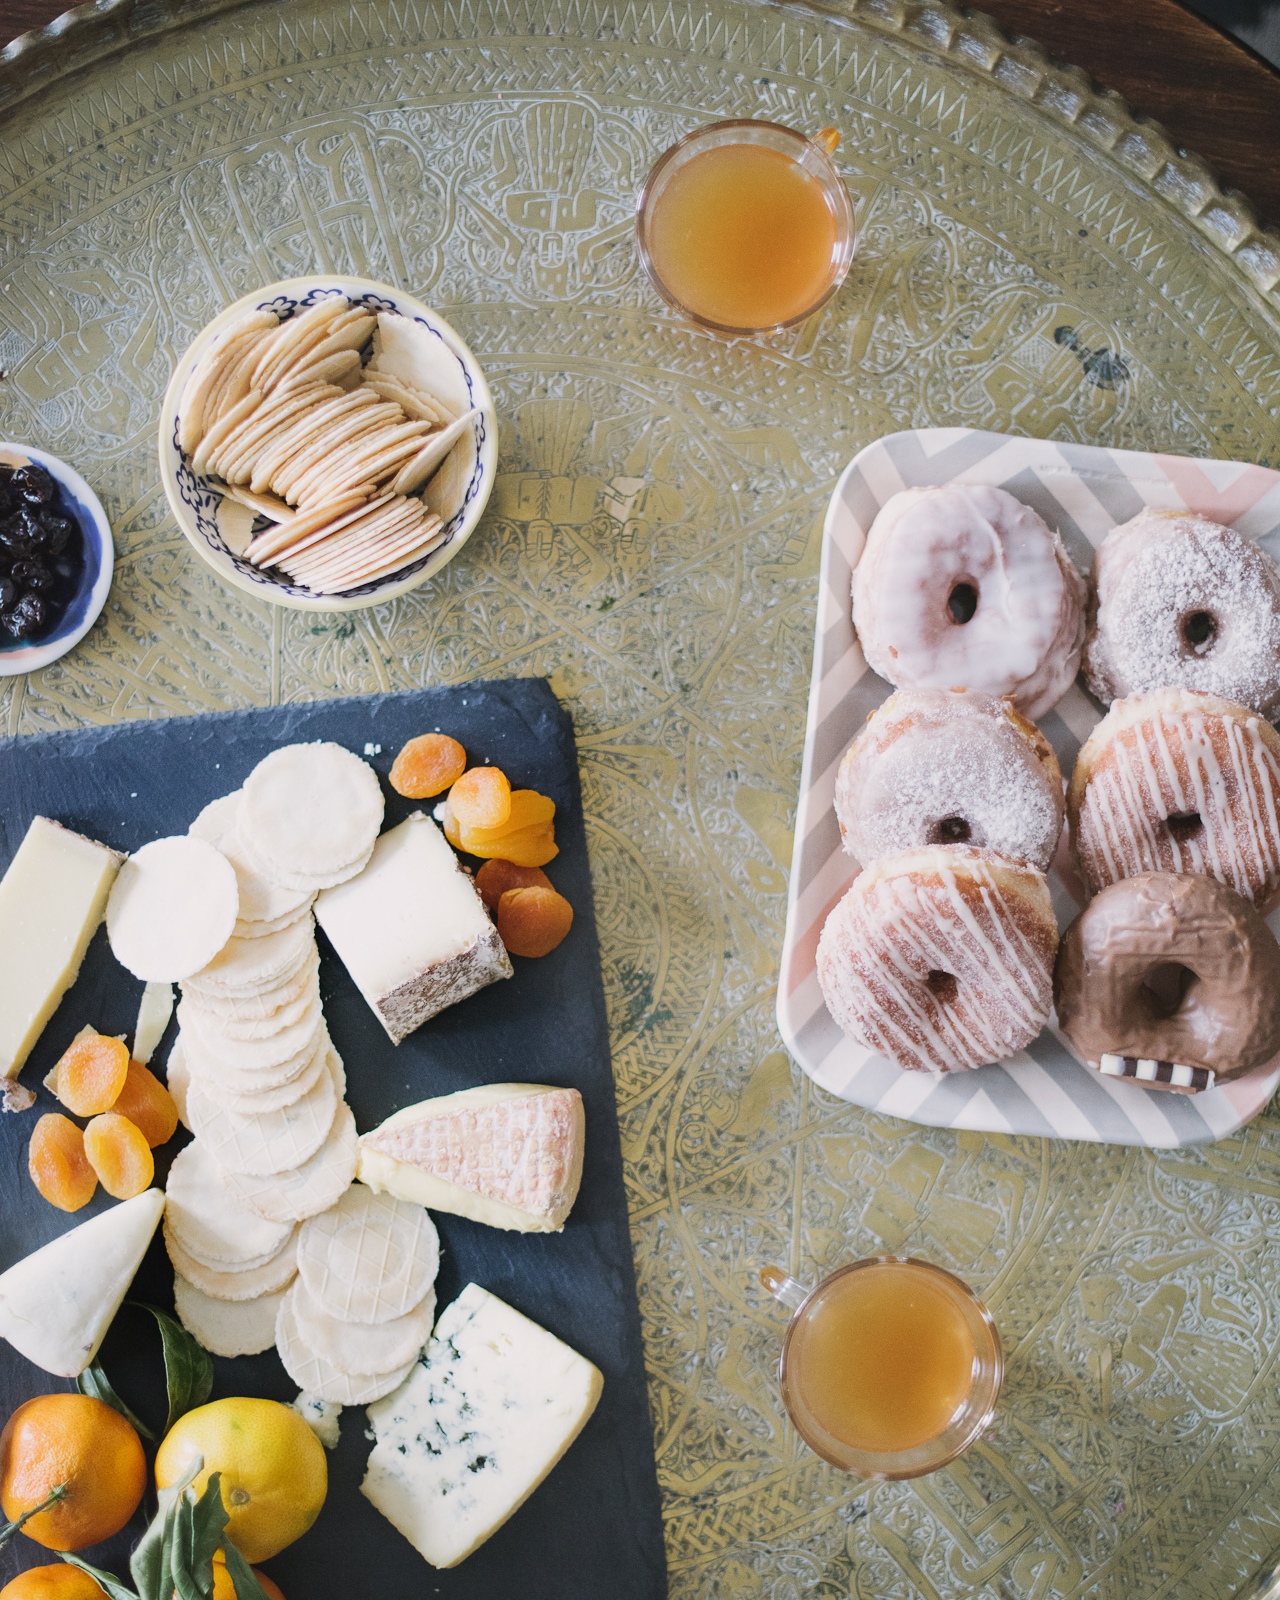
Photos by Sweet Root Village for Oh So Beautiful Paper

DIY Tutorial: Leather and Paint Pen Napkin Rings (and a Giveaway!)

I love the idea of incorporating unusual materials into a party, from acrylic cocktail signs to clay save the dates and everything in between. I was super excited when Sakura of America asked me to come up with a fun project featuring their Pen-touch paint markers. I expect you’ll be seeing these markers in many future tutorials (they can seriously write on anything), but today I’m sharing the first project – DIY leather napkin rings perfect for a dinner party any time of year!

DIY-Leather-Napkin-Rings-Sakura-Pentouch-Paint-Pens-OSBP-60

Sakura recently added a color line to the existing collection of white and metallic Pen-touch paint markers. We combined jewel tones – green and blue – with white and copper for a beautiful seasonal color palette. Carolyn from Matine kindly let me raid her leather scraps, including the most gorgeous navy and gold leather – but you can also find leather in your local craft store. I love love love the combination of the copper Pen-touch markers with the navy leather! Sakura’s Pen-touch markers are completely opaque, so you can write on dark surfaces (anything from paper to wood to leather) and the lettering will still be visible. We wanted a short, fun phrase to write on our napkin rings, so Michele from Meant to Be Calligraphy lettered the phrase “yum!” in our color palette.

DIY-Leather-Napkin-Rings-Sakura-Pentouch-Paint-Pens-OSBP-62

DIY-Leather-Napkin-Rings-Sakura-Pentouch-Paint-Pens-OSBP-13

Supplies

Sakura Pen-touch Paint Markers

Leather

Ruler

Rotary Cutter + Cutting Mat

Awl (not shown)

Twine + Scissors

DIY-Leather-Napkin-Rings-Sakura-Pentouch-Paint-Pens-OSBP-1

Step 1: First you’ll need to cut your leather into strips (mine were approximately 6″ wide and 1.5″ tall) using your rotary cutter, ruler, and cutting mat.

DIY-Leather-Napkin-Rings-Sakura-Pentouch-Paint-Pens-OSBP-34

DIY-Leather-Napkin-Rings-Sakura-Pentouch-Paint-Pens-OSBP-16

Step 2: Write your desired phrase in the middle of the strip. You could also write a name instead of a phrase to transform these napkin rings into place cards!

DIY-Leather-Paint-Pen-Napkin-Rings-Sakura-PenTouch-OSBP-29

Step 3: Using an awl, punch a hole on either end of the strip big enough to thread twine through (approximately 1/8″ in diameter).

DIY-Leather-Paint-Pen-Napkin-Rings-Sakura-PenTouch-OSBP-30

DIY-Leather-Paint-Pen-Napkin-Rings-Sakura-PenTouch-OSBP-37

Step 4: Thread twine along the back of the leather strip and through both holes. Tighten as desired and tie closed. Done!

DIY-Leather-Napkin-Rings-Sakura-Pentouch-Paint-Pens-OSBP-41

DIY-Leather-Napkin-Rings-Sakura-Pentouch-Paint-Pens-OSBP-49

DIY-Leather-Napkin-Rings-Sakura-Pentouch-Paint-Pens-OSBP-64

Michele and I had so much fun with this project! I’ve always struggled with using paint markers in the past – the paint wouldn’t flow evenly, causing the paint to pool or splatter in places – but Sakura’s Pen-touch markers write so smoothly! They didn’t ask me to say that, it’s just the truth. I’m also a big fan of the fact that Sakura offers their markers in different weights, from extra fine (great for hand lettering!) to medium (for large scale projects). I’m hoping Sakura develops a chalk marker next!

Sakura is also kindly offering a giveaway to one lucky OSBP reader! One lucky reader will win a Pen-touch package including a 3 pack of Metallic Markers in Extra Fine Point and a 7 pack of Color Markers in Fine Point. To enter, just leave a comment below letting us know what you’d do with your Pen-touch markers! You’ll have until midnight EST on Wednesday, December 17 to enter before we pick a winner at random!*

THIS GIVEAWAY IS NOW CLOSED – Congratulations to the winner, commenter #6: Tiffany!

Calligraphy: Meant to Be Calligraphy

Leather: Matine

Photo Credits: Nole Garey for Oh So Beautiful Paper

This post is sponsored by Sakura of America. Thank you for supporting the sponsors that help make Oh So Beautiful Paper possible!

*Limited to U.S. and Canadian readers only. Limit one entry per person. Please do not leave your email or web address in the body of the comment, only in the allotted boxes. $40 approximate total retail value. Winners will be contacted via email after comments close.

Quick Pick: Design Ahoy Typographic Heartland Map

As far as I’m concerned, you can never have too many maps. I’ve been a huge fan of the gorgeous typographic maps from Nancy of Design Ahoy for years now (seen here and here), and Nancy just released a brand new map poster of the Midwest and Great Lakes that she’s calling her ode to the Heartland. The 25″ x 38.5″ poster is offset printed on Patriot Blue Classic Crest Cover with a gloss varnish for the Great Lakes. Stunning!

Design-Ahoy-Typographic-Heartland-Map

Design-Ahoy-Typographic-Heartland-Map2

Design-Ahoy-Typographic-Heartland-Map3

Design-Ahoy-Typographic-Heartland-Map4

Check them out over at Design Ahoy right here!

Ben + Maureen’s Floral Illustrated Wedding Invitations

I’m a longtime fan of illustrator Caitlin Keegan – she was the first illustrator that we collaborated with to create recipe cards for our Friday Happy Hour cocktail series! Today Caitlin is back on OSBP to share a wedding invitation that she recently designed featuring dahlia illustrations, Caitlin’s signature hand lettering, and a cheerful yellow and blue color palette. So pretty!

Yellow-Blue-Illustrated-Dahlia-Wedding-Invitations-Caitlin-Keegan-OSBP2

From Caitlin: I designed this wedding invitation for my good friends who were married in September at an inn in Woodstock, CT that had a dahlia farm. The couple asked that this be incorporated into the design along with their wedding colors. I started with some loose drawings of dahlias in my sketchbook and actually ended up using them for the final design, along with some hand lettering which was also carried over onto their favors and program.

Yellow-Blue-Illustrated-Dahlia-Wedding-Invitations-Caitlin-Keegan-OSBP

Yellow-Blue-Illustrated-Dahlia-Wedding-Invitations-Caitlin-Keegan-OSBP4

The invitations, RSVP cards, and envelopes were silkscreened by Out of Line Press in Brooklyn and the envelope liners were printed digitally. The bride also used some of the leftover patterned paper to make small notecards for each of the guests, which were distributed with the wedding favors. For the envelope liner, I created a custom dahlia pattern that includes the couple’s initials.

Yellow-Blue-Illustrated-Dahlia-Wedding-Invitations-Caitlin-Keegan-OSBP3

Yellow-Blue-Illustrated-Dahlia-Wedding-Invitations-Caitlin-Keegan-OSBP5

Yellow-Blue-Illustrated-Dahlia-Wedding-Invitations-Caitlin-Keegan-OSBP6

Thanks Caitlin!

Design + Illustration: Caitlin Keegan

Screen Printing: Out of Line Press

Check out the Designer Rolodex for more tal­ented wed­ding invi­ta­tion design­ers and the real invi­ta­tions gallery for more wedding invitation ideas!

Photo Credits: Caitlin Keegan

Amelia’s Storybook Baby Shower Invitations

A storybook theme is such a sweet idea for a baby shower, don’t you think? Designer Kate Tessera created these storybook invitations featuring vintage illustrations for her best friend’s recent baby shower. I love the way the storybook pattern used in the invitation backers and envelope liners resembles a traditional toile pattern!

Storybook-Baby-Shower-Invitations-Kate-Tessera-Creative-OSBP2

From Kate: I recently had the privilege of working on one of my best friend’s baby shower invitations. The event was a storybook theme so I thought a page right out of a book would be the perfect way to invite guests to celebrate this exciting new chapter.

Storybook-Baby-Shower-Invitations-Kate-Tessera-Creative-OSBP

Storybook-Baby-Shower-Invitations-Kate-Tessera-Creative-OSBP7

The baby’s gender will be a surprise and the mama-to-be wanted to stray away from the ever-popular yellow, so we went with a periwinkle blue for the invitation suite and shower décor. I handcrafted a pattern of classic storybook illustrations to be used as envelope liners and printed on the reverse side of the invitations.

Storybook-Baby-Shower-Invitations-Kate-Tessera-Creative-OSBP4

Storybook-Baby-Shower-Invitations-Kate-Tessera-Creative-OSBP5

Vintage rubber stamps on the kraft paper envelopes added a bit of character, making each invitation unique and one-of-a-kind. I also created a little quiz covering everyone’s favorite books growing up!

Storybook-Baby-Shower-Invitations-Kate-Tessera-Creative-OSBP6

Photo Credits: Kate Tessera Creative