DIY Moving Announcement Bookmarks

It’s the ladies of Anti­quaria, back with another fab­u­lous and cre­ative DIY project for you!  This week they’re here with some awesome DIY moving announcement bookmarks!

Here at Antiquaria, we’ve got moving on the brain.  Emma recently moved the Antiquaria design studio out to sunny California and Bailey is prepping to relocate the vintage shop and registry at the end of the year.  As lovers of all things paper… this means only one thing, sending out moving announcements!

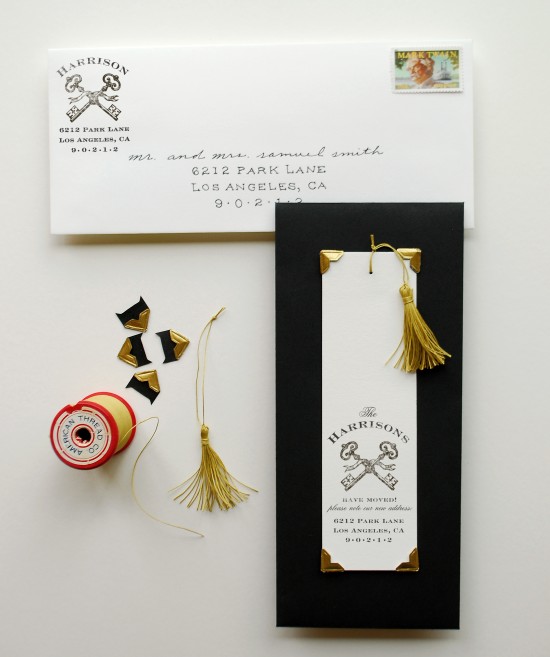
We were brainstorming, looking for something that might be fun to send out; that recipients interact with and can use…instead of just a card to keep on their fridge.  And voila…moving bookmarks!  So fun, useful and an impressive little gift to receive in the mail.

DIY Rubber Stamp Moving Announcements

We love the coordinating designs of the moving announcement and the matching return address stamp.

DIY Rubber Stamp Moving Announcements

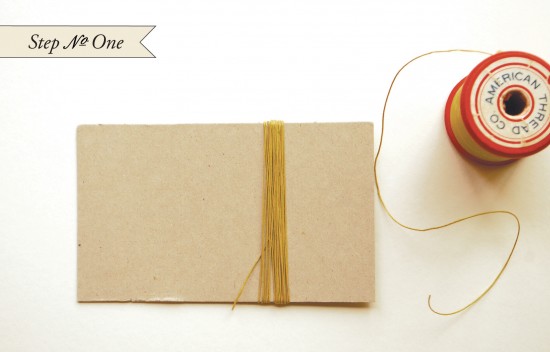
Step One: Get a little rectangle of cardboard and cut it to the height that you would like your tassle to be (we made ours 3 inches).  Wrap your thread around the card approximately 20 times or until you reach your desired thickness.  Leave the tail at the bottom as seen in the photo above.

DIY Rubber Stamp Moving Announcements

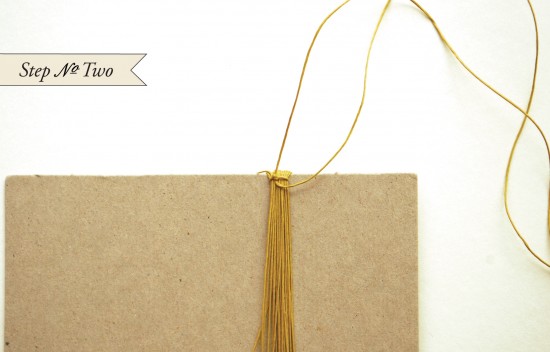
Step Two: Using another piece of thread (~10 inches long), tie a knot at the top of the cardboard, securing all the loops together.

DIY Rubber Stamp Moving Announcements

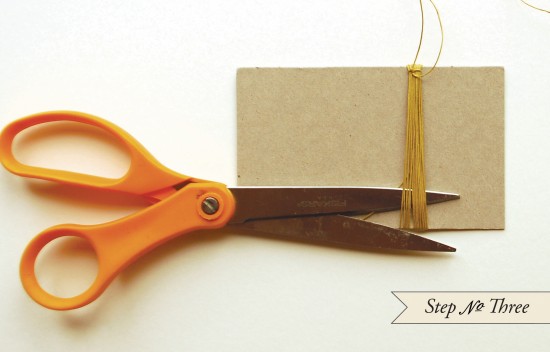
Step Three: Cut the bottom loops, freeing the tassel from the cardboard.

DIY Rubber Stamp Moving Announcements

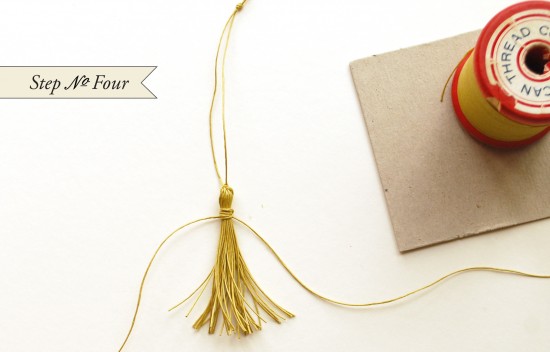
Step Four: With another length of thread (~15 inches), wrap thread close to the top of the tassel and secure with a knot.  Trim the ends, ensuring that you don’t cut the knot.

DIY Rubber Stamp Moving Announcements

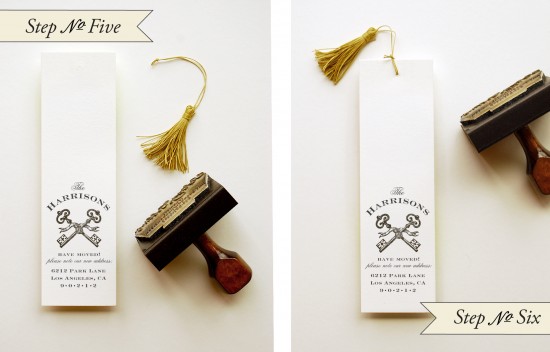
Step Five & Six: Cut bookmarks to desired size (2.125 x 7.25″).  On the bottom of the bookmark, print your stamp (we used our Keys Moving Announcement Rubber Stamp).  Ink stamp throughly and press evenly on a hard surface.  Lift stamp straight up and let ink dry.  Once dry, punch a small hole at the top center of the bookmark and tie on the tassel.

DIY Rubber Stamp Moving Announcements

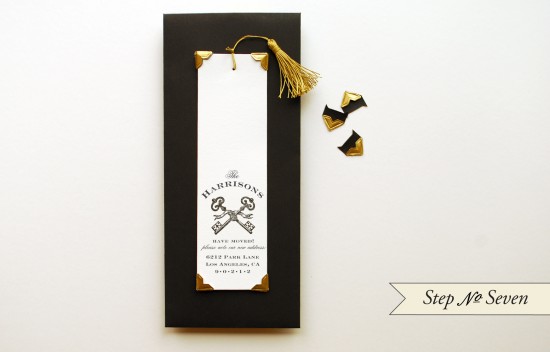
Step Seven: Cut black backers to (4 x 9.25″).  Stick gold photo corner on each corner of the bookmark, lick to activate the adhesive.  Center and press the bookmark down onto the backer.  Let adhesive dry.

DIY Rubber Stamp Moving Announcements

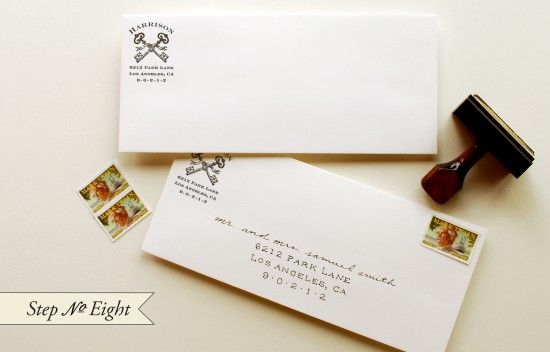
Step Eight: Stamp upper left hand side of an #10 envelope with your new return address stamp.  Address, apply postage and mail them out!!

Materials:

Stamps: Keys Moving Announcement Rubber Stamp, size medium, Keys Return Address Rubber Stamp

Stamp Pad 

Thread: Thrift for vintage thread or buy some at your local craft or fabric store.  Use a thicker cotton thread, such as one for hand quilting.

Scrap Cardboard

Scissors

Hole Punch

Paper for Bookmarks cut to (2.5 x 7.25″), we used luxe white

Paper for Backers: #10 or (4 x 9.25″), we used black

Photo Corners

#10 Envelopes (we used luxe white)

Photo Credits: Antiquaria

Today I Love…

Happy Wednesday everyone!  I thought today might be a good day for another random little round up with a few of the pretty paper good­ies that have caught my eye recently.  Enjoy!

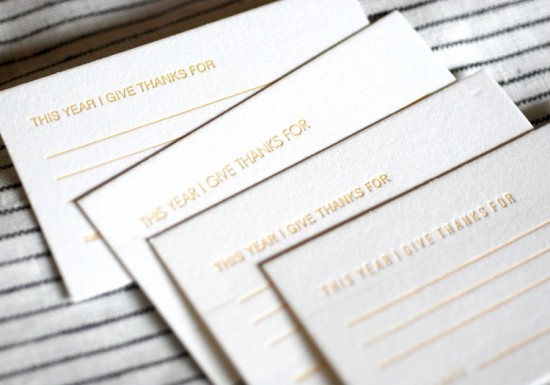
I love these “I Give Thanks For___” cards from Satsuma Press.  Such a wonderful idea for the Thanksgiving holiday, or even to help start a new year in January.

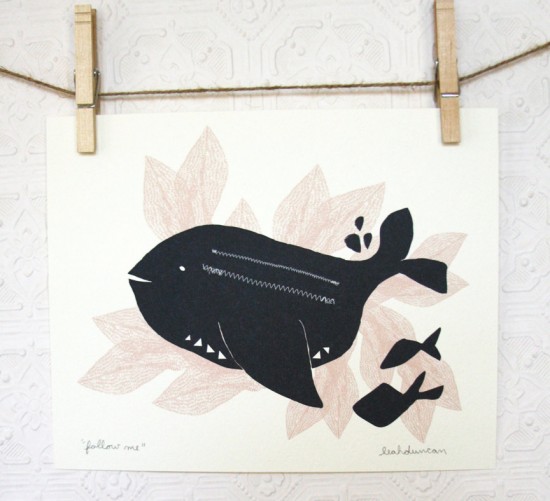
Such a cute print from Leah Duncan

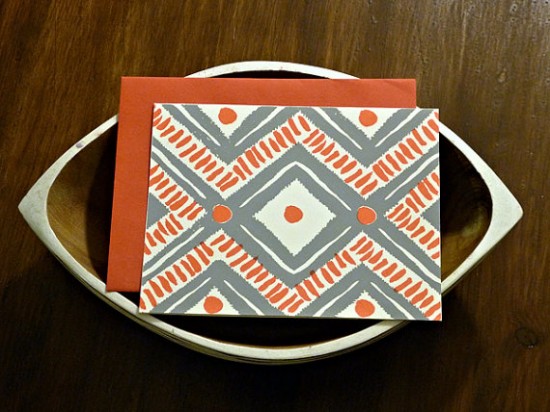
Pretty patterned cards from Pistachio Press

Deadweight-Red-Pattern-Card

…and Deadweight

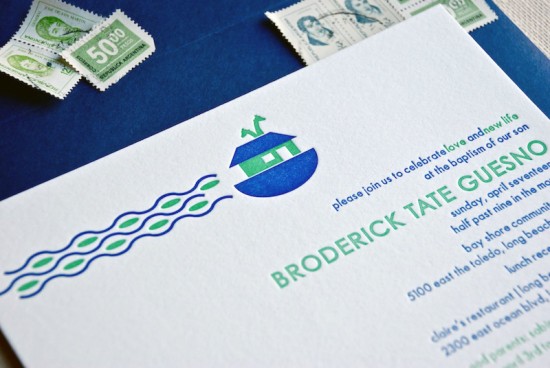
CMYK letterpress card by Shed Letterpress

{images via their respective sources}

Noah’s Ark Baptism Invitations for Baby Brody

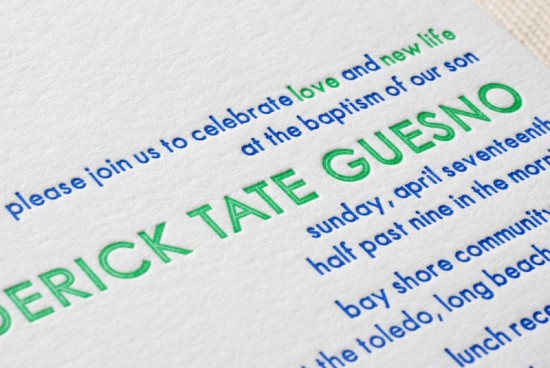
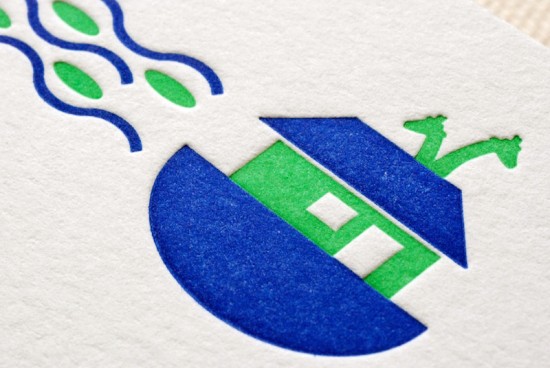
We’re having quite a baby-filled week here on Oh So Beautiful Paper!  After two adorable birth announcements, today we’re featuring these sweet baptism invitations from Julie at Cartoules Press.  Julie paired modern text with a hand drawn illustration of Noah’s Ark, all in complementing shades of blue and green and letterpress printed on thick cotton paper.

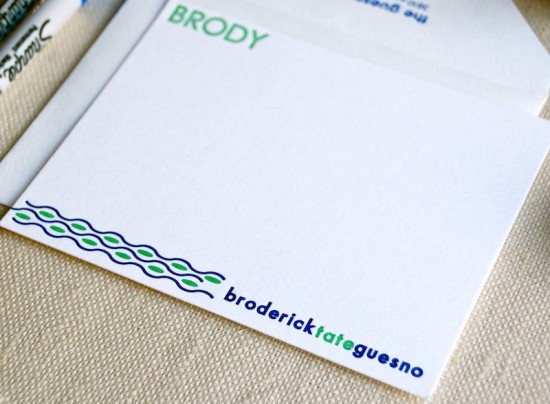
From Julie: Denise wanted something extra special for her little man Brody’s big day, so we designed the Noah’s Ark invitations to be modern yet still luxurious by printing them on super thick #220 paper.  I hand drew the simple Noah’s Ark illustration, and modern waves trailing the boat.  We also paired the invitation with simple personalized note cards, which carried the same wave design and fonts so that Brody’s parents could thank their guests in style.

Thanks Julie!

Photo Credits: Cartoules Press

Joanna + Martin’s Music-Inspired Book Wedding Invitations

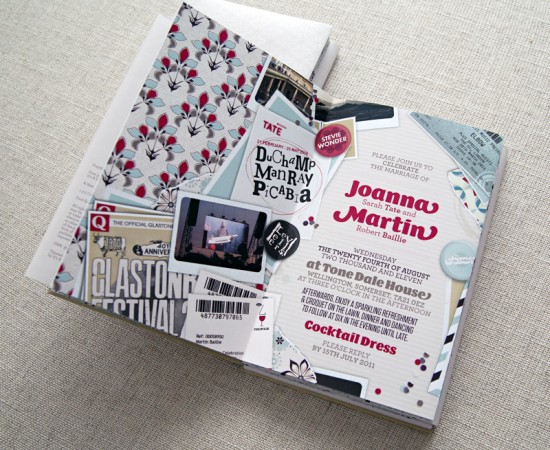
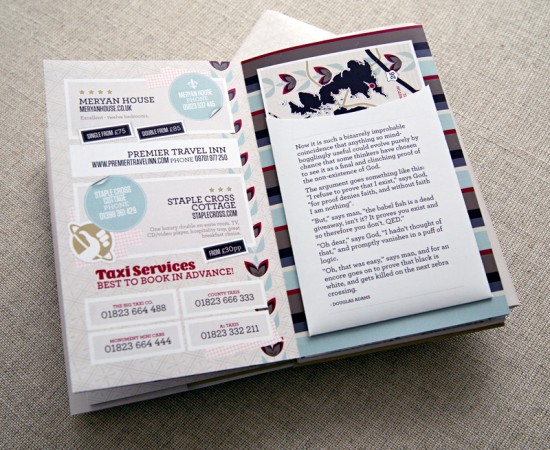
Longtime readers might remember the awesome pulp novel-inspired wedding invitations that Lyndsay from It’s a Date Design created for her good friends Lis and Jay (and if not, they’re definitely worth checking out!).  Well, Lyndsay is back with another awesome book wedding invitation that she created for newlyweds Joanna and Martin!  Lyndsay incorporated Joanna and Martin’s love for music into a modern book-style wedding invitation, as well as several accompanying elements for the day of the wedding.

From Lyndsay: This project was for a UK couple, librarian Joanna and IT specialist Martin.  Joanna hired me after seeing my last book invitation and we worked together to make their project unique and very personalised to them.  Joanna and Martin got engaged at the Glastonbury Music Festival in June 2010, and their invitation design was influenced by their love of music and literature.

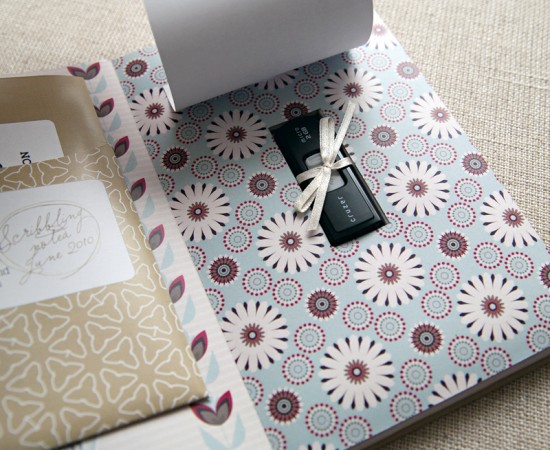
The wedding invitation was a book with a paper slip cover, concertina-folded rather than bound, with a hidden section at the back that revealed a USB drive filled with digital goodies by the couple for each guest.

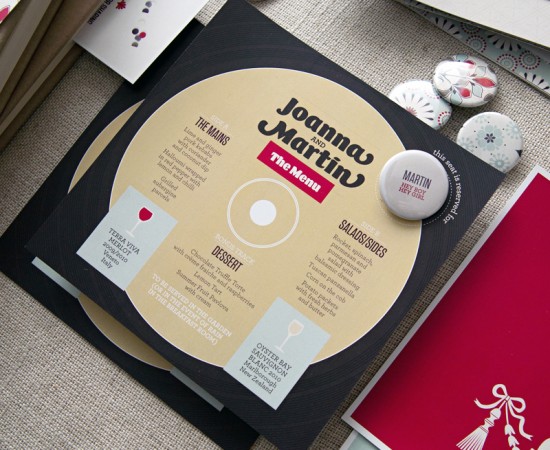
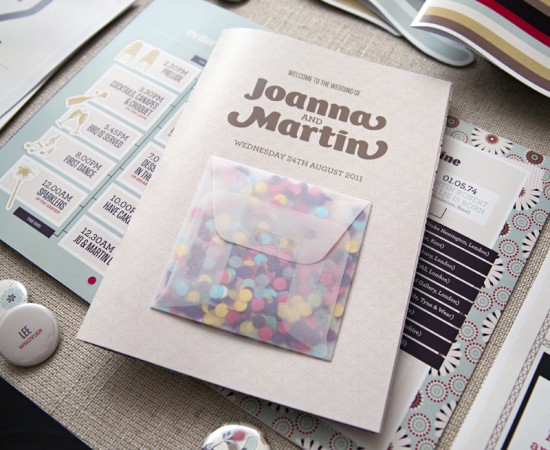
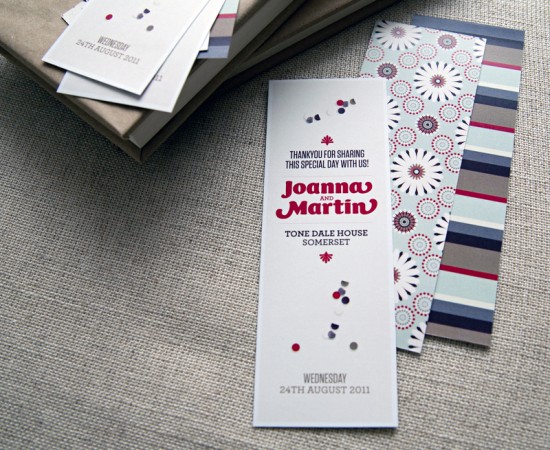
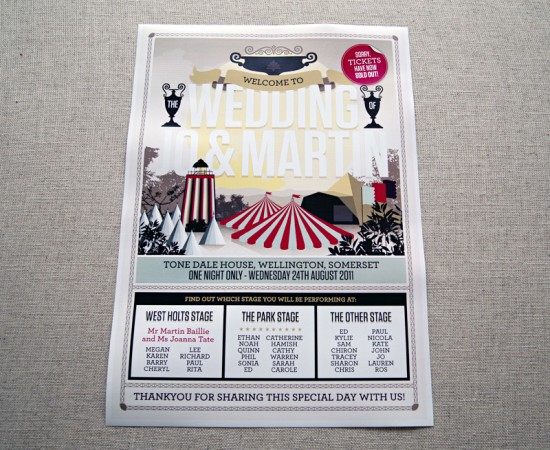
In addition to the invitation, I also designed quite a few paper items for the day of the ceremony and reception which also had a music/book theme: a music poster seating chart, record-themed menus, bookmark favors, and name badges.  The wedding program we designed together was also fun: it had a glassine envelope filled with confetti attached to the front of each booklet.

Thanks Lyndsay!

Check out the Designer Rolodex for more tal­ented wed­ding invi­ta­tion design­ers and the real invi­ta­tions gallery for more wedding invitation ideas!

Photo Credits: It’s a Date Design

Gray + Yellow Elephant Announcements for Baby Julian

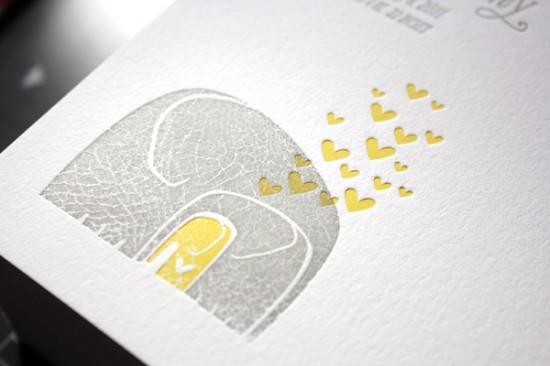
I have such a soft spot for adorable baby announcements, and these announcements from Elpitha at Print in Cursive are no exception.  These birth announcements are incredibly simple – just a bit of text paired with a darling photo and sweet illustration – but what more do you really need to introduce friends and family to a beautiful new baby?

From Elpitha: Carly and Casey welcomed their first son at the beginning of the summer.  Carly knew she wanted the announcements to continue the yellow & gray color scheme of Julian’s nursery.  Carly and Casey also have a ‘thing’ for elephants so I created the illustration in celebration of their new family.

Thanks Elpitha!

Design and Letterpress Printing: Print in Cursive

Julian’s Baby Photo: Brooke Scott

Photo Credits: Print in Cursive