Printable Watercolor Paper for Envelope Liners and Place Cards

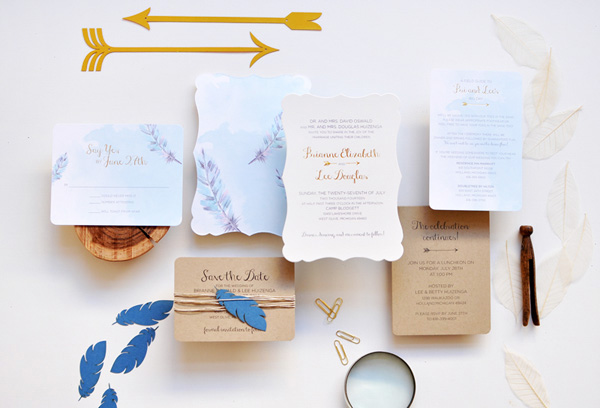
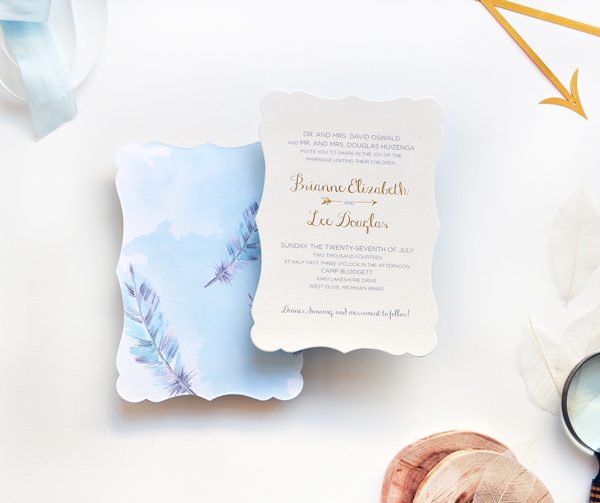
This week we’re sharing this patterned paper download with you. What we love about this simple watercolor pattern is how versatile it is. The uses for it are virtually endless. We are sure you’ll find many to use this lovely artwork and hope that you enjoy it as much as we do! –Bailey and Emma of Antiquaria

Printable Watercolor Envelope Liner by Antiquaria for Oh So Beautiful Paper

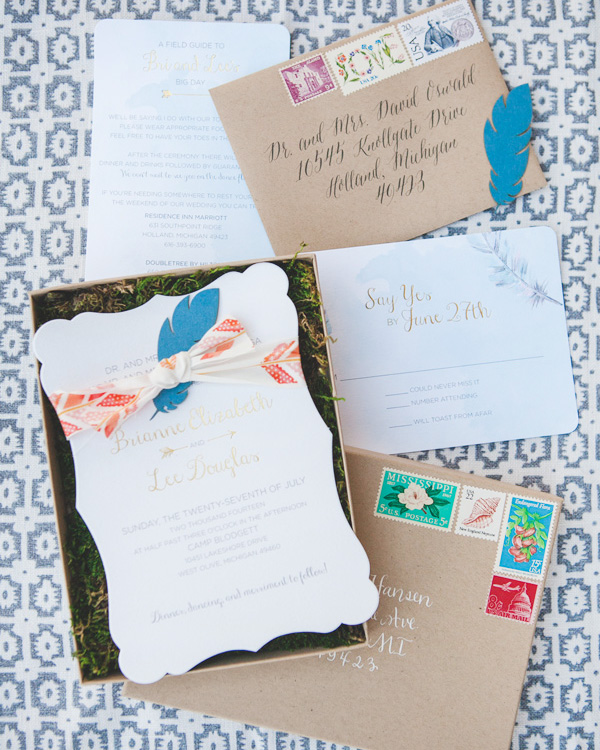
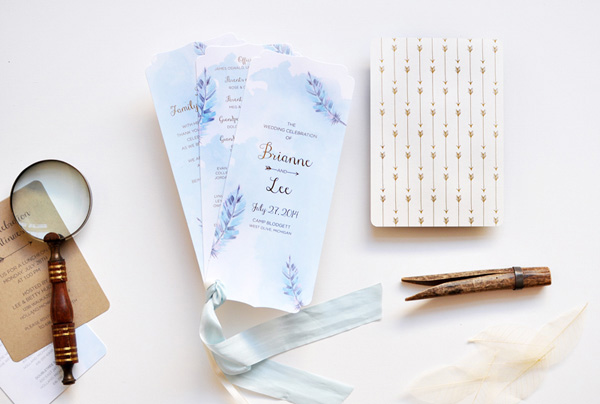
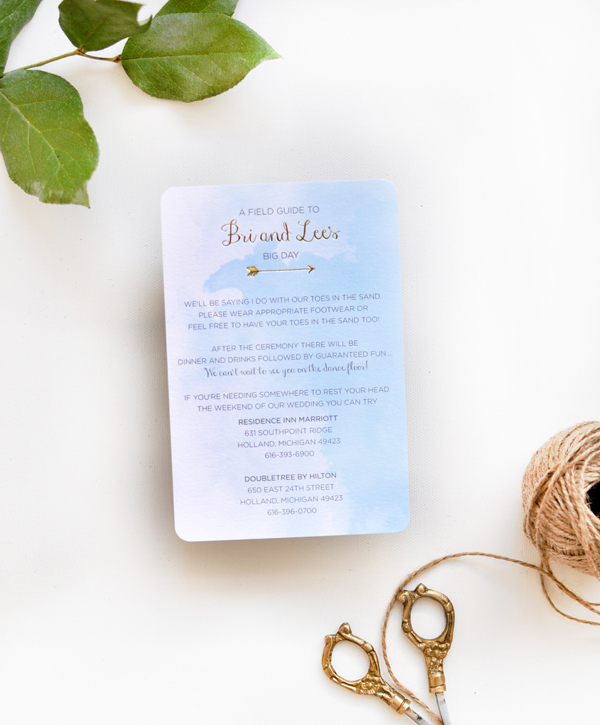
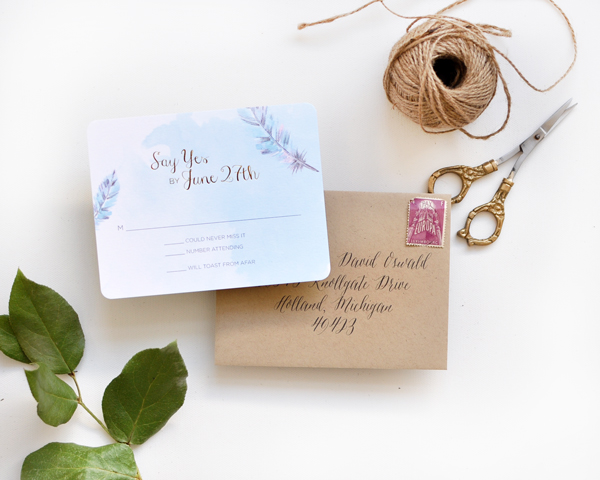
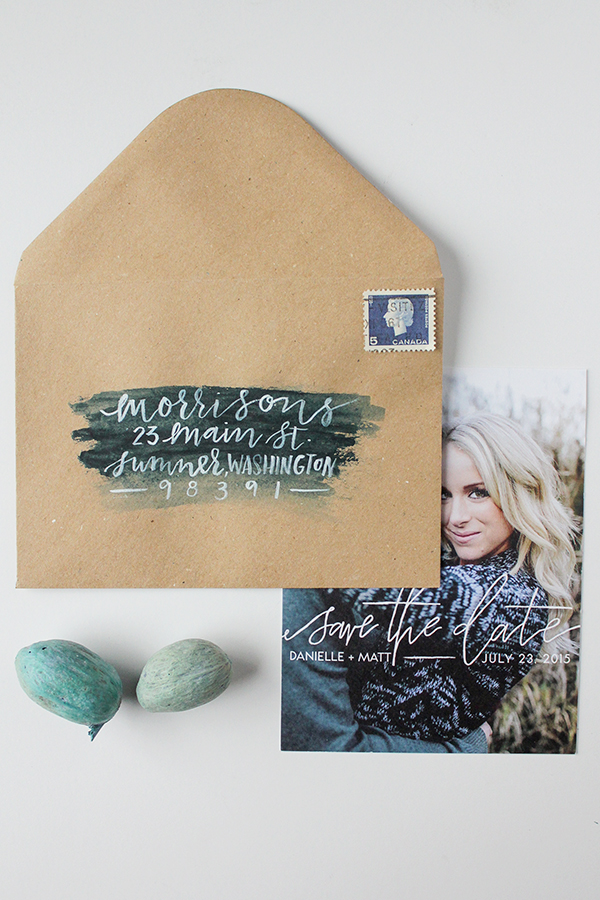
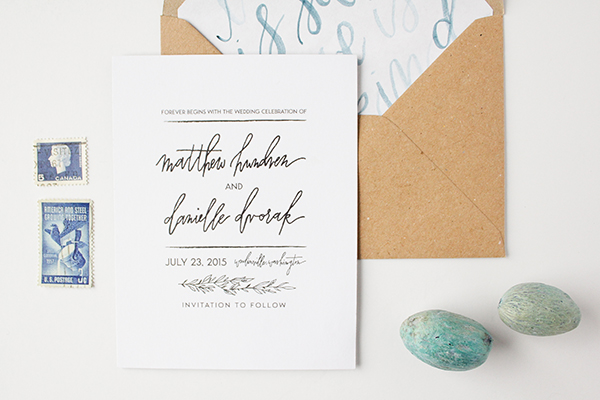
We’ve chosen to utilize this watercolor two ways: as a background for handwritten place cards and as an envelope liner. When we work with wedding clients we always try to help establish a theme that is carried throughout their wedding stationery. We love all the potential uses for this pattern!

Printable Watercolor Envelope Liner by Antiquaria for Oh So Beautiful Paper

To make your own place cards, print the pattern on 8.5″ x 11″ card stock and cut it into 3.5″ x 4″ pieces and then score them in half. We used a calligraphy pen and gold ink to customize the cards.

Printable Watercolor Envelope Liner by Antiquaria for Oh So Beautiful Paper

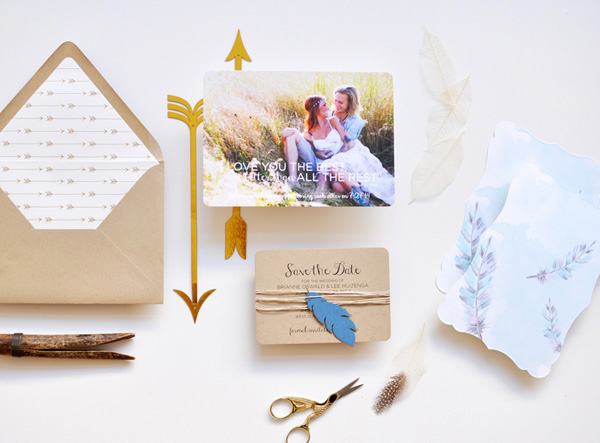
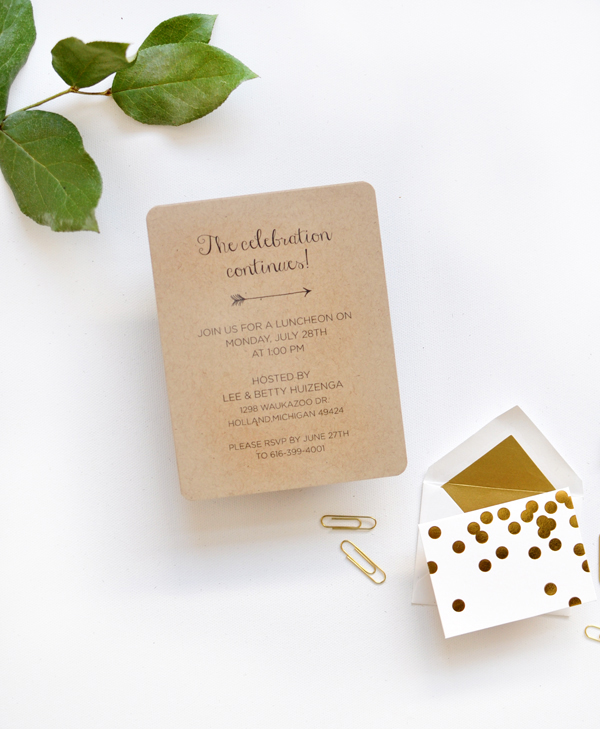
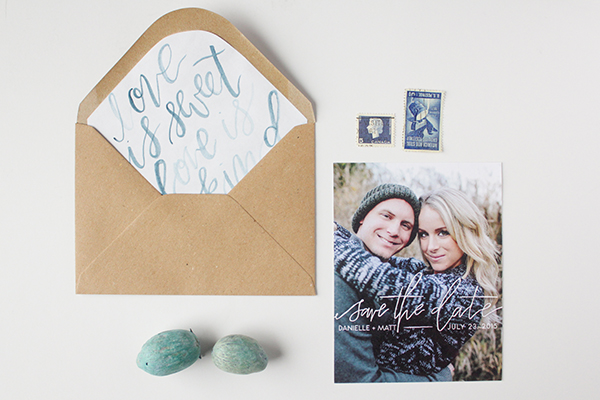
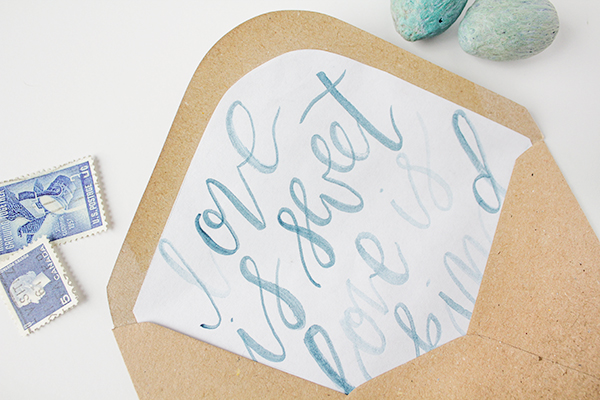
We continued the watercolor theme with these personal notes. Print the pattern on text weight paper and use an envelope liner template to cut them out. Adding an envelope liner is always a nice touch when sending a thoughtful personal note (or thank you note).

All artwork © 2015 Antiquaria, with DIY tutorials created exclusively for Oh So Beautiful Paper. All artwork is made available for personal use only. Anti­quaria is a mem­ber of the Designer Rolodex – you can see more of their beau­ti­ful work right here!

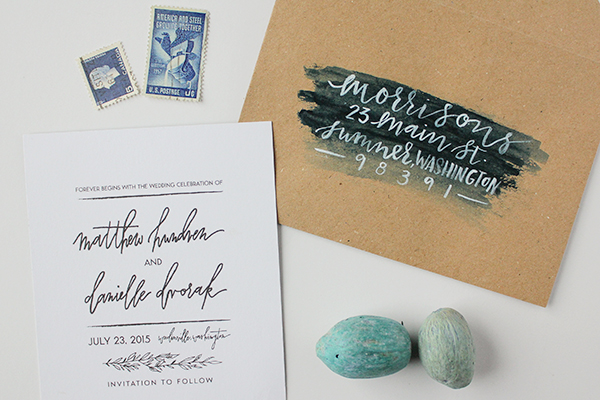
Photo Credits: Antiquaria for Oh So Beautiful Paper

Brianne + Lee’s Eclectic Watercolor Feather Wedding Invitations

These boho wedding invitations from Smitten on Paper are so pretty! This invitation suite combines watercolor, feather illustrations (and real feathers), and gold foil details, along with kraft paper and a beautiful die cut shape for the invitation. So fun!

Eclectic-Watercolor-Feather-Gold-Foil-Wedding-Invitations-Smitten-on-Paper-OSBP2

From Amy and the Smitten on Paper team: We worked with Rhi from Hey Gorgeous Events to create this super fun, eclectic, and bohemian feeling wedding suite for Brianne and Lee’s camp style wedding in Michigan. The weekend of events was held at Camp Blodgett. The couple really wanted a wedding suite and accessory pieces that represented the homespun feel of going away to camp, along with a more boho vibe.

Eclectic-Watercolor-Feather-Gold-Foil-Wedding-Invitations-Smitten-on-Paper-OSBP

Eclectic-Watercolor-Feather-Gold-Foil-Wedding-Invitations-Smitten-on-Paper-OSBP3

We combined watercolor, feathers and gold foil elements to create all of the goodies for their big day. The invitation uses a feminine fancy die cut shape and gold foil stamping along with a soft and dreamy feather illustration. We added in touches of kraft paper, twine and real leaves and feathers to give it a rustic, campy feel.

Eclectic-Watercolor-Feather-Gold-Foil-Wedding-Invitations-Smitten-on-Paper-OSBP8

Eclectic-Watercolor-Feather-Gold-Foil-Wedding-Invitations-Smitten-on-Paper-OSBP5

The whole suite was sent out in a kraft box mailer with the addresses calligraphed in white ink and a mix of vintage postage. The bright pop of patterned ribbon tied onto the invitations and the moss in the mailers were the perfect finishing touches.

Eclectic-Watercolor-Feather-Gold-Foil-Wedding-Invitations-Smitten-on-Paper-OSBP7

Eclectic-Watercolor-Feather-Gold-Foil-Wedding-Invitations-Smitten-on-Paper-OSBP9

Eclectic-Watercolor-Feather-Gold-Foil-Wedding-Invitations-Smitten-on-Paper-OSBP10

Eclectic-Watercolor-Feather-Gold-Foil-Wedding-Invitations-Smitten-on-Paper-OSBP11

Thanks ladies!

Design: Smitten on Paper

Check out the Designer Rolodex for more tal­ented wed­ding invi­ta­tion design­ers and the real invi­ta­tions gallery for more wedding invitation ideas!

Photo Credits: Smitten on Paper

Happy Weekend!

Happy Friday everyone! Spring is in the air – my favorite season here in DC! Sadly my entire family seems to be working through a cold this week – so I’m really looking forward to a couple of days of rest and recuperation. But in the meantime…

Thuss Farrell Paper to Petal via Instagram

Photo by Thuss Farrell via Instagram

…a few links for your weekend!

This week on Oh So Beautiful Paper:

Check back this afternoon for this week’s cocktail recipe! Have a wonderful weekend, and I’ll see you back here on Monday! xoxo

DIY Tutorial: Neon Floral Save the Dates

After the dreary days of winter, we are in serious need of bright colors and cheerful designs. This save the date was inspired by an eye grabbing neon floral paper that we recently found. We used a standard highlighter to create the awesome pop of color on the save the date card. Who knew that it would make such a fun addition to the design? –Bailey and Emma of Antiquaria

DIY Neon Floral Save the Date Tutorial by Antiquaria for Oh So Beautiful Paper

Materials

Camellia Floral Save the Date Stamp

Laurel Wreath Return Address Stamp

Stamp Pad

Embossing Stamp Pad

Embossing Heat Tool

Embossing Powder

A6 Notecard (we used Pure White)

A6 Envelope (we used Fuchsia)

Highlighters

Decorative Paper

Envelope Liner Templates

Double Sided Tape

Calligraphy Pen

Finetec metallic watercolor set

DIY Neon Floral Save the Date Tutorial by Antiquaria for Oh So Beautiful Paper

Step One: First, you will want to stamp your save the date (we used our Camellia Save the Date design) on an A6 card. When stamping your card, ink the stamp with the stamp facing you. Center the stamp over your card and press firmly and moderately (not too hard or the image will smudge) and gently lift the stamp off of the paper. Set aside to dry. Please watch this video for more information on inking and stamping an oversized stamp.

DIY Neon Floral Save the Date Tutorial by Antiquaria for Oh So Beautiful Paper

Step Two: To add a fun pop of color, we used a highlighter to color in the leaves and the center of the stamped flowers. This simple touch really makes the design come alive!

DIY Neon Floral Save the Date Tutorial by Antiquaria for Oh So Beautiful Paper

Step Three: Wanting to bring in some of the awesome neon pink from the patterned paper, we decided to use fuchsia envelopes and a tonal, neon grapefruit embossing powder to pull everything together. To emboss, simply stamp your desired return address stamp on the back flap (either in matching ink or with Versamark glue ink, as pictured) dust the powder over it, tap off the excess and heat set the print. For more information about how to emboss using stamps, please watch this instructional video.

DIY Neon Floral Save the Date Tutorial by Antiquaria for Oh So Beautiful Paper

Step Four: Since this suite was directly based off of this amazing paper, it was an easy decision to incorporate it into the design as an envelope liner. We traced the liner template and cut out each liner by hand. Then, we used double sided tape (alternatively, you could use stick glue) to install the liners into the envelopes (adhere around the top triangle).

DIY Neon Floral Save the Date Tutorial by Antiquaria for Oh So Beautiful Paper

DIY Neon Floral Save the Date Tutorial by Antiquaria for Oh So Beautiful Paper

Step Five: It’s time to address your save the dates! We used a beautiful finetec metallic paint palette (the silver one) with a calligraphy pen for this design. Experiment with styles until something feels natural to you! You could also use a silver gel pen and your fanciest handwriting to achieve a similar look.

DIY Neon Floral Save the Date Tutorial by Antiquaria for Oh So Beautiful Paper

Anti­quaria is a mem­ber of the Designer Rolodex – you can see more of their beau­ti­ful work right here!

Photography by Antiquaria for Oh So Beautiful Paper

Danielle + Matt’s Calligraphy Watercolor Save the Dates

Calligraphy and watercolor is just the dreamiest combination – and such a wonderful complement to a photo-based save the date! Gina from Eleven and West Studio sent over these rustic blue and kraft paper save the dates featuring casual hand lettering and dreamy watercolor details. So pretty!

Calligraphy-Watercolor-Save-the-Dates-Eleven-and-West-Studio-OSBP7

From Gina: These hand-lettered save the dates were created for an outdoor Washington wedding. The save the dates feature an engagement photo on one side and casual hand lettering on both sides. An illustrated leaf detail was added to complement the rustic feeling of the outdoor wedding. The save the dates were placed in kraft paper envelopes then, finished with some beautiful blue watercolor and envelope liners with some sweet watercolored love words.

Calligraphy-Watercolor-Save-the-Dates-Eleven-and-West-Studio-OSBP2

Calligraphy-Watercolor-Save-the-Dates-Eleven-and-West-Studio-OSBP

Calligraphy-Watercolor-Save-the-Dates-Eleven-and-West-Studio-OSBP4

Calligraphy-Watercolor-Save-the-Dates-Eleven-and-West-Studio-OSBP6

Thanks Gina!

Design and Calligraphy: Eleven and West Studio

Check out the Designer Rolodex for more tal­ented wed­ding invi­ta­tion design­ers and the save the date gallery for more wedding save the date ideas!

Photography: Gina Hagerty / Eleven and West