Happy Friday everyone! We arrived back in DC on Monday (after spending the Easter weekend with Sophie’s grandparents and cousins) to find the cherry blossoms and magnolias in bloom and bright yellow daffodils all over the city. Yay! Spring is my favorite season here in DC and I wish I could hang onto it forever. For now, I’m cherishing the pale pink blossoms while anxiously awaiting the lilacs and peonies. But in the meantime…
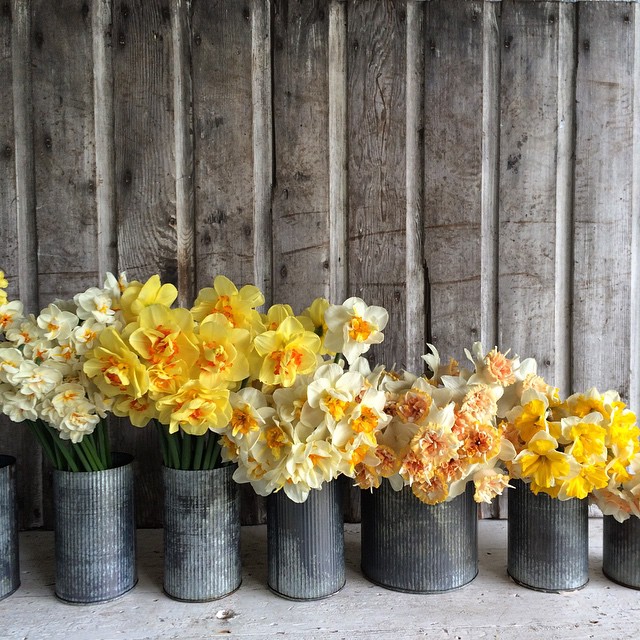
Narcissus by Floret Flower via Instagram
…a few links for your weekend!
- You’re more than that
- This has me so excited for NYNOW this summer!
- I want ALL the ribbons
- Anatomy of a New York Times Magazine cover
- MAKE: Cheddar Croissant Donuts with Honey Mustard (yesssss)
This week on Oh So Beautiful Paper:
- Casual brush lettered wedding invitations with a hand painted watercolor wash
- Ridiculously chic modern black and white foil wedding invitations
- Throw a pastel-inspired party!
- Love this series of warm thoughts cards from Grey Moggie
- Modern-meets-rustic wood veneer wedding invitations
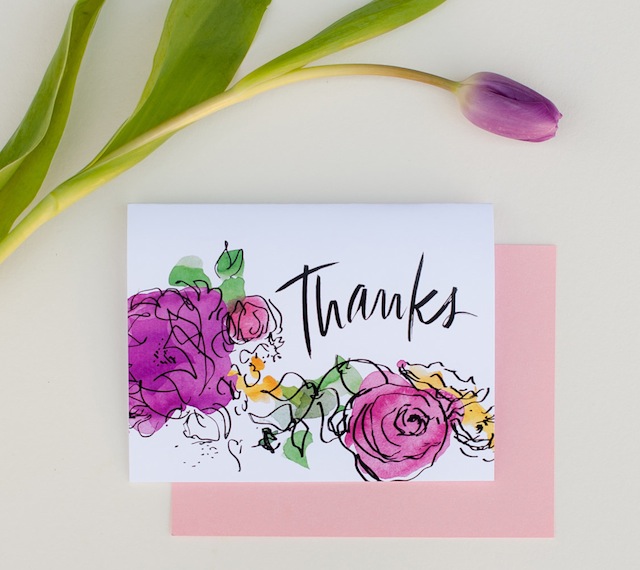
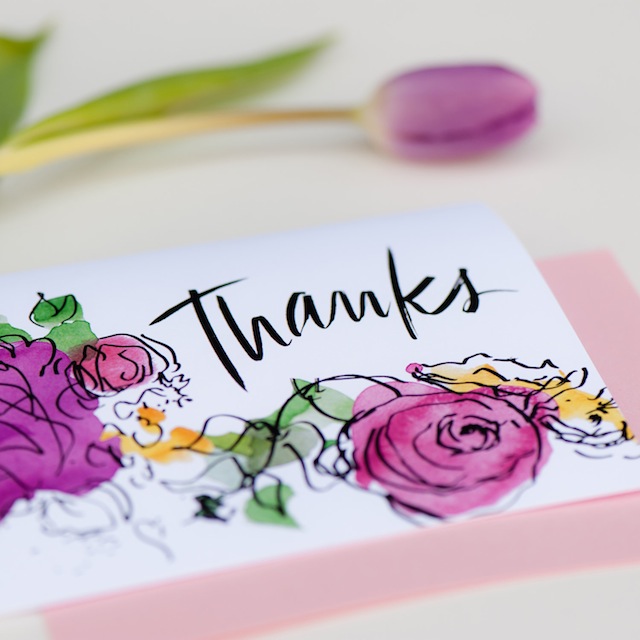
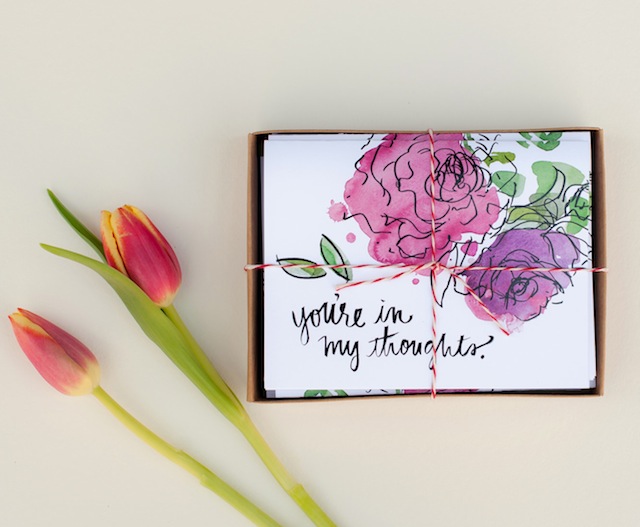
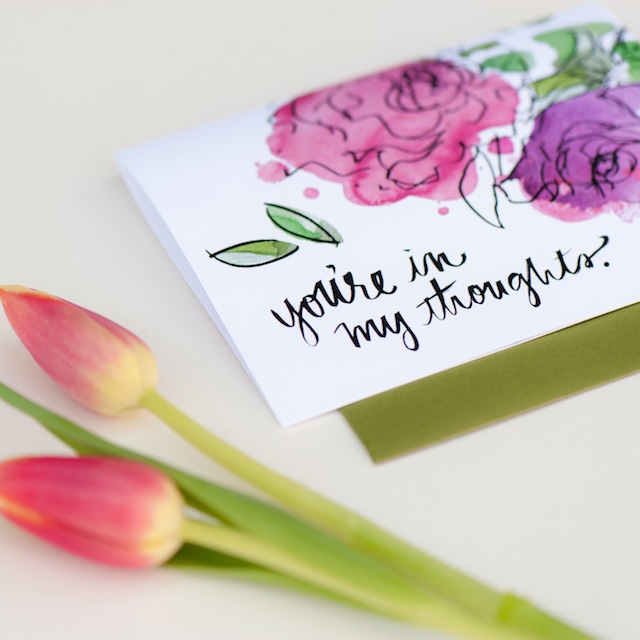
- Floral watercolor cards from An Open Sketchbook
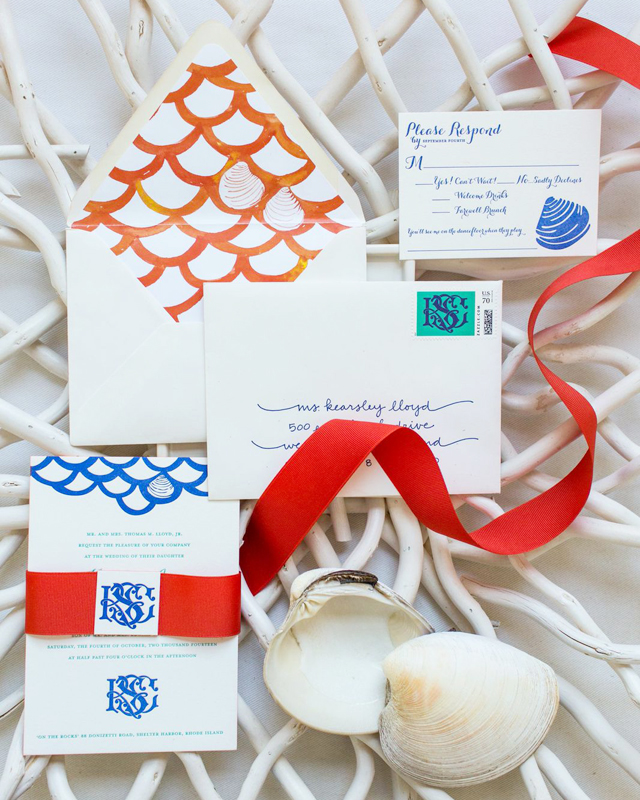
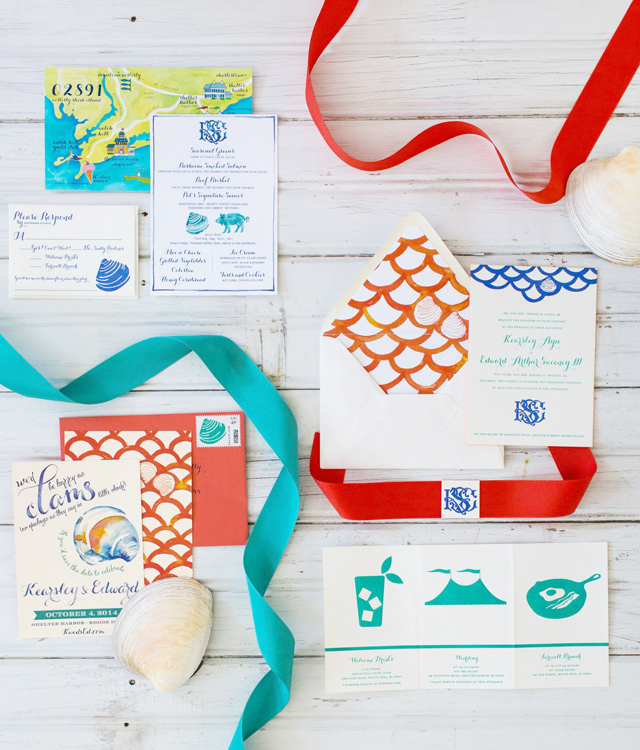
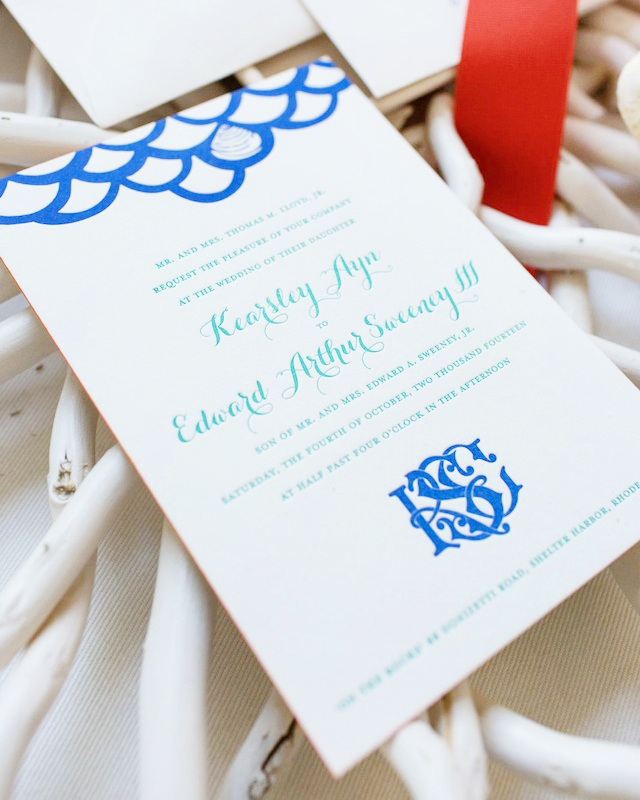
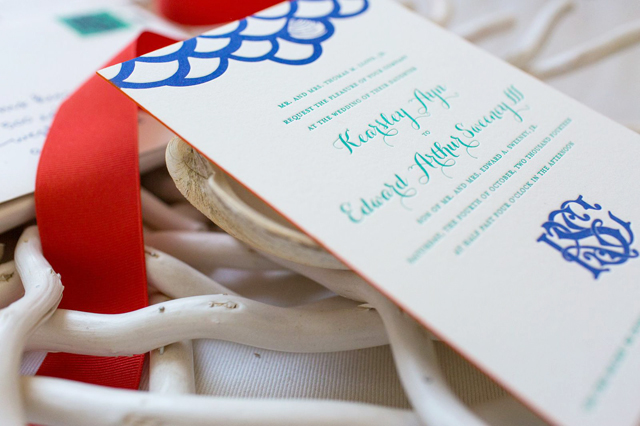
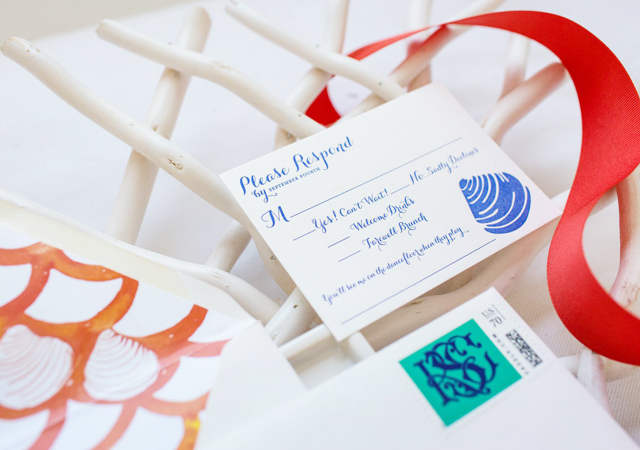
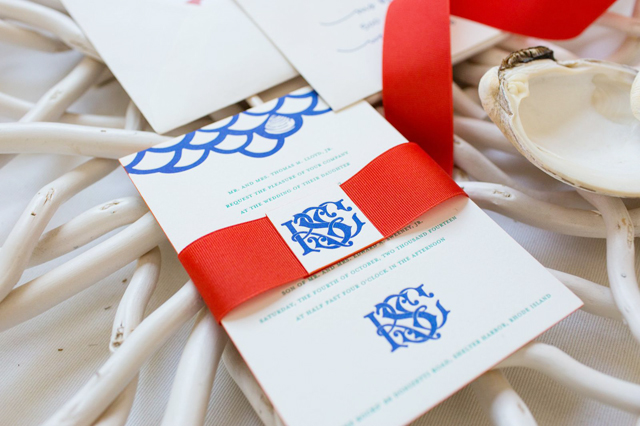
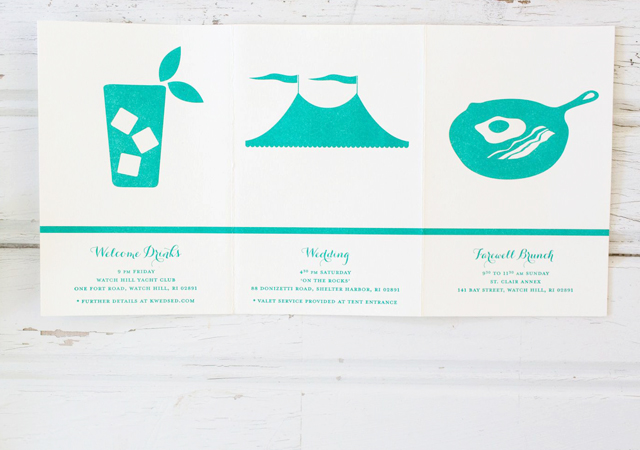
- Colorful illustrated wedding invitations inspired by a Rhode Island Quahog!
- Stunning calligraphy from Wildfield Paper Co.
- Well Said Type: Volte
- DIY blue and gold wedding save the dates!
Check back this afternoon for this week’s cocktail recipe! Have a wonderful weekend, and I’ll see you back here on Monday! xoxo