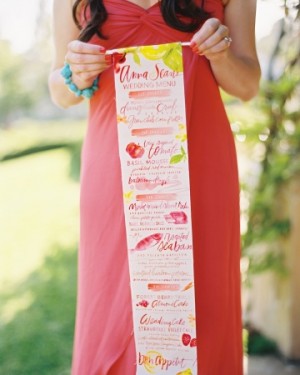
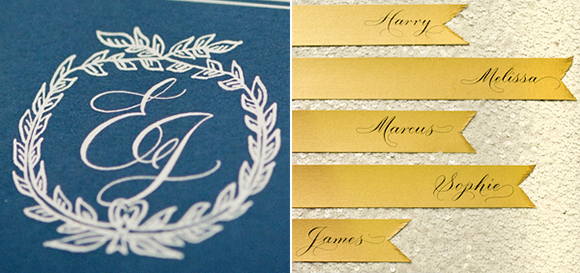
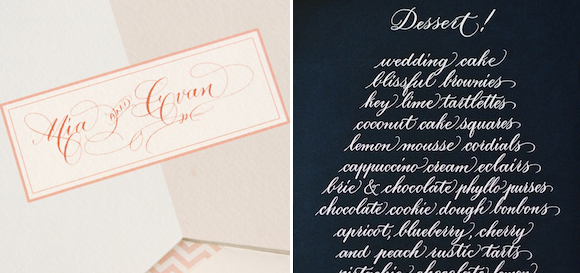
A few years ago, we participated in a gorgeous vintage plum & gold inspiration shoot. Besides contributing our Gold Leaf Collection place settings to the shoot, we were also asked to provide a calligraphy menu and all of the place cards for the table. To this day, we still inquiries for save the dates or invitations that reference the menu from that shoot because the combination of the fig paper with gold calligraphy is so incredibly striking. – Bailey and Emma of Antiquaria
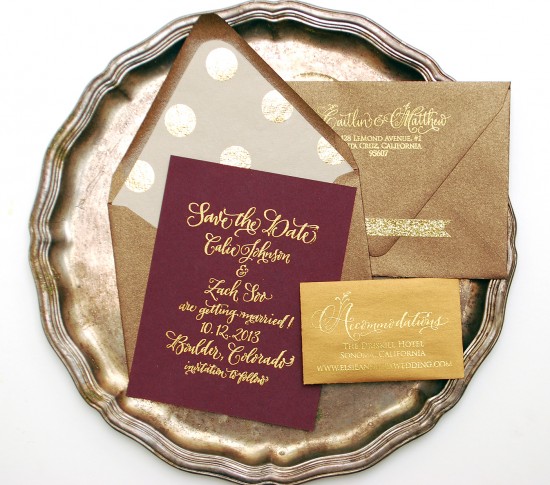
By embossing these stamps with gold powder it really creates a high end, custom looking save the date!
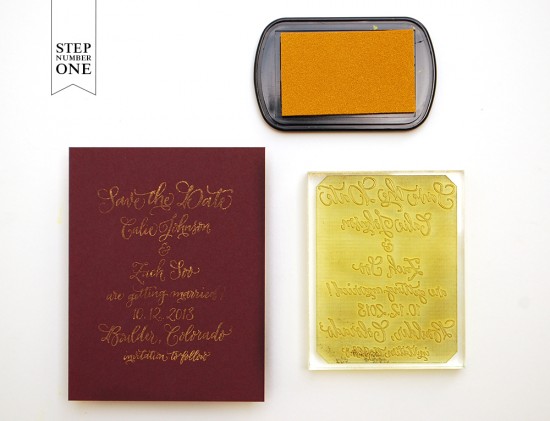
Step One: Place your A2 card on a stable and firm surface. Ink your save the date stamp (we used our Calligraphy Save the Date, No.2 stamp) and center the stamp over your card. When ready, press the stamp down with moderate pressure to make the print. Lift the stamp off and quickly move on to step number two. For more information about inking your stamp or making prints, please watch this video that shows the process in more detail.
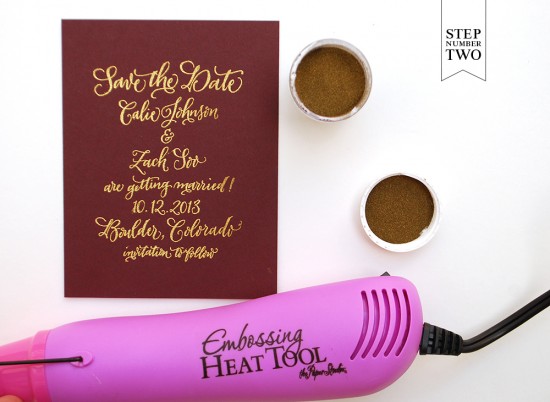
Step Two: Once you’ve made your print, immediately cover it with embossing powder by sprinkling it across the paper. Shift the powder around until you have covered the entire image. Now, you will pour the excess powder off of the card onto a scrap piece of paper so that you can reuse it for future prints. Heat set the print, using an Embossing Heat Tool. You will be able to see the powder melt into a smooth and shiny gold when it’s done.
Note:Â One key thing about embossing is that it is wise to try to closely match your ink color with your powder color. By doing this, you will get much more crisp and opaque results. Since we are wanting a lovely and shiny gold print, we used both a gold stamp pad and gold embossing powder.
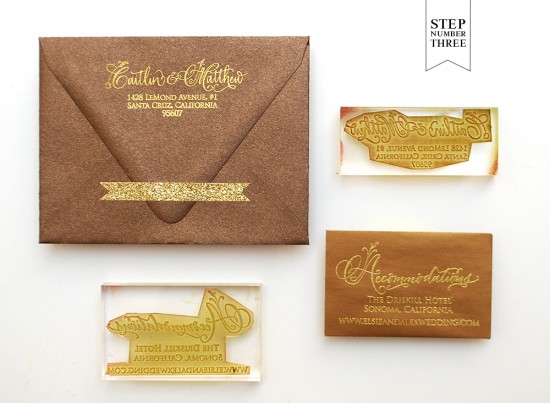
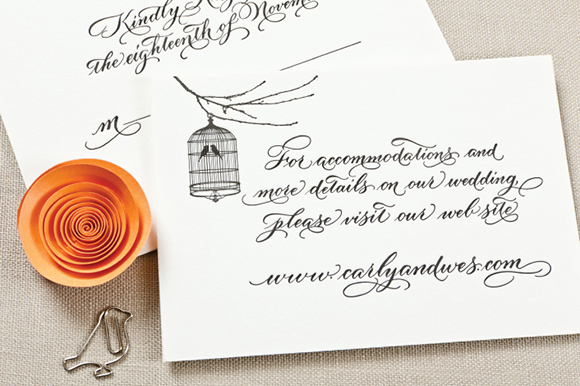
Step Three: You will now just repeat this inking and embossing process for your remaining pieces (we used our Floral Calligraphy Return Address stamp and our Floral Calligraphy Accommodations stamp) that will coordinate with your save the date. For the accommodations card, you will use a standard business sized card.
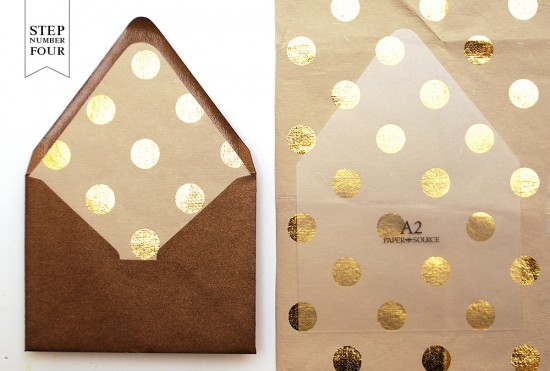
Step Four: To add a little extra personality to the suite, we added an envelope liner made from some awesome kraft and gold polka dot gift wrapping paper. It really helps tie the whole thing together! Trace the template onto your paper and cut it out with scissors. To install, simply use stick glue or double sided tape to adhere them into your envelope.
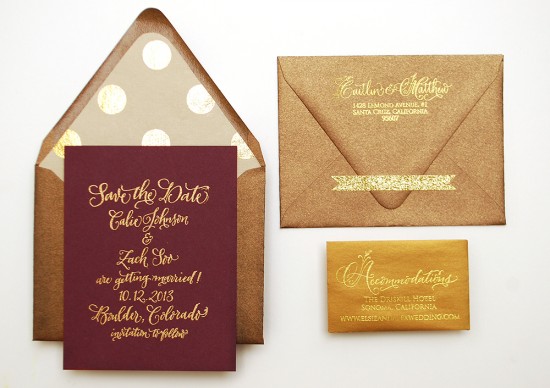
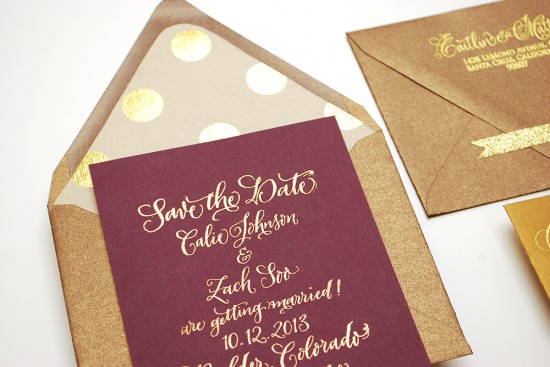
Finally, address the invitations, add postage, and send them off to delight your guests! You can also accent the suite with sparkly gold washi tape if you like!
Materials:
Calligraphy Save the Date Stamp, No.2
Floral Calligraphy Return Address Stamp
Floral Calligraphy Accommodations Card
Stamp Pad
Embossing Powder
Heat Gun
A2 Cards in Fig
A2 Envelopes in Antique Gold
Business Cards for the Accommodations piece, in Antique Gold
Gift Wrap to be used as an envelope liner, ours was purchased locally from Urbanic
Envelope liner templates
Pencil
Scissors
Glitter Washi Tape
Photo Credits: Antiquaria


 Â
 
 Â
 
 Â
 
 Â
 
 Â
 
 Â
 