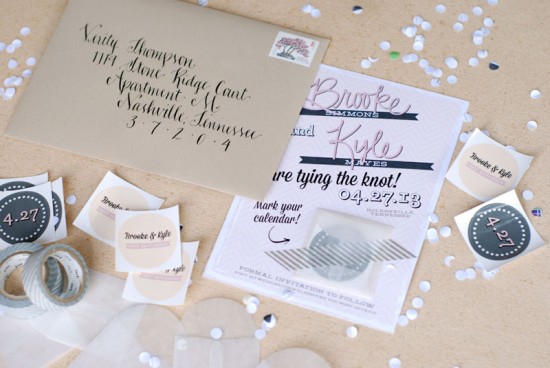
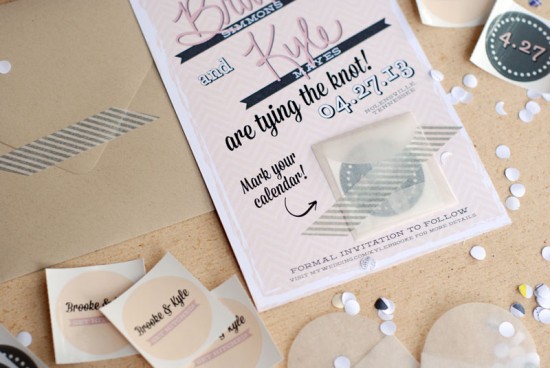
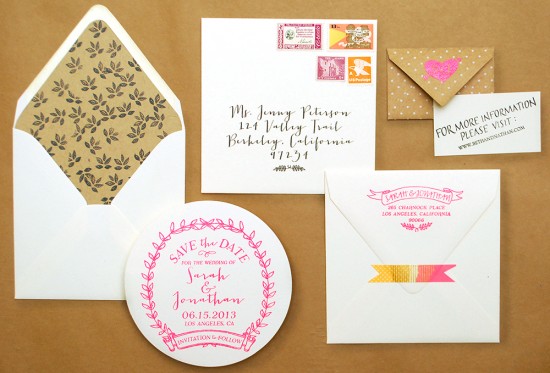
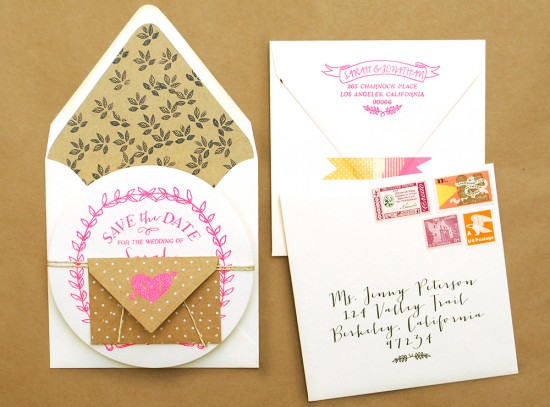
Neon has been the “in” thing for a while…but using it as inspiration for your wedding is definitely not for the faint of heart. We put together a fun and punchy neon save the date design that is perfect for spring. By mixing in kraft paper and black, we were able to tame the neon and make it quite modern. – Bailey and Emma of Antiquaria
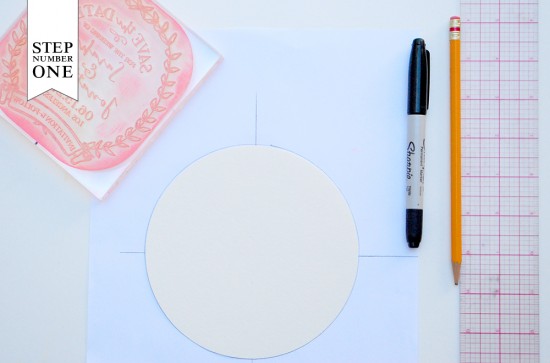
Step One: For this save the date, we are using a circular card. It may be a bit trickier to eyeball the placement of the stamp, so measuring out center is a good idea. First you’ll want to trace the circle card on a piece of scrap paper and then mark the center. Mark perpendicular lines through the center. Next you will measure and mark center of stamp and line it up on the circle template guide.
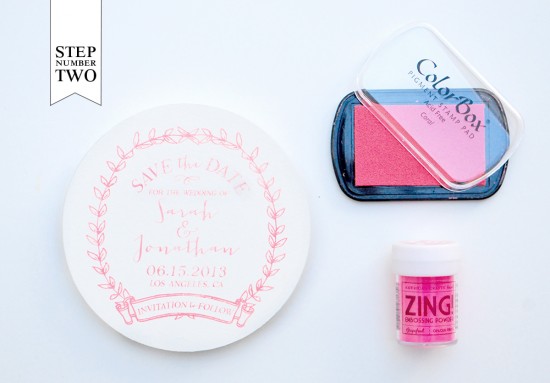
Step Two: We were so excited to find this awesome neon pink embossing powder! Place your circular card on a stable and firm surface. Ink your save the date stamp (we used our Mod Wreath Save the Date stamp) and center the stamp over your card. When ready, press the stamp down with moderate pressure to make the print. Lift the stamp off and quickly move on to adding your embossing powder. For more information about inking your stamp or making prints, please watch this video that shows the process in more detail.
Once you’ve made your print, immediately cover it with embossing powder by sprinkling it across the paper. Shift the powder around until you have covered the entire image. Now, you will pour the excess powder off of the card onto a scrap piece of paper so that you can reuse it for future prints. Heat set the print, using an Embossing Heat Tool. You will be able to see the powder melt into an opaque and solid color when it’s done.
Note:Â One key thing about embossing is that it is wise to try to closely match your ink color with your powder color. By doing this, you will get much more crisp and opaque results.
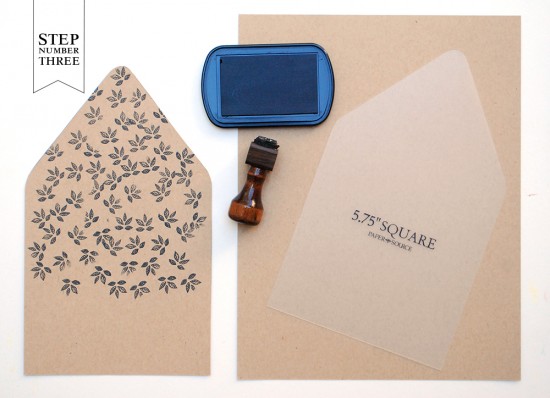
Step Three: Adding a liner is one fun way that you can add some pattern to your save the date. For this liner, we just stamped our Small Leaves pattern stamp in black on a kraft paper liner. To make the liner, trace the template onto your kraft paper and cut it out with scissors. To install, simply use stick glue or double sided tape to adhere them into your envelope.
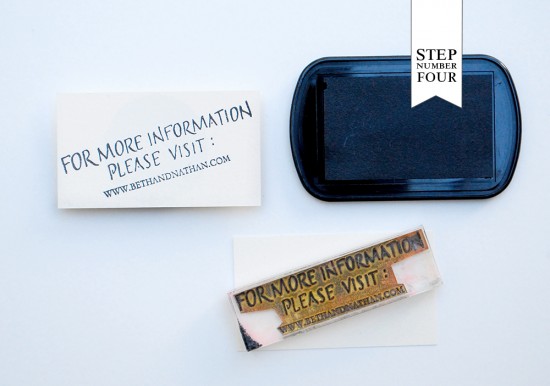
Step Four: It’s wise to include a website card with your save the dates so that guests can access all of the travel information and wedding details that they will need in order to make plans to attend your nuptials. For this card, we simply stamped our (Art Deco Website Card stamp) on a cream business card in black, diagonally.
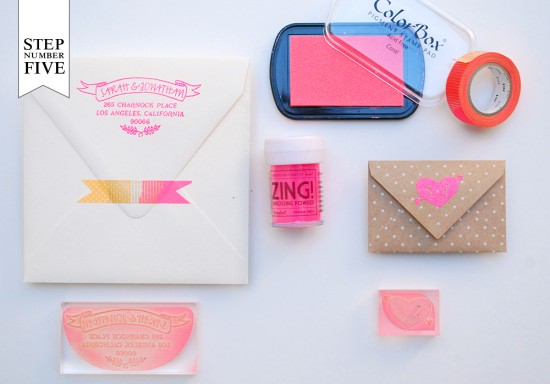
Step Five: Putting it all together: First, we embossed a return address stamp (we used our Mod Banner Return Address stamp) on the back flap of our outer envelope to coordinate with the save the date design. We also embossed our Cross My Heart Initials monogram stamp on the back flap of an adorable polka dot craft envelope that will hold the website card.
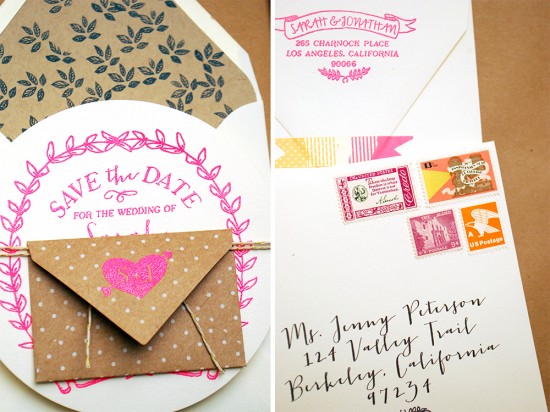
Now all that’s left is to address the save the dates, adhere postage (we used Verde Studio’s vintage stamps), add some fun neon washi tape and send them on their way!
Materials
Mod Wreath Save the Date stamp (circular option)
Art Deco Website Card stamp
Small Leaves Pattern stamp
Mod Banner Return Address stamp
Cross my Heart Initials Monogram stamp
5 1/2 Circular Card in Luxe Cream
5 3/4 Square Envelope in Luxe Cream
Business Card in Luxe Cream
Small Polka Dot Kraft Envelope from Martha Stewart
Stamp Pad in black and peony
Embossing Powder
Embossing Heat Tool
Envelope Liner Template
Kraft Paper (text weight)
Double sided tape
Scissors
Pencil
Postage Stamps from Verde Studio
Photo Credits: Antiquaria

