Within the past few months, we’ve had babies on the brain. We’ve had numerous requests lately from crafty moms-to-be wanting chic, custom stamps so that they can make their own birth announcements for their new bundles of joy. This balloon announcement design is sweet, feminine and the perfect way to share the birth of a beautiful little girl with family and friends. – Bailey and Emma of Antiquaria
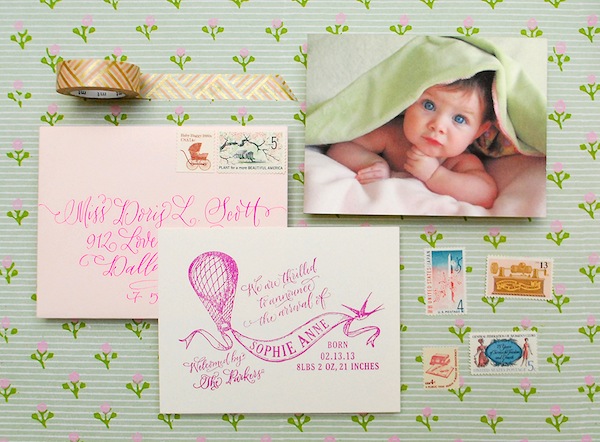
Combining different pink hues (bright peony pink with the more traditional ballet pink) makes the design a bit more modern. And best of all…it’s super simple!
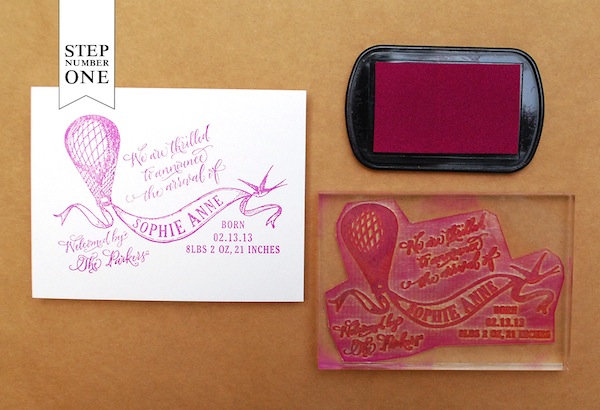
Step One:  Lay an A2 card (4 1/4″x5 1/2″) card down on a firm surface. Ink your stamp (we used our “Hot Air Balloon” Birth Announcement Stamp) thoroughly and center it over your card. Once it is positioned correctly, press down to make a print. Use both hands to ensure even pressure. Lift off and let the print dry. For more information on this process go here.
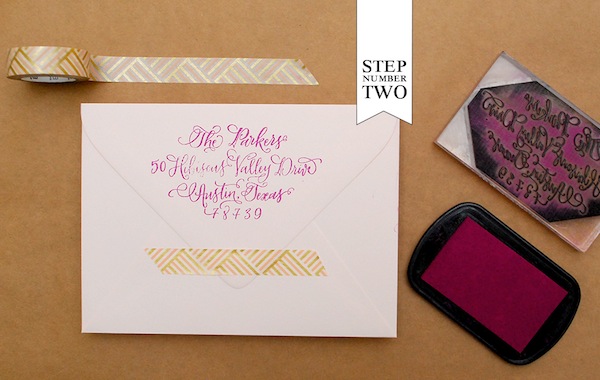
Step Two: Using the same technique as in Step One, print your return address (we used our Calligraphy Custom Return Address Stamp) on the back flap of an A2 envelope. To jazz up the back of the envelope, we used some adorable pink & gold washi tape!
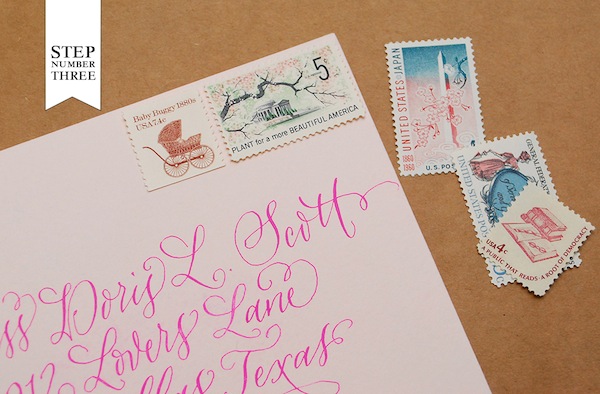
Step Three: Now all that’s left to do is to address the envelopes, add postage (we used vintage postage from Verde Studio) and send them on their way!
A quick tip for expecting parents: Since you will have your hands full once the baby is born, it is smart to stamp and address the envelopes before the big day arrives. This way, all you will have to do is stamp the announcement (you will need all the baby’s info for this piece), stuff and mail the envelopes, leaving more time to enjoy your new little one!
Materials List:
“Hot Air Balloon” Birth Announcement Stamp
Calligraphy Custom Return Address Stamp
A2 Card in Luxe White
A2 Envelope in Luxe Blush
Stamp Pad Peony
Washi Tape
Verde Studio Vintage Postage
Photo Credits: Antiquaria

