Emma has been designing custom stationery for her nephews for years. She recently asked her sister if she used the stationery and her sister’s response was, “Yes! I love it but I only use it for very special occasions because it’s so precious and I don’t want to run out of it.” Since Emma’s nephews are constantly on the go, we came up with a simple DIY solution for adorable kids stationery to help her sister (and other moms) craft exactly what they need on the go! These customizable rubber stamps make kids stationery a breeze… and not so precious as they can be stamped on pretty much anything! – Bailey and Emma of Antiquaria
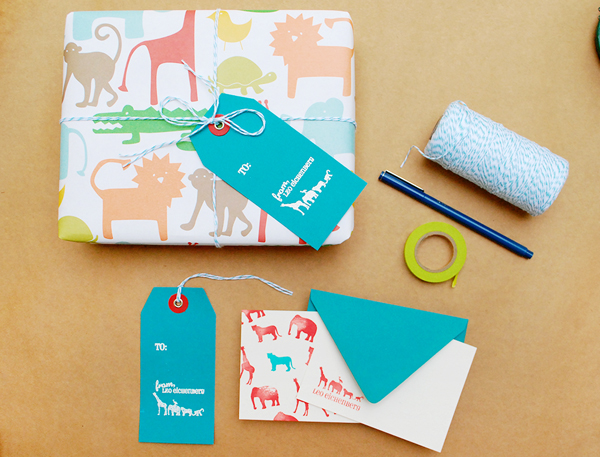
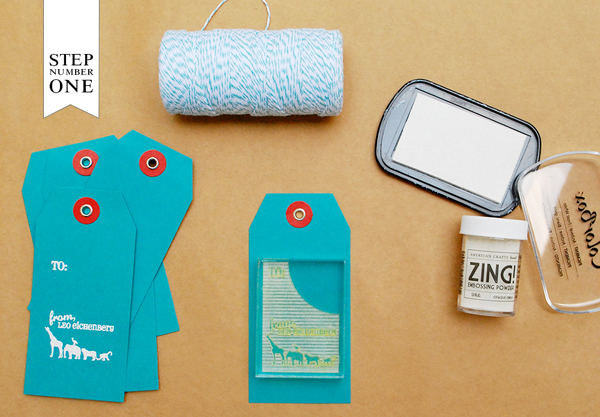
Step One: A stylish gift tag is a detail that gussies up any gift. For this one, we embossed our Animal Train Gift Tag stamp onto adorable peacock colored tags. For more information about how to emboss using stamps, please watch this instructional video. You could also simply ink and print your gift tag stamp in white or other color ink if your really short on time!
 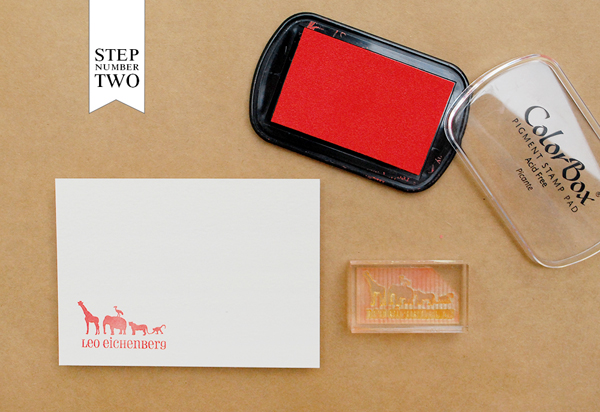
Step Two: Write thank you notes or enclose a birthday wish in style! To make your own notecard set, start my stamping your monogram (we used our Animal Train Monogram stamp) on the front of a plain A2 card.
 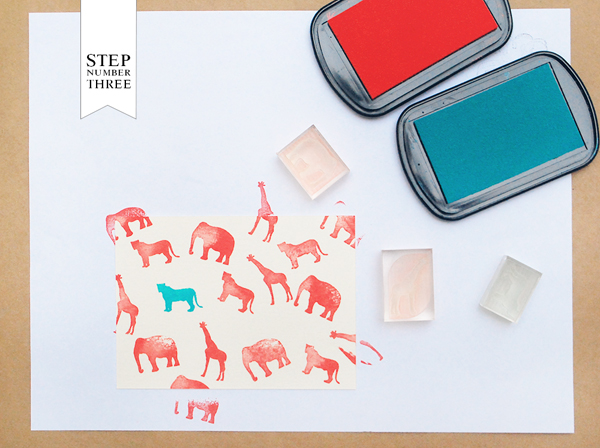
Step Three: If you have a little spare time…jazz up the back (and envelope in step four) with our Animal Pattern Stamps. Lay the A2 card monogram down on a scrap piece of paper. Randomly stamp the different animals in one color and accent with one design in a complementary second color (if you place this toward the center but not directly in it, you should get a balanced look).
 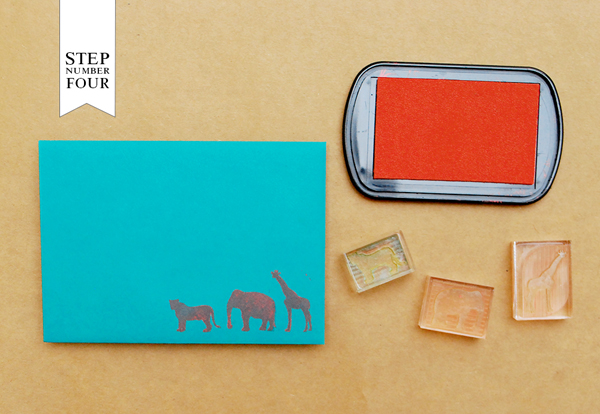
Step Four: We also dressed up our envelope with our Animal Pattern stamps, this time stamping them in a line!
Materials
Animal Train Pattern Stamps, set of 3
Stamp Pads in Picante and Surf
A2 Card in Eco White
A2 Envelope in Peacock
Photo Credits: Antiquaria

 Â
 Â
 Â
 Â
 Â
 Â
 