DIY Mini Disco Ball Place Cards

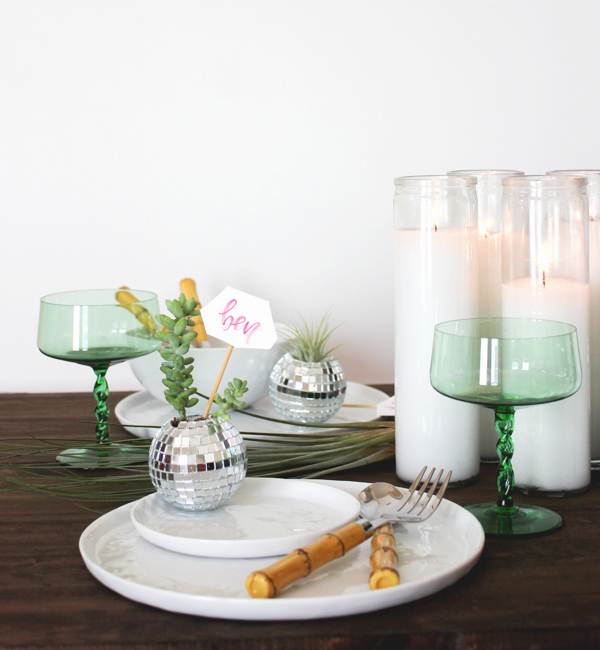
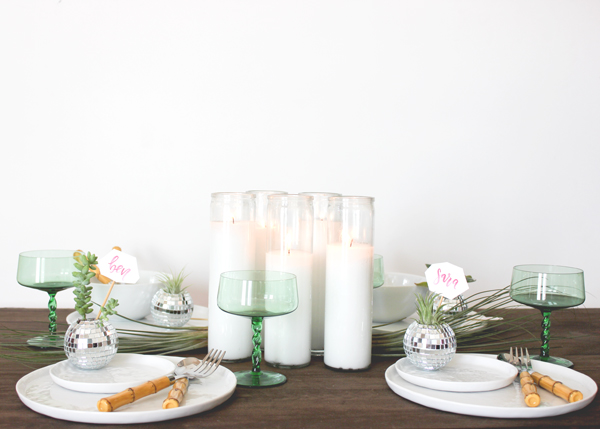
Every now and then, I think people love to see a quirky, maybe even out of place detail, used in an interesting way. These are the conversation starters and the little things that make your event memorable. So when the disco ball started making its way into tropical destinations, I just couldn’t get enough of the boho beach vibes mixed with something usually saved for the club or ballroom. I decided to stick with mini versions and turn them into a super fun place card and favor all in one. These could also easily be made in a larger version as a vase or pot if you are looking for a little more bling to add to your table! – Lauren
DIY Tutorial: Disco Ball Succulent Favor and Place Card by Lauren Saylor for Oh So Beautiful Paper

DIY Tutorial: Disco Ball Succulent Favor and Place Card by Lauren Saylor for Oh So Beautiful Paper

DIY Tutorial: Disco Ball Succulent Favor and Place Card by Lauren Saylor for Oh So Beautiful Paper

Supplies

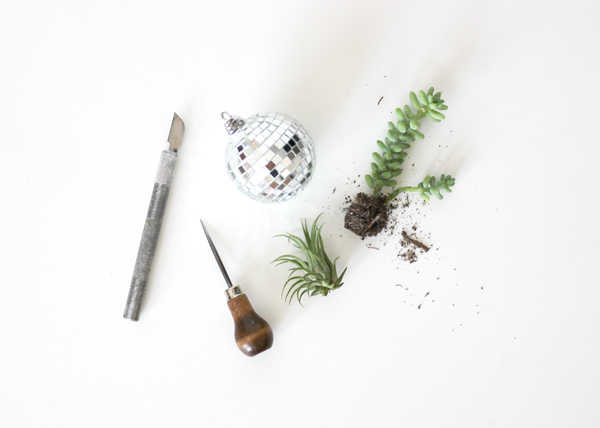
Mini disco ball ornaments with styrofoam center (I found mine here… yes they are already selling ornaments! – you can also find them in various sizes on Amazon)

Small succulents or air plants

X-acto knife

Awl (or something just as pointy and made out of metal)

Your choice of name cards
DIY Tutorial: Disco Ball Succulent Favor and Place Card by Lauren Saylor for Oh So Beautiful PaperDIY Tutorial: Disco Ball Succulent Favor and Place Card by Lauren Saylor for Oh So Beautiful Paper

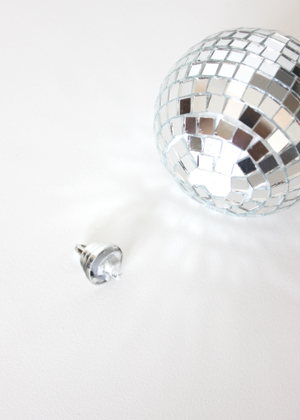
Step 1: Remove the ornament top, this will be the bottom

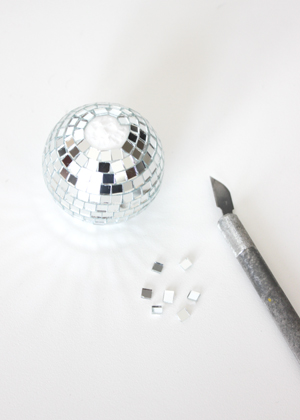
Step 2: Flip over and begin to remove the top mirror pieces with your knife, stopping once you have a circle that is about 1″ in diameter

DIY Tutorial: Disco Ball Succulent Favor and Place Card by Lauren Saylor for Oh So Beautiful Paper

Step 3: Use the knife to cut into the styrofoam around the circle, pop that out and dig into the foam with the awl to create a bowl for your plant.

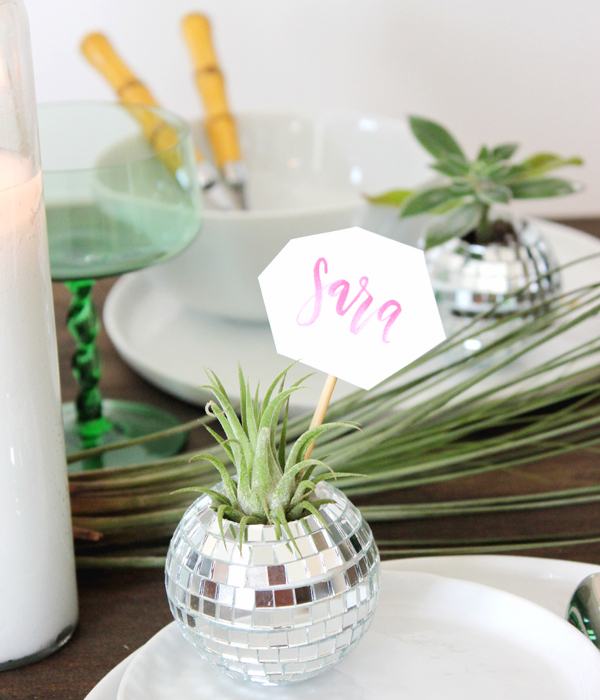
DIY Tutorial: Disco Ball Succulent Favor and Place Card by Lauren Saylor for Oh So Beautiful Paper

DIY Tutorial: Disco Ball Succulent Favor and Place Card by Lauren Saylor for Oh So Beautiful Paper

Step 4: Plant your succulent or place your air plants inside and you’re done!
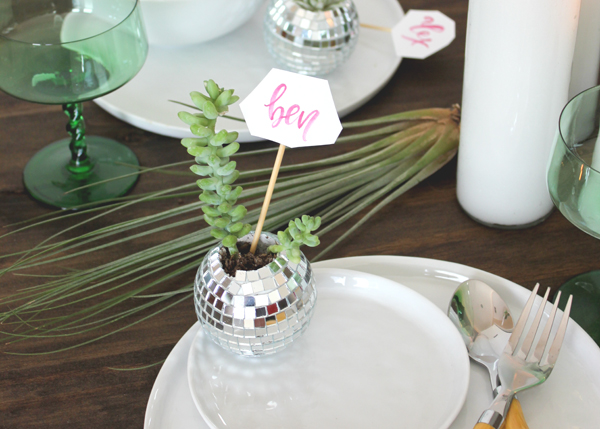
DIY Tutorial: Disco Ball Succulent Favor and Place Card by Lauren Saylor for Oh So Beautiful Paper The bigger the plant, the more unstable the ball is going to be. So make sure to pick lightweight plants that aren’t too tall. Finish your table design by adding some candles to the table. The disco balls will catch the light and add a fun light show on the table. Plus with all this glitz at each place setting, you won’t want much competing with them! Photo Credits: Lauren Saylor for Oh So Beautiful Paper

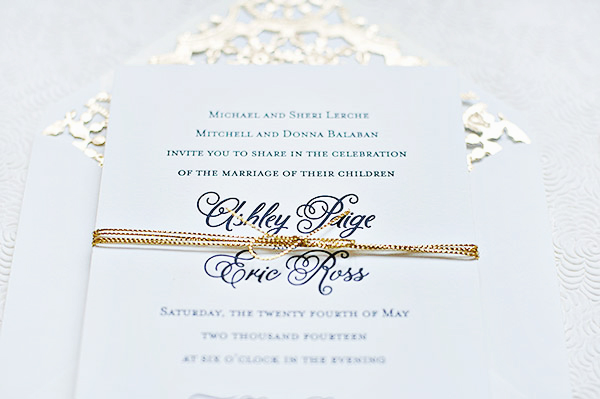
Ashley + Eric’s Classic Black and White Wedding Invitations

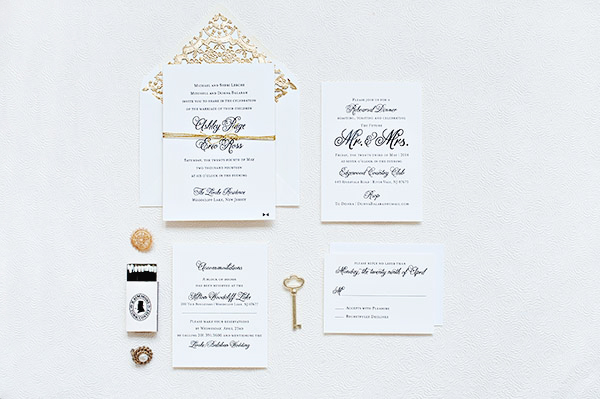
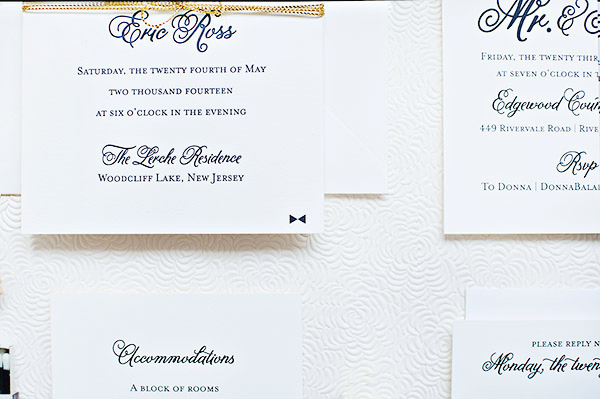
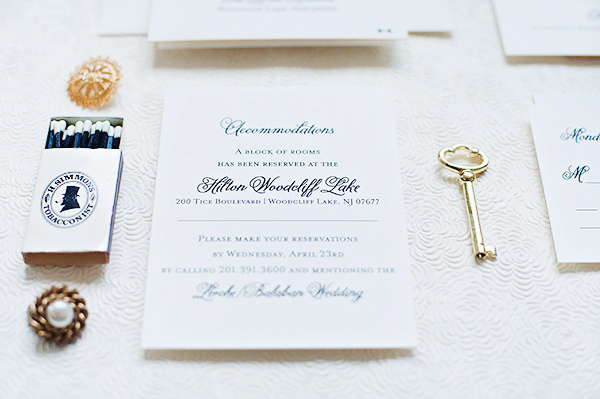
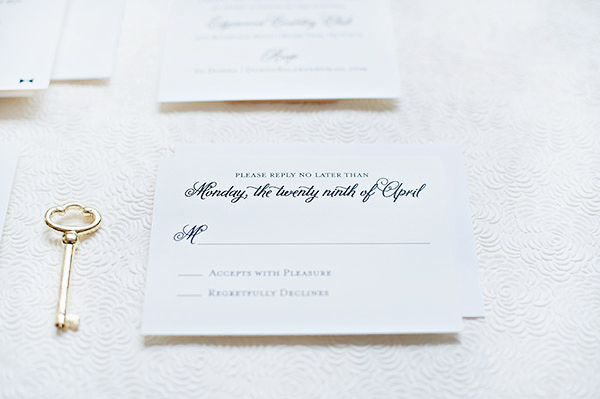
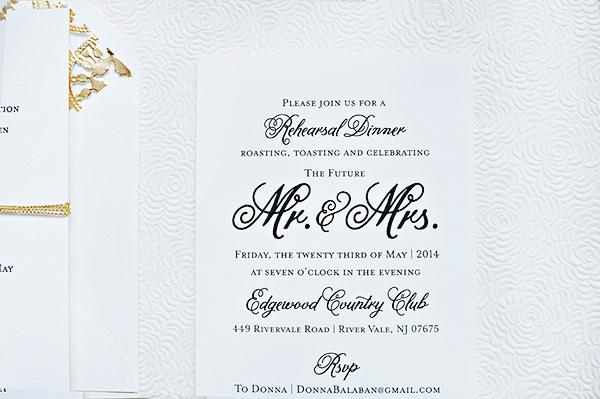
Some things just never go out of style. Elegant black script and text paired with soft white paper is a timeless combination. Becca of Suite Paperie took that classic combination in these black and white invitations and kicked it up a notch with gold details – including gold edge painting, gold twine, and a gold doily envelope liner!

Classic-Black-White-Wedding-Invitations-Suite-Paperie-OSBP6

From Becca: This double-ply black on soft white letterpress wedding invitation is the epitome of classic elegance. Matching rehearsal dinner, direction/accommodation card, and RSVP card are digitally printed in black ink to match the invitation suite. Finished with gold edging, wrapped in metallic twine and tucked into a gold doily-lined envelope, this suite is classic perfection.

Classic-Black-White-Wedding-Invitations-Suite-Paperie-OSBP

Classic-Black-White-Wedding-Invitations-Suite-Paperie-OSBP4

Classic-Black-White-Wedding-Invitations-Suite-Paperie-OSBP2

Classic-Black-White-Wedding-Invitations-Suite-Paperie-OSBP3

Classic-Black-White-Wedding-Invitations-Suite-Paperie-OSBP5

Thanks Becca!

Check out the Designer Rolodex for more tal­ented wed­ding invi­ta­tion design­ers and the real invi­ta­tions gallery for more wedding invitation ideas!

Photo Credits: Lindsay Nathanson

Michelle + Renzo’s Elegant Gold Foil Wedding Invitations

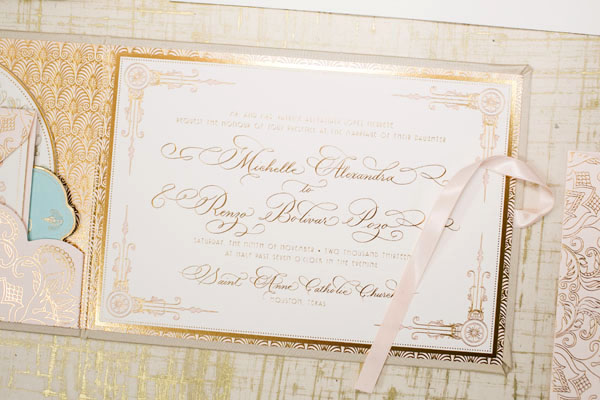
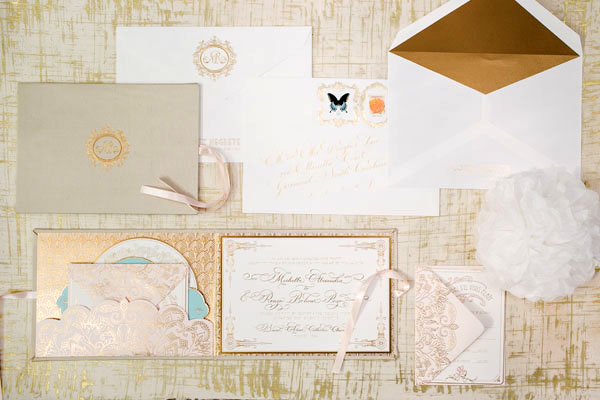
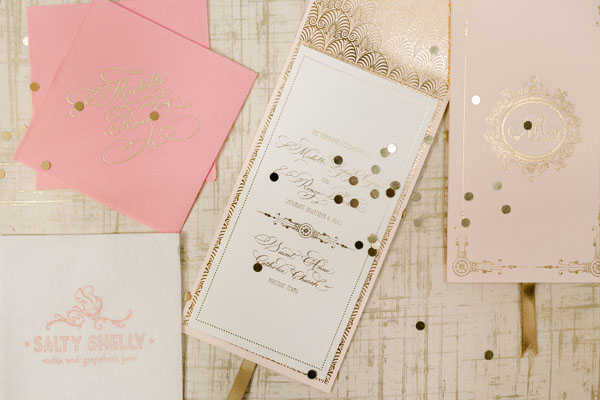
After seeing Michelle and Renzo’s gold foil save the dates a few months ago, I couldn’t wait to see what the ladies of Papellerie did for the invitations – and today is the lucky day! The invitation suite brings in the blush pink, French-inspired patterns, and die cut shapes from the save the dates – along with a healthy dose of gold foil and elegant calligraphy by Grace Edmands. So pretty!

Elegant-Gold-Foil-Blush-Pink-Wedding-Invitations-Papellerie-OSBP2

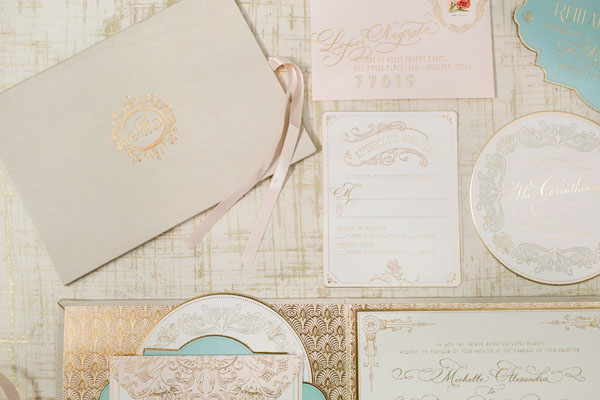
From the ladies of Papellerie: Going from what we designed for Michelle and Renzo’s save the dates, we knew we had a fun challenge ahead of us to create something even more exciting and creative for their invitation. We wanted their entire suite to evoke the feeling of French royalty. We decided to create a booklet wrapped in beautiful natural silk with their monogram gold foil stamped on the front and blush pink ribbons tying it all together.

Elegant-Gold-Foil-Blush-Pink-Wedding-Invitations-Papellerie-OSBP5

Elegant-Gold-Foil-Blush-Pink-Wedding-Invitations-Papellerie-OSBP

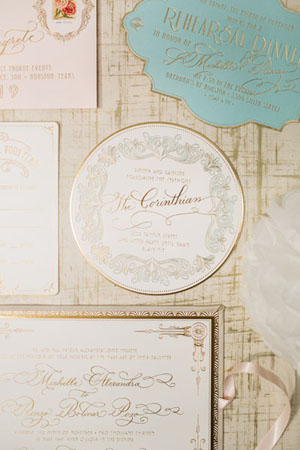
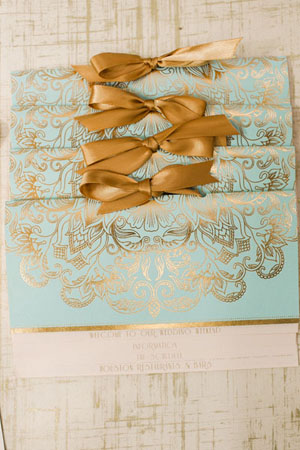
The interior of the booklet features gold foil stamping and a custom die cut pocket. Their blush pink letterpress and gold foil invitation, featuring gorgeous calligraphy from Grace Edmands, ​was mounted on top of the backing. The pocket contained a die cut gold foil rehearsal dinner invitation, mimicking the shape from their save the dates, as well as the letterpress and gold foil circle reception card, and the letterpress and gold foil reply card and envelope.

Elegant-Gold-Foil-Blush-Pink-Wedding-Invitations-Papellerie-OSBP6

We added fun stamp frames on the envelopes to tie together with the couples framed monogram, and lined the outer envelope with shimmer antique gold paper for a that great first pop of color. Grace Edmands did the envelope calligraphy as well, using gold ink on a slant.

Elegant-Gold-Foil-Blush-Pink-Wedding-Invitations-Papellerie-OSBP3Elegant-Gold-Foil-Blush-Pink-Wedding-Invitations-Papellerie-OSBP4

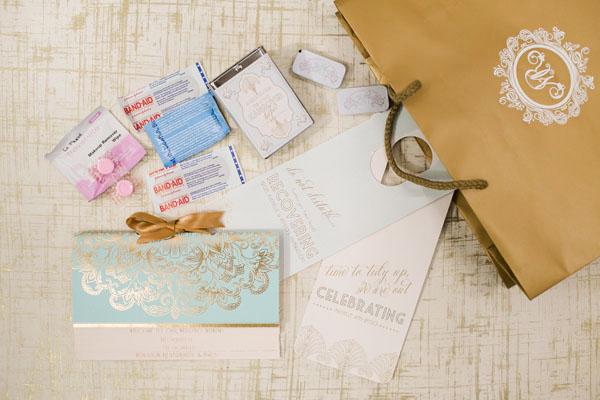
Their day-of items were SO much fun to work on! Their welcome package was a shimmer gold euro tote bag with their monogram stamped in white foil in the center. It was filled with a custom tiered welcome letter, hangover kits, mints, and door hangers among some other items their wedding planner – Emily Moise with Keely Thorne Events – picked out for them.

Elegant-Gold-Foil-Blush-Pink-Wedding-Invitations-Papellerie-OSBP8

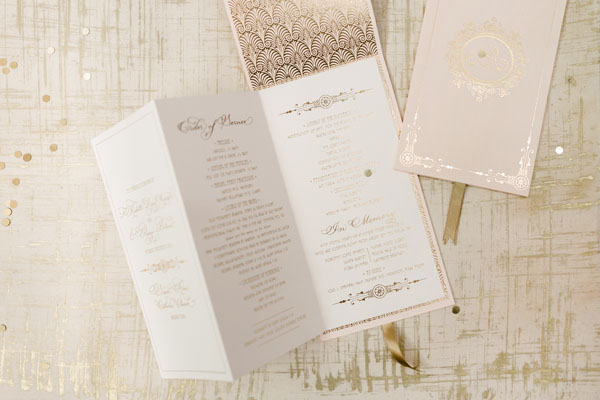
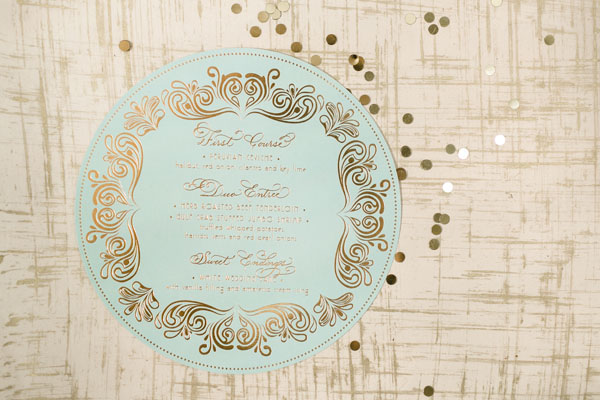
Their ceremony program was gold foil on a blush pink cover with a gold foil stamped accordion folded interior. We added gold ribbons to tie to the invitation ribbon. Other items included foil stamped menus, multiple cocktail napkins, guest towels, stir sticks, table numbers, linen napkins, and fun signage as well.

Elegant-Gold-Foil-Blush-Pink-Wedding-Invitations-Papellerie-OSBP12

Elegant-Gold-Foil-Blush-Pink-Wedding-Invitations-Papellerie-OSBP10

Elegant-Gold-Foil-Blush-Pink-Wedding-Invitations-Papellerie-OSBP11

Thanks ladies!

Design: Papellerie

Calligraphy: Grace Edmands Calligraphy

Check out the Designer Rolodex for more tal­ented wed­ding invi­ta­tion design­ers and the real invi­ta­tions gallery for more wedding invitation ideas!

Photo Credits: Chelsea Davis Photography

Katrina’s Little Prince Baby Shower Invitations and Ideas

Happy Monday everyone! Melissa from Atheneum Creative designs the cutest baby shower invitations – remember these adorable bow tie baby shower invitations from a couple years ago?? – and these little prince invitations are no exception! Melissa also created some fantastic party details that I couldn’t resist including. Too cute!

Little-Prince-Baby-Shower-Invitations-Atheneum-Creative-OSBP

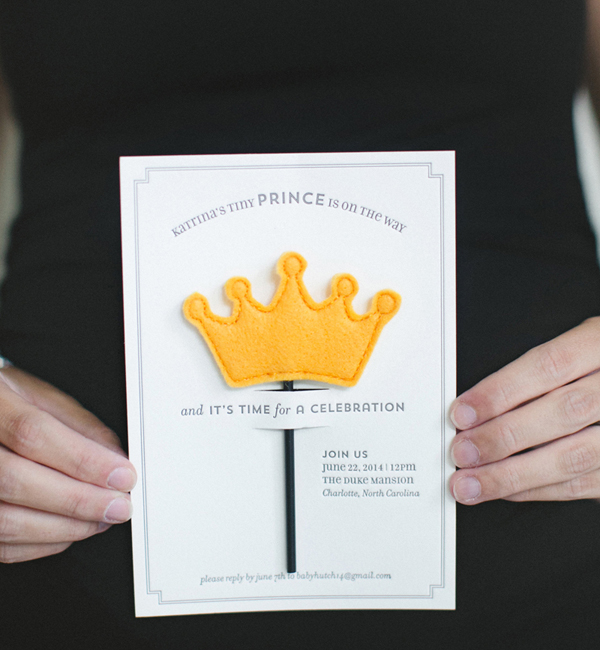
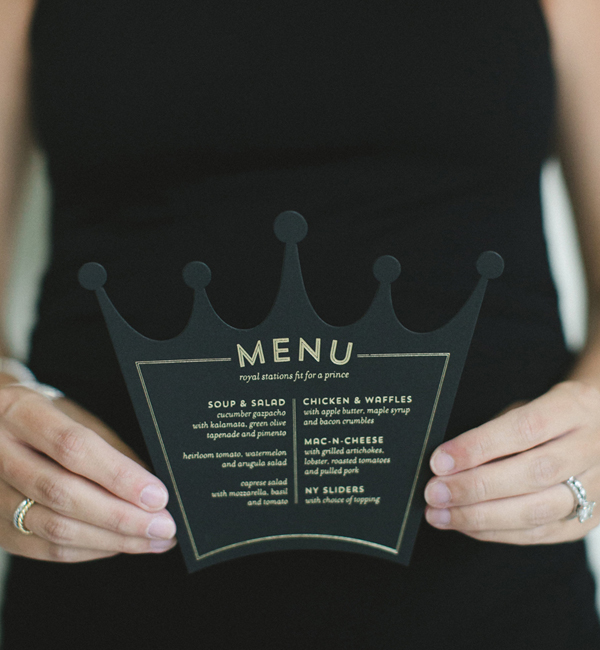
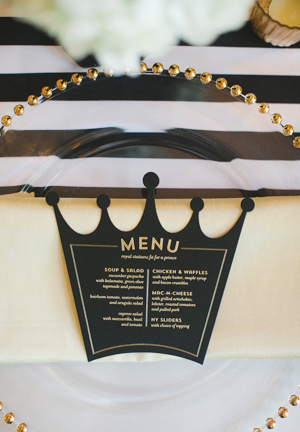
From Melissa: A baby shower for a wedding planner can only mean one thing… everything has to be top notch! Katrina from Come + Together Events is expecting her first son and of course she wanted to set the right tone for this little prince. We introduced the prince theme on the invitation, which included a felt crown tucked into a letterpress printed card.

Little-Prince-Baby-Shower-Ideas-Atheneum-Creative-OSBPLittle-Prince-Baby-Shower-Ideas-Atheneum-Creative-OSBP2

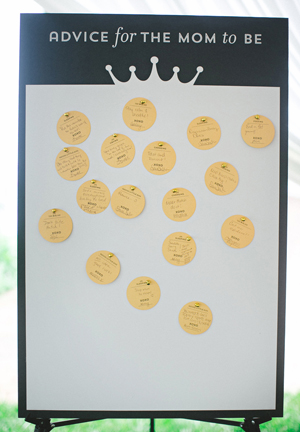
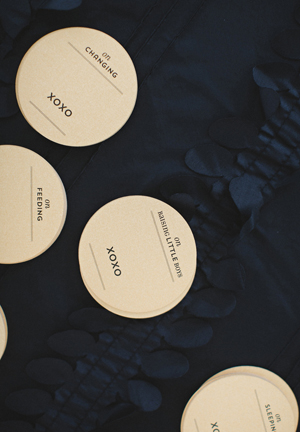
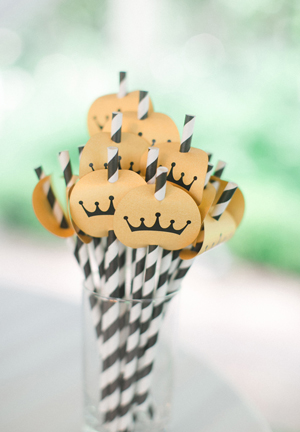
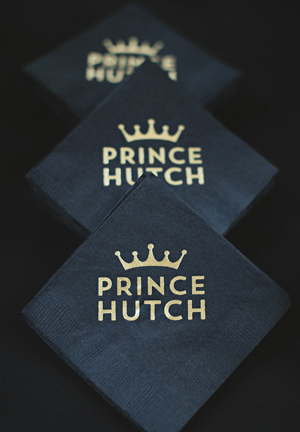
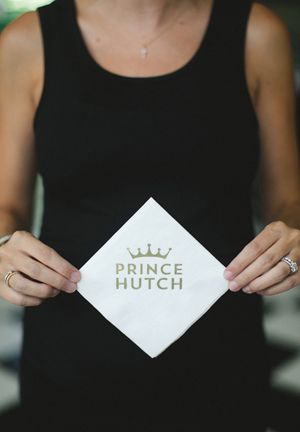
We also worked on some really fun day of materials including a series of napkins, tags for the straws, and an advice board for the mom to be. And how could we not include a few custom onesies playing to Katrina’s business?

Little-Prince-Baby-Shower-Ideas-Atheneum-Creative-OSBP4

Little-Prince-Baby-Shower-Ideas-Atheneum-Creative-OSBP6Little-Prince-Baby-Shower-Ideas-Atheneum-Creative-OSBP11

Little-Prince-Baby-Shower-Ideas-Atheneum-Creative-OSBP7Little-Prince-Baby-Shower-Ideas-Atheneum-Creative-OSBP8

Little-Prince-Baby-Shower-Ideas-Atheneum-Creative-OSBP12

Thanks Melissa!

Atheneum Creative is a member of the Designer Rolodex – you can see more of their beautiful work right here!

Photo Credits: The Schultzes

The Radler

We’re big fans of strong, boozy drinks over here. (Well, ok, pretty much just me.) And that’s ok most of the time. But sometimes it’s hot out, and maybe you’re moving around a lot, and you want a drink that won’t leave you dehydrated or lightheaded. In that case, let’s turn to the Germans, who have invented a drink for just such a purpose: the snappy beer-based Radler. – Andrew

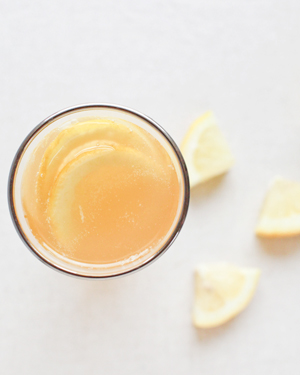
The-Radler-Beer-Limoncello-Cocktail-Recipe-OSBP-55

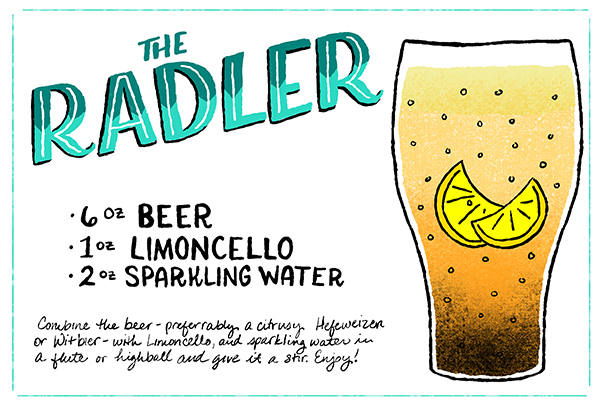
The-Radler-Cocktail-Recipe-Card-Shauna-Lynn-Illustration-OSBP

Illustration by Shauna Lynn for Oh So Beautiful Paper
The Radler

6 oz Beer
1 oz Limoncello
2 oz Sparkling Water

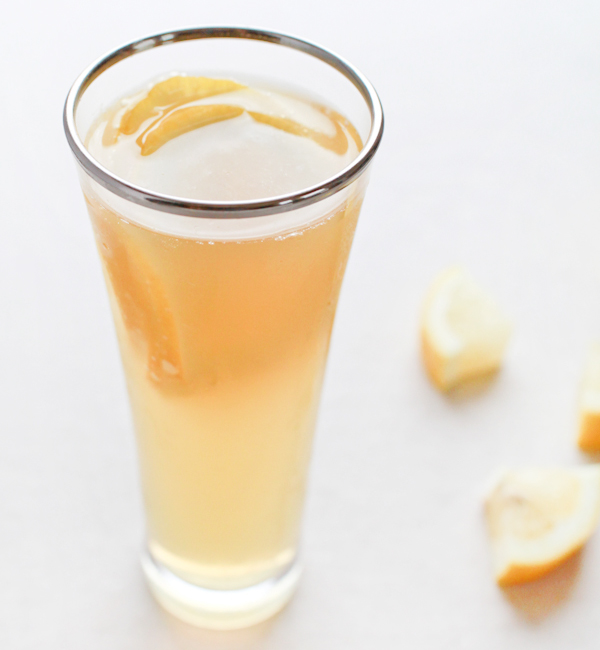
Combine the beer – preferably a citrusy German Hefeweizen or Belgian Witbier – with the Limoncello, and sparkling water in a flute or highball and give it a stir. Garnish with a lemon round and enjoy!

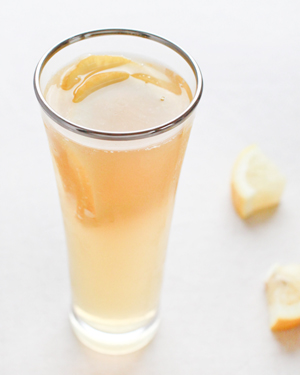
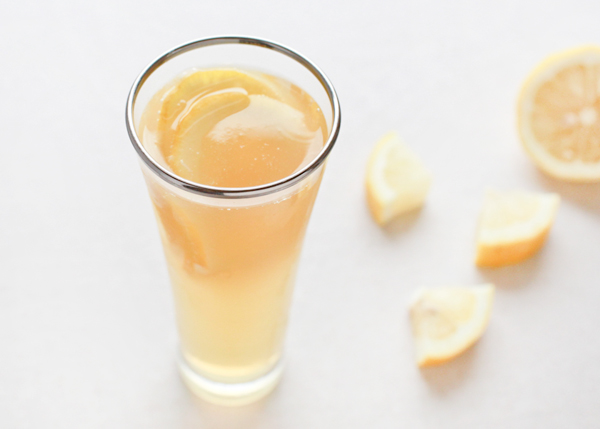
The-Radler-Beer-Limoncello-Cocktail-Recipe-OSBP-11The-Radler-Beer-Limoncello-Cocktail-Recipe-OSBP-26

The name Radler – German for cyclist – belies its origins. Over a century old, the Radler is just the sort of thing a cyclist or a race spectator might want for just a touch of a buzz. It’s also perfect for those times when you’d like to drink for a while, say, while grilling with some friends or at a game without getting blitzed.

The-Radler-Beer-Limoncello-Cocktail-Recipe-OSBP-31

This is thanks to the Radler’s low proof. The Germans make their Radlers by mixing beer with equal parts of lemonade – the German lemonade, a lemon soda – reducing beer’s already-low proof even more. Since I can’t leave well enough alone, I made by own lemonade by mixing limoncello, an Italian liqueur made from lemon peels, with soda water. The result is crisp and bubbly, lemony with just a bit of sweetness.

Consider the original Radler recipe as an inspiration instead of a rule. Beer, citrus, a touch of sweetness, maybe a dash of liquor (but not too much). Have fun.

The-Radler-Beer-Limoncello-Cocktail-Recipe-OSBP-2

In any case, keep your beer cold and your limoncello colder. Italians drink limoncello as an after-dinner digestif and serve it ice cold in tiny glasses. Follow their example and keep your bottle in the freezer.

Photo Credits: Nole Garey for Oh So Beautiful Paper