Hello!Lucky: Alex + James’ Rockstar Birthday Party

Hi Everyone! Our new baby has arrived – so I’m off to spend some time getting to know this tiny new person! I’ve asked some of my favorite creative mamas to help out while I’m away on maternity leave. This week, the ridiculously talented and creative mamas behind Hello!Lucky – Eunice and Sabrina – will be sharing a few posts, from birthday parties to their favorite spots in San Francisco. Welcome Eunice and Sabrina! –Nole

We are so thrilled to guest post on Oh So Beautiful Paper this week! Starting off with kids party themes in honor of Nole’s new arrival. Congrats Nole & thanks so much for having us! – Eunice and Sabrina of Hello!Lucky

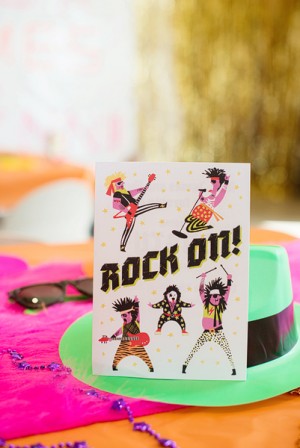
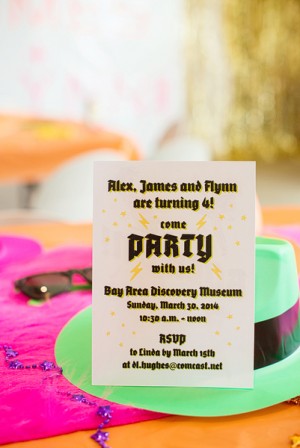
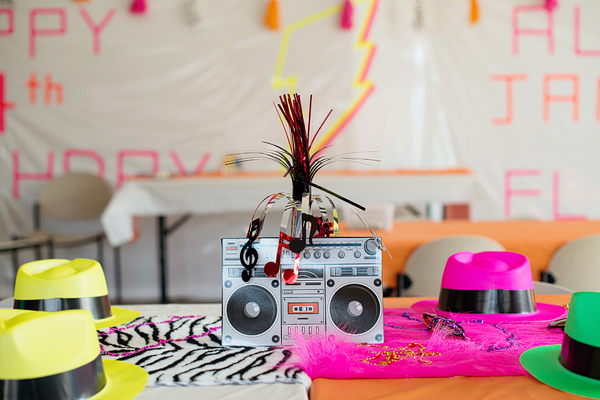
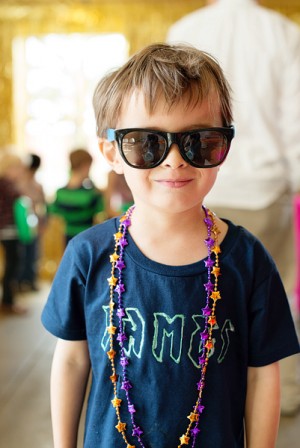
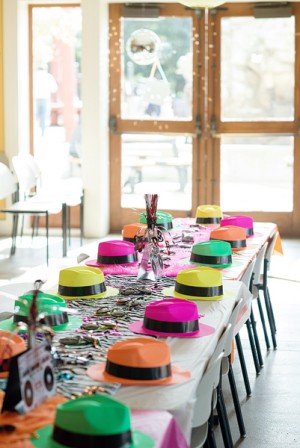
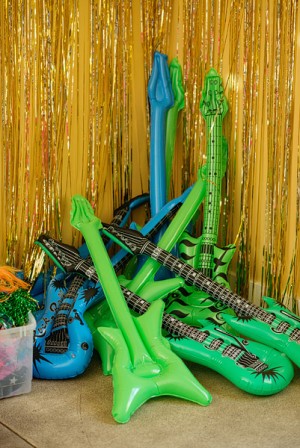
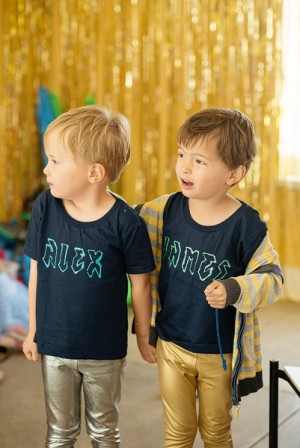
Alex and James rocked out for their rockstar 4th birthday party at the Bay Area Discovery Museum. The museum staff hosted lots of great activities for the kids, including karaoke and making neon gak. We also whipped up a few simple DIY projects that really took the party to the next level. The kids had a blast!

Neon-Rockstar-Kids-Birthday-Party-Hello!Lucky-Modern-Kids-OSBP12Neon-Rockstar-Kids-Birthday-Party-Hello!Lucky-Modern-Kids-OSBP13

Neon-Rockstar-Kids-Birthday-Party-Hello!Lucky-Modern-Kids-OSBP2

Neon-Rockstar-Kids-Birthday-Party-Hello!Lucky-Modern-Kids-OSBPNeon-Rockstar-Kids-Birthday-Party-Hello!Lucky-Modern-Kids-OSBP14

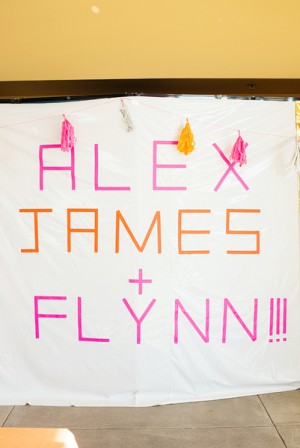
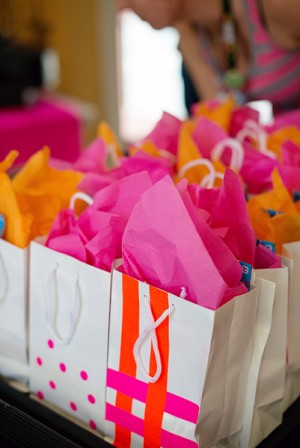
The gloss white birthday banner was decorated with neon gaffer’s tape and the white party favor bags were decorated with neon gaffer’s tape, neon dots, and neon tissue paper.

Neon-Rockstar-Kids-Birthday-Party-Hello!Lucky-Modern-Kids-OSBP11Neon-Rockstar-Kids-Birthday-Party-Hello!Lucky-Modern-Kids-OSBP3

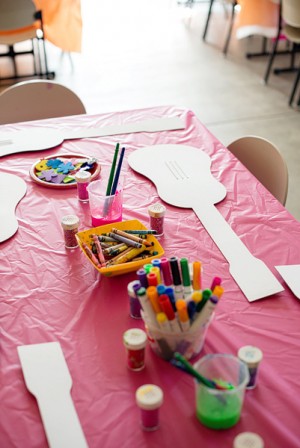
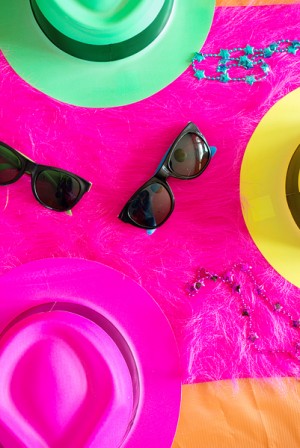
DIY elements included personalized glittery puff-paint t-shirts in goth rock fonts, leopard print oilcloth silhouettes for wall decor in the shape of tigers, guitars, and lightning bolts, and neon faux fur table runners from Mendel’s. Metallic gold fringe curtains were the perfect backdrop for photos.

Neon-Rockstar-Kids-Birthday-Party-Hello!Lucky-Modern-Kids-OSBP6Neon-Rockstar-Kids-Birthday-Party-Hello!Lucky-Modern-Kids-OSBP7

Neon-Rockstar-Kids-Birthday-Party-Hello!Lucky-Modern-Kids-OSBP4Neon-Rockstar-Kids-Birthday-Party-Hello!Lucky-Modern-Kids-OSBP5

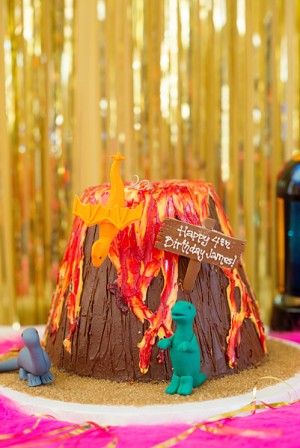
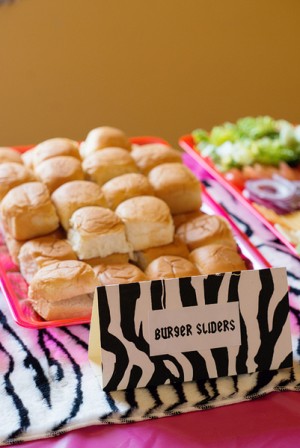
Dinosaur and volcano birthday cakes – complete with dry ice eruption! – were created by Noe Valley Bakery. Leopard print food signs highlighted a menu that included mini burger sliders and chocolate zucchini muffins in animal print cupcake liners.

Neon-Rockstar-Kids-Birthday-Party-Hello!Lucky-Modern-Kids-OSBP10Neon-Rockstar-Kids-Birthday-Party-Hello!Lucky-Modern-Kids-OSBP9

Photos by Modern Kids Co

The Whiskey Sour

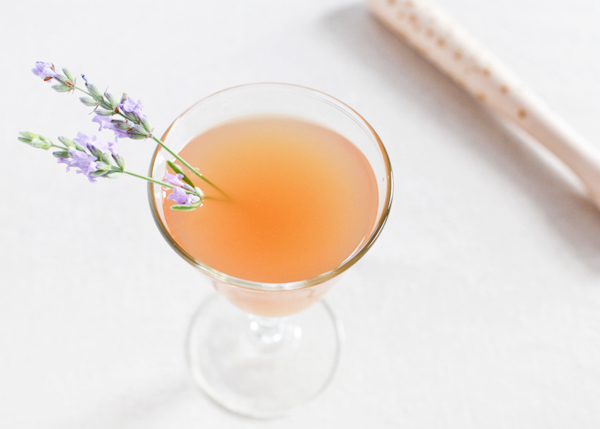
So you might have heard that we’re a little busy this week, so I’ll keep this quick. Today we’re talking about a venerable workhorse in the cocktail kingdom, the simple but solid and delicious Whiskey Sour. – Andrew

Whiskey-Sour-Cocktail-Recipe-OSBP-26

The-Whiskey-Sour-Cocktail-Recipe-Card-Shauna-Lynn-Illustration-OSBP

Illustration by Shauna Lynn for Oh So Beautiful Paper

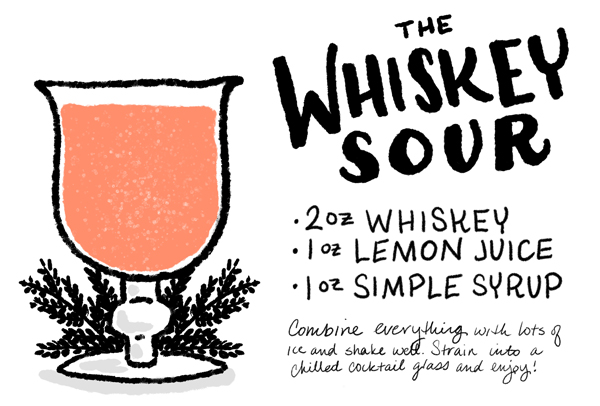
The Whiskey Sour

2 oz Whiskey
1 oz Lemon Juice
1 oz Simple Syrup

Combine everything with lots of ice and shake well. Strain into a chilled cocktail glass and enjoy.

Whiskey-Sour-Cocktail-Recipe-OSBP-6

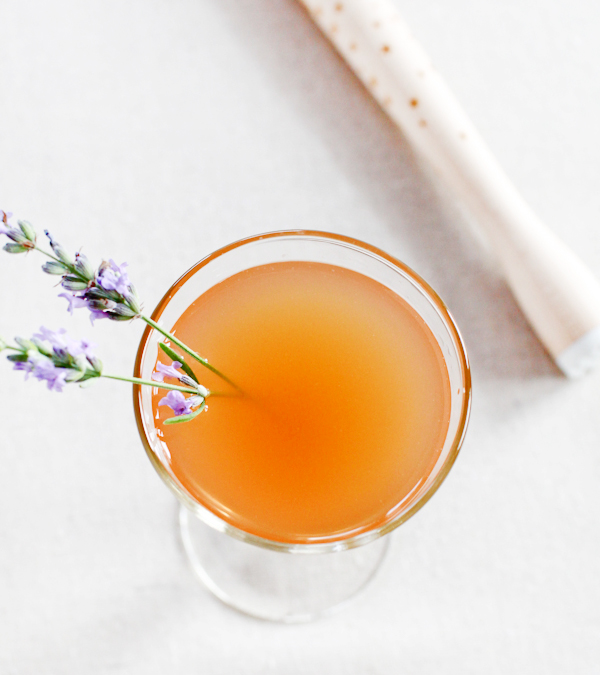
The Whiskey Sour is sweet and tart and richly oaky. It’s a basic but venerable drink, quick to whip up and quick to hit the spot. It’s easy to over-sweeten this drink, so stick with a 1:1 simple syrup. If you’re using a sweeter bourbon, consider dropping the simple syrup down to 3/4 of an ounce. A dash of aromatic bitters, though not traditional, can also round out this drink nicely.

Whiskey-Sour-Cocktail-Recipe-OSBP-29

And with that, I have to go change some diapers and stop a toddler from chasing the cats.

Photo Credits: Nole Garey for Oh So Beautiful Paper

(p.s. The gorgeous muddler in the photos above is from AHeirloom! –Nole)

Preparing for Baby No. 2, Part 2: Hyperemesis Gravidarum

Hi Friends! Despite our hopes otherwise, I once again developed cholestasis with this pregnancy – so our midwives decided to induce me a couple of weeks early. I’m actually writing this post ahead of time – so hopefully our new little baby has arrived by now (I’ll be sure to share any news on Instagram!) and I’m heading out for a few weeks to spend time with our new little person! But first, I wanted to share one final post about an experience from my pregnancy with Sophie. I actually wasn’t planning to share this side of my story. But I’ve drawn strength reading accounts from other women regarding their pregnancy or postpartum experiences and I thought my story might help some of you out there. So here goes. This post may be TMI for most of you, so if you’re not interested please feel free to skip!

As I mentioned before, I developed a condition called cholestasis during my pregnancy with Sophie. If there’s one thing that I learned during my first pregnancy, and now with my second, it’s that my body does not do well with extreme hormone fluctuations. I had rough first trimesters with 24/7 nausea during both of my pregnancies, and my liver decided to go on strike with cholestasis during the late third trimester – so I’ve now had to be induced for labor early on two occasions! Unfortunately, labor is pretty much one giant hormone overload – in my case with some extra prodding and lots of pitocin. I don’t know what it’s like to go into labor naturally, but my body did not react well to the induction and labor the first time around.

OSBP-Maternity-Photos-Katie-Stoops-Photography4

I won’t ever be sure if it was the cholestasis or the induction, but after Sophie was born I developed hyperemesis gravidarum. I’ve never heard of anyone else developing postpartum hyperemesis – it typically occurs during the first trimester of pregnancy – but the symptoms were all the same so I don’t know what else to call it.

Continue reading

Quick Pick: Snow & Graham Keepsake Boxes

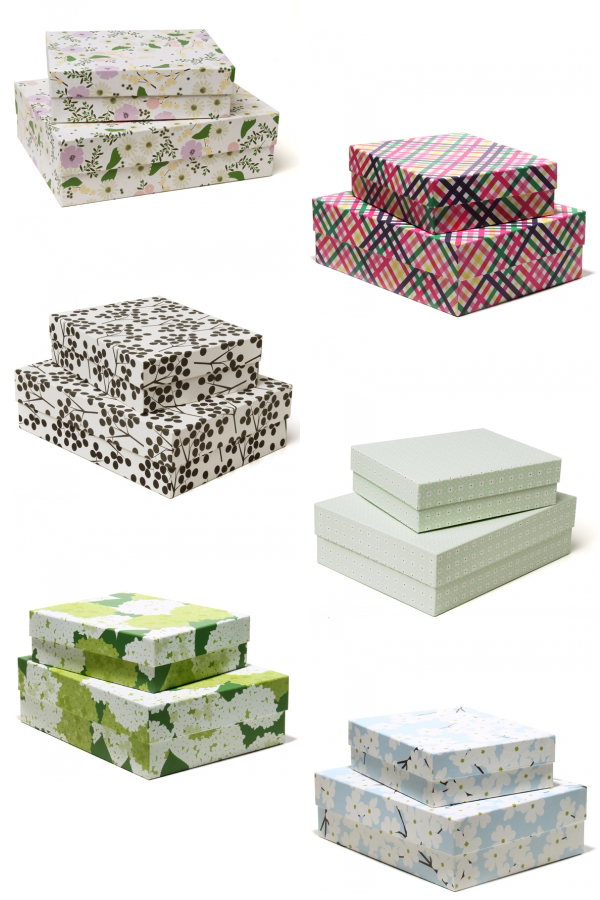
I’m a wee bit of a pack rat – especially when it comes to sentimental objects like photos, travel mementos, or (ahem) pretty greeting cards. I’m always on the lookout for beautiful keepsake boxes to store these precious memories, and I was beyond thrilled when Snow & Graham released this new collection of boxes featuring several of their signature patterns!

Quick-Pick-Snow-and-Graham-Keepsake-Boxes

So pretty! Check out the full line of Snow & Graham keepsake boxes right here!

Paper Flowers with Craftsy!

Craftsy-Paper-Flower-Class-Inspiration-OSBP-77

By now, you probably already know that I love paper flowers: I used some in the décor for this year’s Paper Party and in the bar sign for our frozen cocktail party last month, along with a few other occasions. But here’s a secret: I’ve always either used a pre-made kit or relied on the craftiness of others to create the flowers! So when Craftsy reached out to see if I’d be interested in taking some of their classes – and sharing the results with all of you – I jumped at the chance to really learn how to make paper flowers myself through Paper Arts with Alton DuLaney!

I’m sharing some inspiration from the class below, and Craftsy is offering a very generous discount exclusively for Oh So Beautiful Paper readers (for a limited time only!) who might also be interested in taking the class! This is the first post in a four part series with Craftsy – I’m so excited to share more ideas in future posts!

Craftsy-Paper-Flower-Class-Inspiration-OSBP-66

If you aren’t already familiar with Craftsy, they offer a wide range of interactive online classes that you can take from the comfort and convenience of the your own home. The thing that I like about Craftsy is that you can go at your own speed and even focus on different sections of the class when you want to. So if you have a party coming up you can focus on the entertaining components first, then go back to the art of letter writing section if you’re having trouble figuring out what to say in your thank you notes. The class is yours to keep forever – so you can revisit previously viewed course materials at any time (and multiple times), and if you’re not satisfied you can return your class for a full refund. Such great features!

The Paper Arts class contains a lot of really useful information and techniques – everything from how to make paper flowers and paper entertaining ideas to the art of letter writing. Since that’s a pretty wide range of topics, today I thought we’d focus in specifically on the paper flower component of the class. Here’s a little bit of what you can expect to learn:

  • methods for creating two types of flowers from tissue paper (carnation and spider mum)
  • methods for creating two types of flowers from heavier card stock (daffodil and rose)
  • how to layer colors together to achieve your desired floral design
  • templates for the petal and leaf shapes
  • instructions on building the flowers with floral tape and a hot glue gun

Craftsy-Paper-Flower-Class-Inspiration-OSBP-5

With fall on the horizon and the holidays in the not-too-distant future, my first thought was to use the paper flowers to create a beautiful table runner centerpiece for fall entertaining! I chose to keep my paper flowers fairly simple and small so that they would both lay flat and could be grouped together for the centerpiece, but in Alton’s class you’ll learn how to make flowers big and small.

You can click here to take the Craftsy Paper Arts class – and take advantage of the wonderful discount! You’ll learn the specific techniques in Alton’s class, but you can continue reading below to learn more about the materials and techniques that I decided to use for my project.

Craftsy-Paper-Flower-Class-Inspiration-OSBP-95-2

Materials

Crepe paper (I used hot pink, light pink, and brown)

Text weight kraft paper sheets

Scissors (I like to use precision scissors with smaller blades for more control)

Hot glue gun

Sparkly pom poms (optional)

White craft paint + paint pen (optional)

Craftsy-Paper-Flower-Class-Inspiration-OSBP-102

I used a mix of crepe paper and text weight kraft paper for my flowers. I love the stretchiness of crepe paper, and the kraft paper tends to run on the heavier side anyway so it was the perfect weight for this project. I started by cutting the paper down into small rectangles: because my flowers were on the smaller side each petal ended up being between 2″ – 4″ tall and 1″-2″ wide. You’ll find petal templates in the materials section of the class, but I chose to freehand most of my petals with a soft ruffly top edge for a more whimsical look.

Craftsy-Paper-Flower-Class-Inspiration-OSBP-24

Once you have 5-6 small rectangles, you can usually stack them and cut out several petals at the same time. The most important thing is to remember to cut the crepe paper so that the grain runs vertically along each petal and to make the base of each petal fairly narrow – which helps when assembling and layering the flowers. Each final flower had between five and ten petals. I used either small balled up pieces of crepe paper or sparkly little pom poms as the flower centers. Both were really cute! Finally, for a bit of added texture I splattered some white acrylic craft paint on some of the petals and used a white paint pen to draw lines on some of the other petals. But you can absolutely skip this part if that’s not your style!

Craftsy-Paper-Flower-Class-Inspiration-OSBP-58

Craftsy-Paper-Flower-Class-Inspiration-OSBP-14

Craftsy-Paper-Flower-Class-Inspiration-OSBP-53

Click here to take the Craftsy Paper Arts class – with a big discount for Oh So Beautiful Paper readers! This discount is only available for a week – so sign up soon!

Styling + Photos by Nole Garey for Oh So Beautiful Paper

This post is sponsored by Craftsy. All content, photos, ideas, and words are our own. Thank you for supporting the sponsors that help make Oh So Beautiful Paper possible!