FONT: HOLLYHOCK
FONT: HOLLYHOCK
Fall, to me, always brings thoughts of camping, roasting marshmallows, and rustic details. You might not think of planning your wedding around a theme that involves getting dirty and functioning with just the essentials. But that is what can make it so fun! Surprise your guests with simple pleasures that they enjoyed as kids or still do with their families. Take a cue from the treats, the crafting, and the quirky details from your own camping adventures. And if you just love the idea – but need a little inspiration – I rounded up some of my favorite stationery pieces to get you started! – Lauren
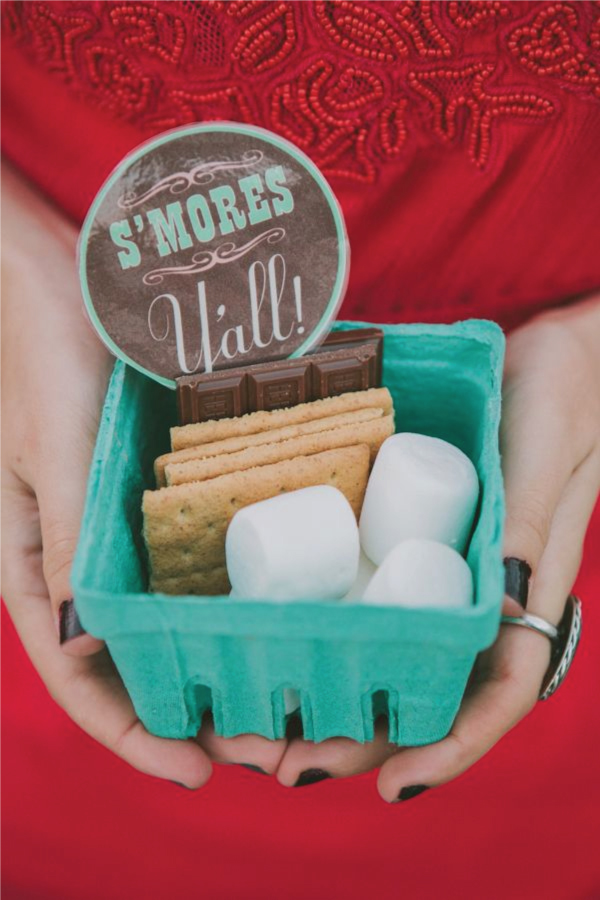
S’mores kits with fun tags for the reception. Image by Fondly Forever Photography via Wedding Chicks.
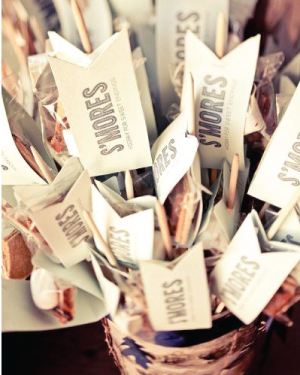
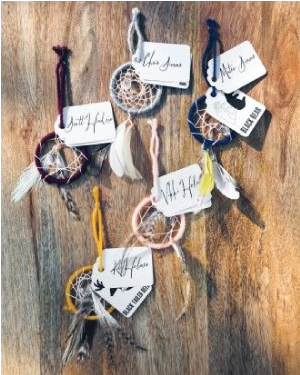
Create tags with stamps for roasting your marshmallows. Attach your escort cards to dream catchers. Left image by Tom Balazs Photography LLC via Wedding Wire, right image by Erin Kunkel Photography via Martha Stewart Weddings.
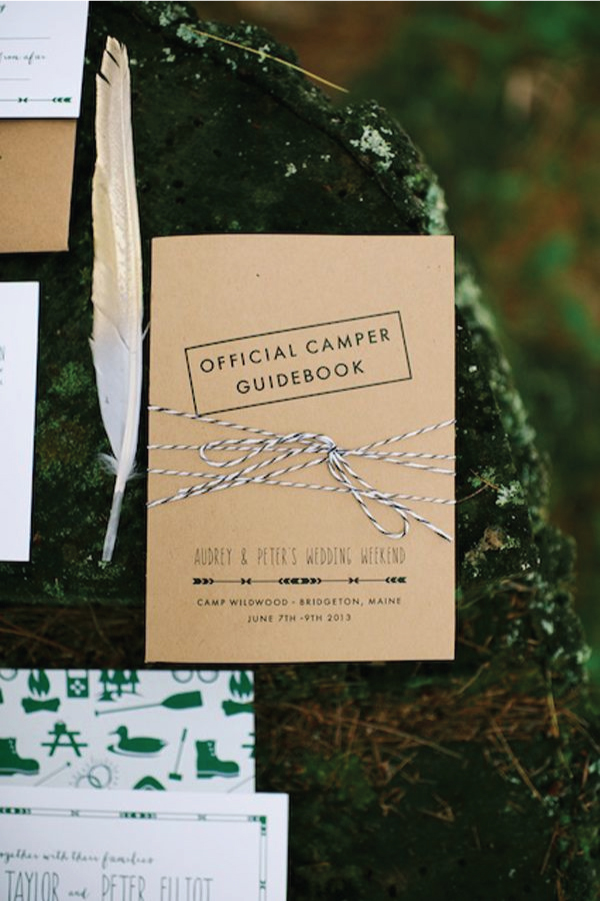
Style your program like a camp guide. Image by :ANNE SCHMIDT PHOTOGRAPHY via Ruffled.
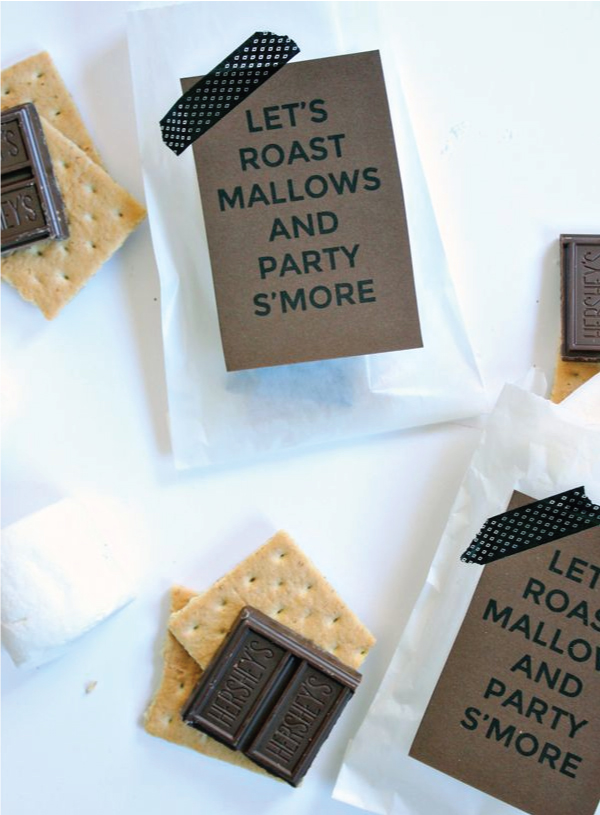
Send guests hope with s’more favors in to-go bags with a fun quote taped on the front. Image via The Flair Exchange.
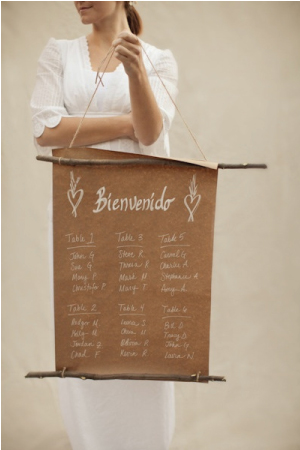
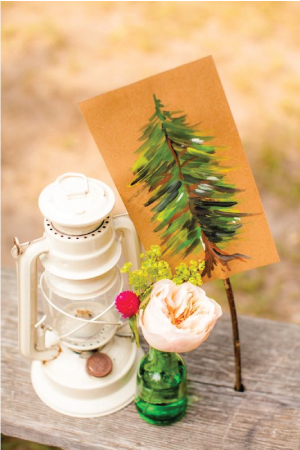
Display your the seating chart on kraft with sticks. Create simple paintings as table numbers or as decor. Left image by Erin Kate Photography via Style Me Pretty, right image by Stevie B Photography via Emmaline Bride.
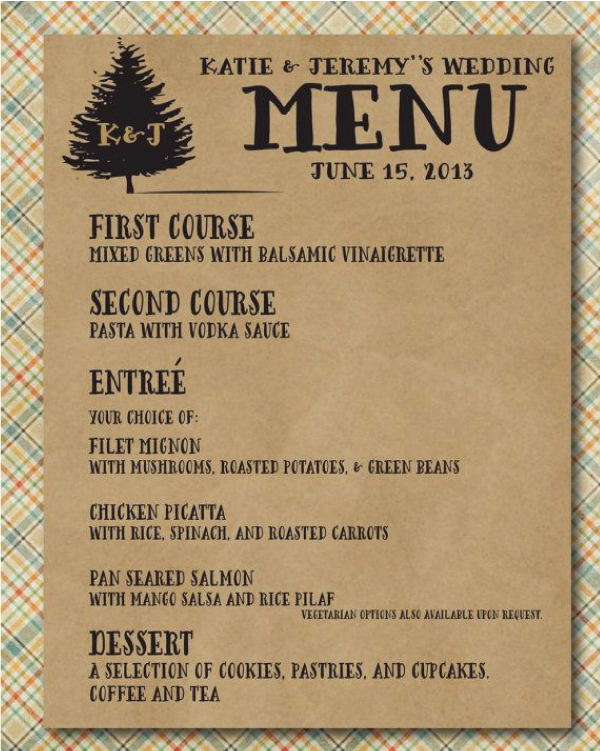
Add simple woodsy elements to your menus. Image via Written In Detail.
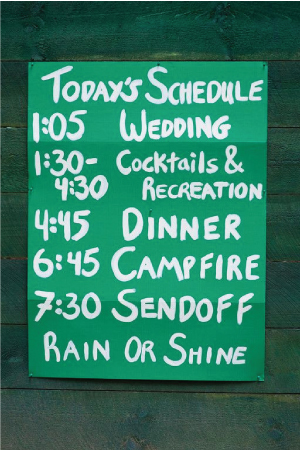
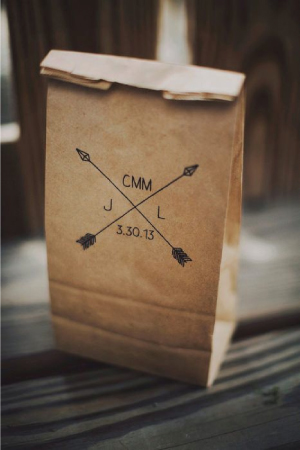
Display your schedule in a simple hand painted style. Pack treats in lunch bags with your wedding logo or initials. Left image by Christina Richards Weddings via A Practical Wedding, right image by Ariel Renae Photography via Ruffled.
 {images via their respective sources}
Whoever said Halloween had to be black, orange, and scary all over was totally wrong, if you ask me! I prefer cute little pumpkins, sweet mini treats, and a happy color palette with a hint of mint! If you agree, here’s a few party paper goodies to get you started for this non-traditional Halloween bash!

No. 1 Tassel Garland from Studio Mucci, No. 2 Pinwheels from Meri Meri, No. 3 Treat Bag Printables from Studio DIY for eHow, No. 4 Honeycombs from Shop Sweet Lulu, No. 5 Scalloped Tape from Oh, Hello Friend, No. 6 Mint Party Cups from Urbanic
{images via their respective sources}
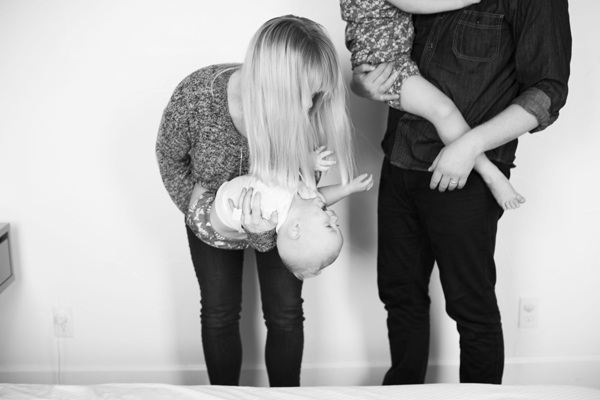
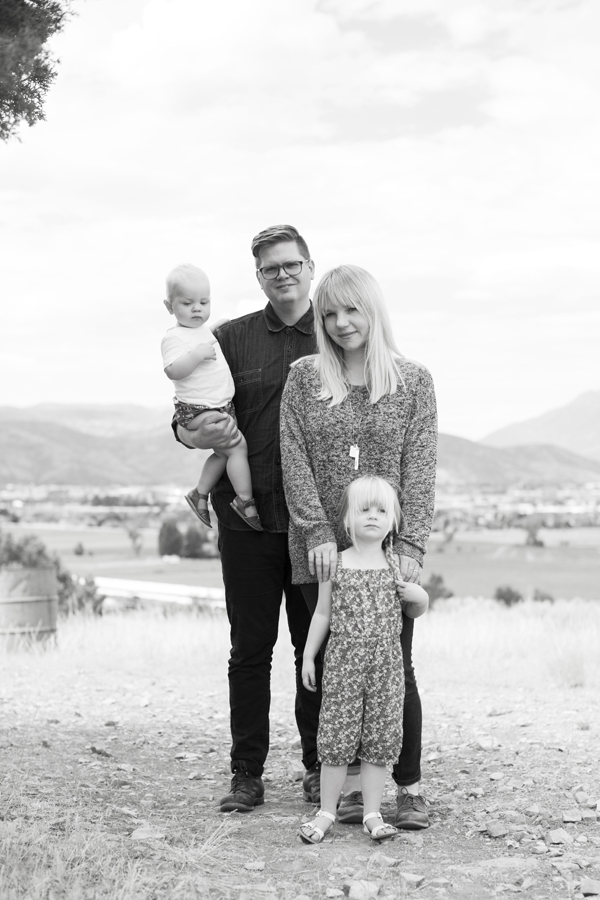
I’ve asked some of my favorite creative mamas to help out while I’m away with our new baby. Today, the talented Eva from Sycamore Street Press is sharing some thoughts on motherhood! And p.s. to any new or aspiring stationers out there: check out Eva’s new online class: Stationery Business 101! –Nole
5 Things That Surprised Me About Motherhood – Eva Jorgensen of Sycamore Street Press
1) It’s not always easy to get pregnant and have a baby.
Of course, I knew that things like infertility and miscarriages existed in the world… I just never thought they would happen to me. And then they did. And then I began to see that they happen to a lot of other people, too. Now I know, of course, that they are frightfully common. Yet they are still frustrating and heartbreaking every time.
It took me over 3 years to have Ingrid. During that time, I couldn’t talk about it. It felt too close – too personal. Once in a while, I might open up to a close friend or family member – or more likely – another woman who had struggled with something similar. I feel incredibly fortunate that I have my two children now. I think the wait made having them that much sweeter for me. But I know it could have been much worse. My heart goes out to everyone who is struggling with the desire to grow their family, but for whatever reason, is unable to.
2) Giving birth makes you a superhero.
Both times, giving birth has felt like an incredible athletic event to me – an extreme sport! (This article explains it so well.). Afterwards, I felt so proud of myself. And I felt in awe of all the millions of mothers who have gone before me and given birth to children of their own. I remember after I left the hospital with Ingrid, I looked at every mother I met with new eyes. I was in awe of them. I still am.
3) Feeding babies isn’t always as simple as it seems.
I’m the oldest of 4 children, and have worked as a nanny in the past, so I didn’t think I’d be in for much of a surprise when I took my first baby home from the hospital. And I especially didn’t think I’d have any surprises when I took my second baby home – after all, I’d gone through it before!

But you guessed it – both babies were full of surprises. Ingrid wasn’t thriving and didn’t get back to her birth weight for 6 weeks after she was born, despite all of our efforts and frequent visits to the pediatrician. It turns out she had a tongue tie – the kind that’s not easy to diagnose – and her mouth simply didn’t work the way it was supposed to. Once a lactation consultant figured it out for us, it was a simple fix. But I still feel so bad for baby Ingrid when I think back on that time.
Lars had the exact same tongue tie. We figured that out right away, of course. What we didn’t count on was that he would also be colicky, have acid reflux, and multiple food intolerances. We were grateful that he always seemed to gain weight just fine, but the poor little guy just cried and cried around the clock, no matter how hard I tried to comfort him. We eventually figured out ways to lessen his discomfort, but it was mainly a waiting game until he grew out of it. (And thankfully he did.)
4) Kids have a mind of their own (starting at a very young age).
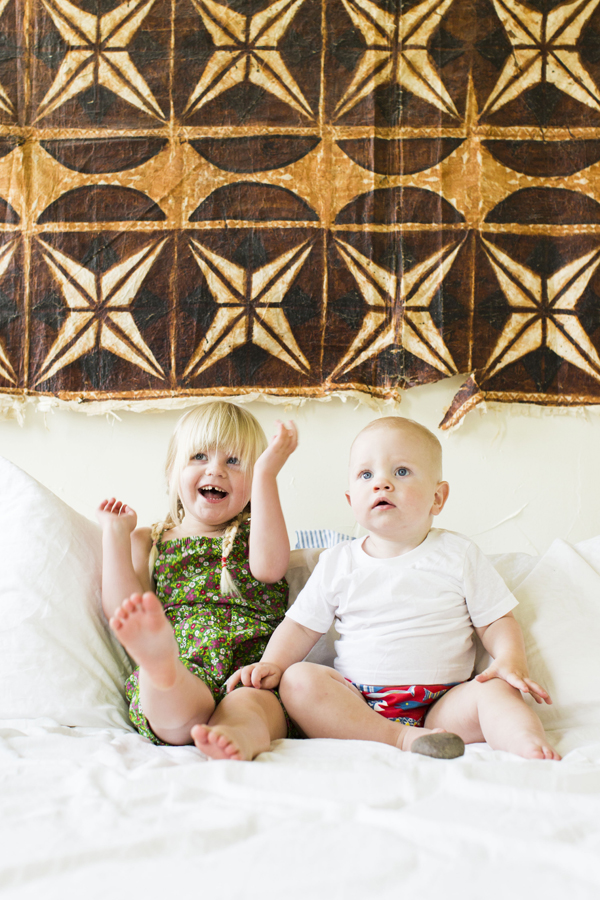
Ingrid is 3 1/2 years old now. Since the age of 2, she’s been very opinionated about her own appearance. She insists on wearing “braided pigtails” every single day. She picks out her own outfits, shoes, and accessories every single day. She even gets upset if we can’t find the right coordinating pajama top and bottom. I get a kick out of it, but on the other hand, I’ll admit that I had visions of dressing my little girl up until junior high — ha! And Lars – at 15 months, he doesn’t talk much yet, but he is still very clear about his likes and dislikes. I know just which books, toys, and foods are his favorites.
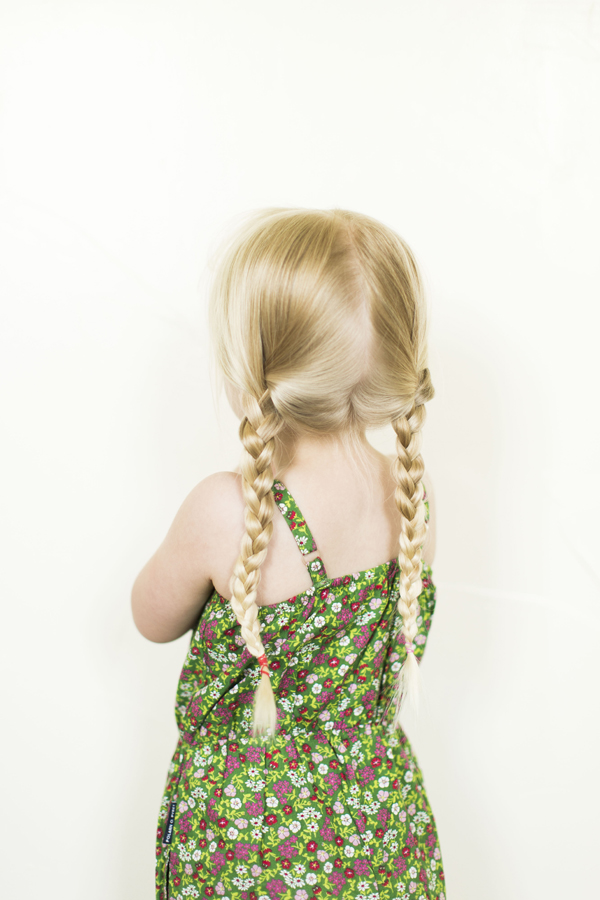
It’s so fun to see their little personalities emerge.
5) As much as I love my career, I would give it up if I thought that was the best thing for our family.
Having a family was always a dream of mine. And I always knew that my life would revolve around family. However, I also love Sycamore Street Press and have put my heart and soul into it for 7 years now. I never thought that I would ever be willing to give it up. But now that I have these two beautiful little miracles in my life – I would do it. I would give up my career if that was in my family’s best interest.
Luckily, I don’t have to make that decision, though! Sycamore Street Press provides for our family. It allows my husband, Kirk, and I work together, from home, and on a flexible schedule. It’s a blessing in our lives. (So don’t worry about it going away anytime soon, ha ha.)
Photo Credits:Â Jessica Peterson
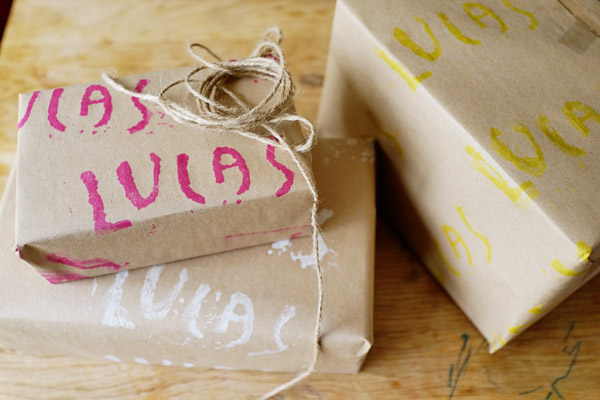
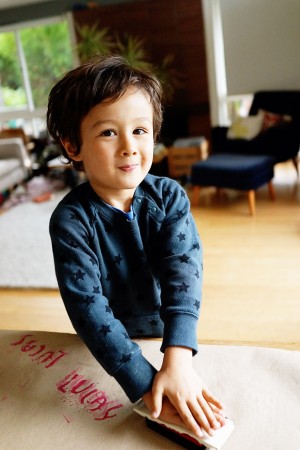
I’ve asked some of my favorite creative mamas to help out while I’m away with our new baby. Today, one of my favorite stationers – and mama of two boys! – Lisa from Good on Paper is sharing a super fun and creative DIY project that can be done with children: gift wrap made with hand carved stamps! –Nole
Hi guys! For my final post while Nole is on maternity leave, I’d like to share a fun and easy DIY project I did with my 4-year old son Lucas, based on my friend Sally J. Shim’s new book, Pretty Packages: 45 Creative Gift-Wrapping Projects. I love beautiful packaging, but am not the best gift wrapper. Our family has been going to a lot of kids’ birthday parties lately, which often means quickly stuffing a gift in tissue paper and throwing it into a party bag. Pretty Packages has so many ideas, many of which are kid-friendly, but the one that really stood out to me was the Hand-Carved Stamped Wrapping Paper. I had done some hand carving before, and Lucas loves stamping (both paper and his body!). The instructions were simple and I was able to turn it into a kid-friendly project that we can do over and over. Below are the instructions and materials needed. – Lisa from Good on Paper
Materials
Scrap paper
Carving block
Archival stamp pad
Paper for wrapping your gift
Tools
No. 2 pencil
Bone folder
Speedball Linoleum Cutter Handle
Speedball Linoleum Cutters (blades Nos. 1 and 5)
X-ACTO knife

Instructions
1. Using the No. 2 pencil, draw your stamp design on the scrap paper.
2. Flip the paper right-side down onto the carving block and rub the back of the paper using the bone folder.
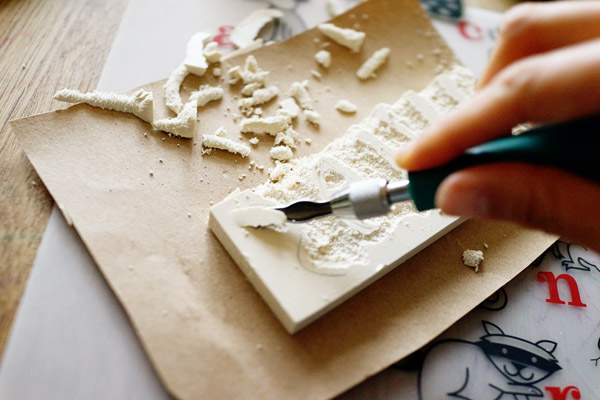
3. Lift off the paper and you will see the transferred design on the carving block. Using a No. 1 linoleum carving cutter, carve out the outline of the stamp design. If the design has details, carve the negative space from the design.
4. When you are finished carving the stamp design, use the No. 5 carving cutter to carve a thick outline around the design. This will help you cut the stamp from the block.
5. Hold the block with one hand and use the X-ACTO knife to carefully cut the stamp image from the block. Please cut with care, and avoid cutting your fingers.
6. Hold the stamp right-side up and press the stamp pad onto the stamp, applying an even layer of ink. Test the stamp on the scrap paper to make sure it prints evenly. If there are any areas that do not stamp clearly, go back and use the No. 1 linoleum cutter to make the stamp edges more crisp. Once you have a stamp that produces a clear image, place the wrapping paper on a flat surface, right-side up, and stamp a pattern. Make sure to apply even pressure on the stamp to ensure a clean printed image. You can stamp a random or repeated pattern.
7. Let the stamped wrapping paper dry for 1 hour before wrapping your gift.
8. Wrap up your gift!
– From Sally J. Shim, Pretty Packages: 45 Creative Gift-Wrapping Projects
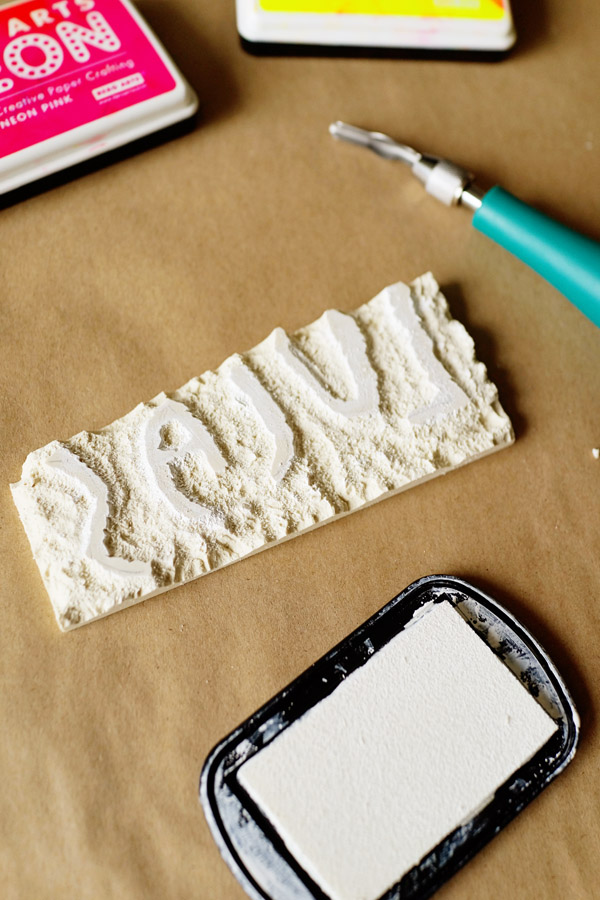
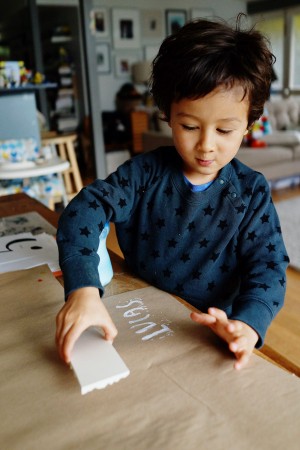
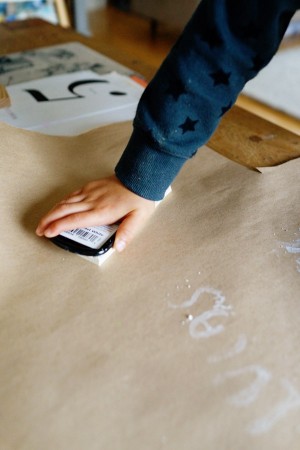
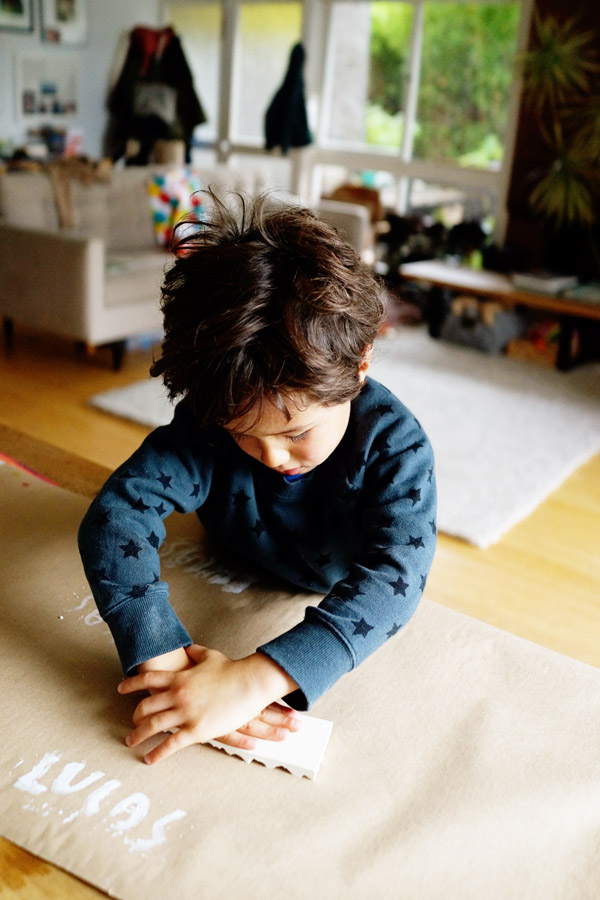

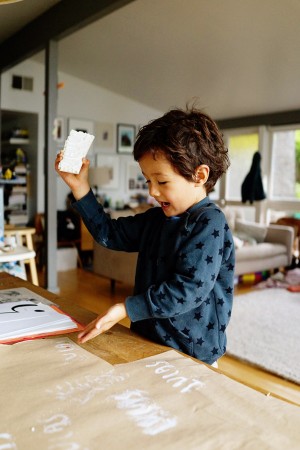
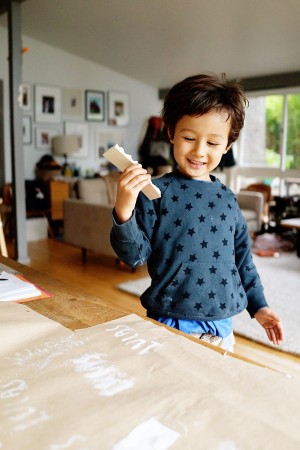
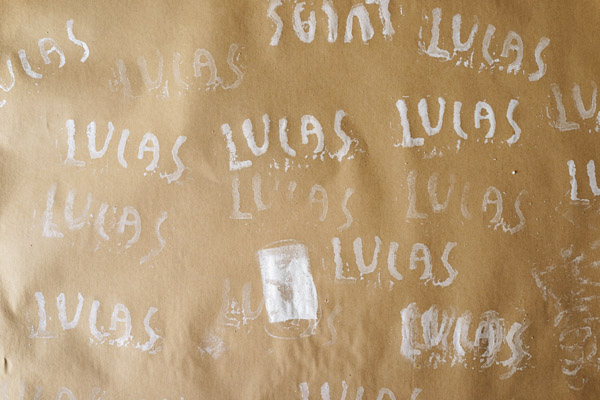
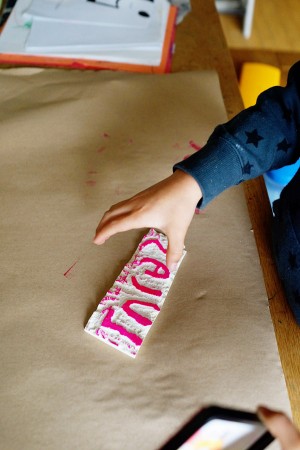

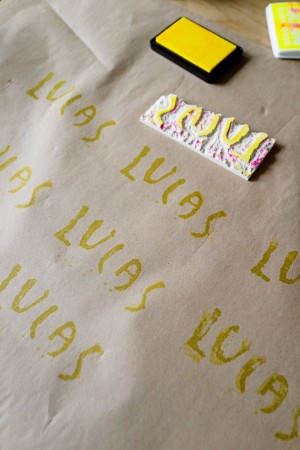
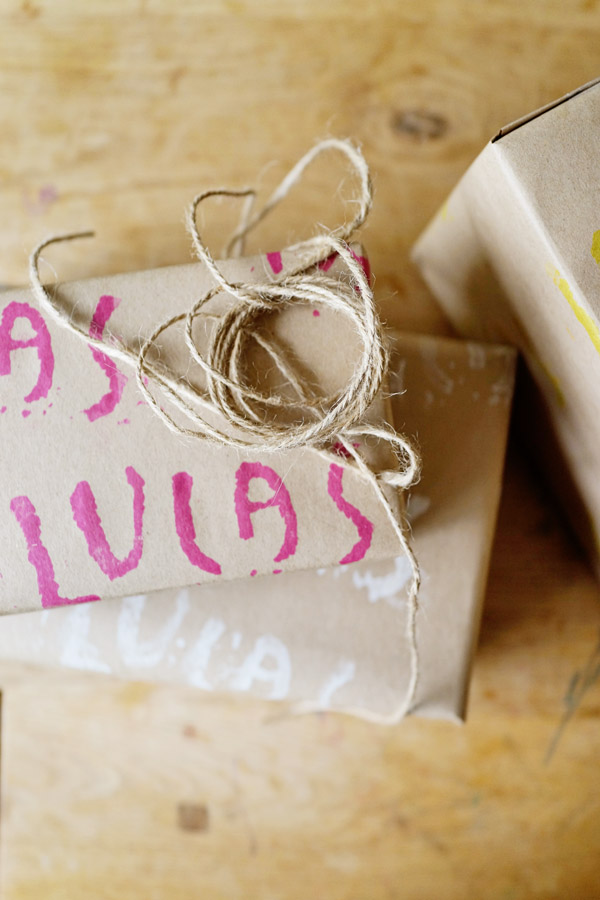
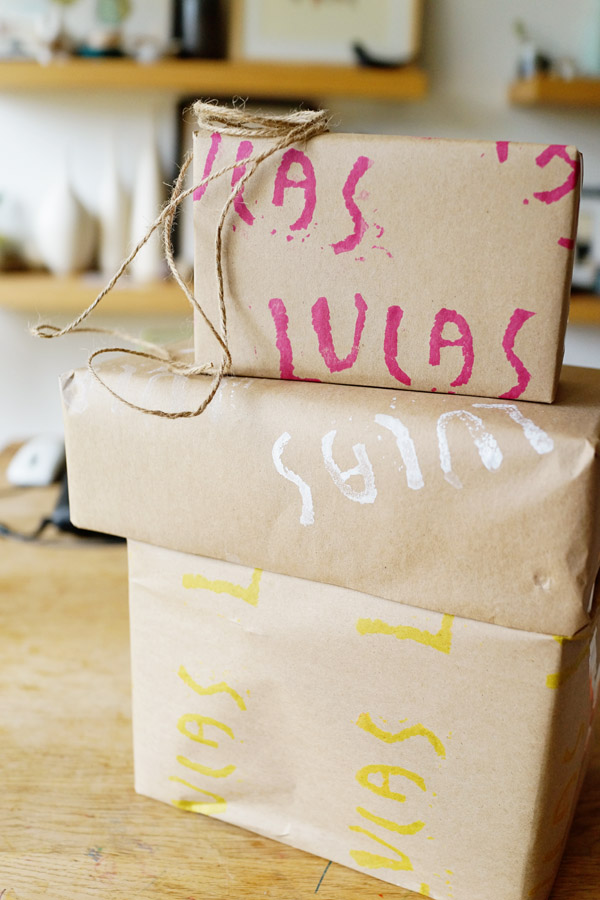
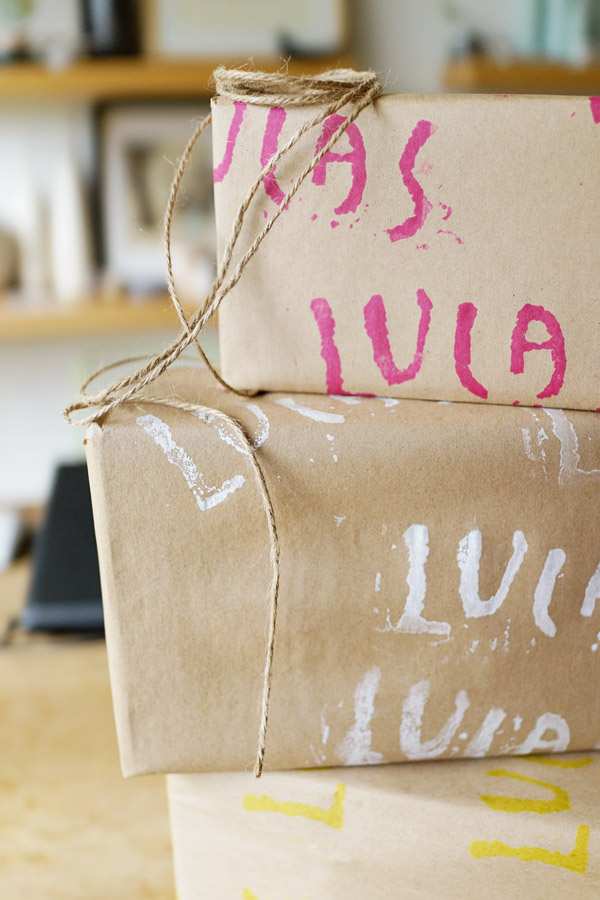
Lucas recently learned how to write his name, which is so cool! I had him write his name out on the scrap paper, then used the linoleum carving cutter to cut around the letters. Lucas chose three ink colors (white, neon pink, and neon yellow) to stamp his name onto the kraft butcher paper. He was so excited to get stamping, and so proud of himself when he saw the finished product and wrapped gifts. Of course, these gifts are covered in his name instead of the recipient’s, but at least the person will know who it’s from! It would also be cute to write out something else, like “Happy” or “Hello”.