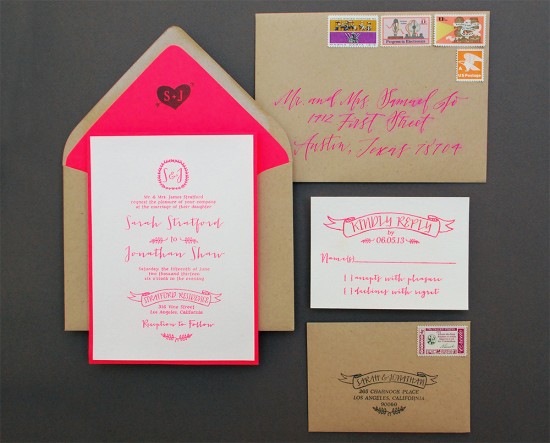
DIY Tutorial: Neon + Kraft Paper Wedding Invitations

Neon is back in a big way. It’s been trending in fashion and home decor for a while now, so it’s fun to see the bright hues make a splash in the stationery world too! A while back, we shared a neon and kraft paper save the date design with you and today, we’re following up with a coordinating invitation suite! – Bailey and Emma of Antiquaria

DIY Tutorial: Neon and Kraft Paper Wedding Invitations by Antiquaria via Oh So Beautiful Paper

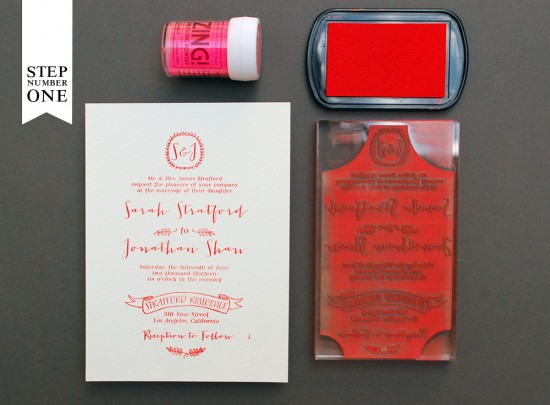
Step One: To achieve the vibrant neon effect for this suite, we utilize the embossing technique. This process creates a raised and opaque print that emulates the thermography printing you’d find in a traditional print shop. Place your A7 card on a stable and firm surface. Ink your invitation stamp (we used our Mod Invitation stamp) and center the stamp over your card. When ready, press the stamp down with moderate pressure to make the print. Lift the stamp off and quickly move on to adding your embossing powder.

DIY Tutorial: Neon and Kraft Paper Wedding Invitations by Antiquaria via Oh So Beautiful Paper

Once you’ve made your print, immediately cover it with embossing powder by sprinkling it across the paper. Shift the powder around until you have covered the entire image. Now, you will pour the excess powder off of the card onto a scrap piece of paper so that you can reuse it for future prints. Heat set the print, using an Embossing Heat Tool. You will be able to see the powder melt into an opaque and solid color when it’s done. For more information about how to emboss using stamps, please watch this instructional video.

Note: One key thing about embossing is that it is wise to try to closely match your ink color with your powder color. By doing this, you will get much more crisp and opaque results.

DIY Tutorial: Neon and Kraft Paper Wedding Invitations by Antiquaria via Oh So Beautiful Paper

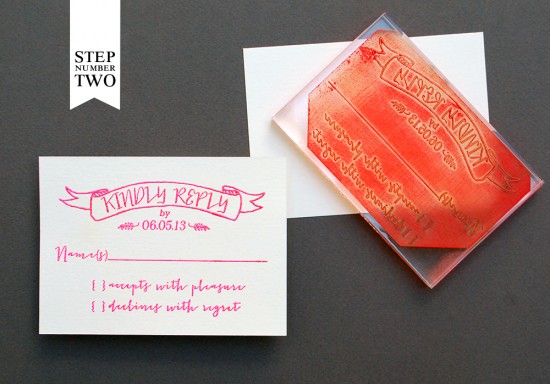
Step Two: Using the same technique as step one, you will print and emboss your reply card. We used our Mod Reply Card stamp on a 4Bar card for this piece.

DIY Tutorial: Neon and Kraft Paper Wedding Invitations by Antiquaria via Oh So Beautiful Paper

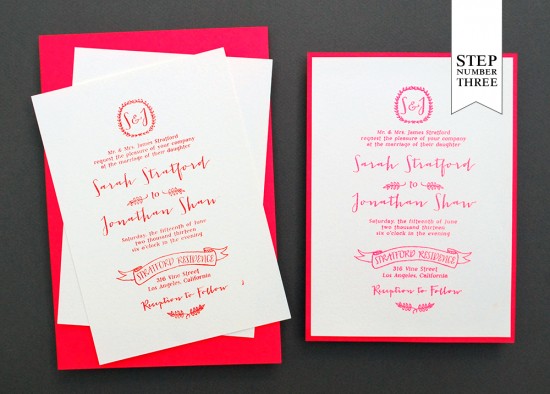
Step Three: A really great way to add luxurious thickness and a pop of color to your invitation is to add a card stock backer to the invitation print. Adding a backer to the invitation also helps to flatten out any warping/curling that sometimes happens from the heat tool. To do this, simply cut the colored paper to your desired size (ours was 5.25″x7.25″) and use double sided tape to affix the two piece together. *We like to put tape all along the outer rim as well as an “X” across the middle to make sure that there is a good bond.

DIY Tutorial: Neon and Kraft Paper Wedding Invitations by Antiquaria via Oh So Beautiful Paper

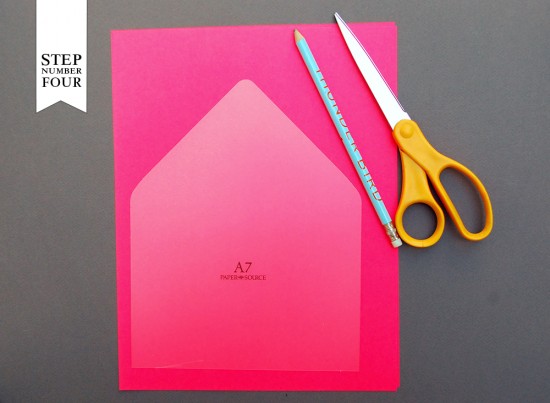
Step Four: By now, you all probably know that we love envelope liners! For this suite we used the same neon paper (except in text weight this time) to cut a liner for our kraft envelope. Simply trace the template on your paper, cut it out and use double sided tape or stick glue to affix it to your envelope.

DIY Tutorial: Neon and Kraft Paper Wedding Invitations by Antiquaria via Oh So Beautiful Paper

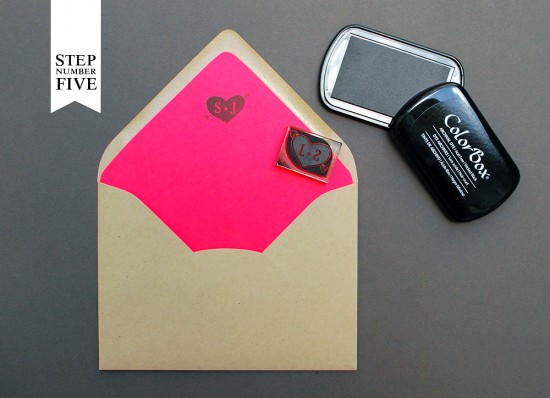
Step Five: For a little added flavor, we stamped our Cross my Hearts Initial Monogram stamp in black ink on the inside flap of the liner. It’s a fun surprise for your guests when they first open your invitations!

DIY Tutorial: Neon and Kraft Paper Wedding Invitations by Antiquaria via Oh So Beautiful Paper

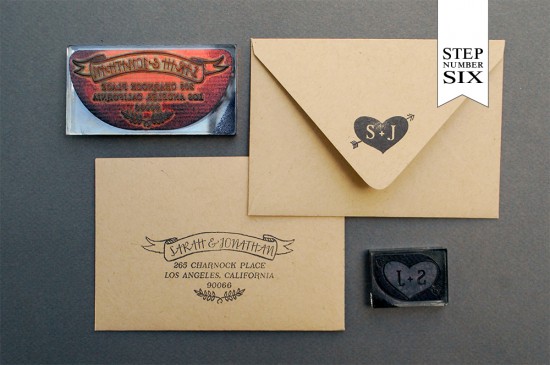
Step Six: For the reply card envelope, we kept things pretty simple and printed a matching address stamp (we used our Mod Banner Return Address Stamp) in black in on a 4bar kraft paper envelope. We also used the same monogram on the back flap that we used on the liner paper to carry the theme through the suite. We also used the same address stamp in black for the back flap of the A7.5 outer envelope, (not shown). For more detailed information on how to (properly) ink and print stamps, please watch this instructional video.

DIY Tutorial: Neon and Kraft Paper Wedding Invitations by Antiquaria via Oh So Beautiful Paper

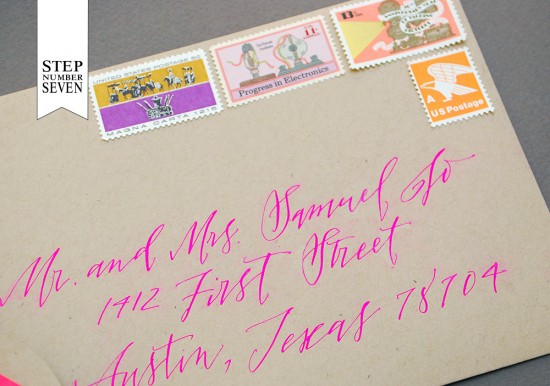
Step Seven: Once you’ve crated all of your pieces, it’s time to address the invitations, add postage (we used vintage postage from Verde Studio) and send them on their way! We guarantee that your guests will be very impressed by all of your handiwork and pumped to celebrate with your on your big day!

Materials:

“Mod” Invitation Stamp “Mod” Reply Card Stamp “Mod Banner” Return Address Stamp “Cross my Heart” Monogram Stamp

A7 Cards in Luxe White

A7.5 Envelopes (Outer Envelopes) in Paper Bag

4Bar Card 4Bar Envelope in Paper Bag

Stamp Pad in Picante Red

Stamp Pad-Wicked Black

Embossing Powder Embossing Heat Tool

Card Stock Backer Cut to 5.25 x 7.25, in Rocket Red from Astro Brights

Liner Paper 8.5″x11″ text sheets, in Rocket Red from Astro Brights

Envelope Liner Templates

Pencil

Scissors

Double Sided Tape

Vintage Postage (from Verde Studio)

Anti­quaria is a mem­ber of the Designer Rolodex – you can see more of their beau­ti­ful work right here or visit the real wedding invitations gallery for more wedding invitation ideas!

Photo Credits: Antiquaria

National Stationery Show 2013, Part 1

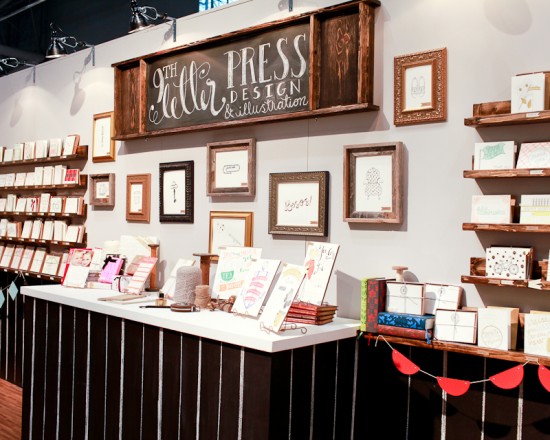
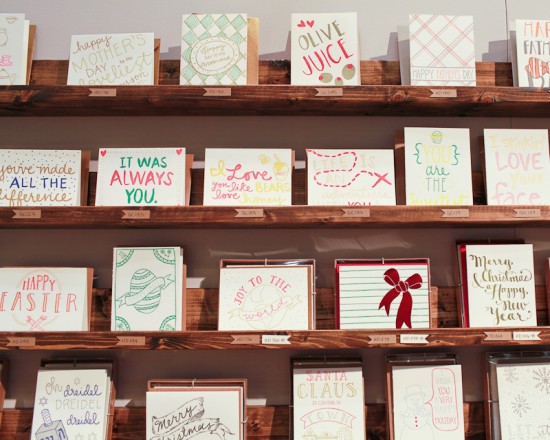
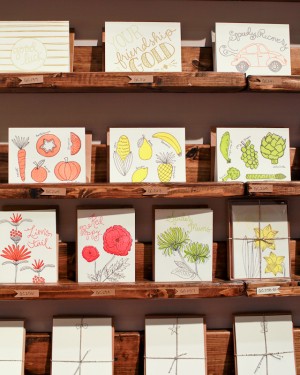
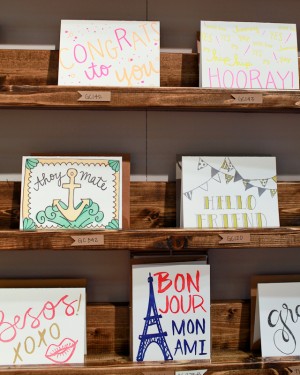
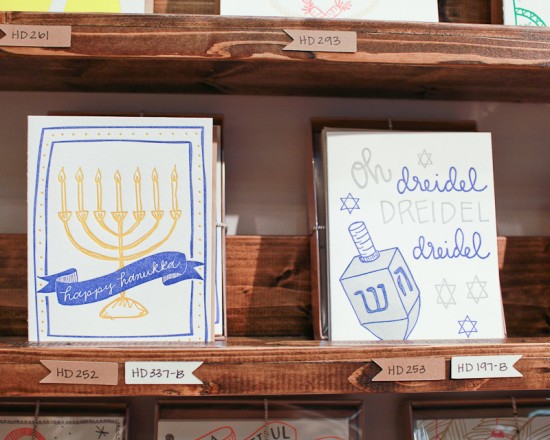
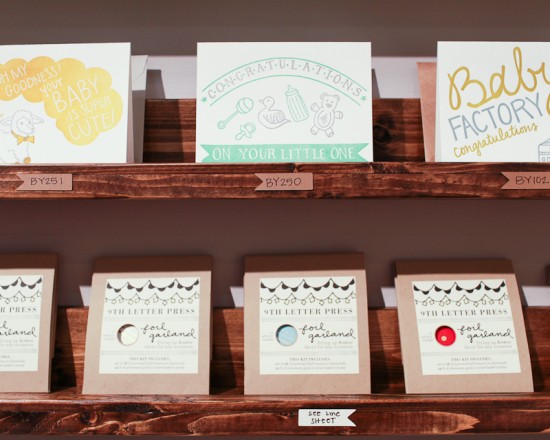
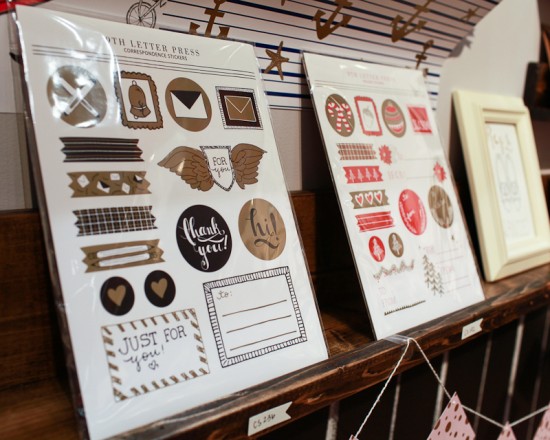
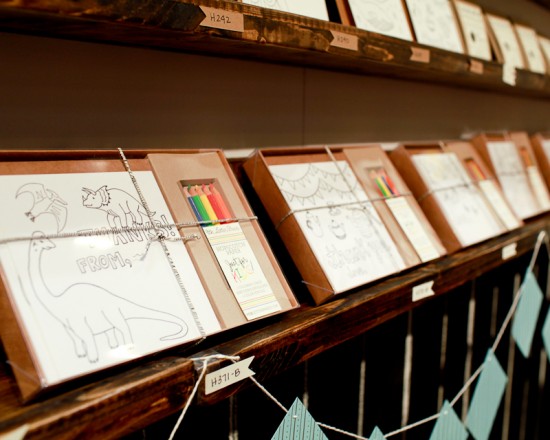
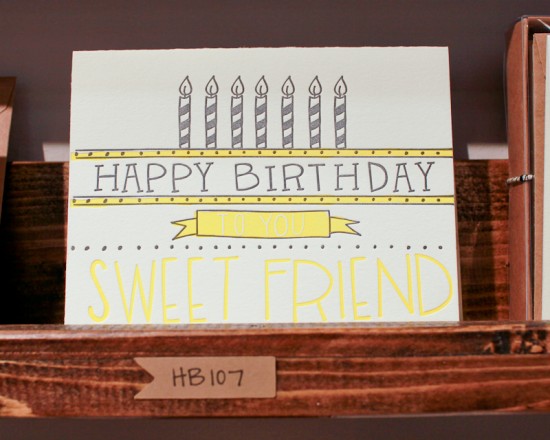
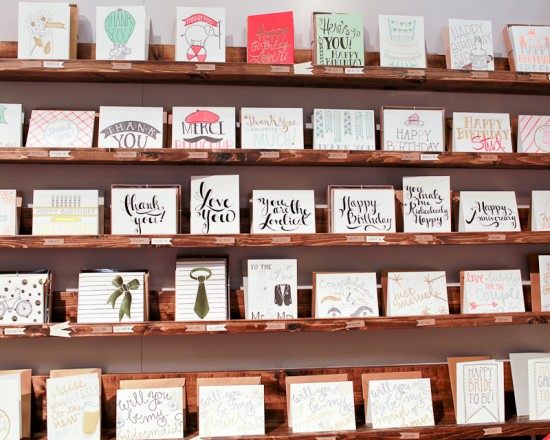
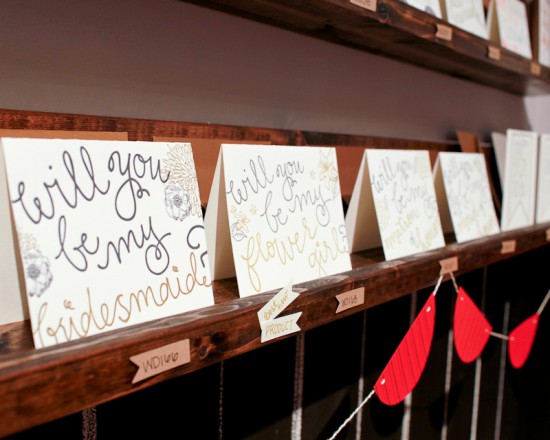
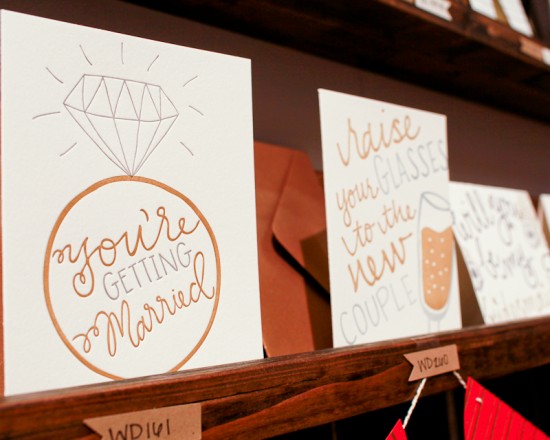
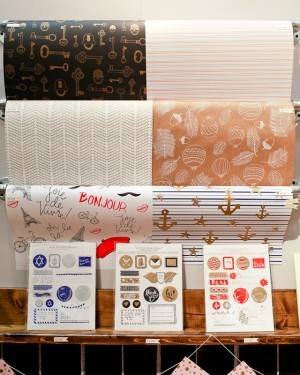
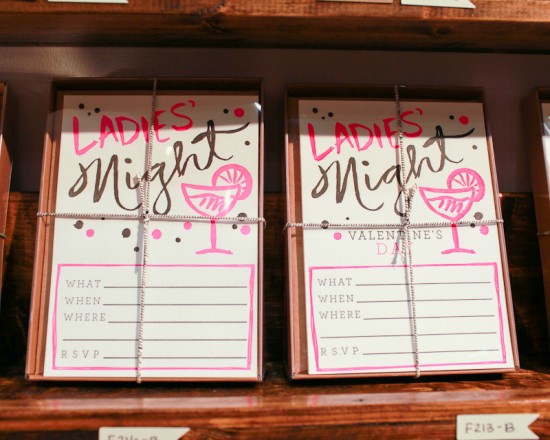
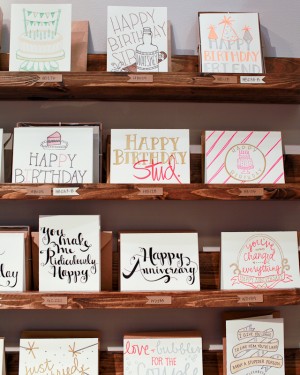
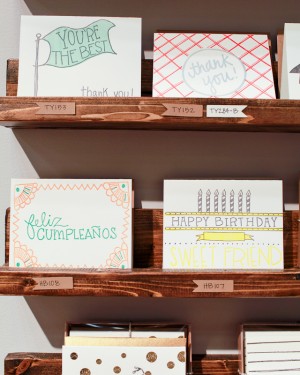
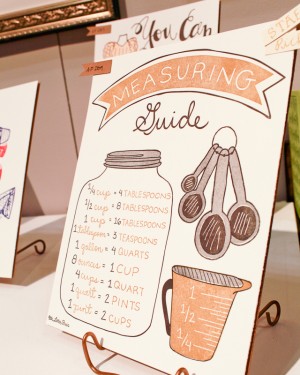
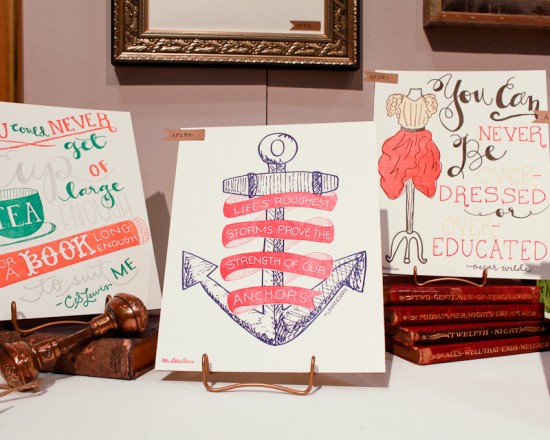
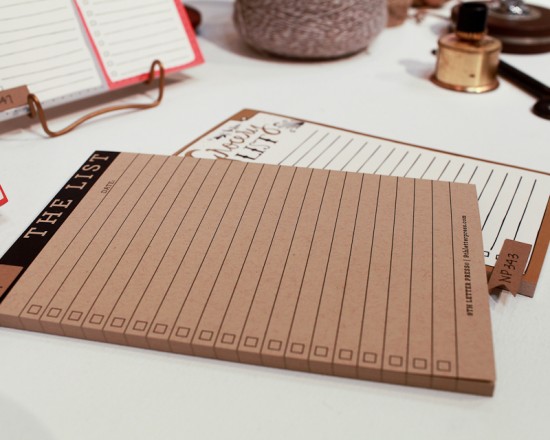
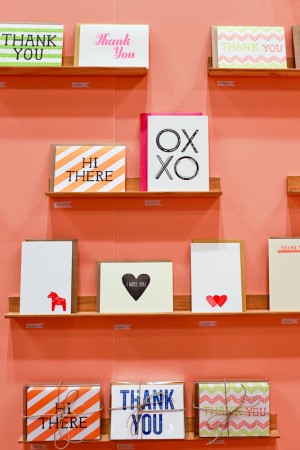
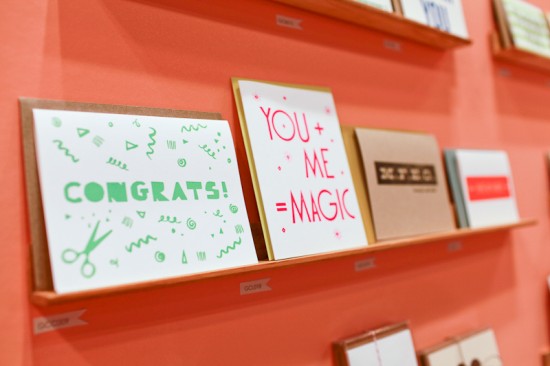
It’s finally here! The 2013 National Stationery Show kicked off yesterday, and I’m so excited for a week full of wonderful stationery! I’ve only had a chance to walk a few aisles so far, but today I’m thrilled to kick off my NSS recaps with five of my favorite booths (so far) from this year’s show! First up, one of the biggest debuts of the year – 9th Letter Press! These ladies went all out with a huge booth filled with awesome letterpress stationery, including gift wrap and foil printed garlands, foil art prints, notebooks and notepads, stickers and fill-in party invitations, and of course tons of greeting cards and holiday cards!


9th Letter Press

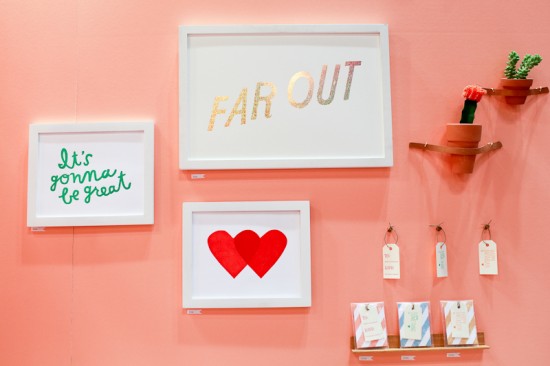
I’ve been following the ladies of Tabletop Made for a loooong time, and it was wonderful to finally meet them in person at their adorable booth! So many cute things, from letterpress printed greeting cards and postcards to gift tags to art prints. I’m particularly loving the sparkly gold foil in the Far Out print below!


Tabletop Made

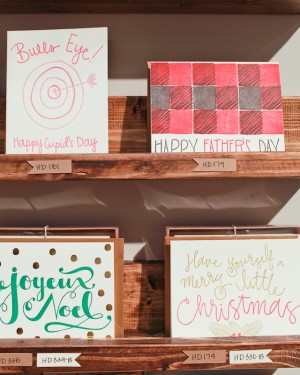
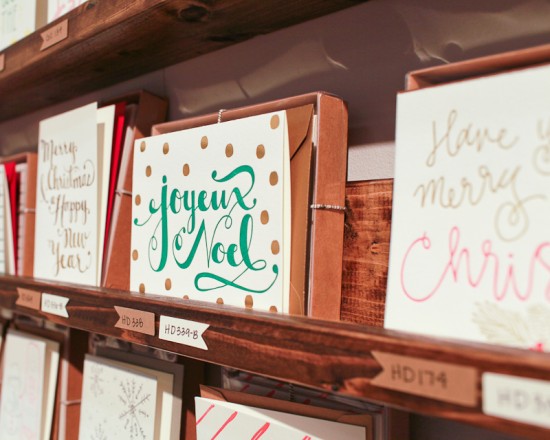
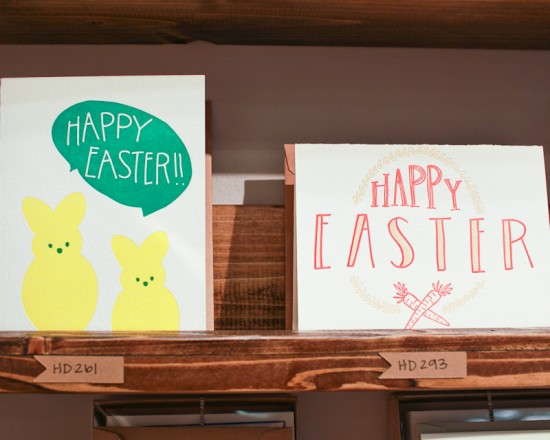
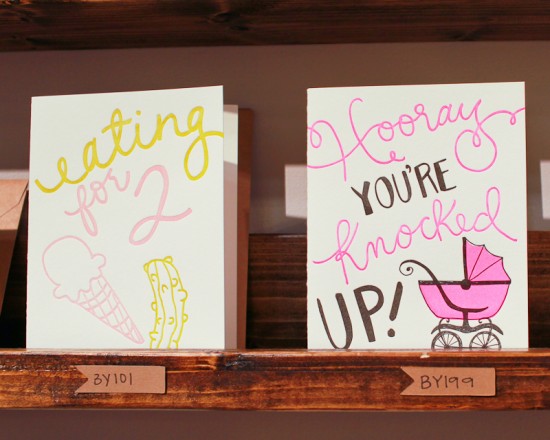
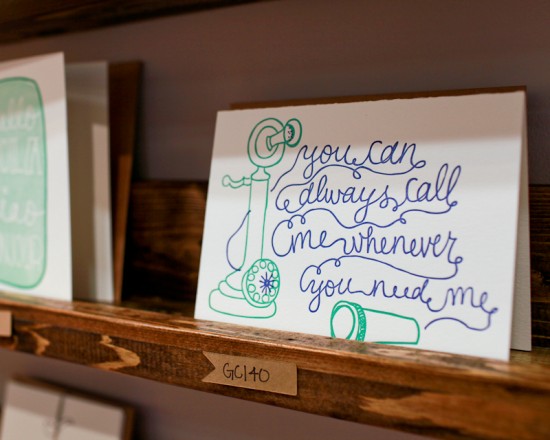
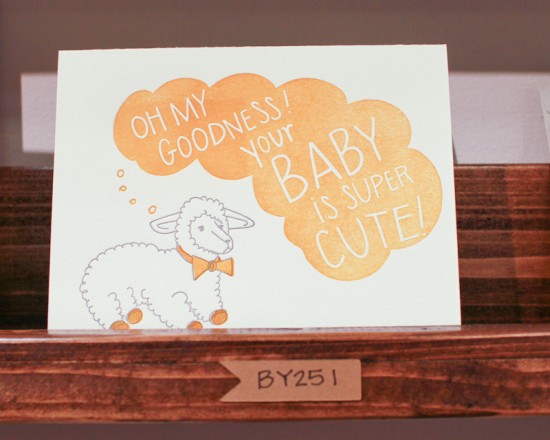
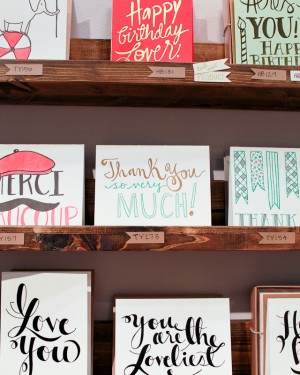
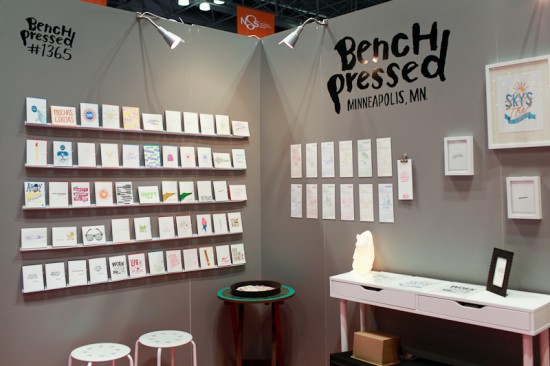
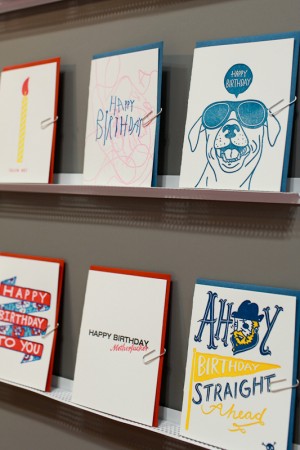
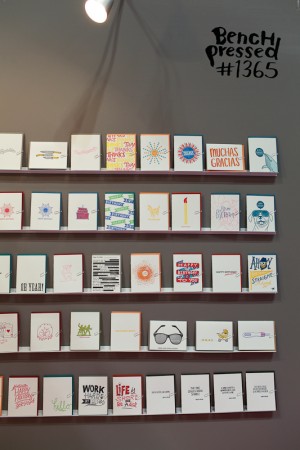
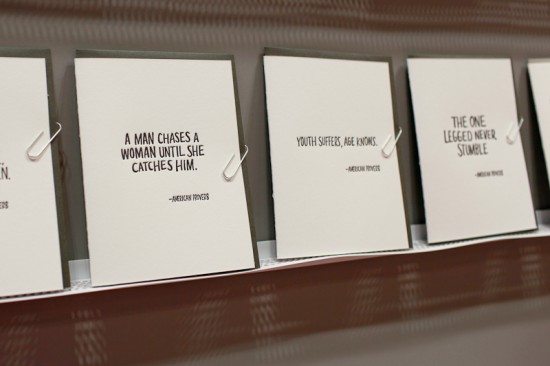
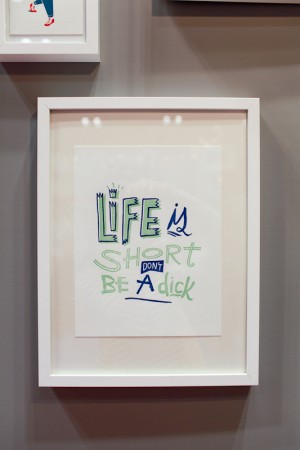
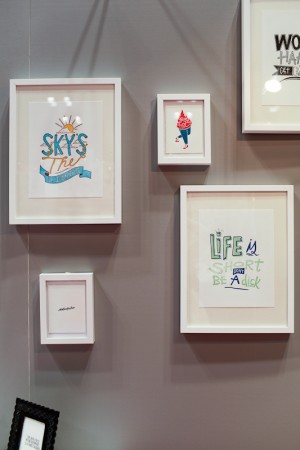
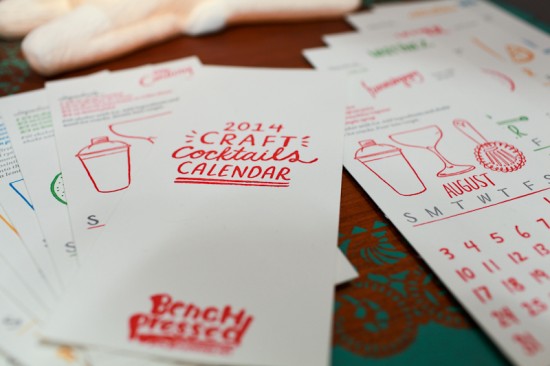
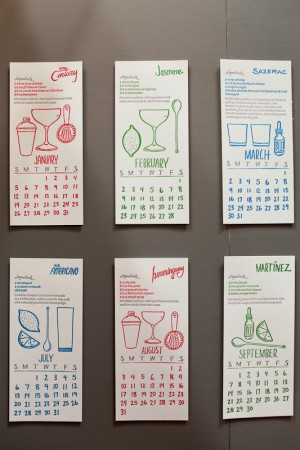
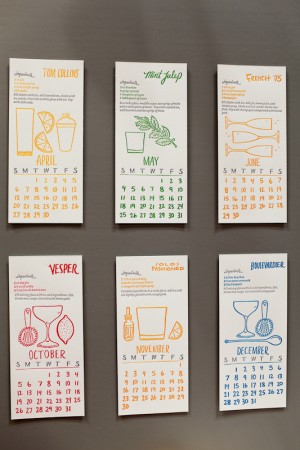
I was thrilled to stumble upon this booth from Minneapolis-based new exhibitor Benchpressed. I’m loving the hand lettering, illustrations, and bright colors in the sweet and snarky greeting cards and art prints – and of course I’m a fan of the monthly craft cocktail calendar!


Benchpressed

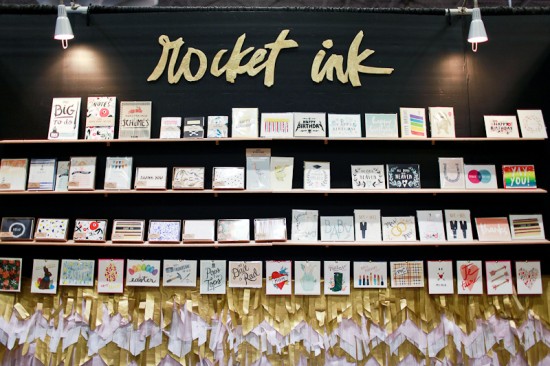
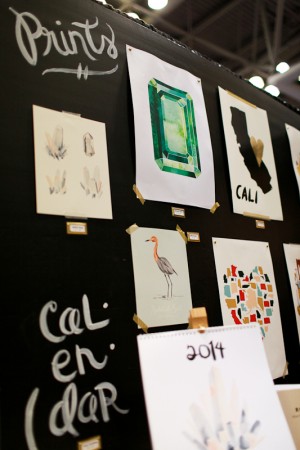
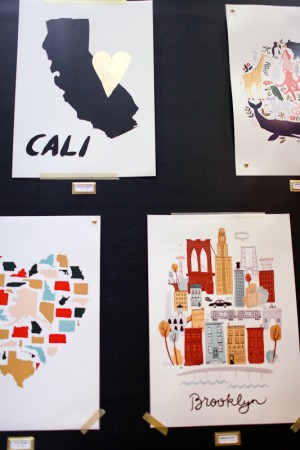
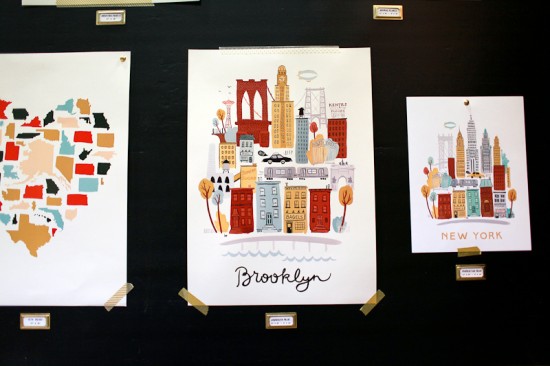
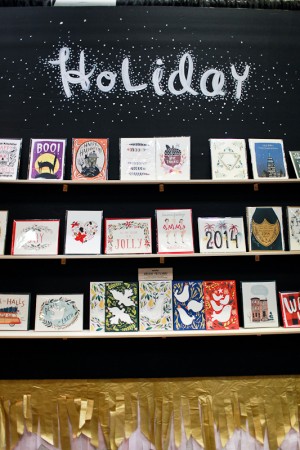
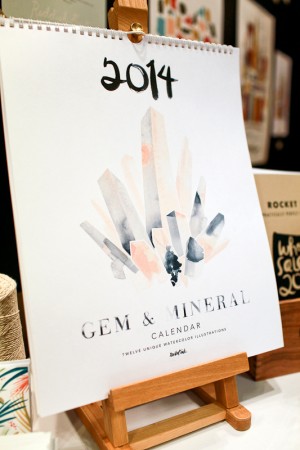
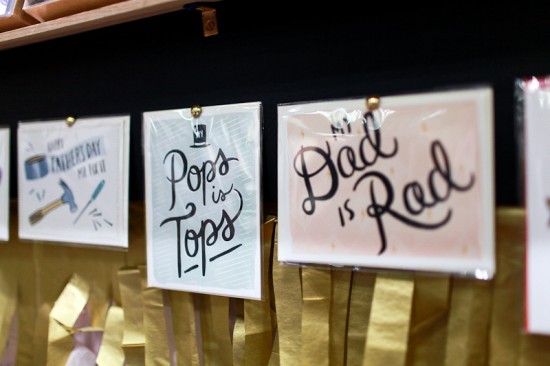
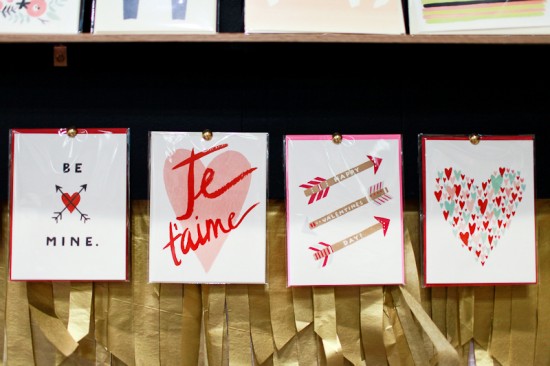
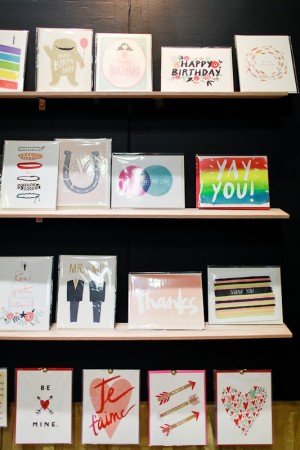
The Rocket Ink booth was one of my favorite debuts last year, and this year Katie’s booth was full of beautiful city and state prints, a gorgeous gem-themed 2014 wall calendar, and lots of illustrated and hand lettered greeting cards, love cards, and holiday cards. And how cute is that fringe trim around the booth??


Rocket Ink

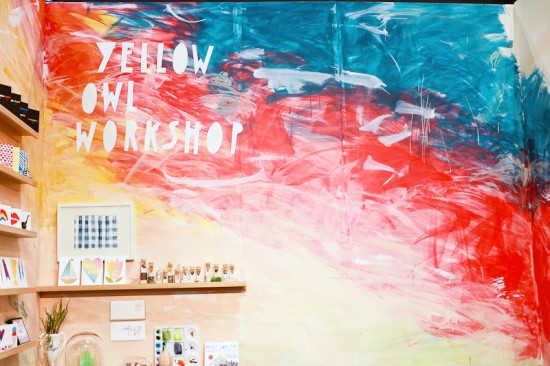
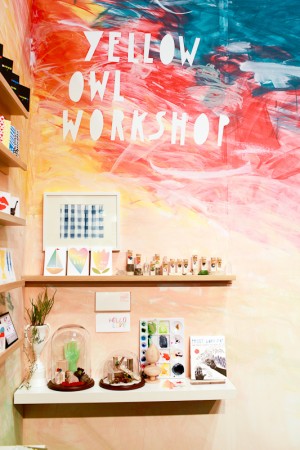
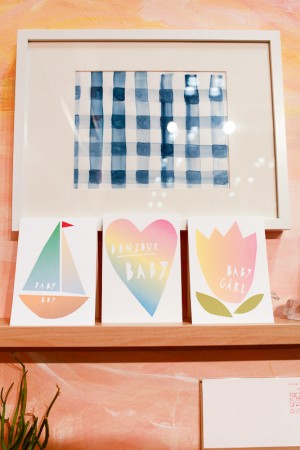
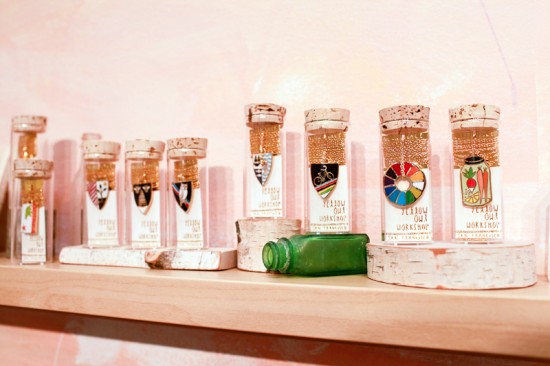
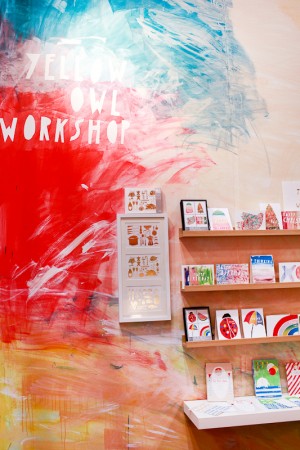
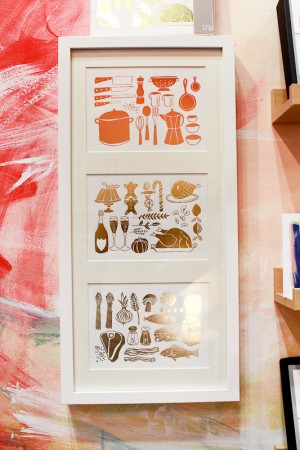
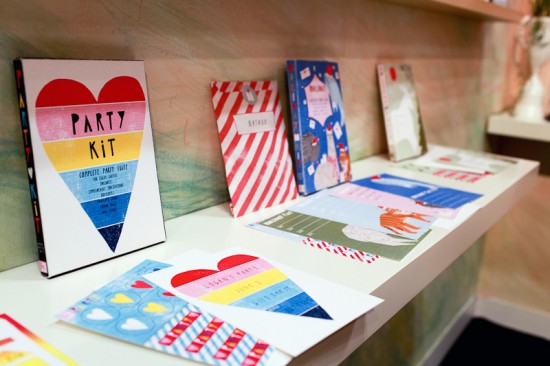
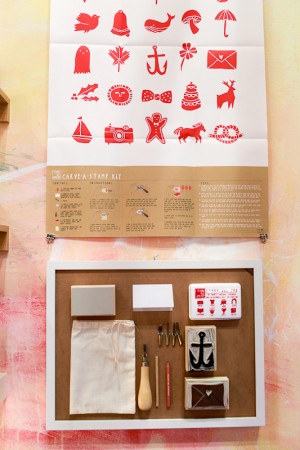
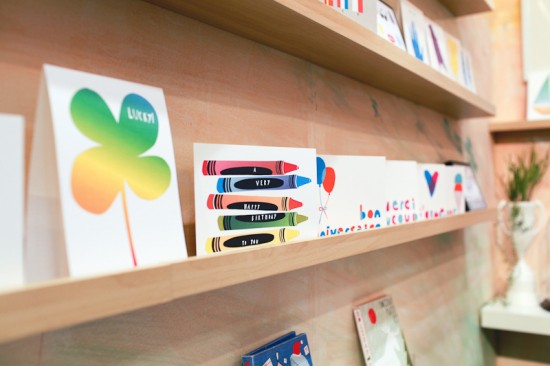
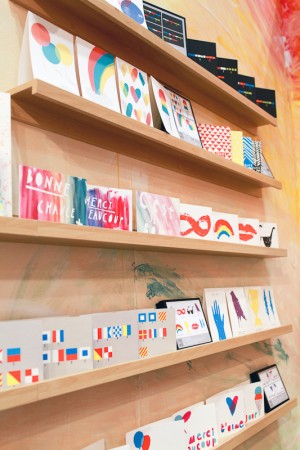
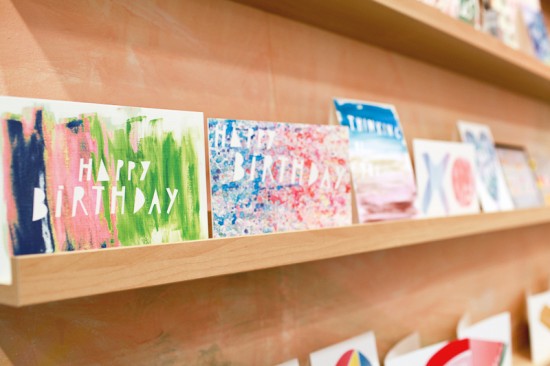
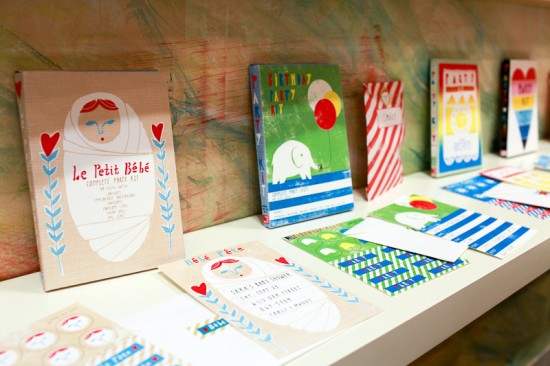
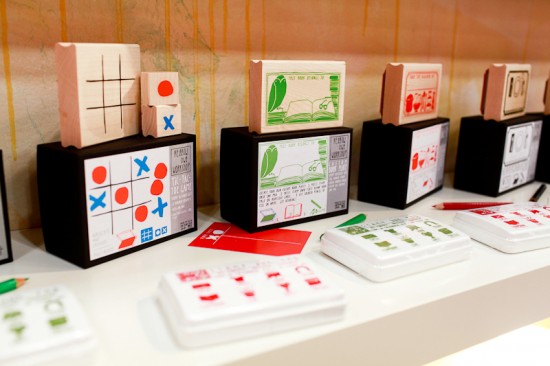
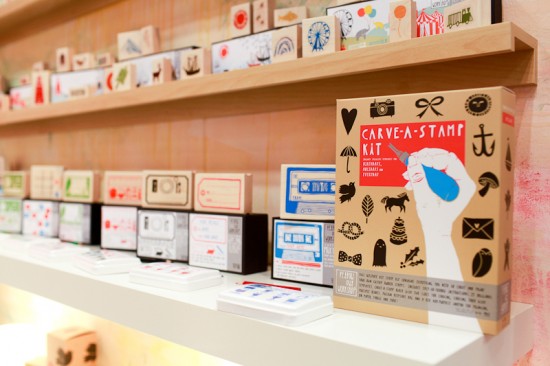
I’m completely overjoyed that Yellow Owl Workshop was back in their very own booth for this year’s show – and what a booth! Christine hand painted the walls in the most beautiful abstract pattern, which was the perfect backdrop for her colorful greeting cards, stamp kits, and necklaces. They also had their brand new carve-a-stamp kits on display and I’m beyond obsessed. So many possibilities!


Yellow Owl Workshop

I’ll have more to share from the 2013 National Stationery Show tomorrow!

Photo Credits: Nole Garey for Oh So Beautiful Paper, please ask permission prior to reposting any photos

{happy weekend!}

It’s time – I’m off to NYC for the National Stationery Show! Next week I’ll report back with the best of the best from the Javits Center – from booth design to new paper goods. I can’t wait! But in the meantime…

Nevara: Spring Lilacs via Oh So Beautiful Paper
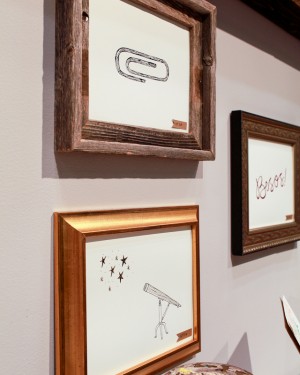
Photo Credits: Nevara

…a few links for your weekend!

This week on Oh So Beautiful Paper:

Check back soon for this week’s cocktail! I hope you all have a wonderful weekend, and I’ll see you back here for NSS recaps next week! xoxo

p.s. I’m looking for a couple of volunteers to help out with my annual Paper Party on Tuesday! If you live in the NYC area and can spare some time on Tuesday, please email me! I promise to send you home with lots of pretty paper!

NSS Sneak Peek: Fine Day Press

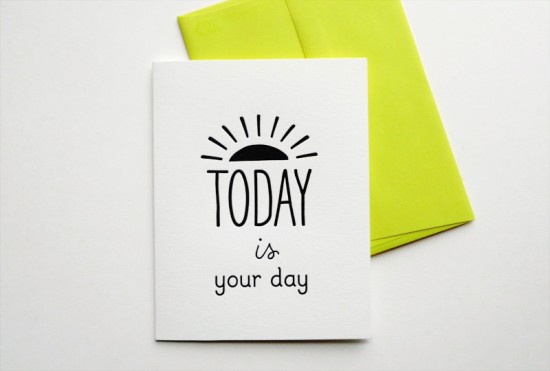
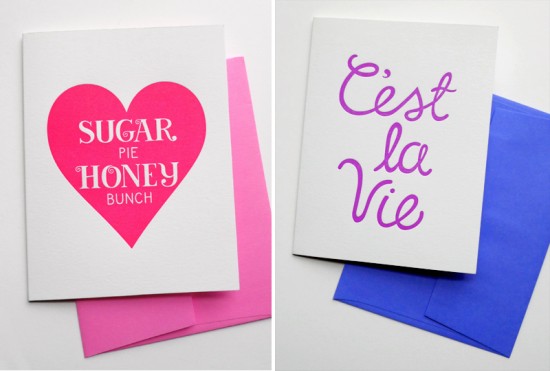
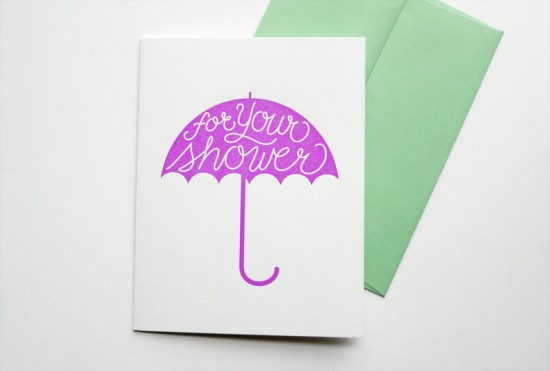
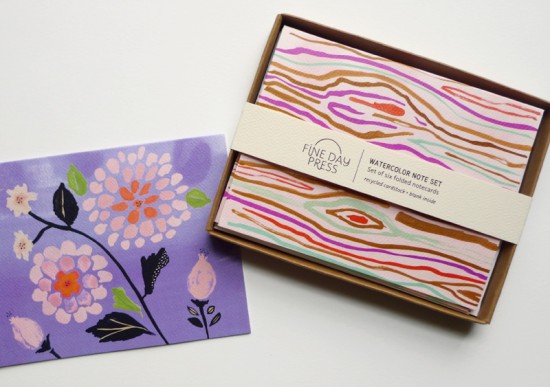
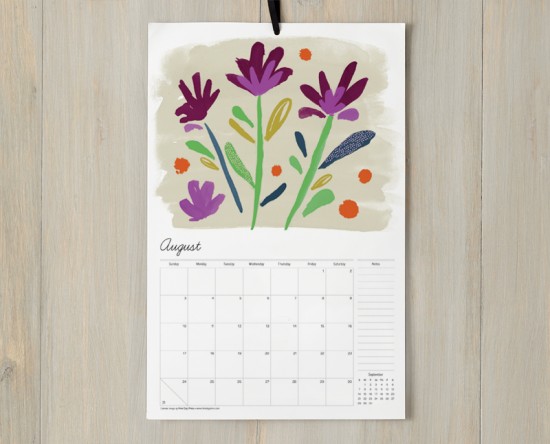
Our final NSS sneak peek of the day comes from Ashley of Fine Day Press (Booth #2046)! This year Ashley is debuting a cheerful new letterpress greeting collection that combines hand-illustrated type with bold and bright colors, along with calendars, watercolor prints, and six watercolor notecard sets. I can’t wait to see all the new goodies at the show!

NSS 2013 Sneak Peek: Fine Day Press via Oh So Beautiful Paper (2)
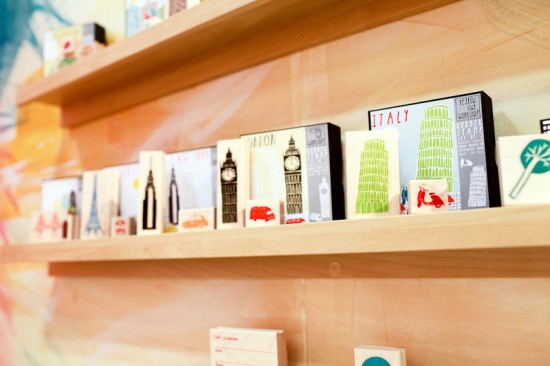
NSS 2013 Sneak Peek: Fine Day Press via Oh So Beautiful Paper (3)
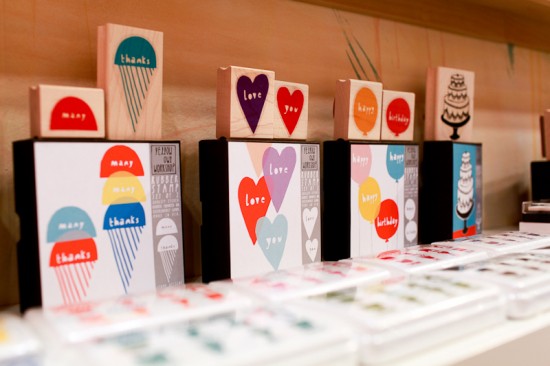
NSS 2013 Sneak Peek: Fine Day Press via Oh So Beautiful Paper (4)

NSS 2013 Sneak Peek: Fine Day Press via Oh So Beautiful Paper (1)

NSS 2013 Sneak Peek: Fine Day Press via Oh So Beautiful Paper (6)

Thanks Ashley!

Fine Day Press is a member of the Designer Rolodex – you can see more of Ashley’s beautiful wedding invitations right here!

Photo Credits: Fine Day Press

*Fine Day Press is a sponsor of Oh So Beautiful Paper

NSS Sneak Peek: Smock

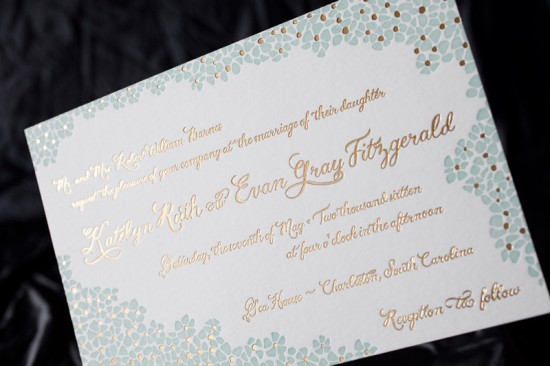
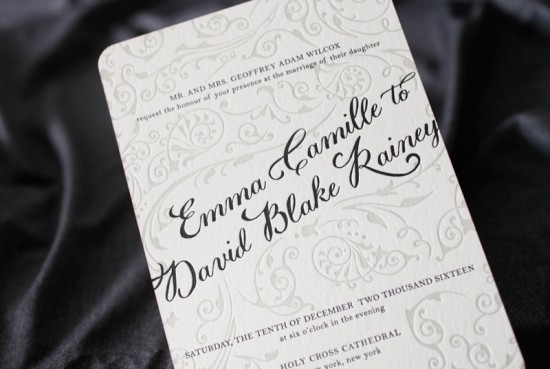
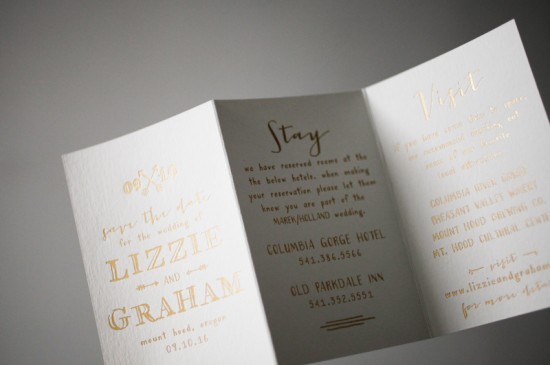
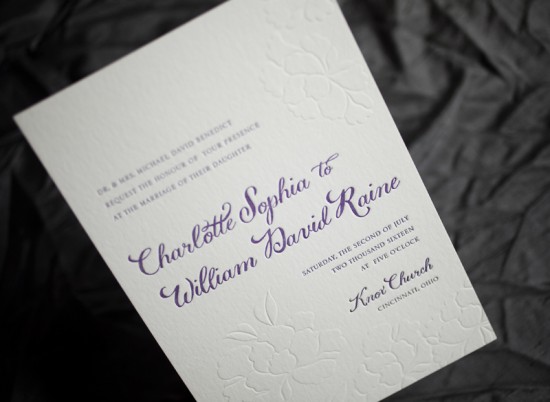
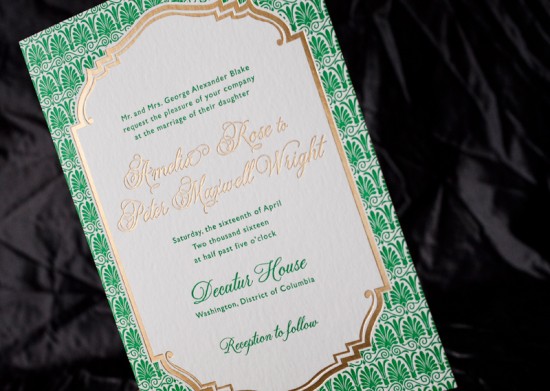
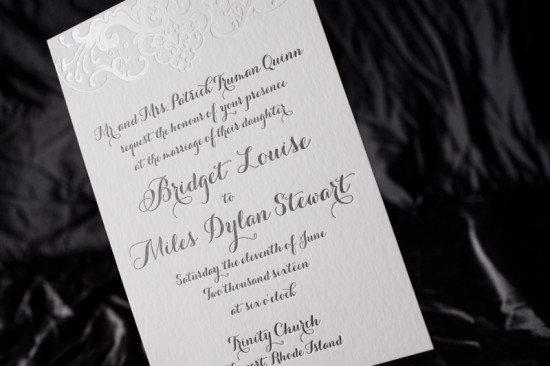
Our next sneak peek comes from a familiar exhibitor – Smock (Booth #2341)! In addition to eco-friendly greeting cards, gift wrap, and boxes, this year the Smock booth will debut a brand new wedding invitation album with twelve design suites. The album includes an exclusive calligraphy font by the talented Molly Jacques, die cut shapes, six foil colors, and the ability to blind emboss or digitally print designs in combination with letterpress printing and foil stamping. I can’t wait to see the new designs in person!

NSS 2013 Sneak Peek: Smock (6)

NSS 2013 Sneak Peek: Smock (2)

NSS 2013 Sneak Peek: Smock (1)

NSS 2013 Sneak Peek: Smock (3)

NSS 2013 Sneak Peek: Smock (4)

NSS 2013 Sneak Peek: Smock (5)

p.s. For NYC brides, Smock will hold a trunk show event at Judy Paulen Designs on Wednesday May 22

Smock is a member of the Designer Rolodex – you can see more of their beautiful wedding invitations right here!

Photo Credits: Smock