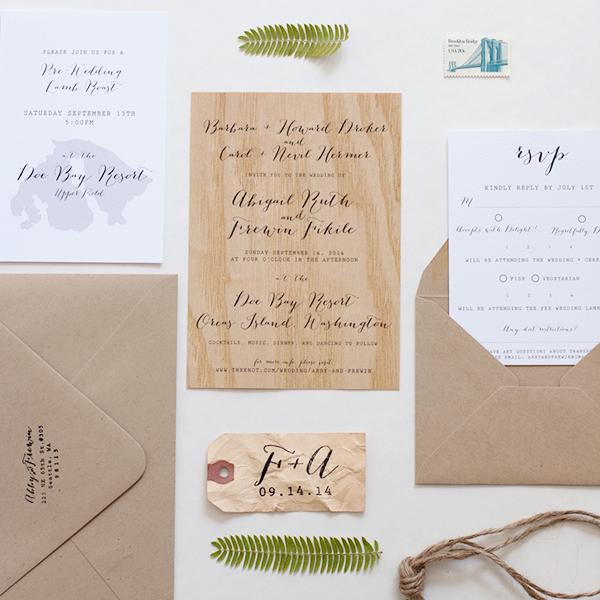
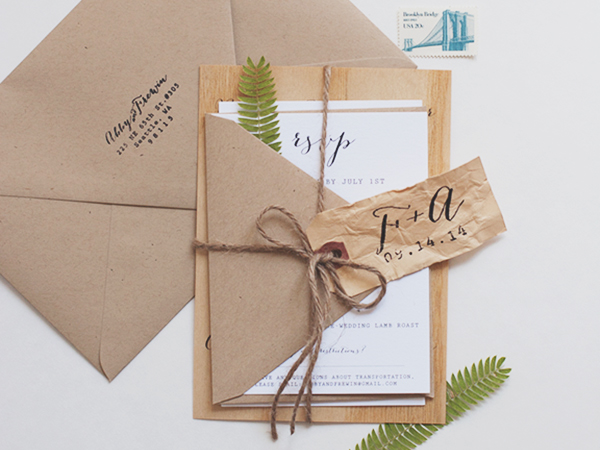
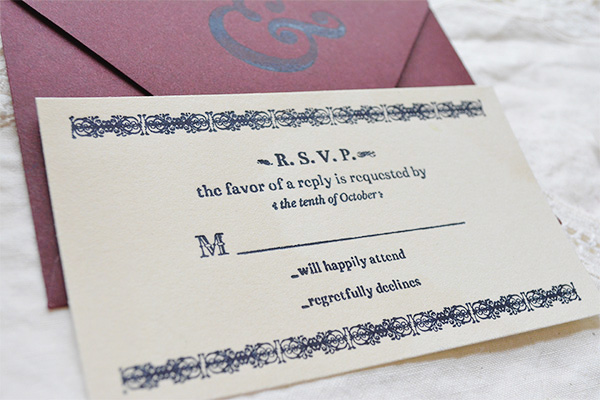
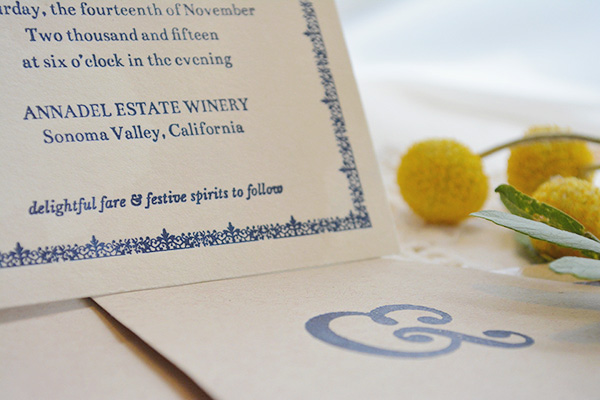
As wedding season winds down, all of us here in wedding land are getting ready for engagement season! The first thing that comes to mind with an engagements is planning the save the dates. Save the dates are the first chance you get to show your guests what they get to look forward to on your big day. So whether you DIY it or find a designer to work with, make sure it represents you, your partner, and your theme! – Lauren
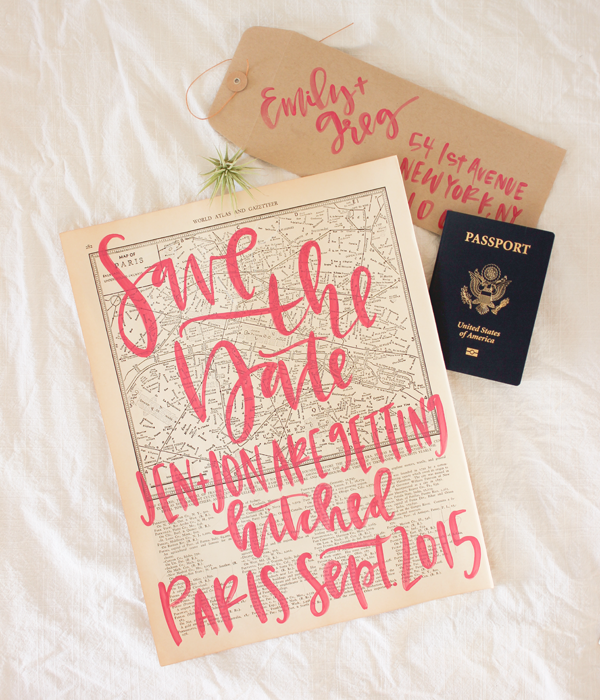
I love the idea of using vintage maps for a destination wedding. It could work for couples that love to travel – or are just incorporating the idea as inspiration for their wedding decor. Here are the simple steps to creating your own map save the dates!
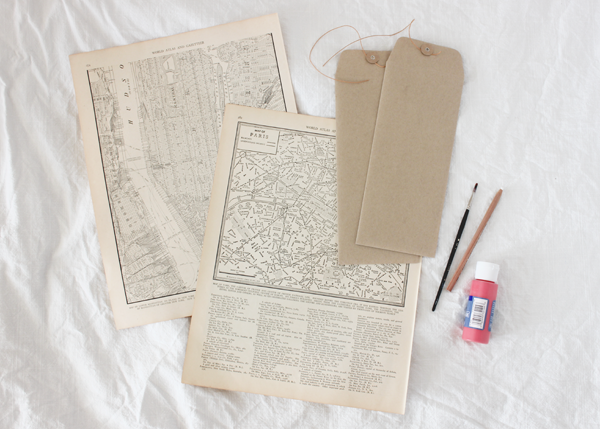
Materials
Maps – vintage, reproduction, or current (these are from etsy)
Paint brush
Acrylic paint in your color of choice
Pencil
Envelope and stamps
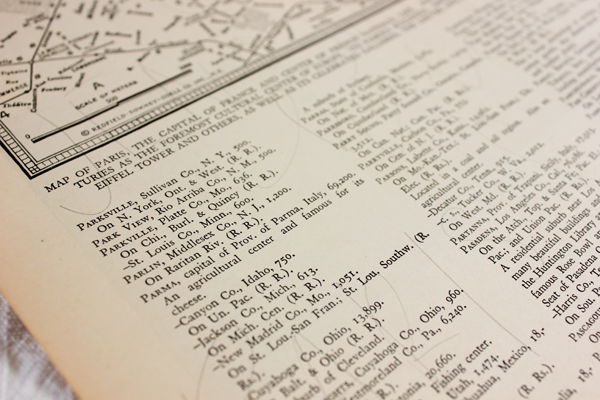
Step 1. Start by tracing and planning where you want all of your text to lay on the map. If you do it lightly with pencil you can paint over and you won’t have to do any erasing.
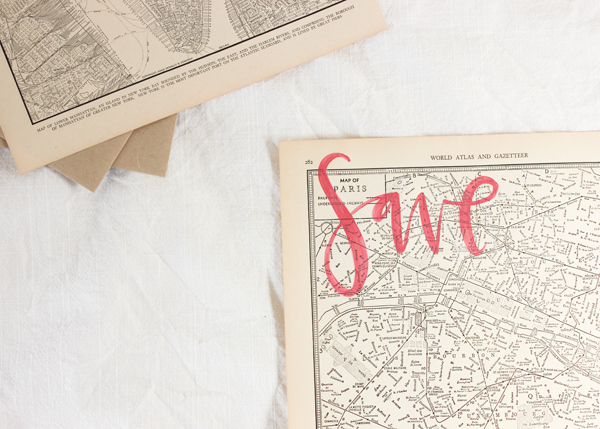
Step 2. Go in with your paint brush and make your first pass over the pencil.
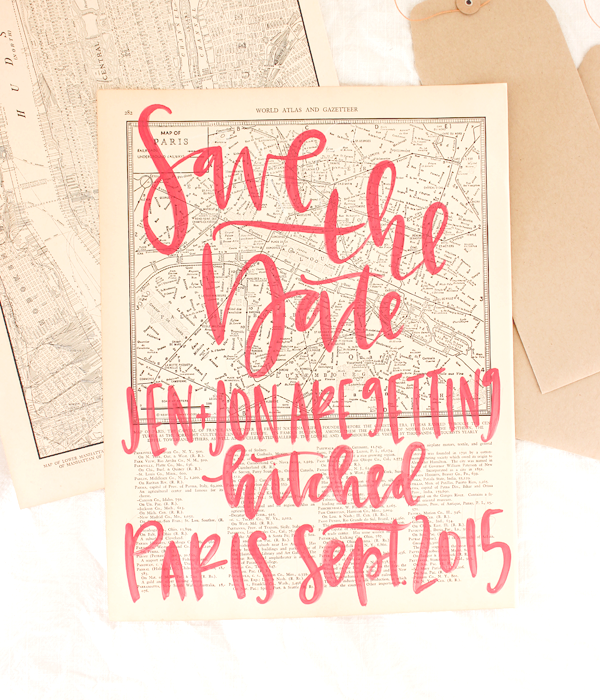
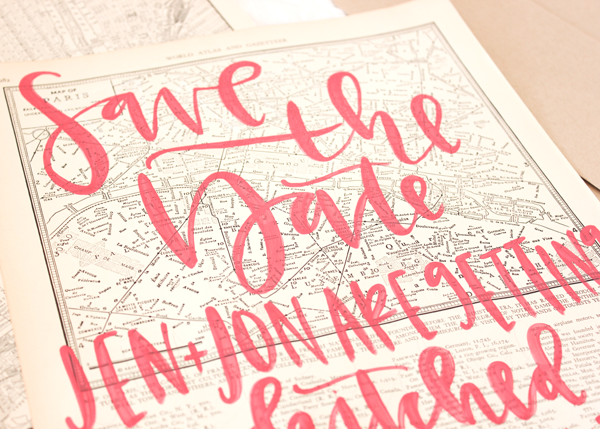
Step 3. Add 2-3 more coats over the letters so that they are opaque and legible against the map lines and type.
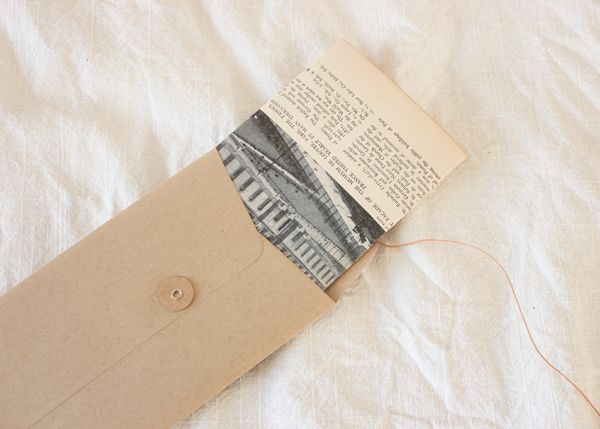
Step 4. Fold and fill all of your envelopes. I love these string & button envelopes. They are a little more interesting than your standard envelope.
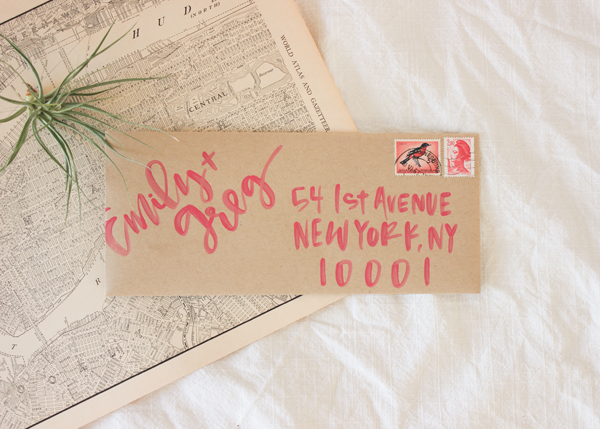
Step 5. Address and send off to your friends and family.
This idea would be especially great for a destination wedding as you will probably have a smaller guest count and hand painting would be much more manageable. Finding maps for the state or country you will be married in would make them even more memorable.
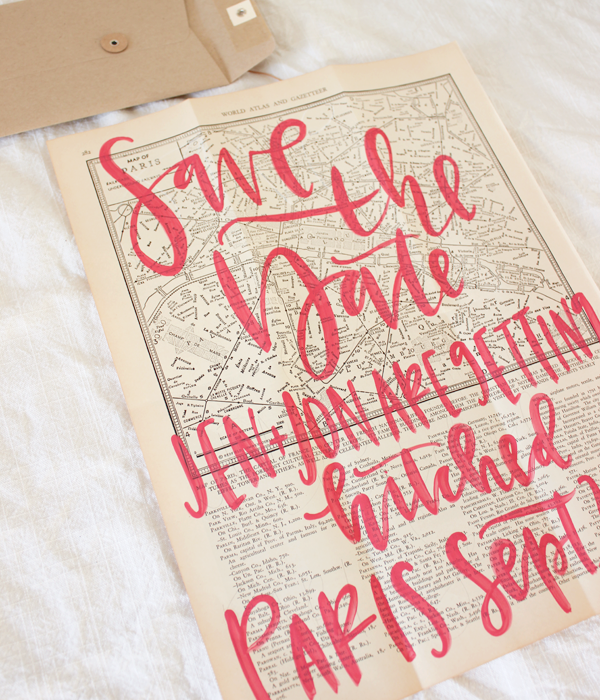
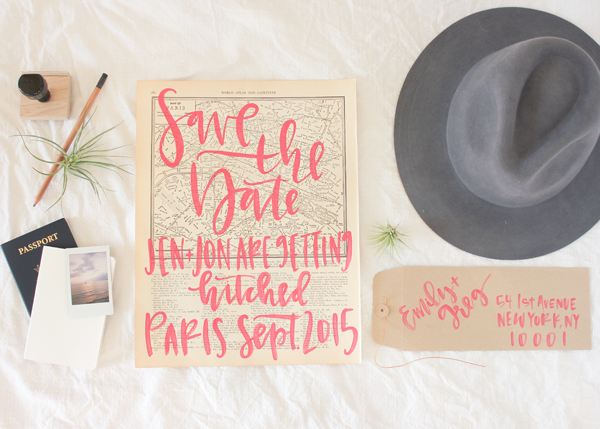
I know we’ve received a few save the dates that were put away in a drawer after we marked the date on the calendar. These poster-style vintage map save the dates would be a fun work of art for your guests to enjoy and definitely wouldn’t be hidden!
Have you ever considered hand painting pieces like this for your wedding?
