Loving all of these cards from Hairpin Letterpress!
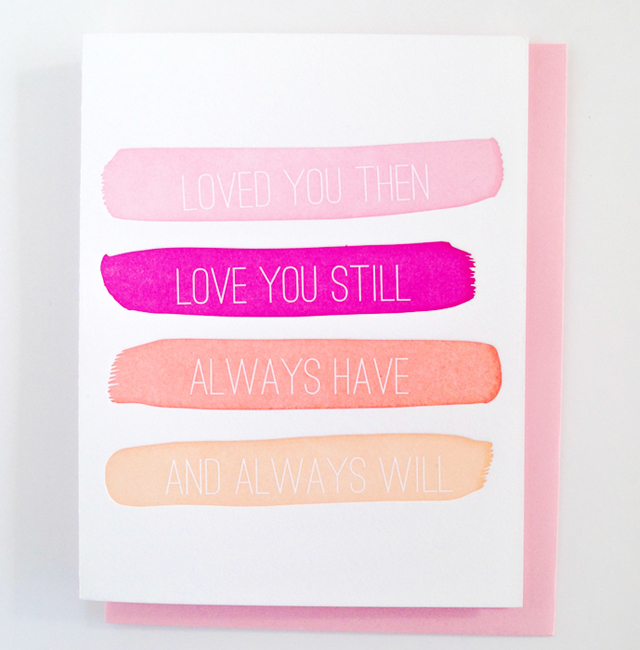

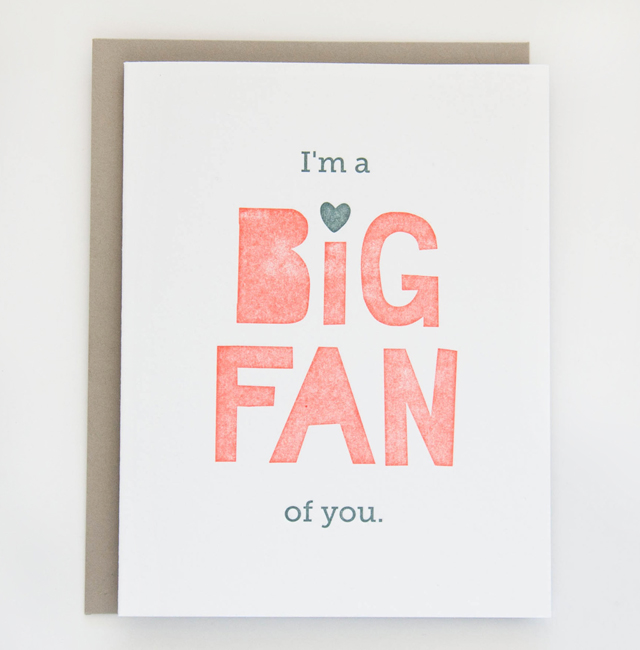
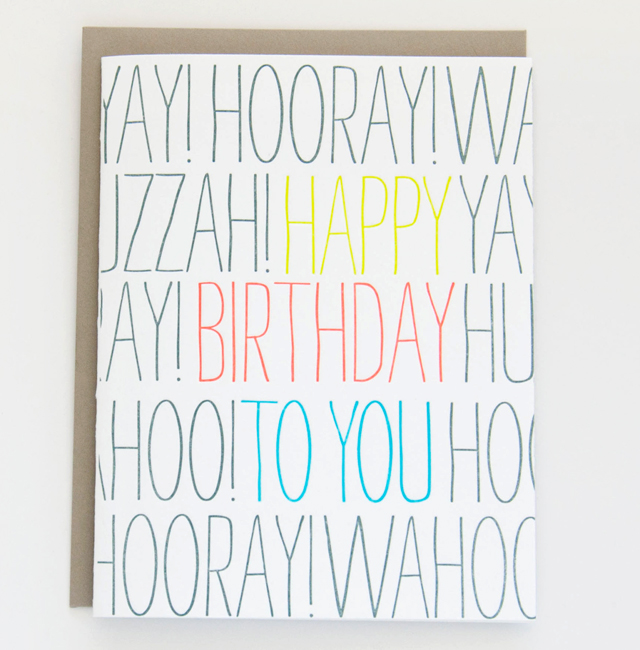
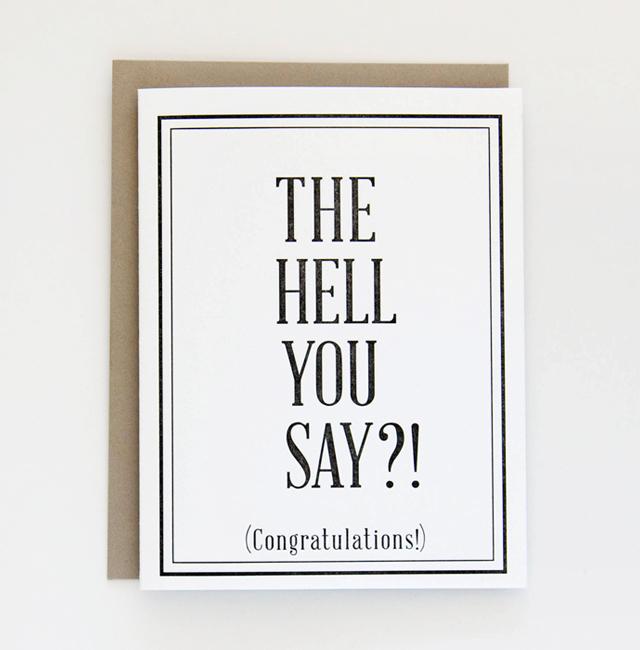
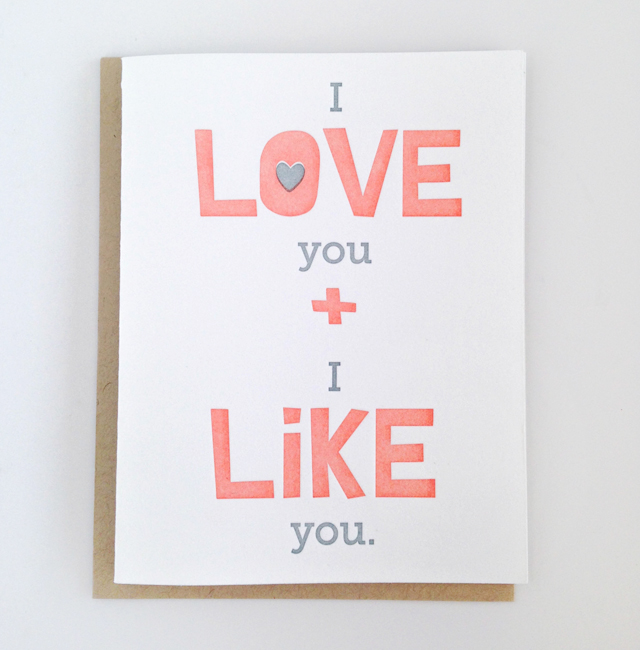

Lots more right here!

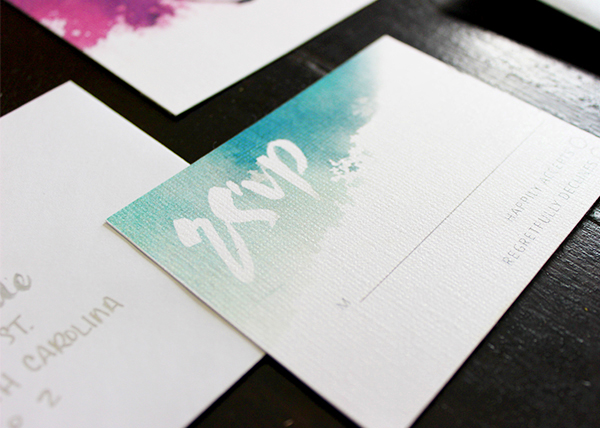
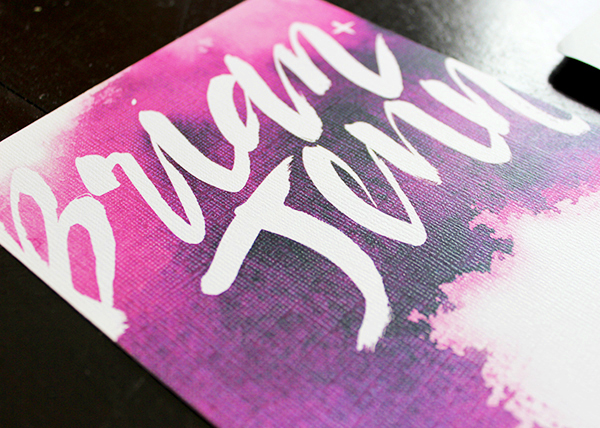
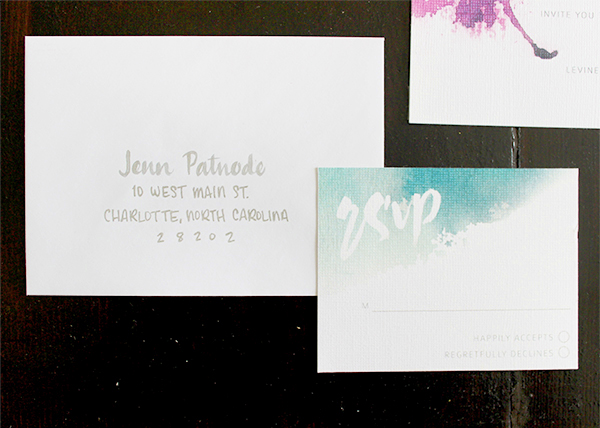
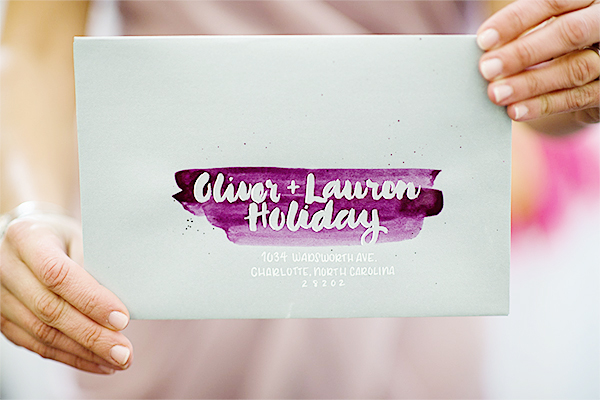
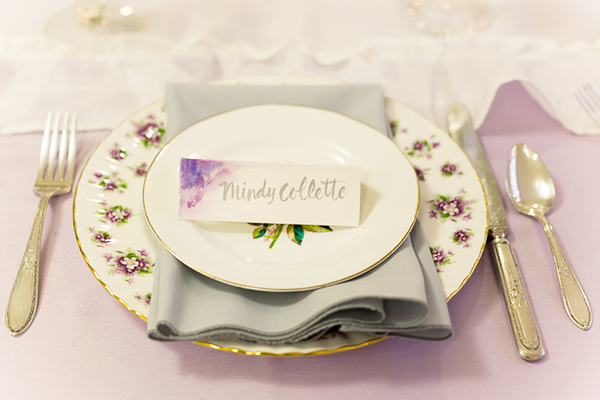
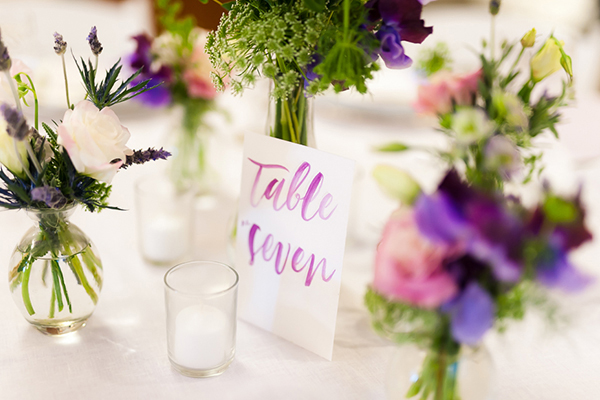
Not only is calligraphy a beautiful art form – but you can do some really cool things with it! I’m loving this invitation suite from calligrapher Ashley Bush featuring a dreamy watercolor wash over text created with masking fluid. Such a fun idea!
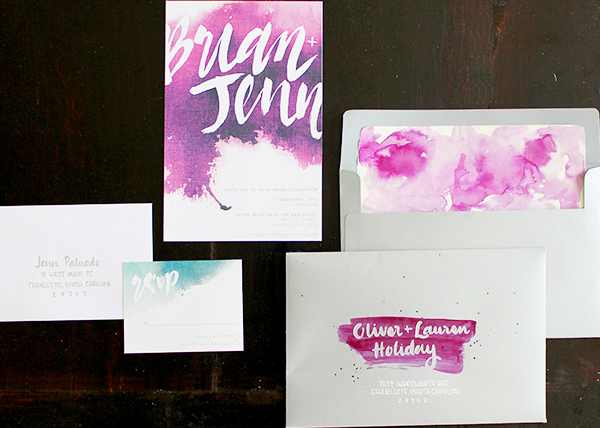
From Ashley:Â The inspiration behind this wedding invitation suite was whimsical, candy-colored, and dreamy. I knew instantly that I wanted to do a masked brush-lettering style, with a watercolor wash over top. I let that design element guide the rest of the suite.Â
Thanks Ashley!
Check out the Designer Rolodex for more talÂented wedÂding inviÂtaÂtion designÂers and the real inviÂtaÂtions gallery for more wedding invitation ideas!
Photo Credits: 1 – 4 Ashley Bush / 5 Emily Millay Photography / 6 – 7 Bronwnyn Duffield
The Peony always wins the popularity contest – and for good reason! Thankfully, these show stoppers have officially made their way back into our lives (and Instagram feed) this spring. Unlike most trends, it’s impossible to to get tired of the beautiful peony. This full bodied bloom has the potential to turn anyone’s day into an instant success. I hope you enjoy these bright-eyed paper beauties, my desk is already looking a little more chipper thanks to some April pink hues.  –Rachael
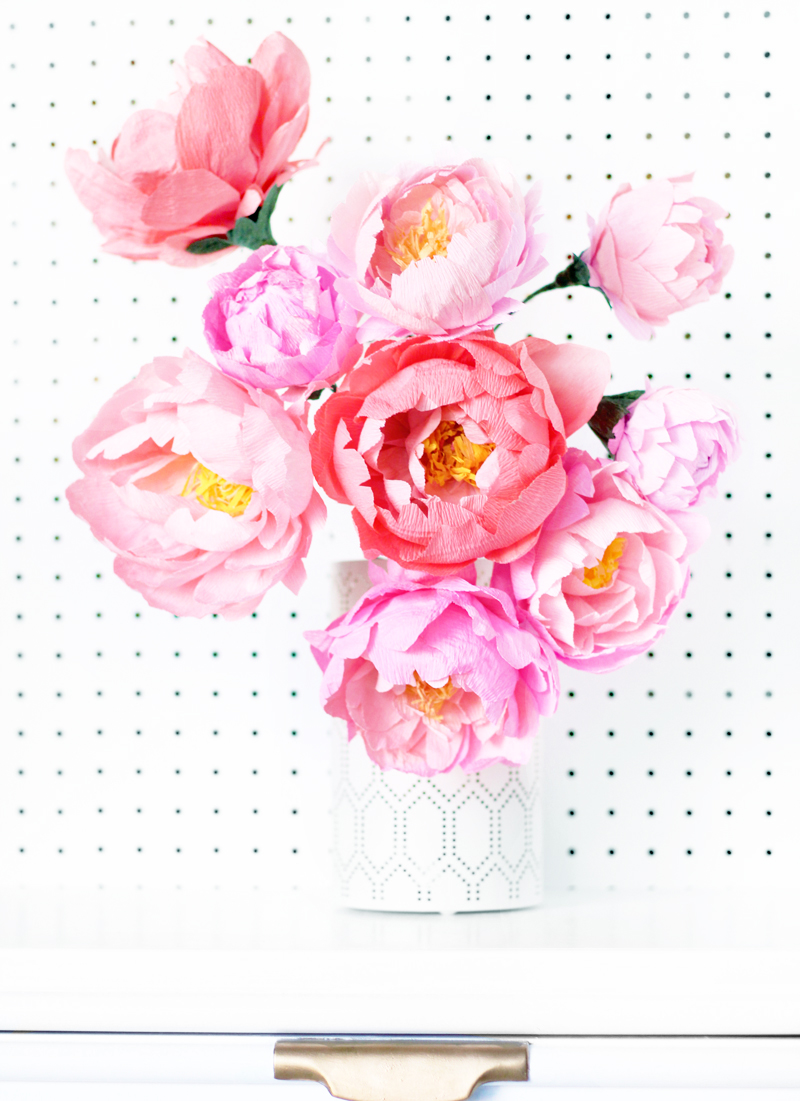
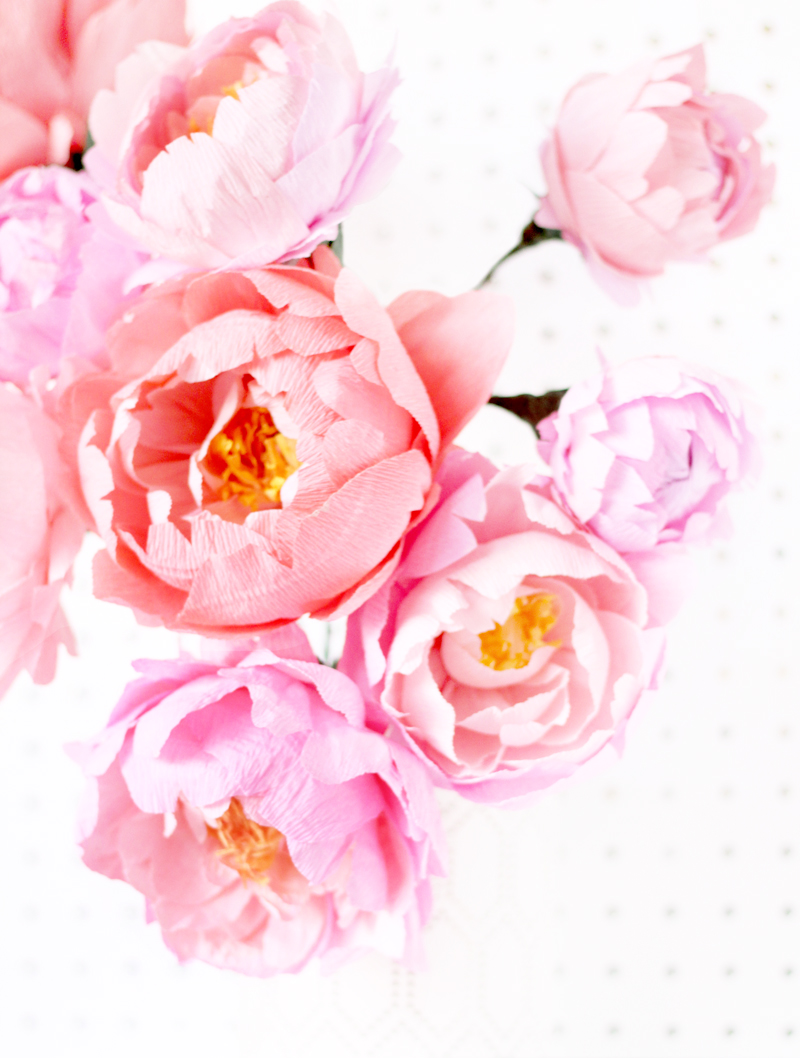
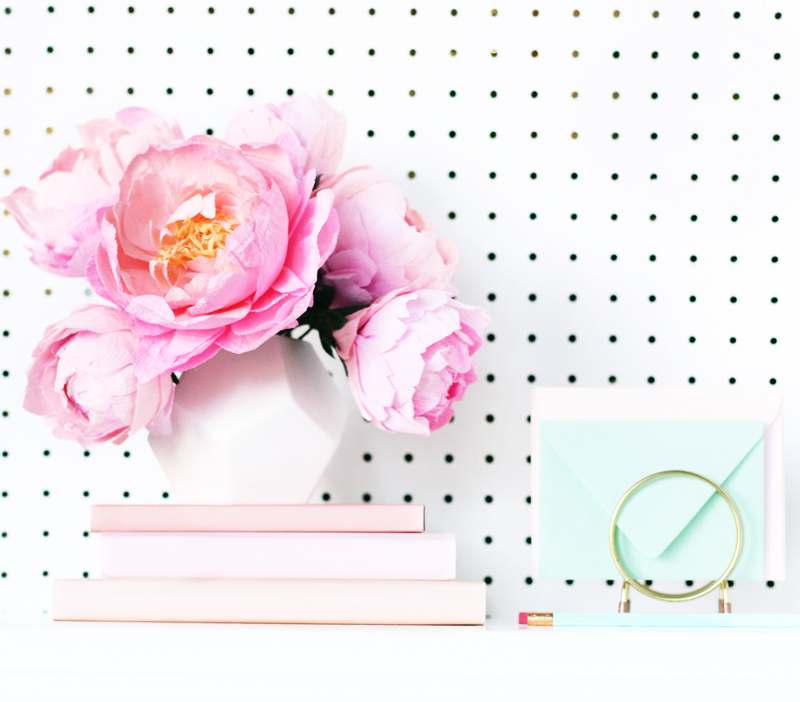
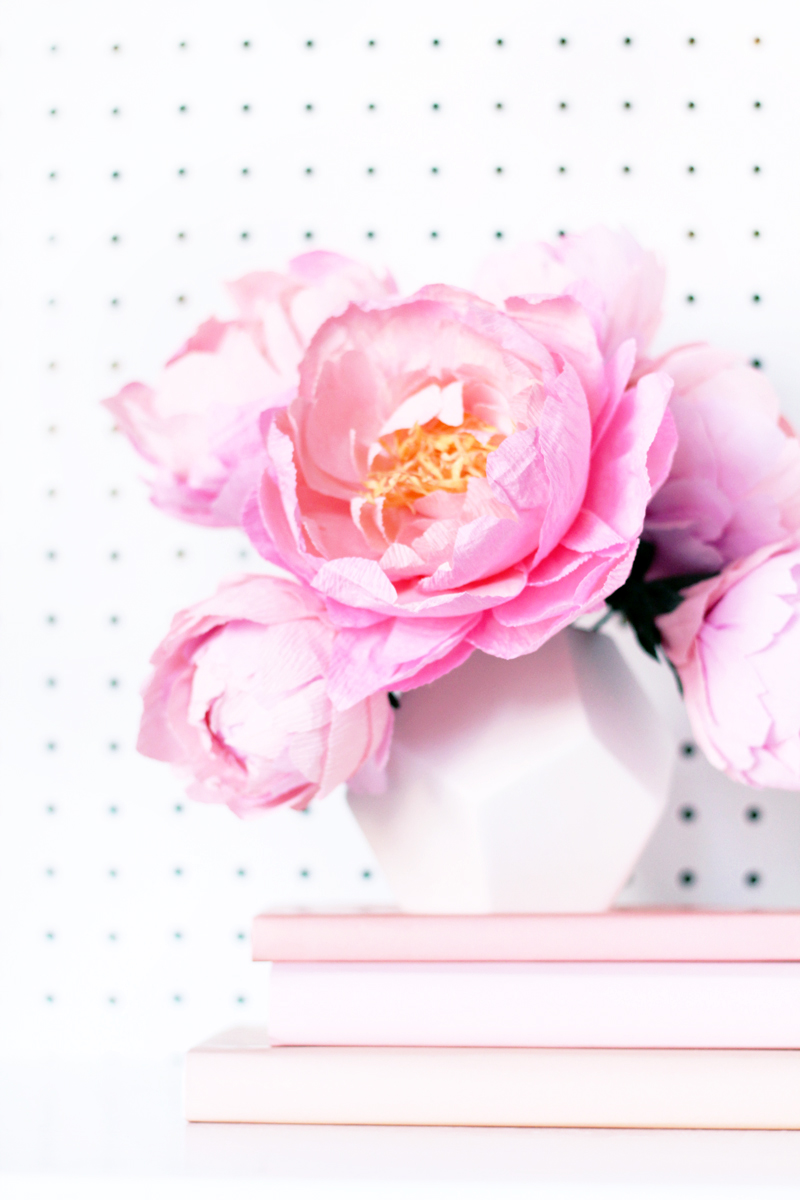
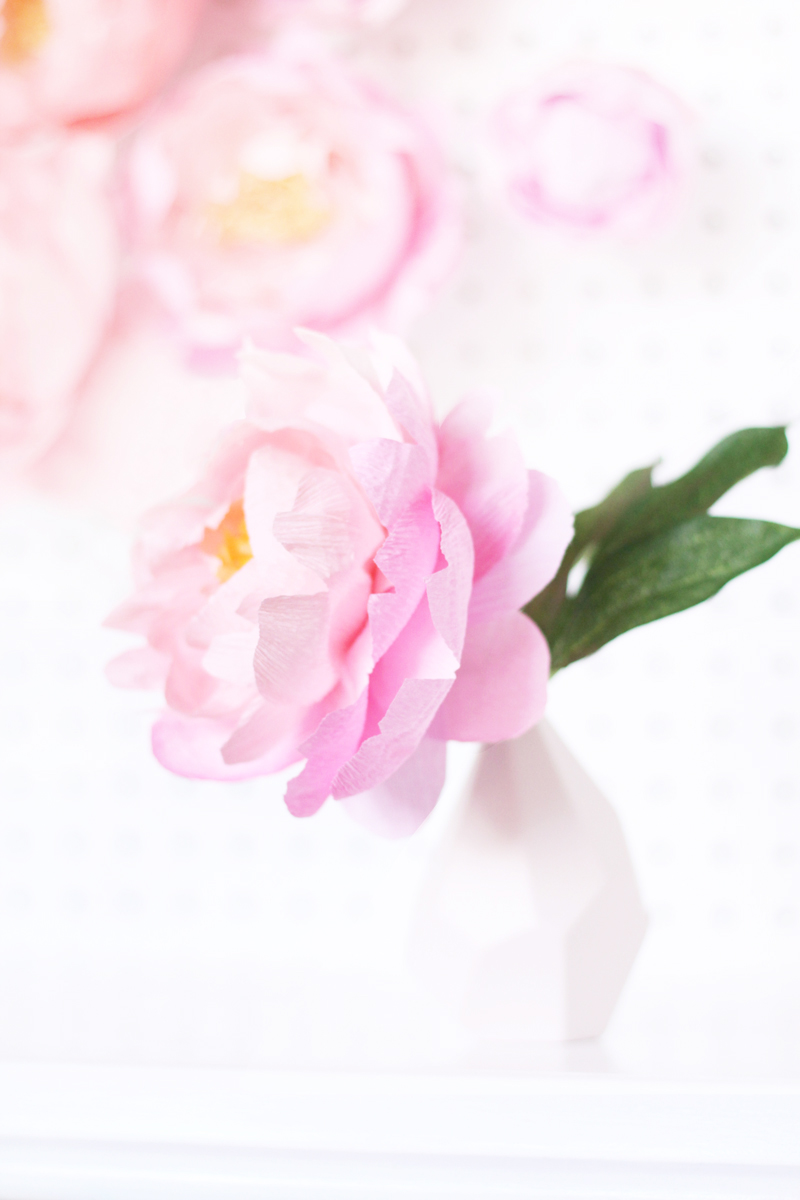
Photo Credits: Rachael Baldwin of Appetite Paper
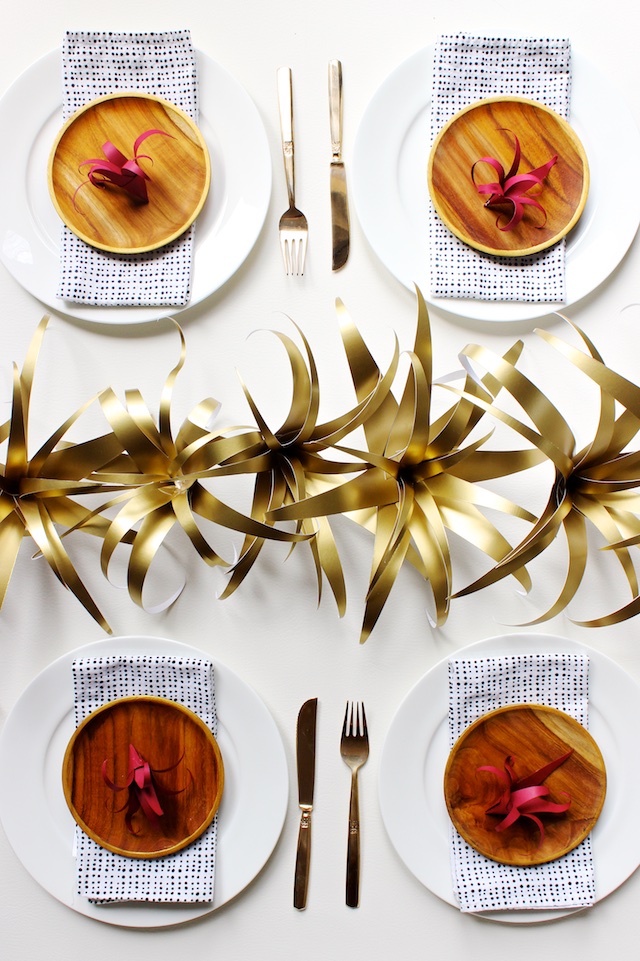
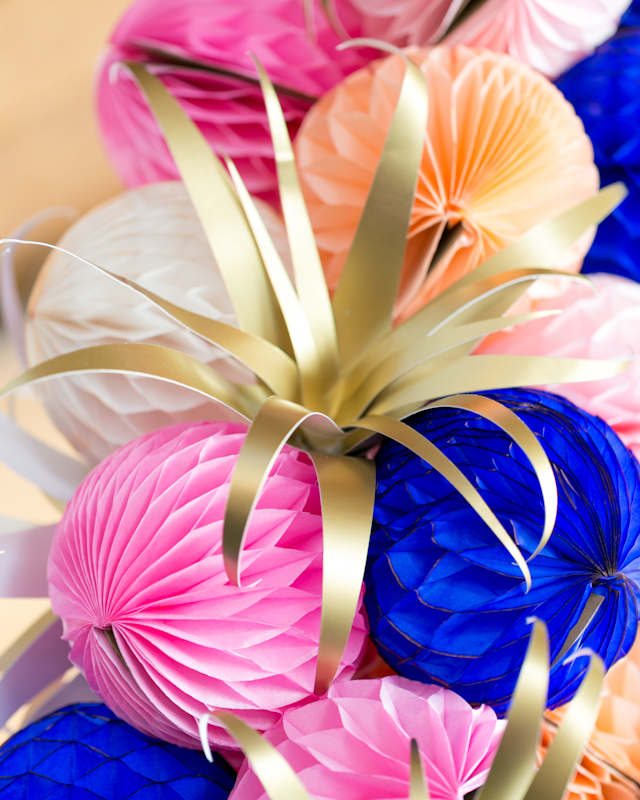
I’ve been on a bit of a paper creation binge lately – trying to dream up what kinds of things I can bring to life in paper form. My latest creation: paper air plants. Sure, air plants are already the lowest maintenance of all flora, but I couldn’t resist super-sizing their interesting contours and – oh yes – making them GOLD! Today, I’m sharing how to make a medium sized paper air plant about 8″ in diameter. Make lots and lots to create a table runner, or downsize them a bit for a creative plate adornment. I can only imagine all the uses you could come up with for these beauties! – Mandy Pellegrin of Craftcourse

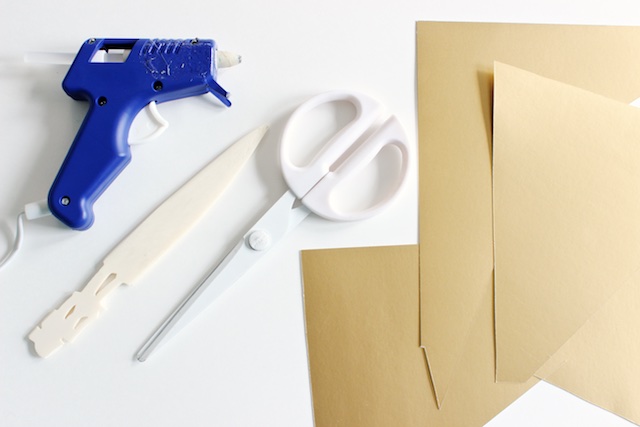
Materials
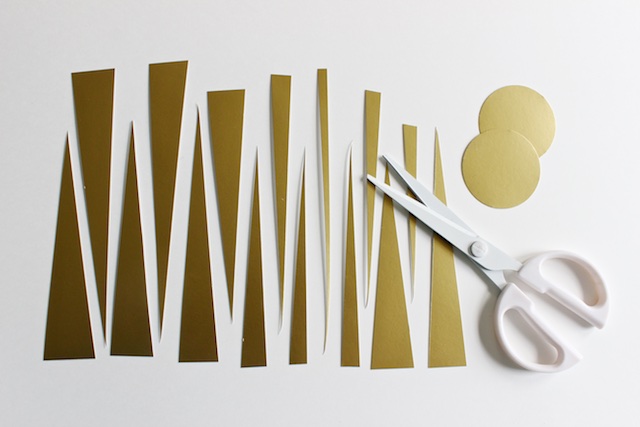
Step One: Cut out about 15 triangles in various widths ranging from 1/4″ – 1″ and heights ranging from 4 – 6″ to create the air plant’s leaves. Also cut (or punch) out two circles about 2″ in diameter.
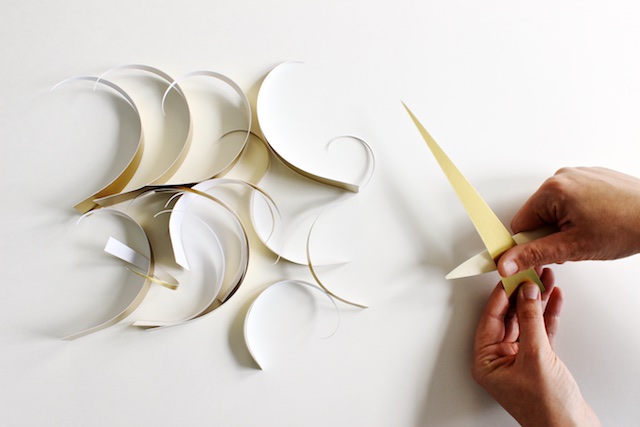
Step Two: Use a bone folder to gently curl each of the leaves as you would curl ribbon. Vary the curliness. Create an S-curl on a few by curling the entire leaf in one direction from the back and then curling just the end of the leaf in the other direction from the front.
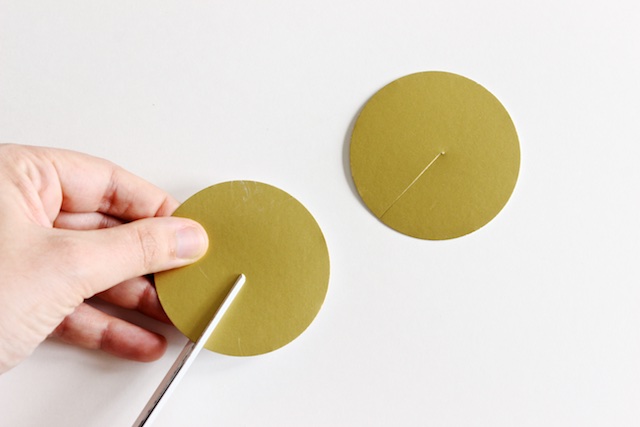
Step Three: Cut a slit half way across the diameter of each of the circles.
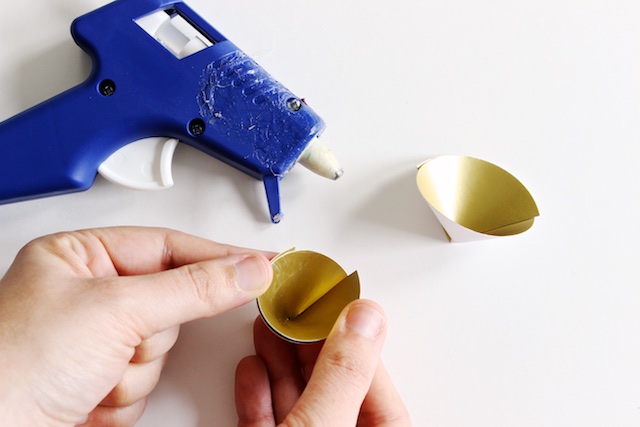
Step Four: Overlap the cut edges of each circle to create two cones, and glue into place. Make one of the cones a bit more angled than the other.
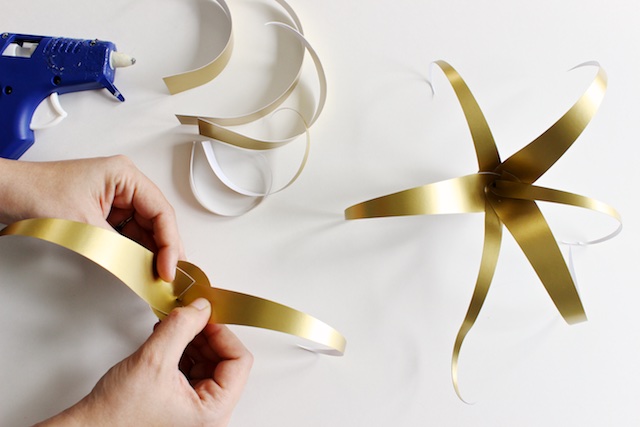
Step Five: Glue 6 or 7 leaves into each of the cones by placing glue onto the back side of the bottom edge and sliding into the cone.
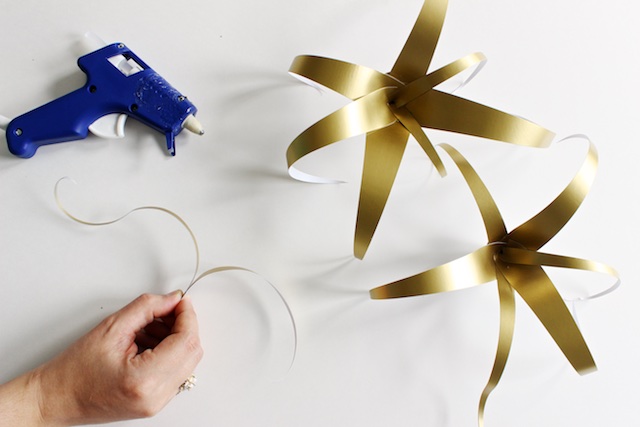
Step Six: Reserve two of the skinnier leaves for the center, and glue them together at the bottom.
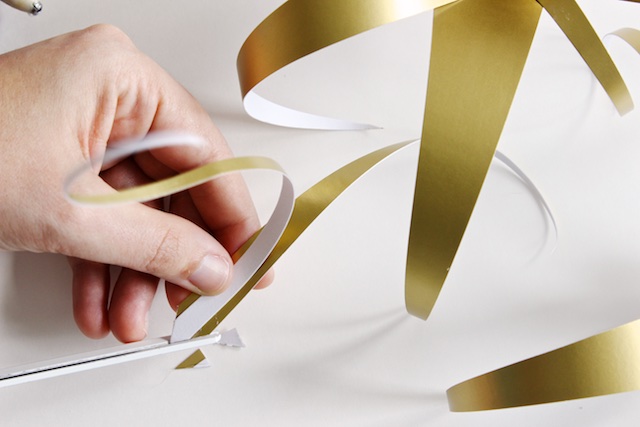
Step Seven: Cut the bottom of the center two leaves into a point.
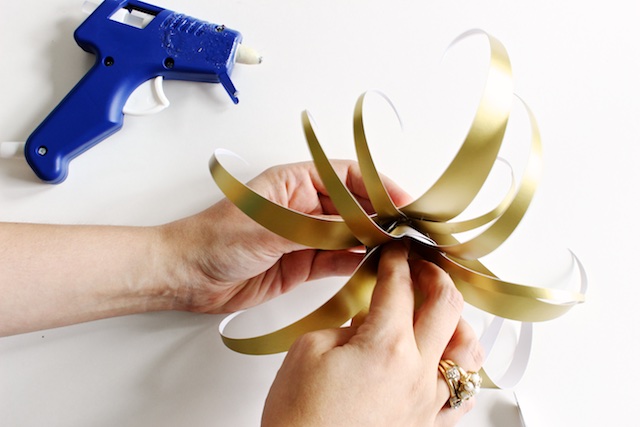
Step Eight: Dispense a large dollop of hot glue in the bottom of the less steep cone, and then affix the steeper of the two cones inside. Hold it in place a moment while the glue sets.
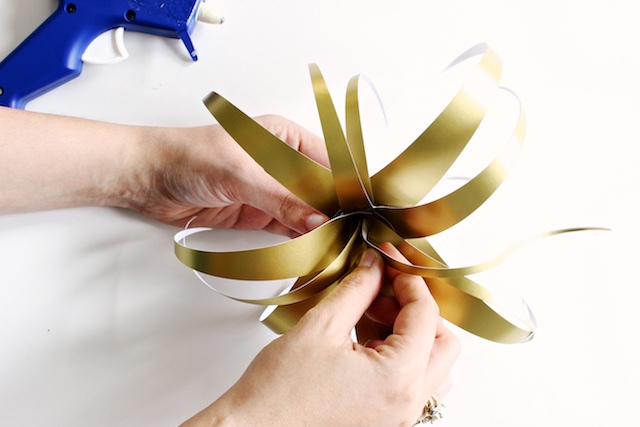
Step Nine: Dispense another small bead of glue into the steeper cone, and affix the pointed end of the center two leaves, holding in place while the glue sets.
Enjoy!
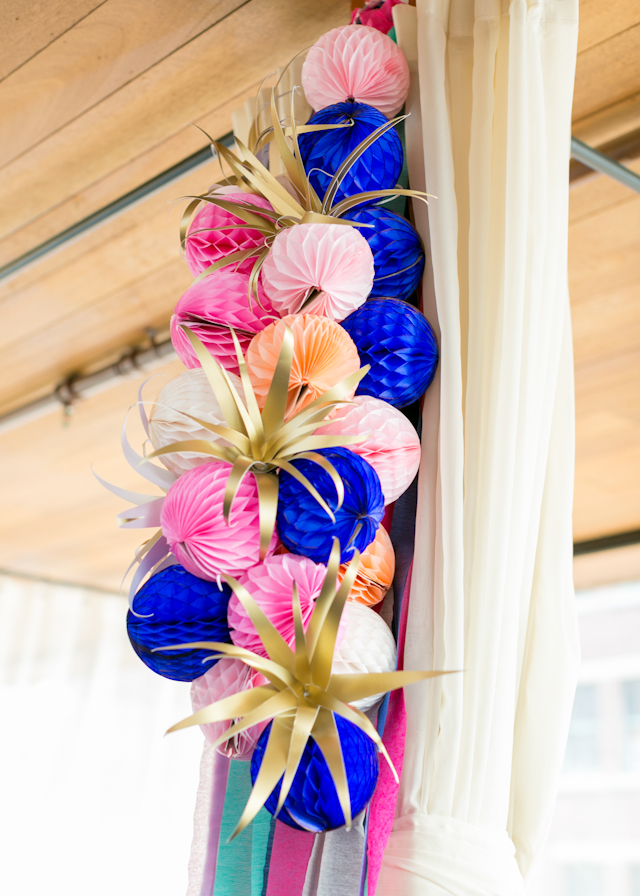
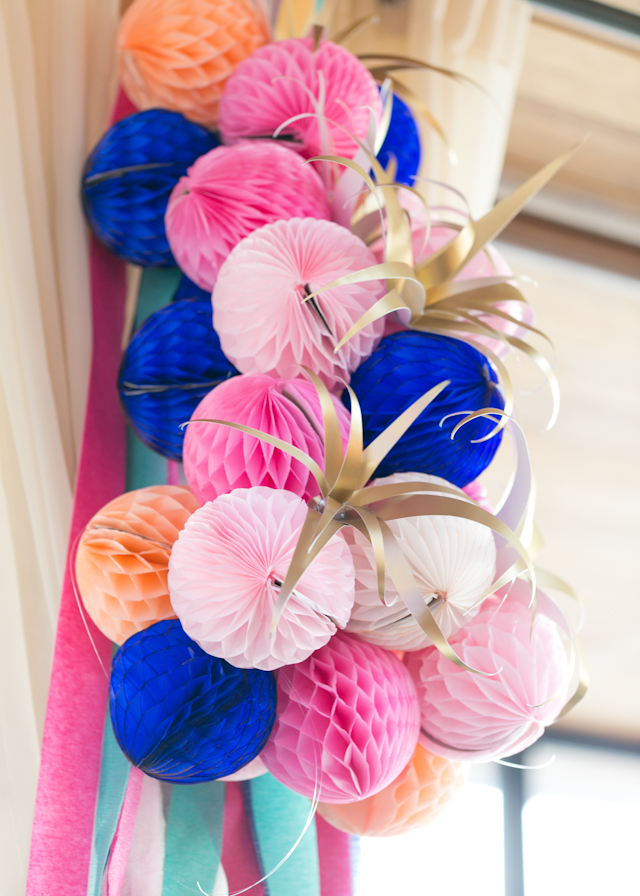
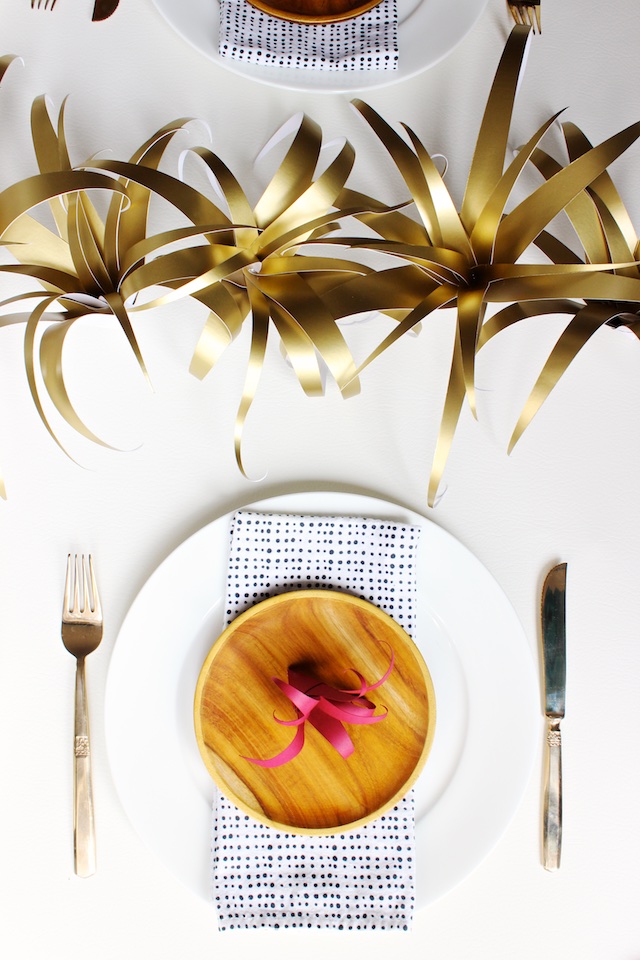
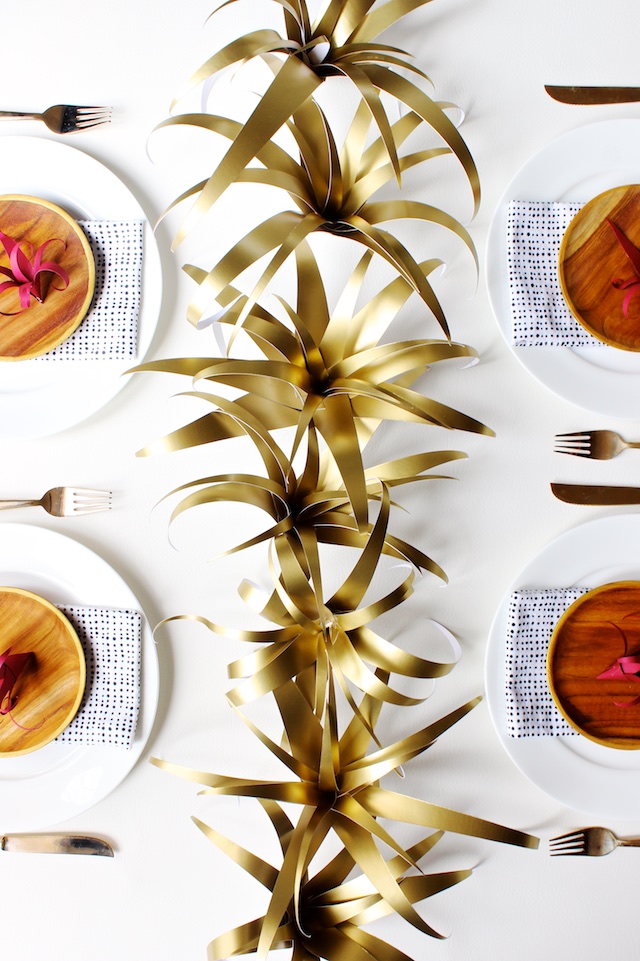
Photo Credits: Mandy Pellegrin for Oh So Beautiful Paper
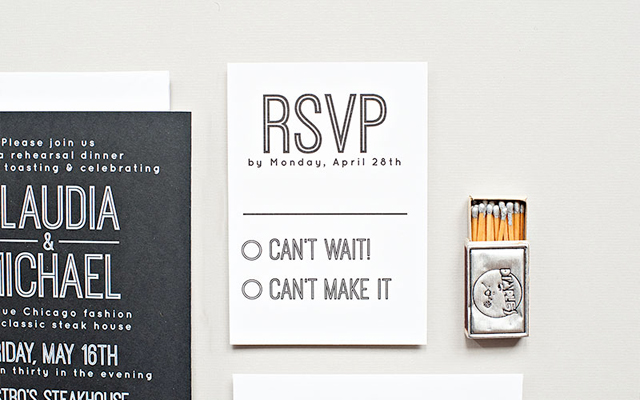
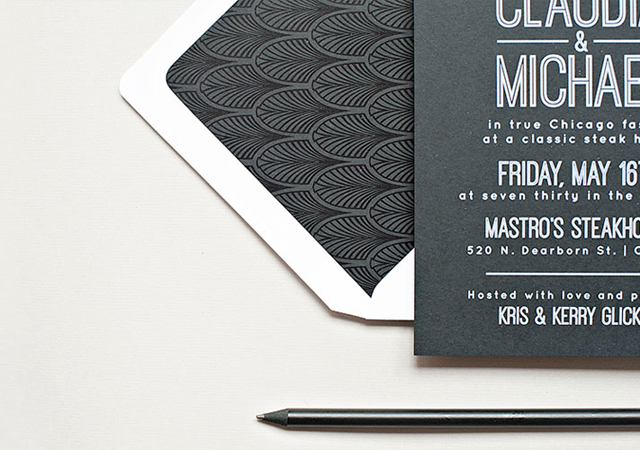
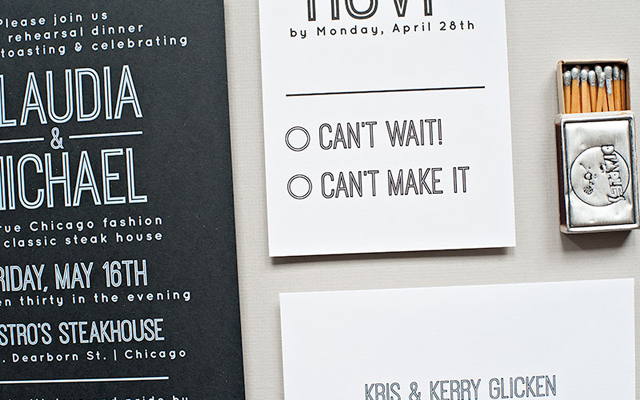
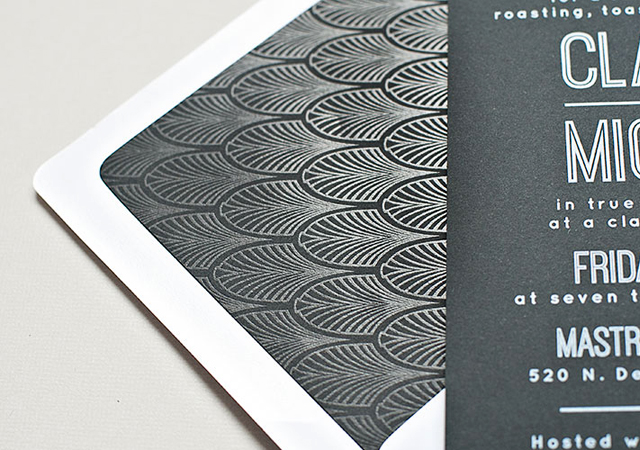
I’m loving these chic monochromatic wedding rehearsal dinner invitations from Becca of Suite Paperie ! The invitation combines modern typography – digitally printed in white ink on black paper! – with a vintage-inspired envelope liner. So fun!
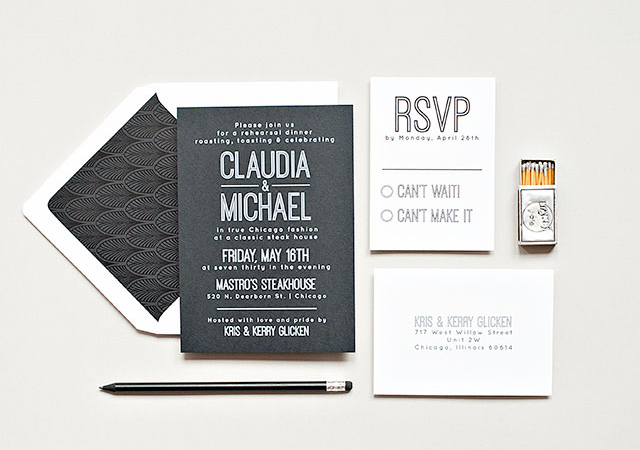
From Becca: Digitally printed in white ink on black card stock and paired with a crisp white envelope with a deco black on black liner, this rehearsal dinner invitation screams modern, bold and fun.
Thanks Becca!
Check out the Designer Rolodex for more talÂented wedÂding inviÂtaÂtion designÂers and the real inviÂtaÂtions gallery for more wedding invitation ideas!
Photo Credits:Â Lindsay Nathanson