By now you all probably know that we do a lot of calligraphy and hand lettering in our studio at Antiquaria. Whether it’s for wedding clients, our rubber stamps, greeting cards or just to send snail mail to friends, we’ve got a pen in hand every day. In the spirit of back to school, we thought it would be really fun to give you a little jump-start into calligraphy in case you want to take on a little studious action of your own! This post has a trove of info about the tools, resources and basics you’ll need to get started in practicing calligraphy. We hope you have fun and use your newfound skill useful in your daily life too! –Bailey and Emma of Antiquaria
If you’ve never done calligraphy before, you may find it all a little daunting. No lies…we did too. Simply speaking, calligraphy materials are not common anymore (because they are not at all necessary to daily life).  Most of the tools that are being made now are sub-par and you will never, EVER succeed with them, especially if you are a beginner.
Bailey learned this the hard way (even though she was told as much by her very first teacher). It was only a day after her first class when she sought out the nearest art shop and bought hundreds of dollars worth of “calligraphy” supplies. How much of that has she used over the years? Not a darn thing. What did she use? What her teacher gave her. Consider lesson learned. We’re here to set it all straight and hopefully get you started on the right path to calligraphy success!
 The basic supplies that you need to get started in calligraphy are pretty simple and inexpensive.
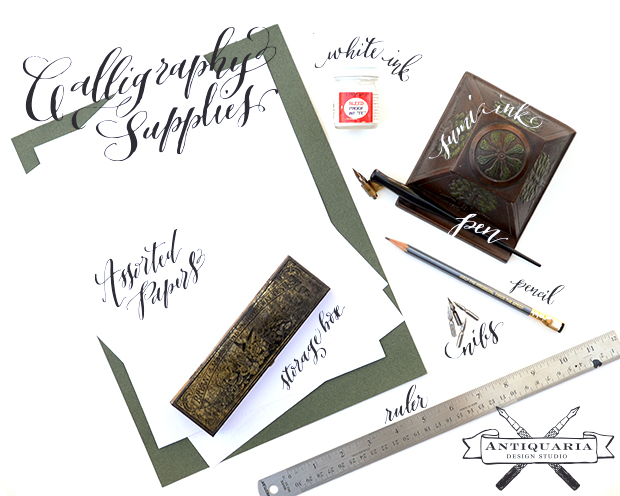
You’ll need:
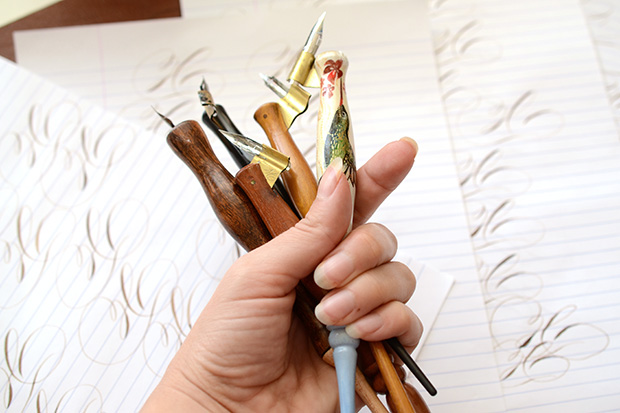
- a pen (otherwise called a pen holder); this is what you insert your nib into and hold while writing, we also have a whole blog post dedicated to picking a pen, here.
- nibs those little pointy metal things that flex to create gorgeous letters (we like the Nikko G, Zebra G, Brause EF66 and Leonardt Principle)
- paper the key is that it’s well sized (so that ink doesn’t bleed), arches, rhodia and canson make great papers. DO NOT BUY THAT ART-STORE CALLIGRAPHY PAPER. It’s bad news bears. Just because it says “calligraphy” on it does not mean it’s good for it.
- sumi ink many things work for black ink and many don’t, we like sumi ink best for practice (and reproduction)
- white ink it not necessary but it’s super fun to use, we like Dr. Martin’s Bleedproof white
- ruler  for making straight lines to letter on
- pencil great for practicing letter shapes, making lines, marking corrections, taking notes
- storage box it’s not crucial but definitely helps keep your nibs together so they don’t get lost
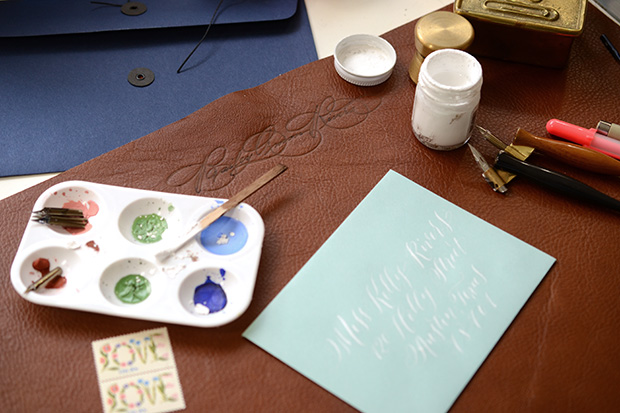
- writing surface writing with a dip pen is so different than normal writing – as anyone that’s practiced the art-form well knows. One thing that is very different is that you need to have a good writing surface so that the edges of the nib connect properly with the paper, giving you lovely letters.
For beginners, we suggest writing on a stack of paper, so that you have a nice padded surface. Another option is using a craft foam pad, like this one. This is what we used for years…until discovering the awesome leather ones, made by Mr. M.G. Ward, shown below.
Resources
Books: Mastering Copperplate Calligraphy (still use this one ALL the time), by Eleanor Winters
Mastering Calligraphy: The Complete Guide to Hand Lettering (which features our very own, Bailey Rivera!!) by the lovely Gaye Godfrey-Nicholls
Our friend Molly Suber Thorpe of Plurabelle’s beauty, Modern Calligraphy
Online: The IAMPETH (or The International Association of Master Penman, Engrossers and Teachers of Handwriting) website is a trove of amazing resources from the best calligraphers in the world. This site could easily suck up days, even weeks of your life. They also have awesome teaching videos too! This one’s too good to miss.
The Flourish Forum has rapidly grown to be a massive community of calligraphers sharing resources, tips, and exemplars both new and old. It can be a little bit overwhelming since it has such an immense amount of material – but it’s a fabulous place to get involved. There are always snail mail exchanges to keep you practicing and connecting with other stationery and calligraphy enthusiasts. The mastermind behind the site, Erica McPhee, also publishes a calligraphy magazine that is wonderful, called Dasherie! It’s totally worth a read.
The Curious Calligrapher is a gorgeous site dedicated to ALL this calligraphy, servicing the calligraphy community. Here you’ll find more resources, forums and gorgeous eye candy!
Locally: You never know, you may just have a calligraphy mentor down the street! Google-ing “__your city__ calligraphy guild” is the best and fastest way to find local letter-lovers nearby. Plus, these non-profit organizations also offer workshops, get togethers and moral support (when you just can’t get your letters to look quite right).
Warm Ups:Â Before diving into letterforms, it’s good to get familiar with your pen and ink. It will feel weird, really, really weird in your hand. That’s okay and totally normal.
1. Make thin lines (no pressure) and thick lines (full pressure) seeing just how thin and thick you can possibly flex your nib.
2. Next, make “waves” where on all of your upstrokes you have no pressure (a thin line) and on the down stroke you have a thick line (with pressure). The key to beautiful letters will be smoothly transitioning from thick to thin.
3. Lastly, we’ll make “loops” where again your upstrokes will be thin and the downstrokes will be thick. Pay attention to the transitions again and repeat these warm ups until the pen feels normal in your hand.
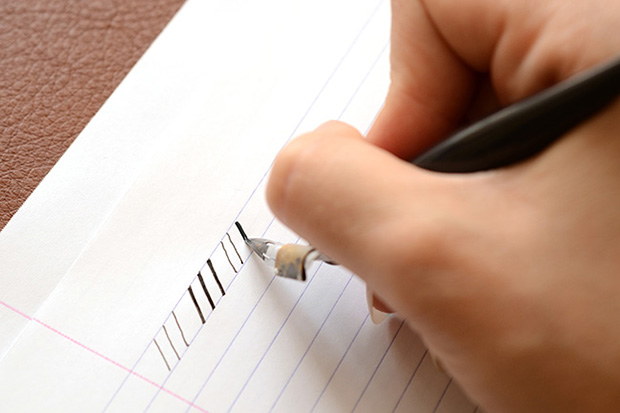
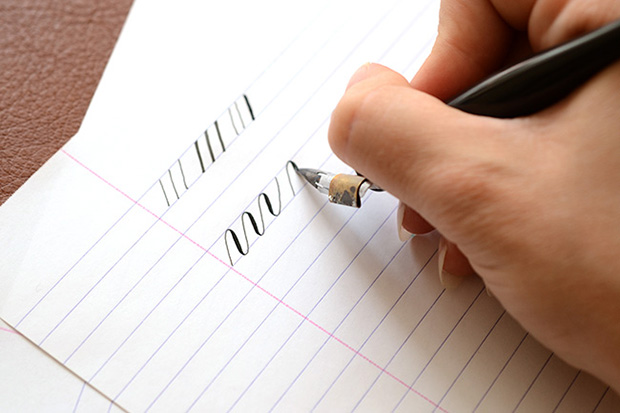
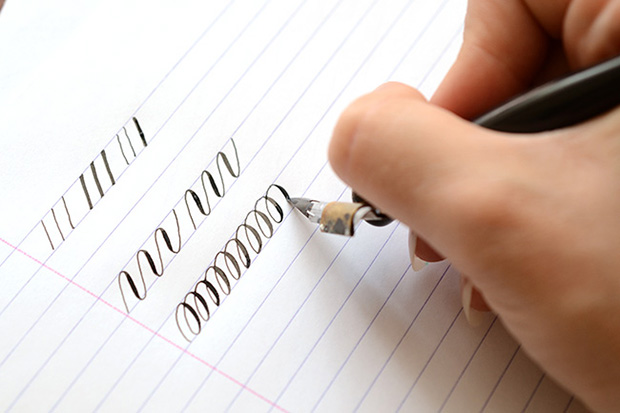
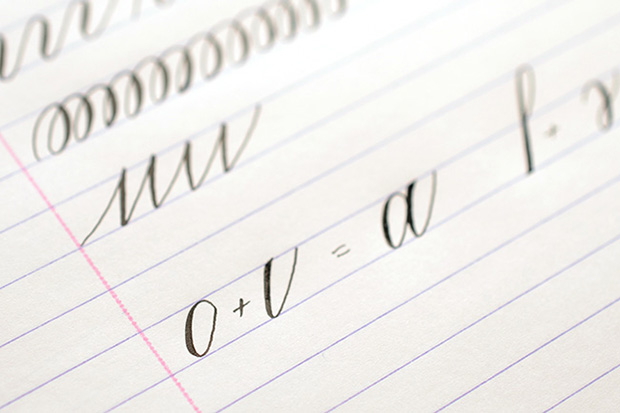
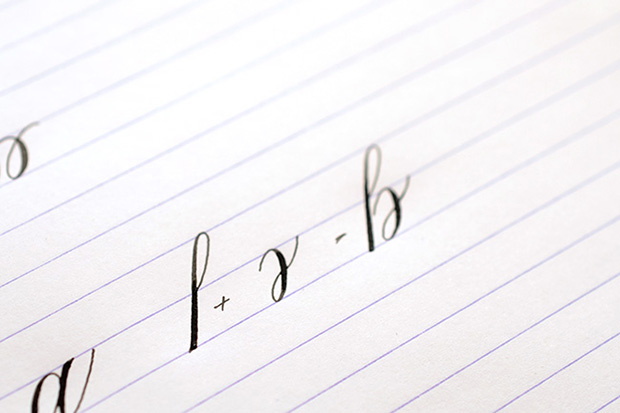
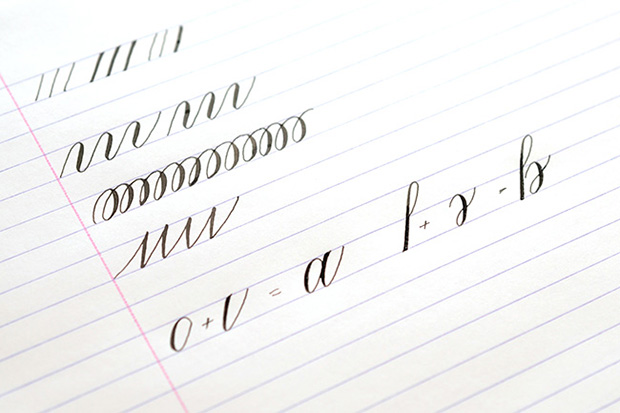
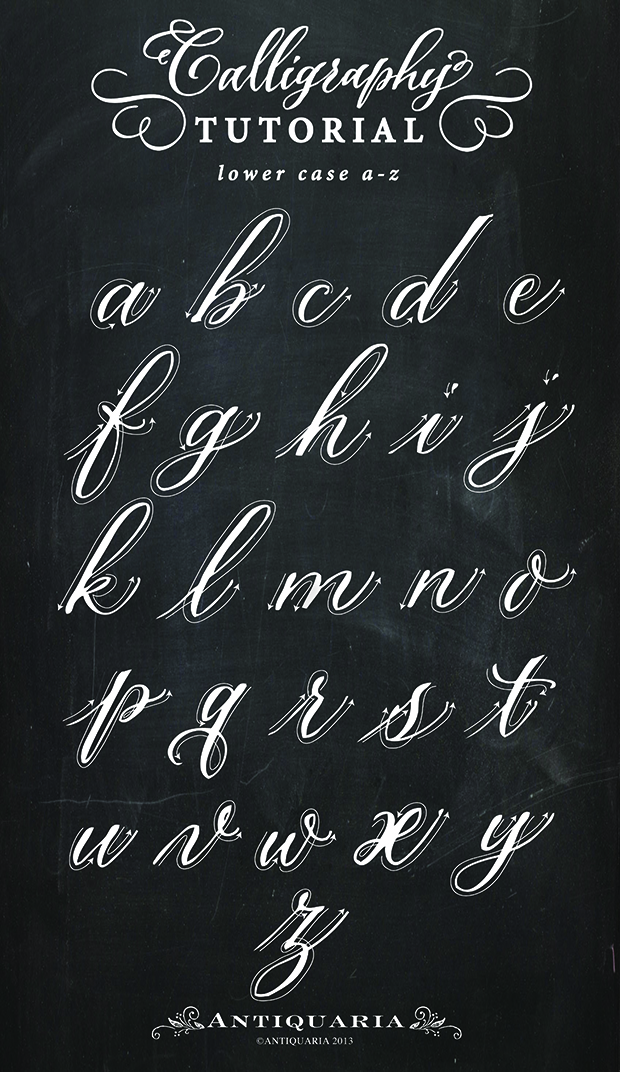
This little exemplar is the “nuts and bolts” foundation to all pointed pen calligraphy. If you’ve never seen one before…you may be scratching your head thinking, “How does this differ from the cursive I learned in grade school?”Â
Well, the main difference is the in the flexible nib pen. This awesome tool is what allows you get those desirable, lovable and gorgeous thick and thin lines we started playing with in the warm-ups. Without writing a book here, getting the thick and thin lines in your letters is both simple and difficult. It’s simple because all it takes is PRESSURE. It’s difficult because you have to learn how the pen behaves and make the pressure smooth. Only then will you have swoon-worthy letters.
To use the this exemplar, follow the directional arrows (from left to right), and press down on the pen when the line is thick and lift off of the pressure when it’s thin. Below, we show you how to “construct” the letters. There’s a lot of stopping and starting when doing calligraphy, which is certainly different from writing normally. Need more help? You can watch Bailey letter a-z in real-time in this video! Happy lettering folks! We’ll leave you with our favorite Calligraphy Truths…
Calligraphy Truths
Calligraphy takes Practice. And not just a little…but a whole lot.
You’ll know within a few hours of classes (or practice) whether or not calligraphy is for you.
It takes LASER-LIKE focus – especially if you want to spell things right.
Writing something meaningful is much more inspiring than the alphabet. Get the basics down and move onto “real” words. (Like a song, poem, recipe, ode to your cat…whatever speaks to you)
You’ll never, NEVER stop learning. Calligraphy is a vast and fascinating subject. Once you start…it’s like getting sucked into the rabbit hole with no turning back.
Buy quality supplies. It make all of the difference.
Calligraphers are the most friendly and awesome bunch of folks on the planet (kinda biased here) – but they’re truly the best resource out there. Find a mentor and ask questions!


 The basic supplies that you need to get started in calligraphy are pretty simple and inexpensive.


