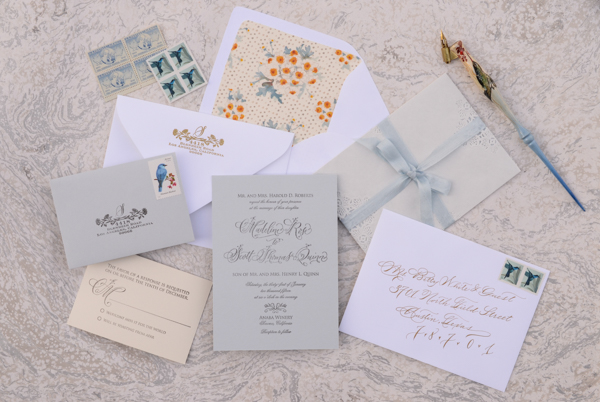
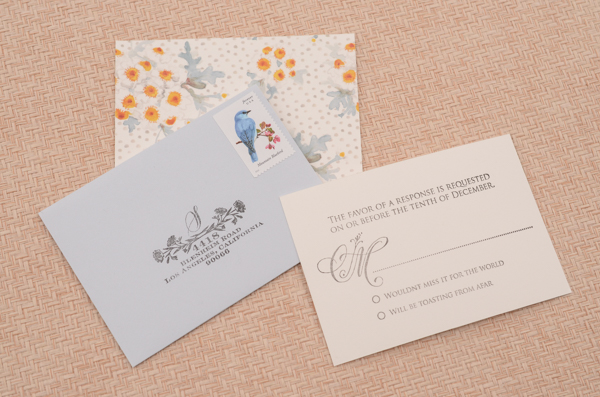
Today, we’re back with our first DIY of the new year! Hooray! This delicate floral and lace wedding invitation suite has been bouncing around in our brains for a while now – and the results exceeded even our expectations. Don’t you love it when that happens? We used a soft palette of misty blue, white, cream, and gold and incorporated some really fancy lace inner envelopes to bring it all together. With these fresh colors, it feels like spring is right around the corner! –Bailey and Emma of Antiquaria
Materials
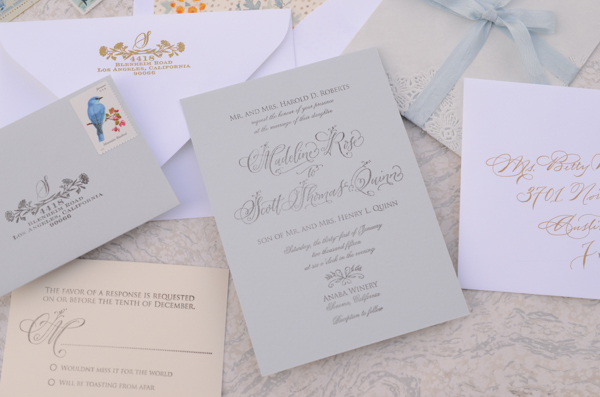
Floral Calligraphy Invitation Stamp
Floral Calligraphy Reply Card Stamp
Wildflowers Return Address Stamp
A7 Envelopes, in Pure White
Chamomile Patterned Paper (for liner) and Liner Templates
4bar Card, (3.5″x5″ cut from our Chamomile Patterned Paper, Card Weight)
Stamp Pad, black
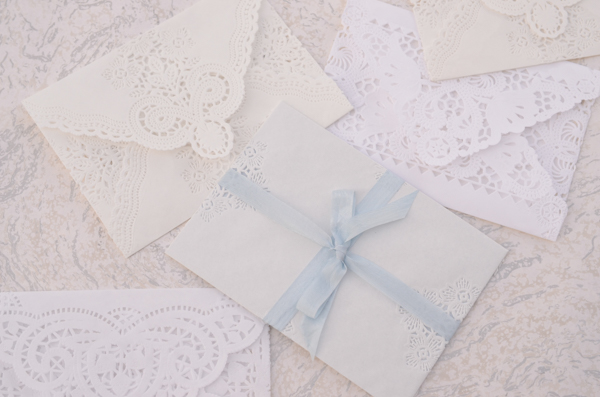
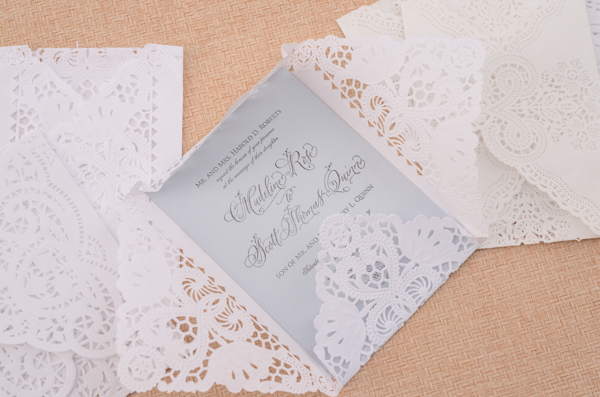
This stunning mix of lace paper inner envelopes from Modern Vintage Paperie really adds a touch of luxury to the suite and brings the whole look together!
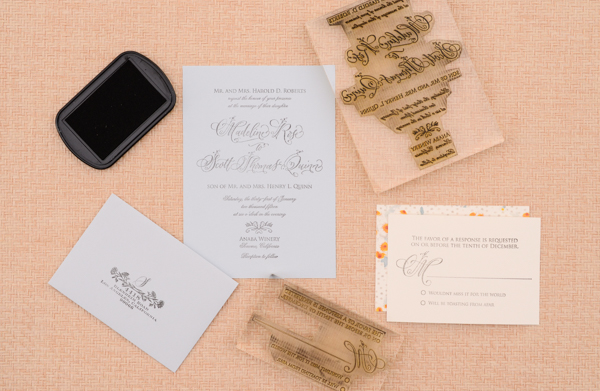
Step 1: First, stamp all of your invitation suite pieces. We used our Floral Calligraphy Invitation stamp, Floral Calligraphy Reply Card stamp and our Wildflowers Return Address stamp for these items. When stamping your cards, ink the stamp with the stamp facing you. Center the stamp over your card/envelope and press firmly and moderately (not too hard or the image will smudge) and gently lift the stamp off of the paper. Set aside to dry. Please watch this video for more information on inking and stamping an oversized stamp.
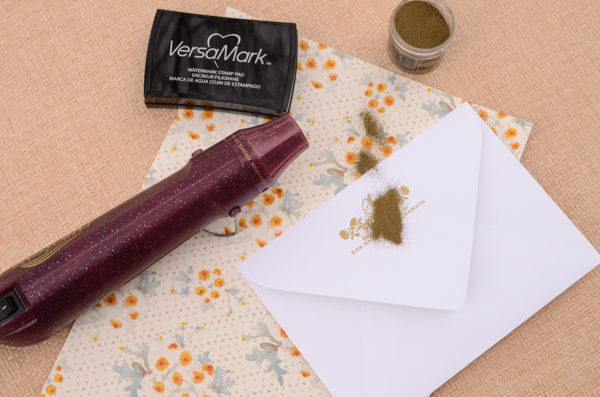
Step 2: Gold makes everything better, right? We decided to emboss our return address in gold to coordinate with the suite design and our addressing. Simply stamp your desired return address stamp on the back flap (either in matching ink or with Versamark glue ink, as pictured) dust the powder over it, tap off the excess and heat set the print. For more information about how to emboss using stamps, please watch this instructional video.
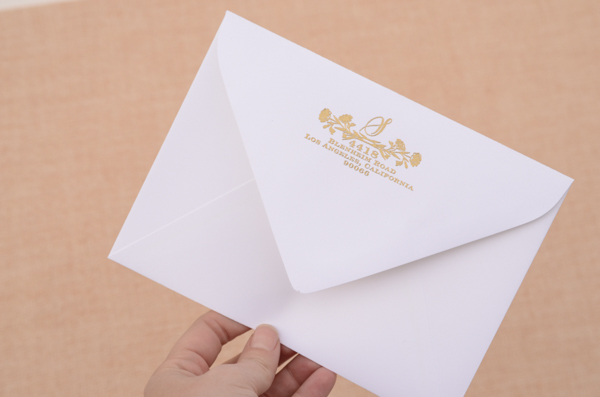
Step 3: Once all of your pieces are printed and dry, assemble them inside your lace paper inner envelope. We used assorted varieties of envelopes because we couldn’t decide on one, but you could select your favorite as well!
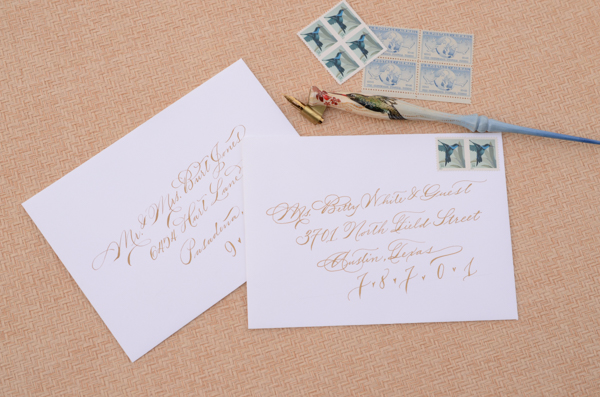
Step 4: Address the envelopes to your guests and add postage (we love those little hummingbird stamps). We used our favorite gold calligraphy ink, but to achieve a similar effect you could also use a gold gel pen and your prettiest handwriting!
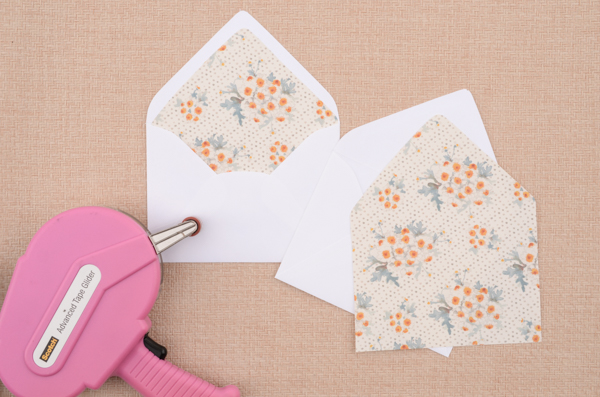 Step 5:Â Over time, we’ve learned that lining your envelopes after they’re addressed saves time and money! That way, if you mess up on an address, a liner isn’t wasted! Cut out your liner with a template or purchase pre-cut liners for your selected envelope if they’re available. To install the liner (we used our Chamomile Patterned Paper to make them), simply put a line of double sided tape or stick glue along the top edge (the triangle part) and slide it into the envelope. Once it’s positioned correctly, press to adhere the liner to the envelope.
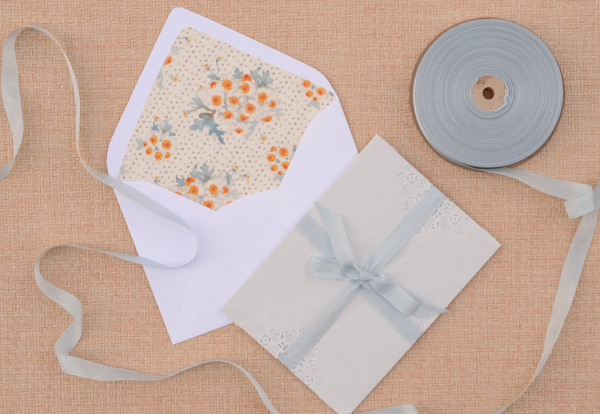 All that’s left  now is to tie up your invitation suite, put them into the envelope and send them along via snail mail!
Photography by Antiquaria for Oh So Beautiful Paper

Ooh I can’t wait to try out some embossing of my own! Love Antiquaria tutorials… I learned calligraphy from their tutorial to address my own wedding invitations!
Hi Lauren! We’re SO glad that you like our tutorials (insert huge smile here) and that you learned calligraphy from them!! Happy crafting and happy weekend.
xo
Bailey