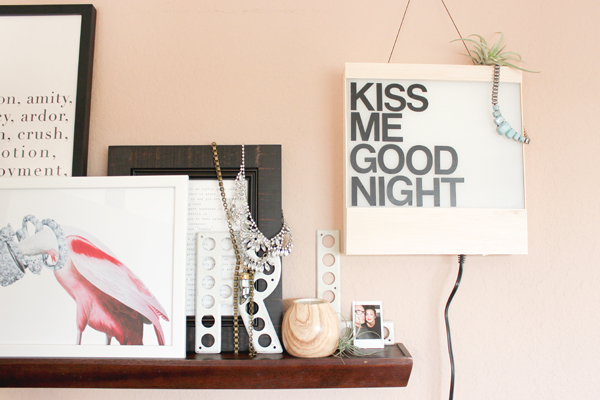
Industrial signs always catch my eye. Especially ones that light up. And since it’s become “a thing” to have similar (neon!) signs in your home, for your wedding, or in your office, i’ve had the urge to make something with a simple industrial feel that contrasts against the pretty things we’d display around it. I love the versatility of the one I made… you can paint it, change out the quotes and words, prop it up or hang it, and move it around from room to room. I decided to do something fun for our bedroom but would love to make another for the entry way and change quotes with the seasons! Read on to see how to make your own! – Lauren
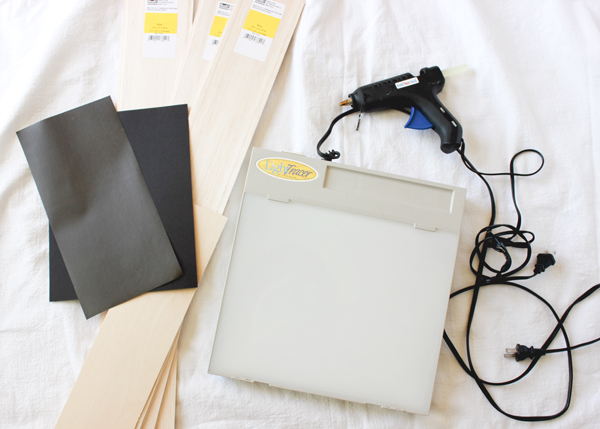
Materials
lightbox
balsa wood (found at craft stores, it’s VERY light and thin)
glue gun
vinyl to cut or letter stickers
razor blade/scissors/x-acto knife
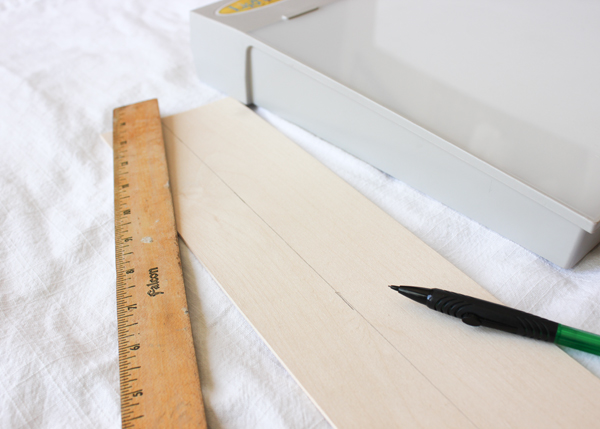
Step One: Start by measuring pieces of your wood that will cover the sides of the lightbox. Since most will have a slight tilt on the face, make sure you follow the highest measurement all the way across the length of your wood panel. When you glue them down, you want to create an even box so that the face will be flat when you display. Cut all four pieces out. Remember to cut around the switch and plug as seen below.
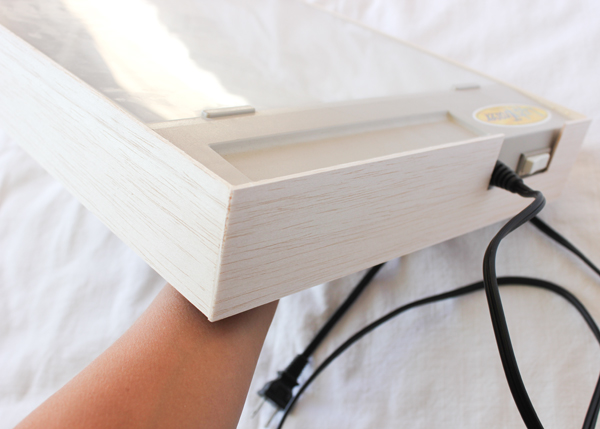
Step Two: Use your glue gun to attach the pieces to the sides first. Make sure to lay the lightbox face down when glue the pieces on so that the lighted part of the box is flat on the front.
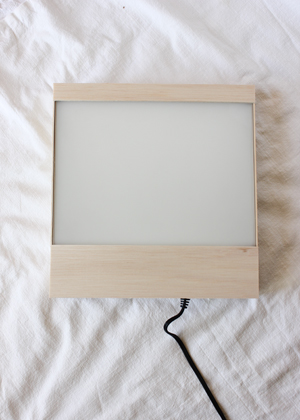
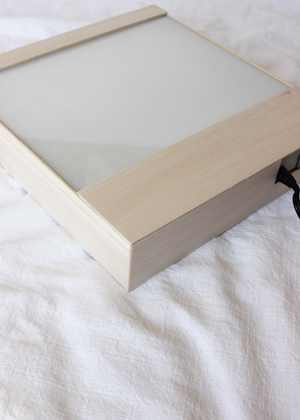
Step Three: Cut two pieces to cover any part of the light box that is not the frosted plastic piece, this will create the “frame” on the front of the box.
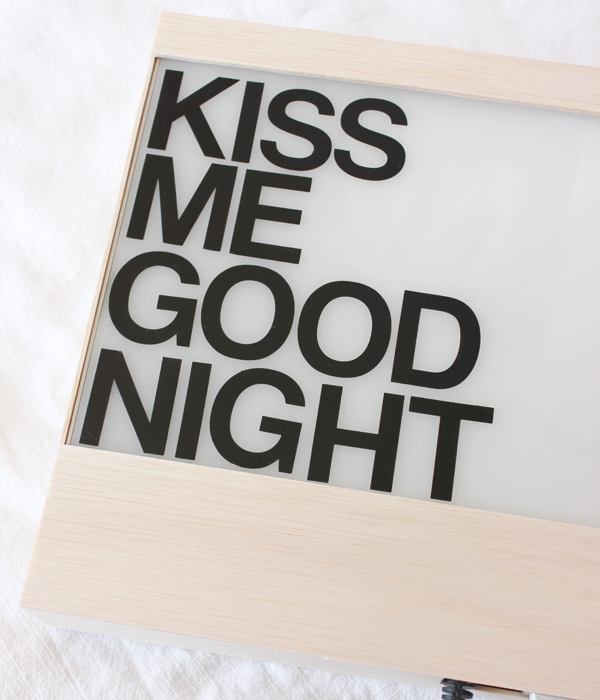
Step Four: Cut out your letters or use some pre-made letter stickers to add a word or quote you like.
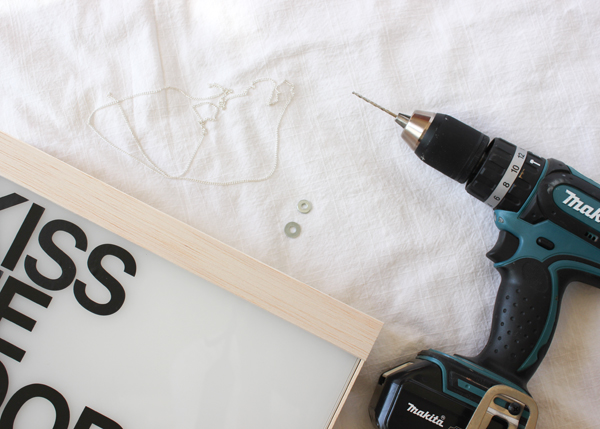
If you want to hang, you will have to drill holes through the top of the wood AND through the plastic top of your box (the wood and glue will not hold the weight). To secure the string, I tied the ends to some washers bigger than the hole I drilled on the inside of the box.
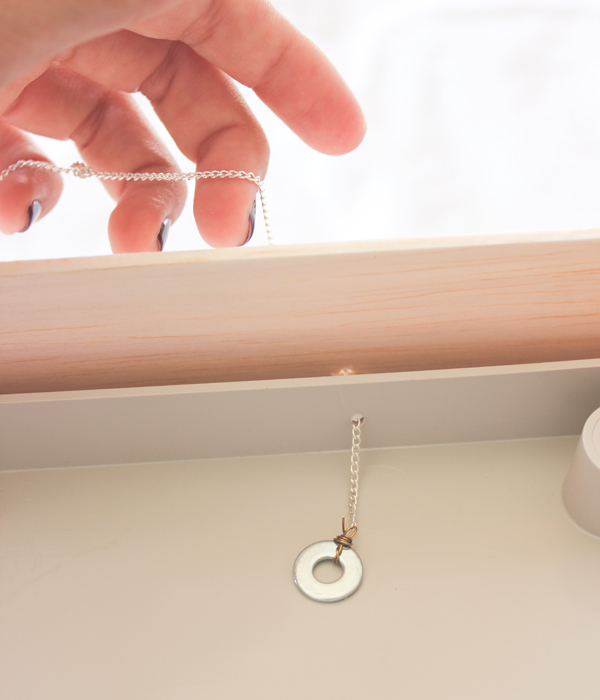
Find a place to hang and style!
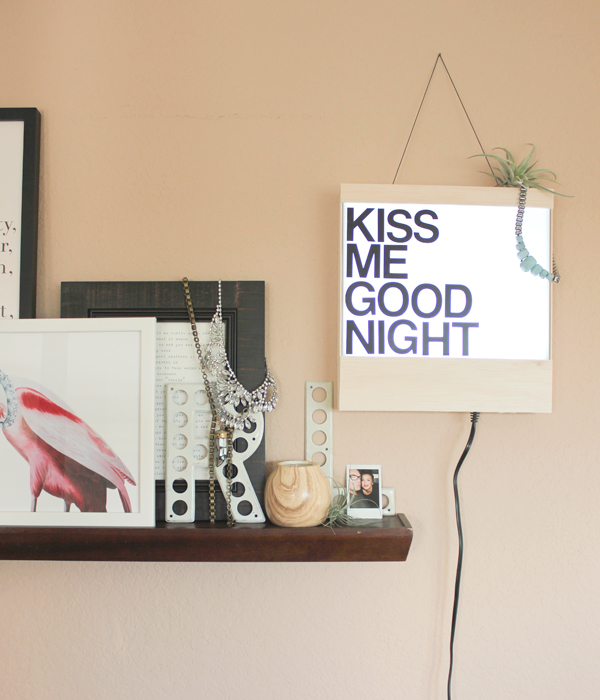
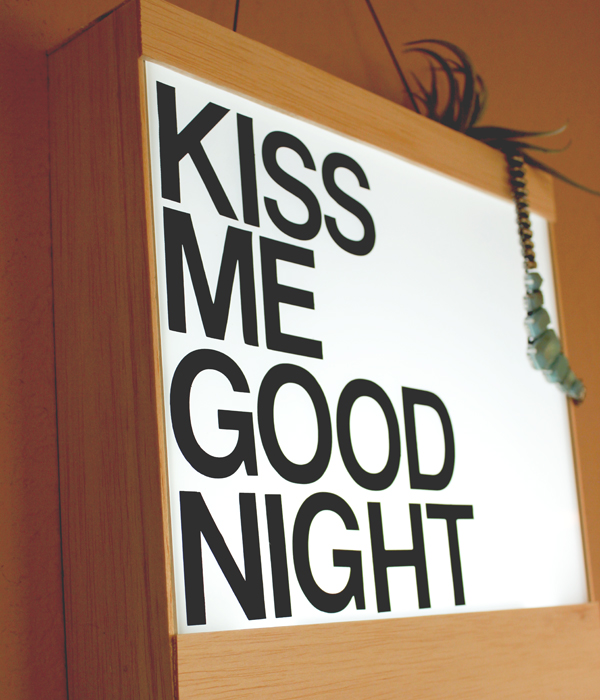
I love that with the stickers it will be really easy for us to change out our quote whenever we’d like!
What would you guys use your new lightbox sign for?
Styling + Photos by Lauren Saylor of A Fabulous Fete for Oh So Beautiful Paper

Beautiful! Love that you can change the quote and I could see this used at a wedding with a modern vintage theme.