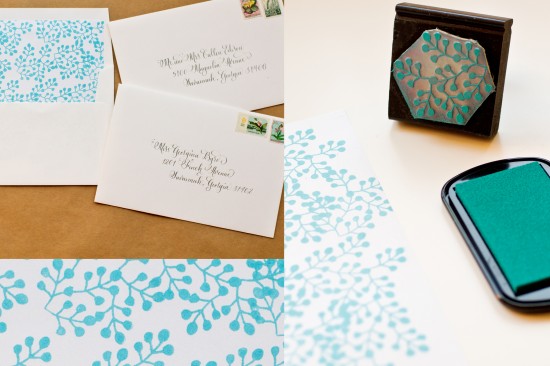
It’s the ladies of AntiÂquaria, back with another creÂative DIY project for you!  Today they’re sharing a fun tutorial on how to make DIY envelope liners using rubber stamps!
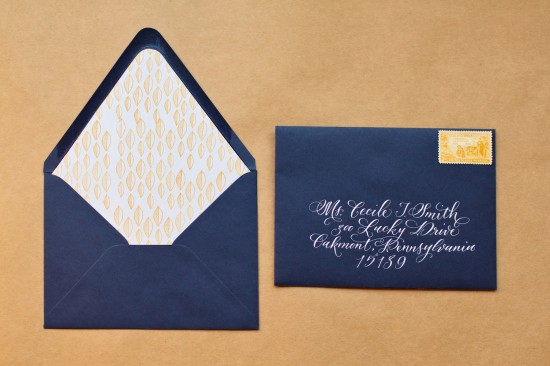
The finishing touches make your stationery special and unique.  It’s the little things – like vintage postage, twine, washi tape, calligraphy and envelope liners – that can turn a basic invitation, card or letter into a show stopper.  At Antiquaria, we love envelope liners… but they can be mighty expensive, so we figured out a way to get the look of decorative paper on a shoestring budget.  Plus it’s super easy!
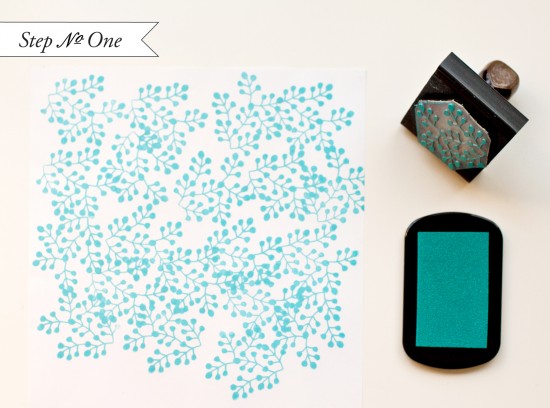
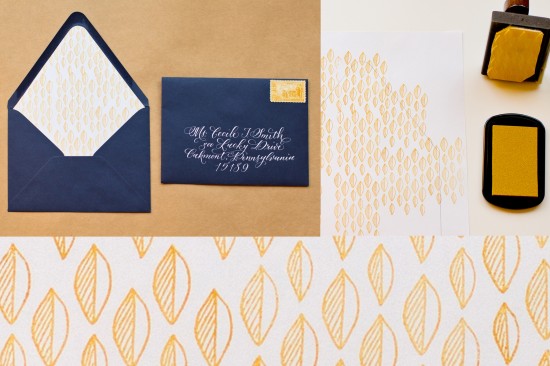
Step 1: Lay your sheet of text weight paper out on a hard surface. Â Choose your stamp (we used our Mod Fern Pattern stamp), and ink it well. Â Print your pattern stamp in an orderly fashion on the paper, making sure you stamp enough area so that the images will bleed off once the liner is cut. Â In general, you will not want to overlap the stamped images (but don’t worry if they do).
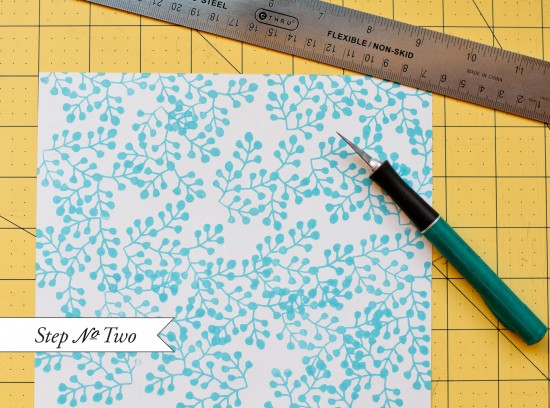
Step 2: Cutting your liner… the technique will all depend on what style of envelope you choose.  You can find envelope liner template kits at Paper Source to fit their envelopes.  To use these, trace the template and cut along the line.  If you’re using square envelopes, you can have your local print shop cut paper down to your envelope specifications or draw out the dimensions and cut your own!
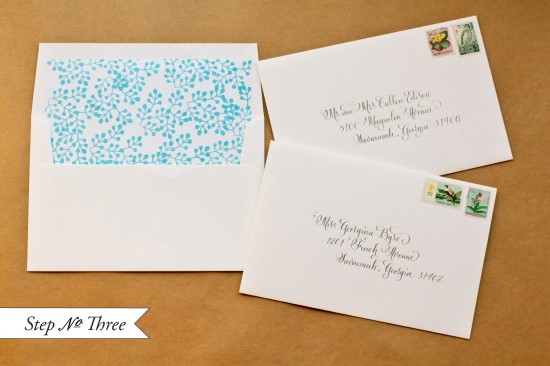
Step 3:  To insert your liner,  place a line of double stick tape or stick glue across the top (or around the top triangle), slide them into position and press to secure.  Fold at the crease with a bone folder to get a nice, crisp edge.
Materials
Pattern Stamps – we used Mod Fern Pattern stamp (in turquoise), Repeat Leave Pattern Stamp (in ochre)
Double Stick Tape or Stick Glue
Bone Folder
AntiÂquaria is a memÂber of the Designer Rolodex – you can see more of their beauÂtiÂful work right here!
Photo Credits: Intertwyned for Antiquaria

Oh I really like envelope liners so this is perfect
i really love this project!!