Valentine’s Day is just around the corner – and today I’m sharing a fun printable project to add an extra dose of love (and color) to your Valentine’s Day cards: printable Valentine’s Day envelope liners! I’ve teamed up with Courtney of Swiss Cottage Designs to offer two beautiful envelope liner patterns for you to enjoy. And the best part is that these liners are totally versatile, so you can use them with envelopes of all shapes and sizes!
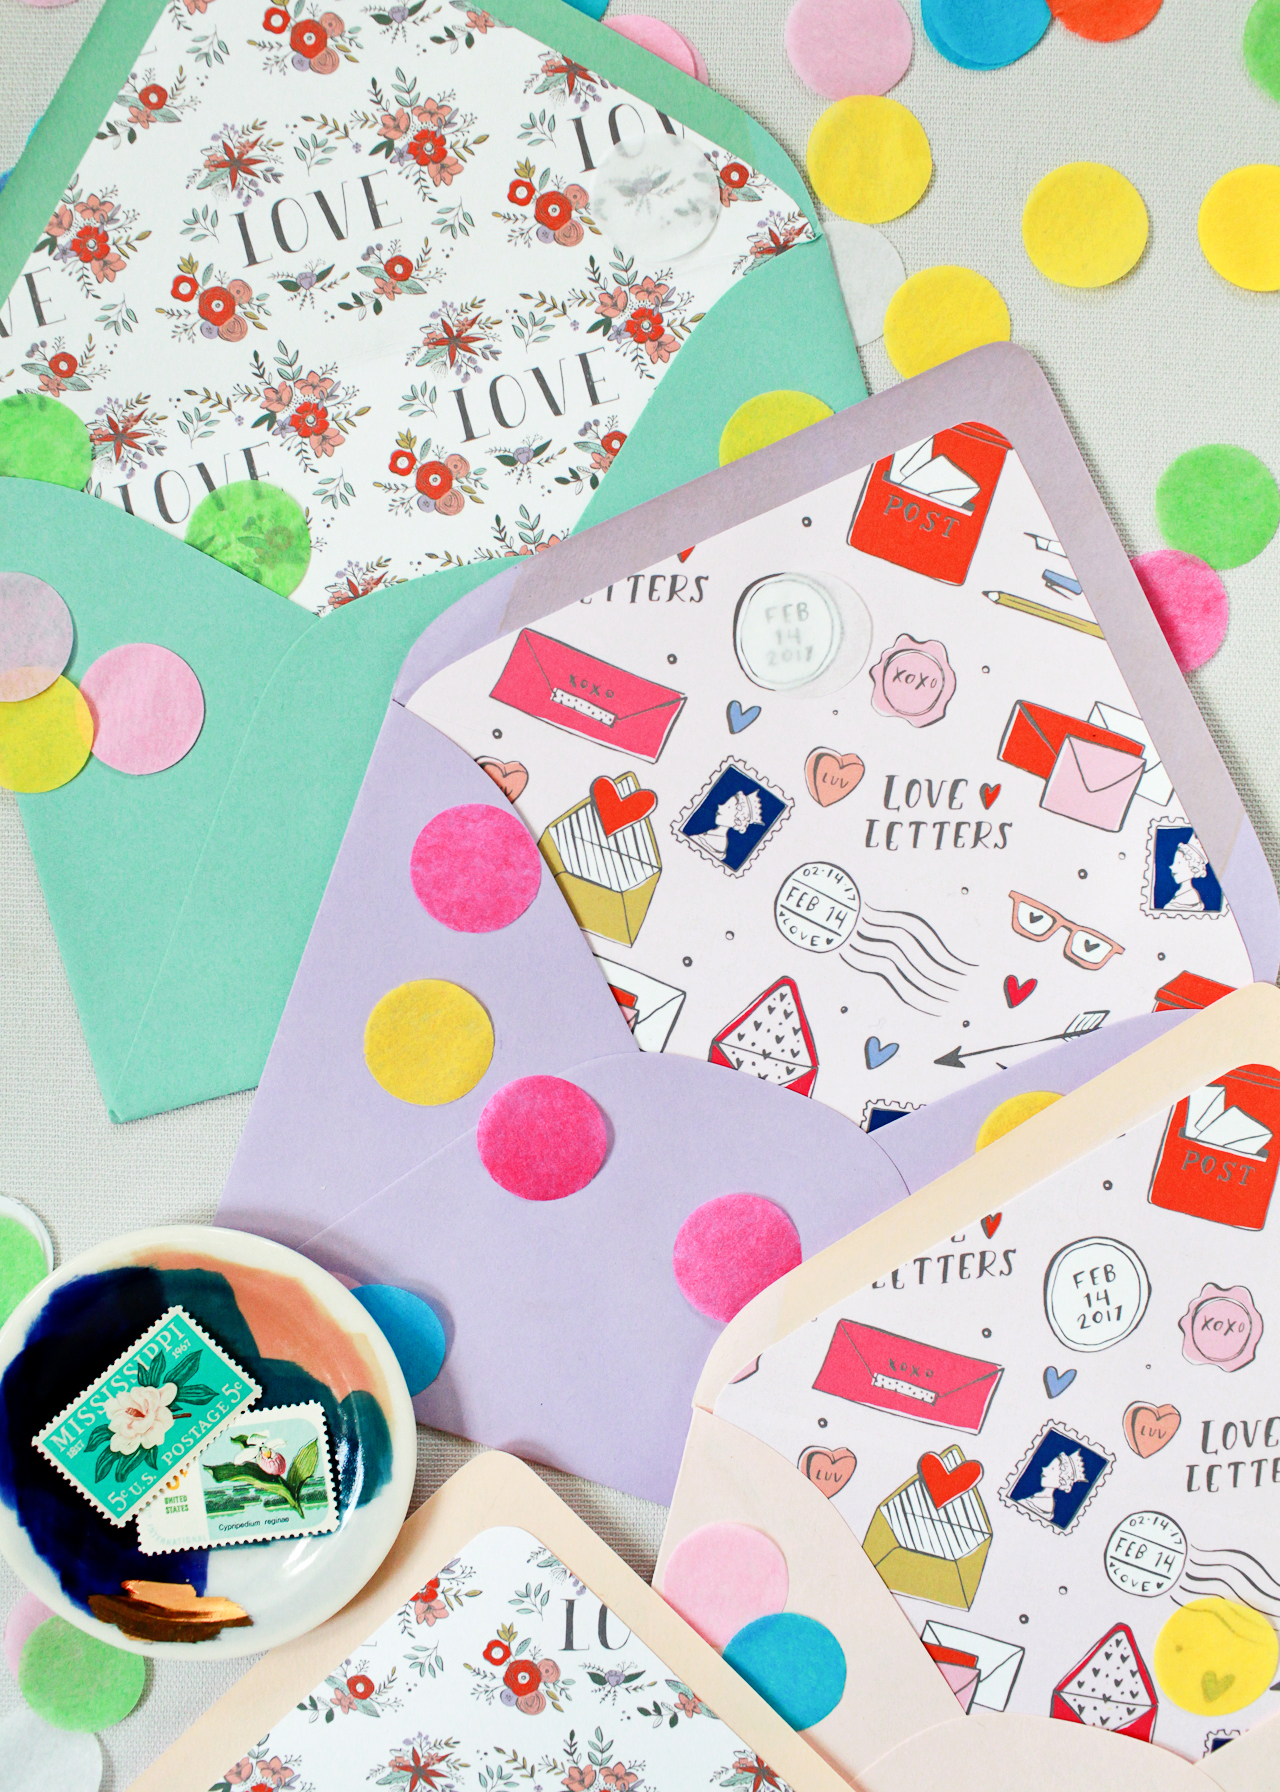
Courtney created two absolutely gorgeous illustrated liner patterns celebrating two of our favorite things: love letters and flowers! The little bouquets in the floral liners are my favorite thing ever – and can be used any time of year to send some love! And seriously, how cute are all those little illustrated postage stamps, airmail stamps, and wax seals?? Add ’em in to an envelope with a favorite greeting card, or use them with any colorful envelope to send a special hand written message. Bonus points if you add a bit of colorful confetti to your envelope. The more love the better these days!
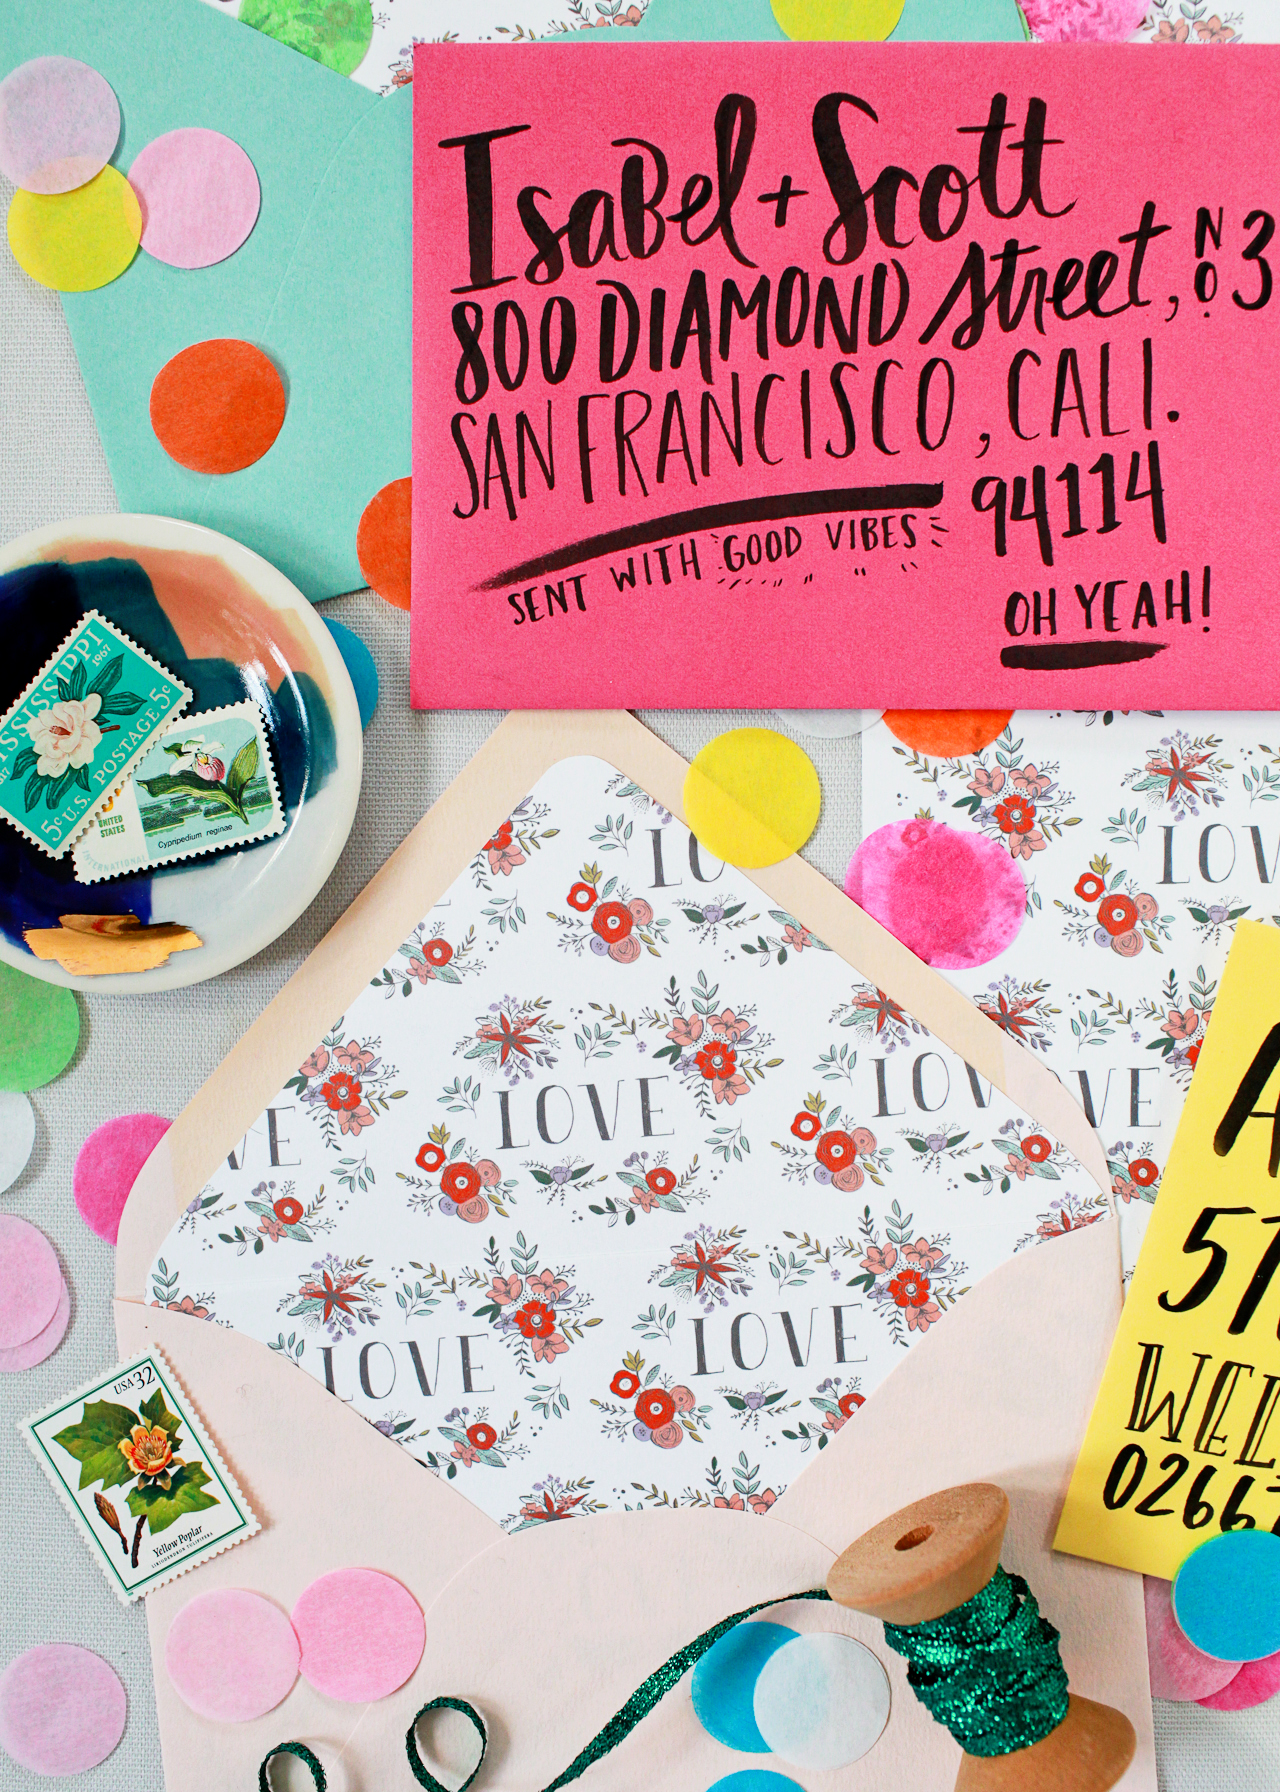
These would even be fun for weddings and bridal shower invitations, no?

ribbon + scissors| ceramic dish | tissue paper confetti
We’ll need a few basic supplies before we get started:
- Colorful envelopes
- Text weight white paper
- Envelope liner template kit (for pointed flap envelopes)
- Scissors
- Pencil
- Ruler
- Bone Folder
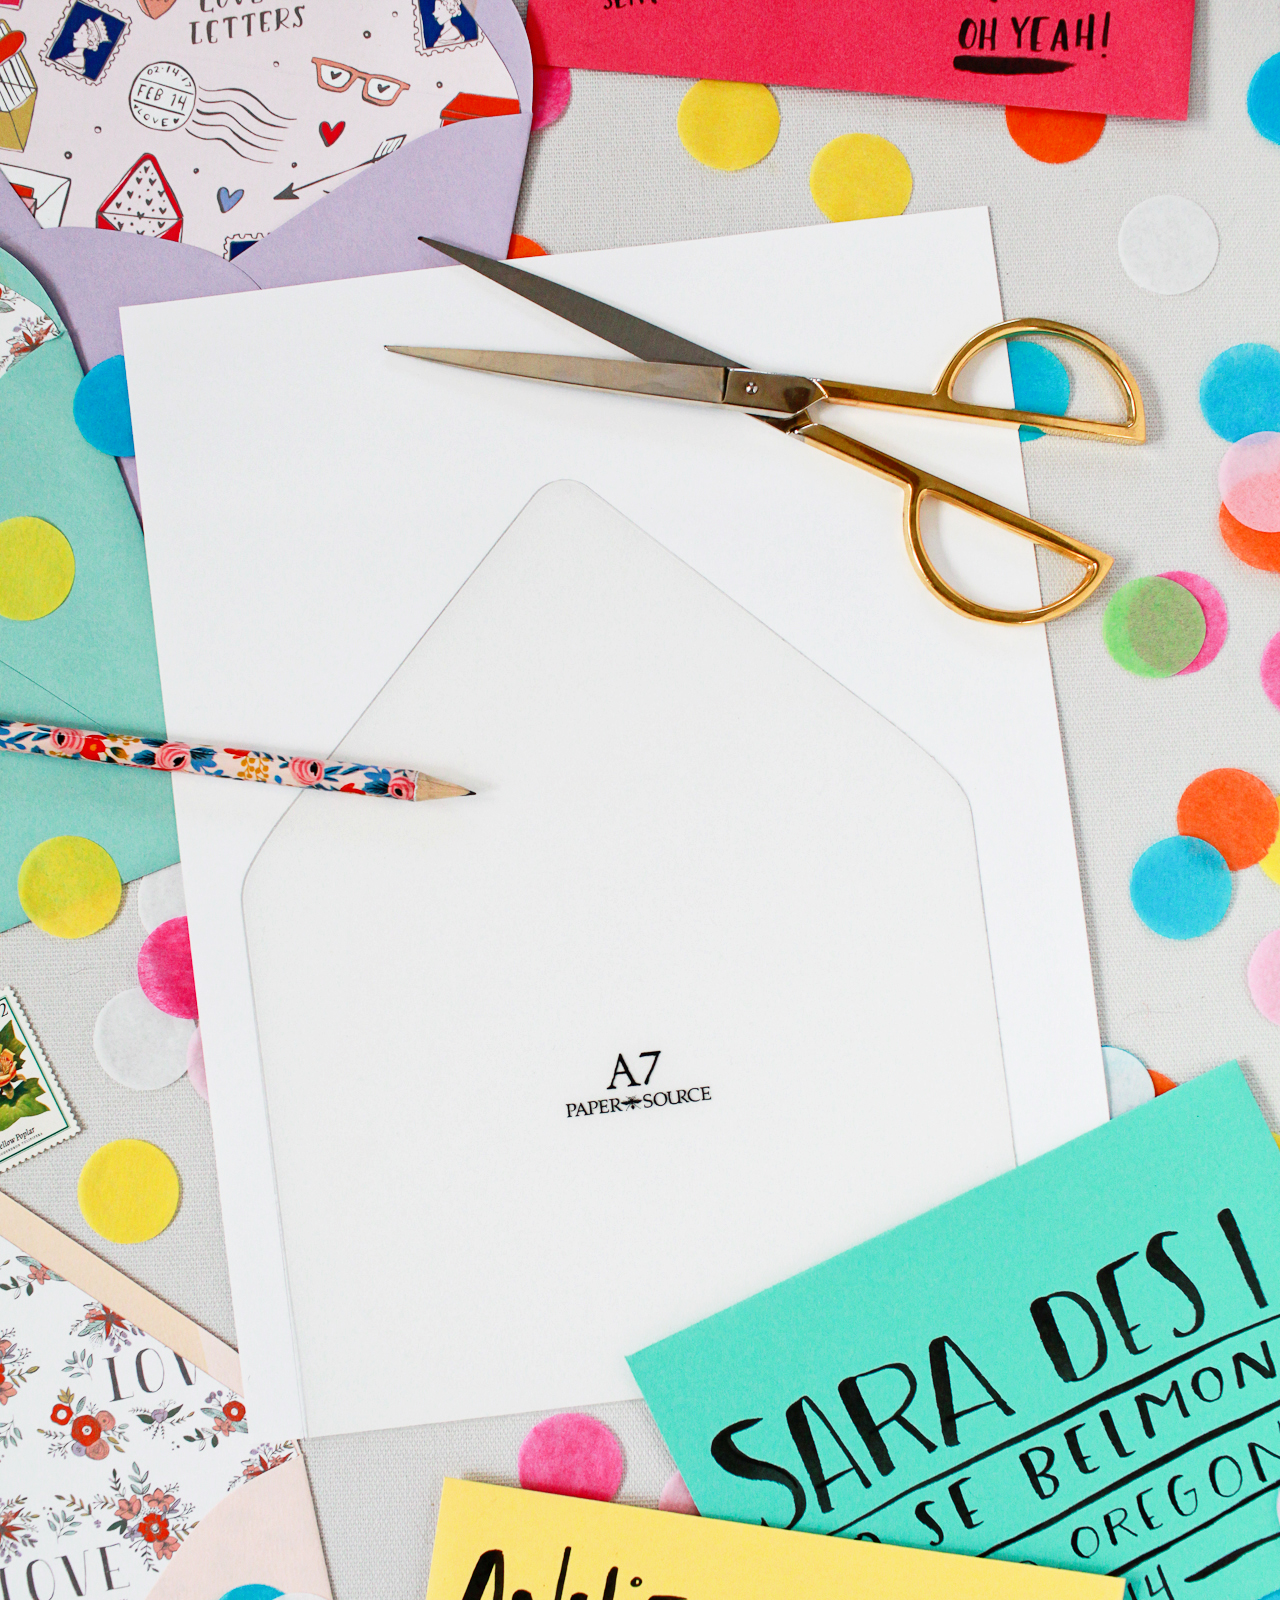
To make the envelope liners:
Step 1. Print your liner pattern of choice onto a letter sized sheet of text weight paper. If you don’t have a home printer, you can easily print these at your local copy and print shop – my printer isn’t that great at printing pink tones, so I had mine printed at my local Staples.
Step 2. On the back of the liner, lightly trace your liner template with pencil. For pointed flap envelopes, I like to use these liner templates from Paper Source. If you’re using square flap envelopes or prefer to DIY your own template, just trace the outline of the back of your envelope onto a sheet of thick card stock. Cut the template from the card stock, being careful to cut on the inside of the lines, and trim an additional 1/16″ off the left and right side and 3/4″ off the bottom of the template. Trace the liner template on the back of each printed liner until you have enough liners for all your envelopes, then carefully cut out each liner with scissors.
Step 3. Place the liner in the envelope. Use a glue stick or double sided tape on the back of the liner (along the top triangle and just above the crease) to adhere the liner to the envelope. Don’t worry about placing any adhesive on the lower part of the liner, since it’s tucked into the envelope it should stay put. Place a ruler along the crease of the envelope flap, then use your bone folder to score the envelope liner. This will help you maintain a clean line when you close your envelopes!
Step 4. Add a fun hand written note or greeting card, and close the envelope. Address the envelope in a playful hand lettering style using a brush marker or writing tool of your choice, and voila! You’ve got yourself a snazzy envelope that is guaranteed to bring a smile to someone’s face!
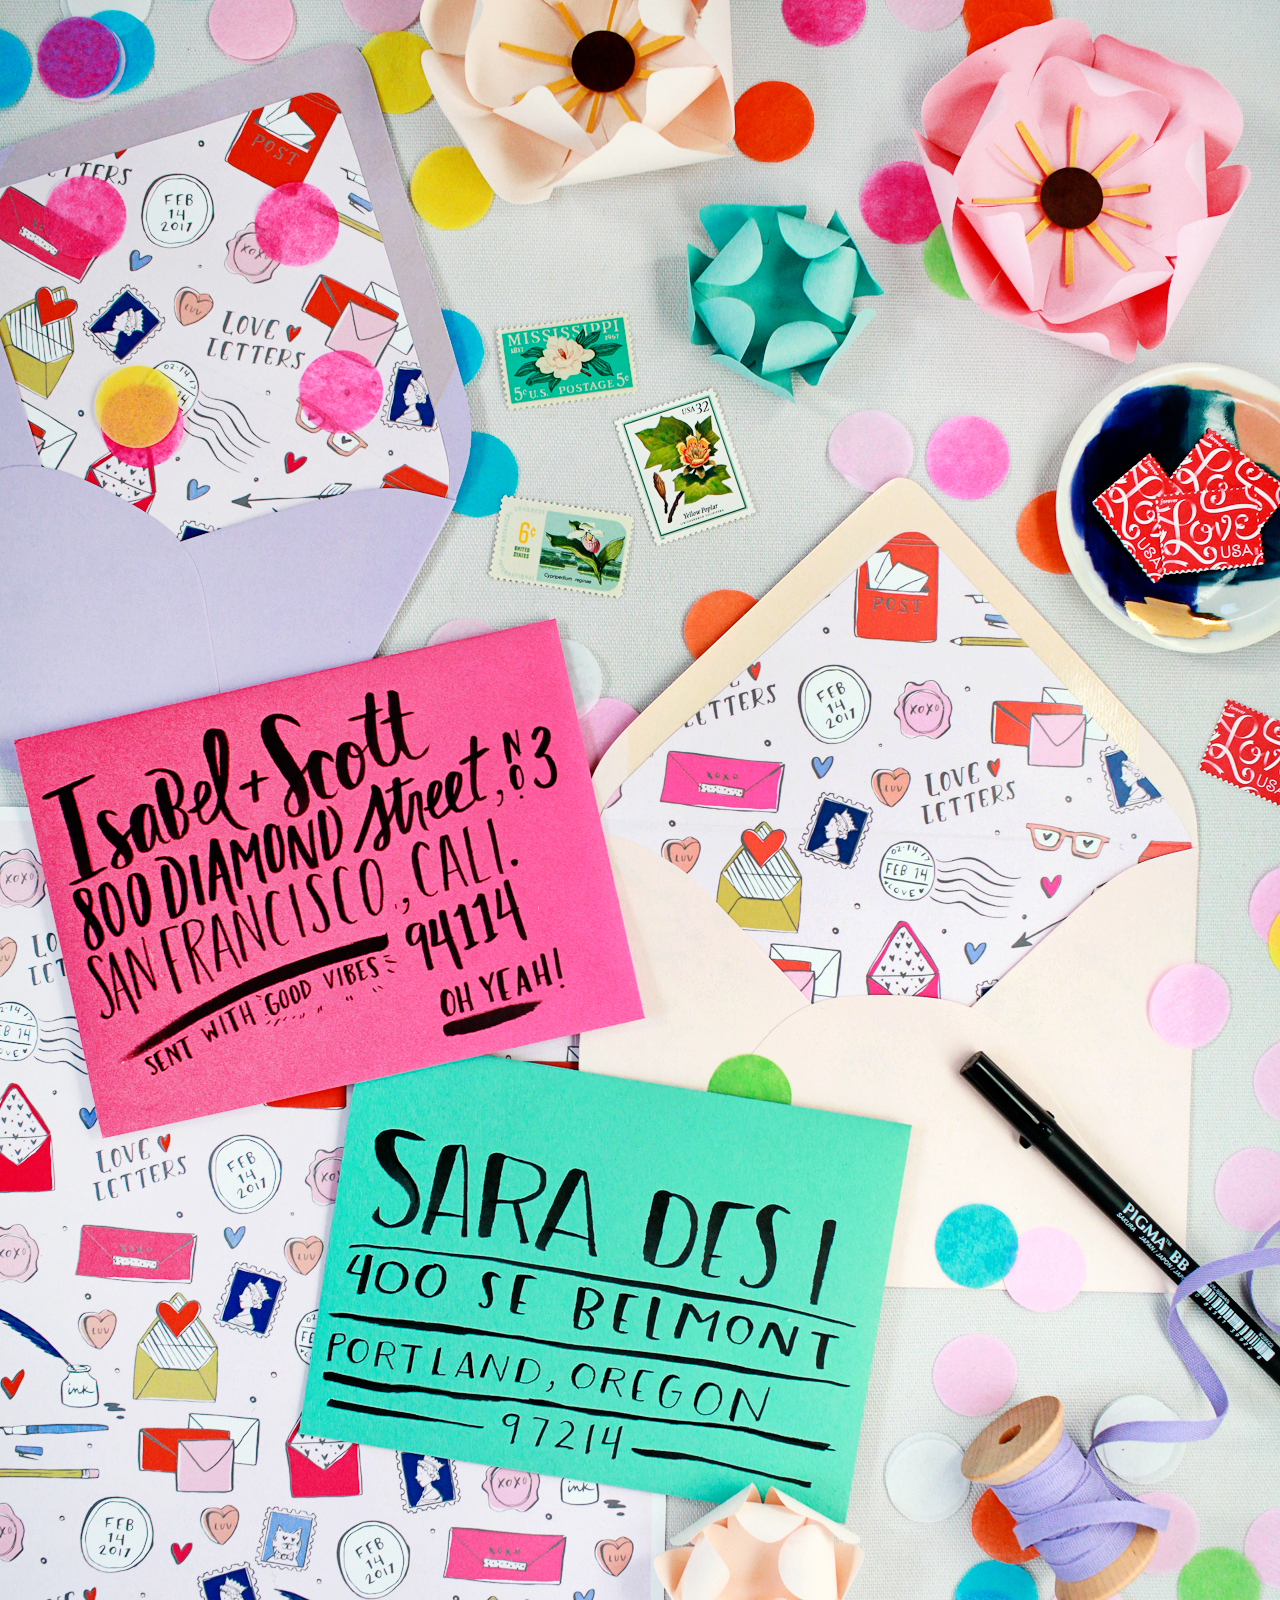
Since the liner patterns are a full letter-size sheet of paper, you can make them work for any size envelopes, including larger square envelopes, rectangular #10 envelopes, and all standard size greeting card envelopes. No matter what size envelope you’re using, we’ve got you covered!

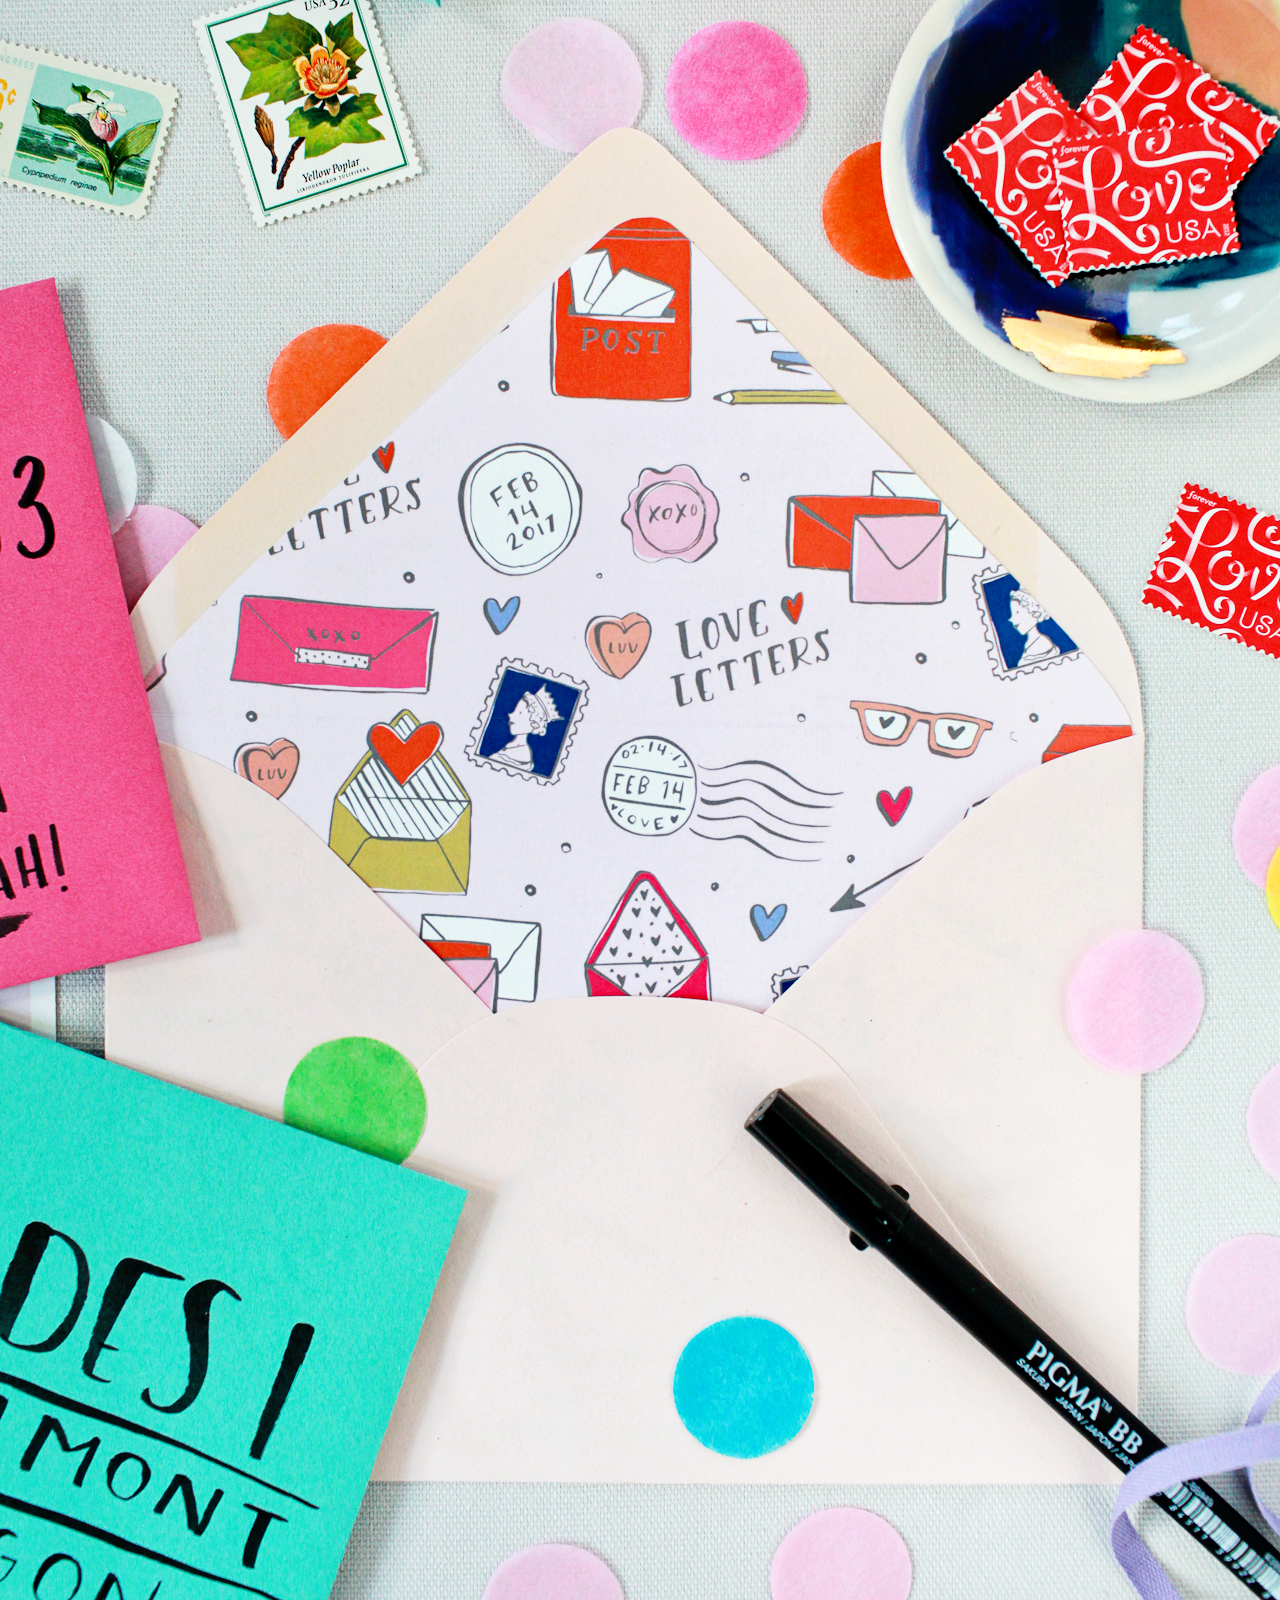
Are you as obsessed with these liners as I am? When you print them out and use them, don’t forget to share your photos on Instagram and tag #madewithosbp so I can see them! I can’t wait!!
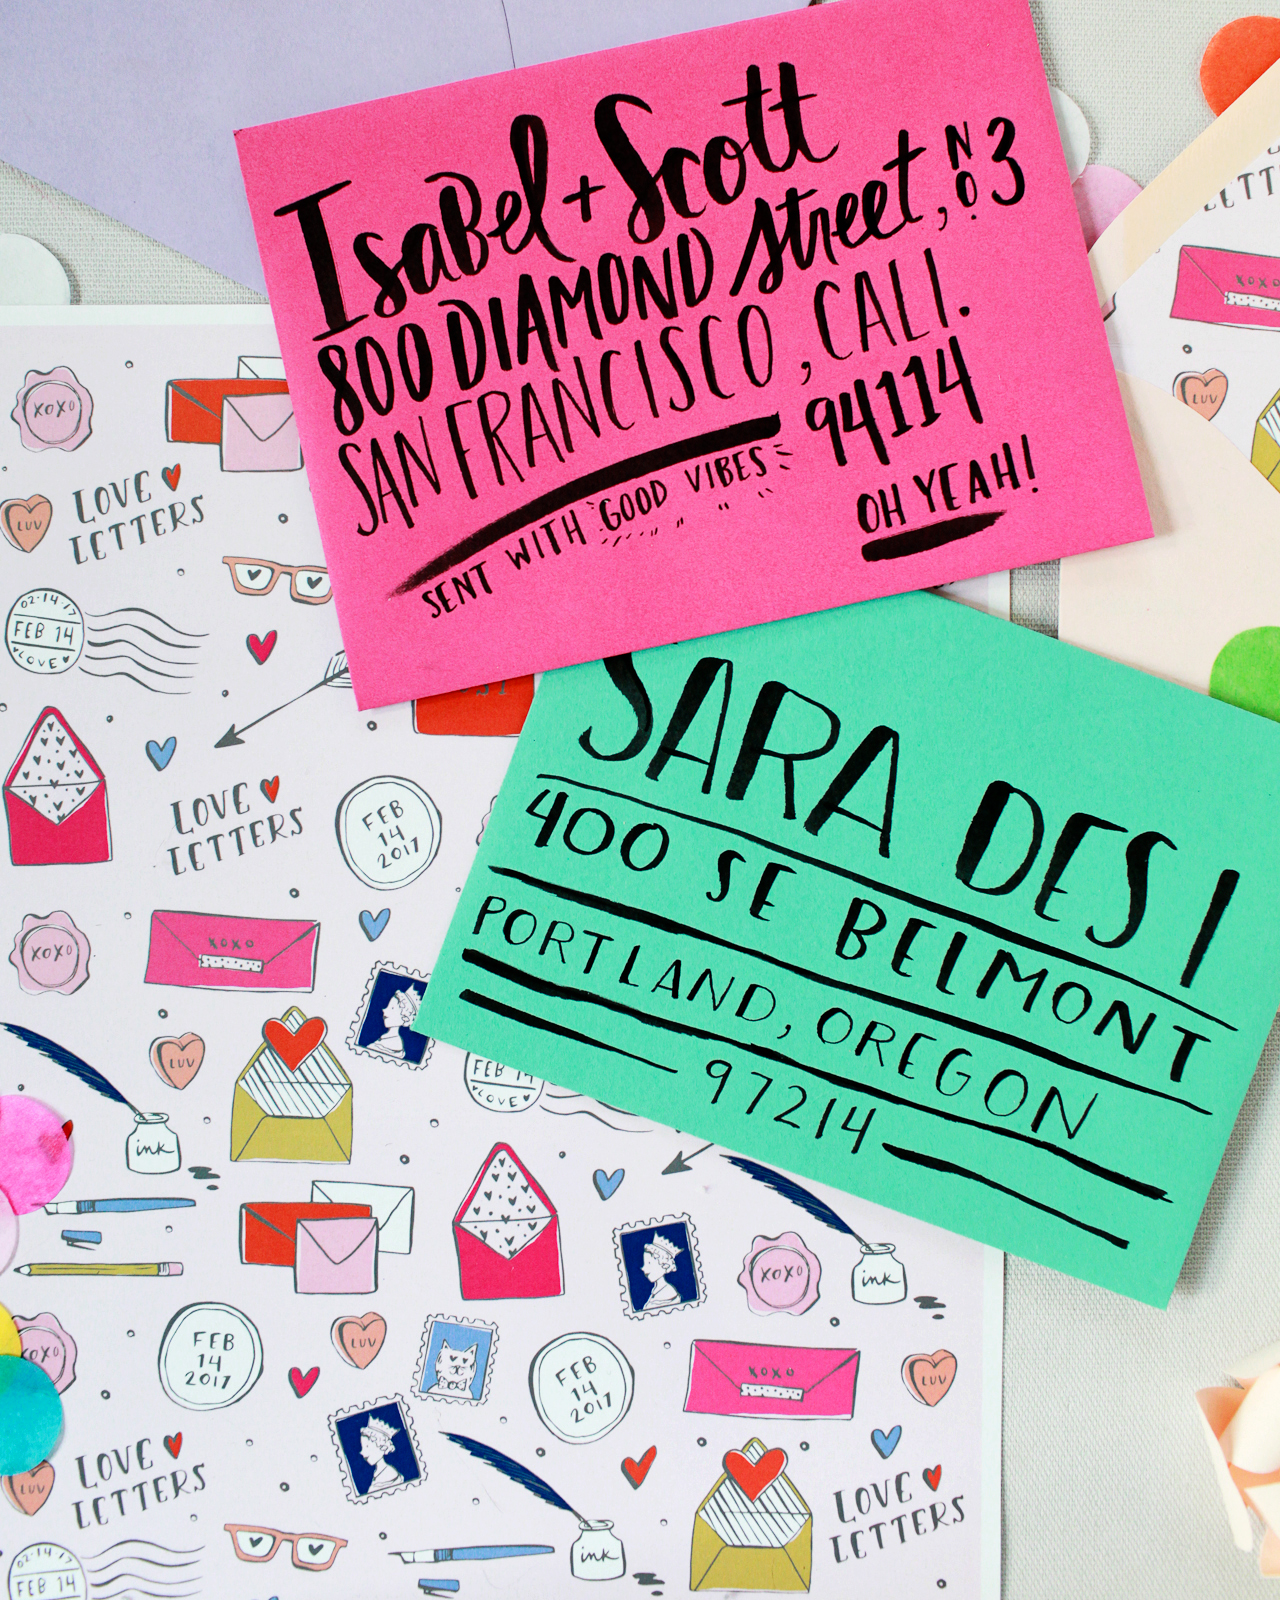
Download the envelope liner patterns from Swiss Cottage Designs right here: Love Letters and Floral Love!
All artwork © 2017 Swiss Cottage Designs created exclusively for Oh So Beautiful Paper. All artwork is made available for personal use only. By downloading the patterns you agree to the terms of use.
Photos by Nole Garey for Oh So Beautiful Paper

Love the bold colours!