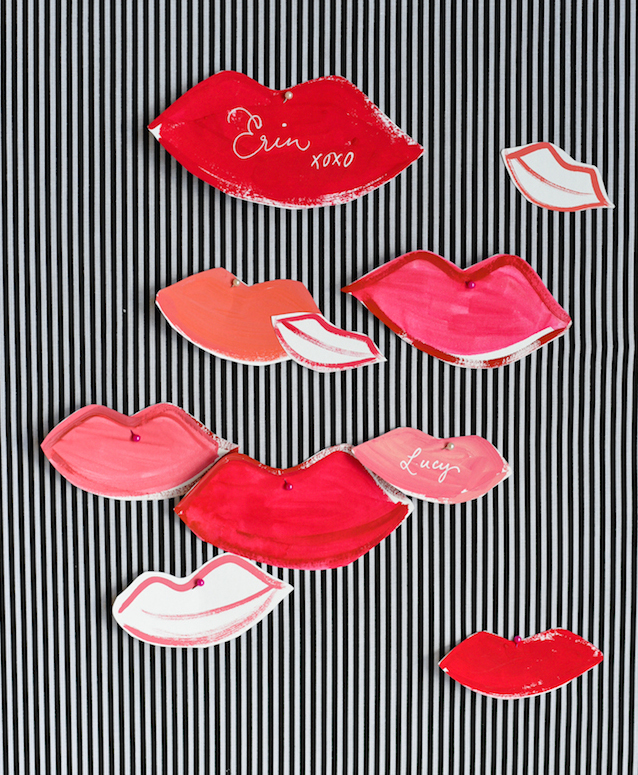
From catwalk fashion to lifestyle design, the luscious red lips motif is popping up everywhere this season! I am absolutely in love with this motif as it’s a perfect mix of girly-ness and style, and adds a whimsical touch to your celebration. This DIY painted lips guestbook wall requires under 10 tools (things you probably already have at home) and is honestly one of the simplest, most do-able projects I’ve ever created. For this tutorial, my partner-in-crime and genius stylist friend Laura styled up the wall with a black and white striped fabric for a striking pop art look. Try a blush velvet for a softer, more romantic touch or rose gold sequins for a bit of glam! All that remains after your party is to collect your box of kisses, ready to read through or be placed into a scrapbook alongside photos from your party! – Erin from BerinMade Paper Goods
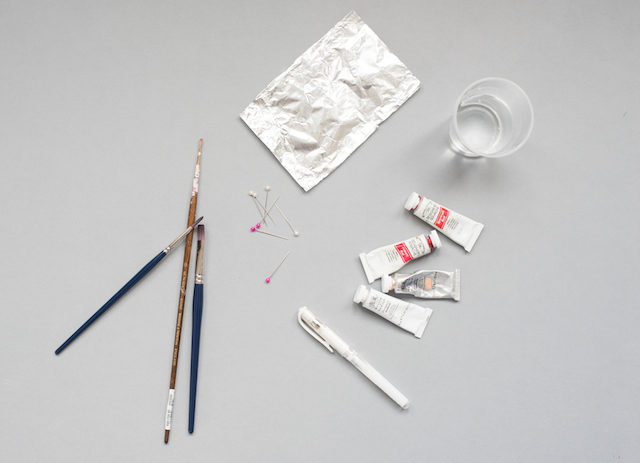
Supplies
Thin and flat paint brushes
Gouache or acrylic paint (and water to dilute the paint)
White watercolor paper or card stock
Scissors
Fabric
Double sided tape
To make the painted lips guestbook:
Step 1. To make the fabric backdrop, apply double sided tape around the front edges of a piece of foam board in your desired size. Iron your fabric, and wrap the front of the board, smoothing the fabric over the double sided tape to create a smooth surface. Secure the fabric on the back of the foam board with pearl head pins and cut away any excess.
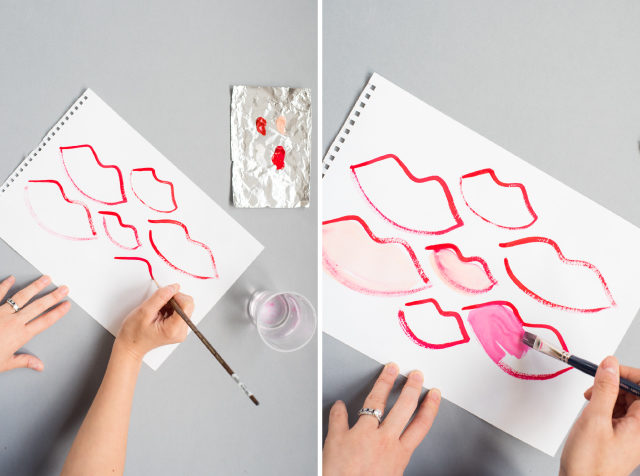
Step 2. Paint the outline of the lips with a thin round brush with undiluted gouache or acrylic paint to achieve a dry brushed look. Try out different shapes and sizes, and have fun! Imperfection is the key to the look.
Step 3. Once the outlines have dried, use a flat brush and diluted paint to brush over the shape. For this pop-art look, I deliberately brushed outside the lines in some places and left white spaces, to mimic that imperfect screen printed look. Let dry again.
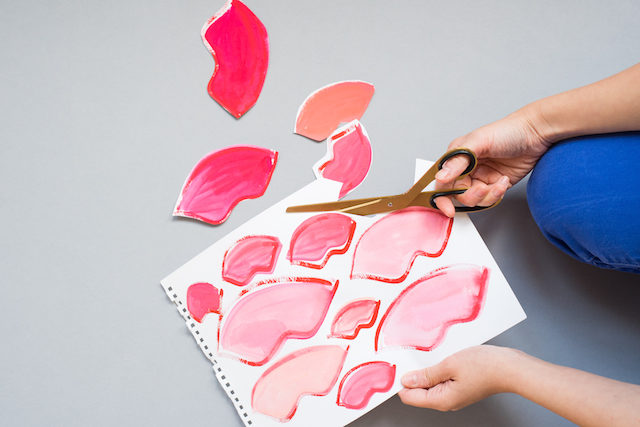
Step 4. Cut out the lips! Gather on a little dish or wooden box with pens for your guests to use, along with some extra pins so guests can pin their lips to the backdrop.
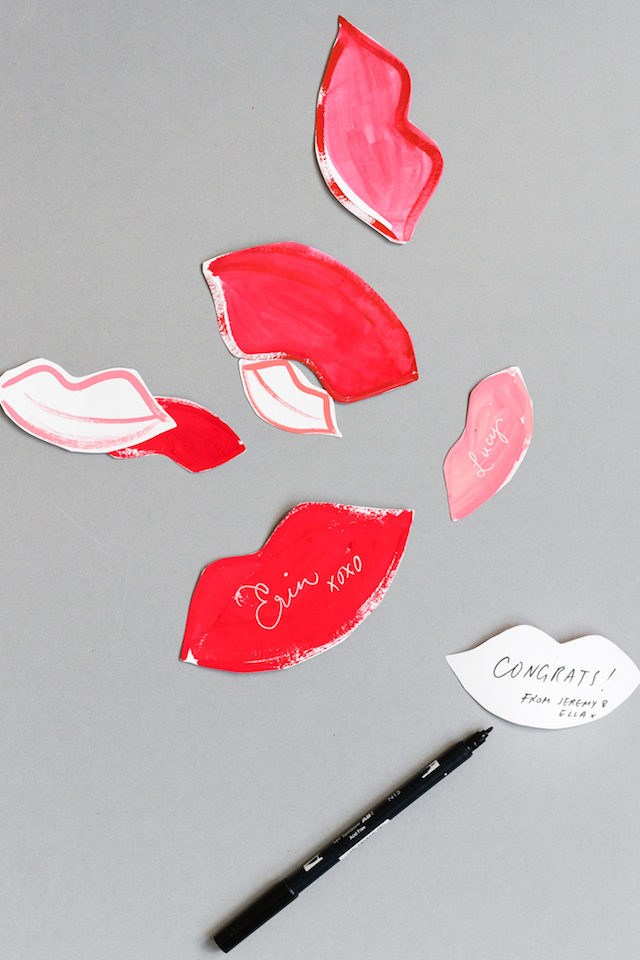
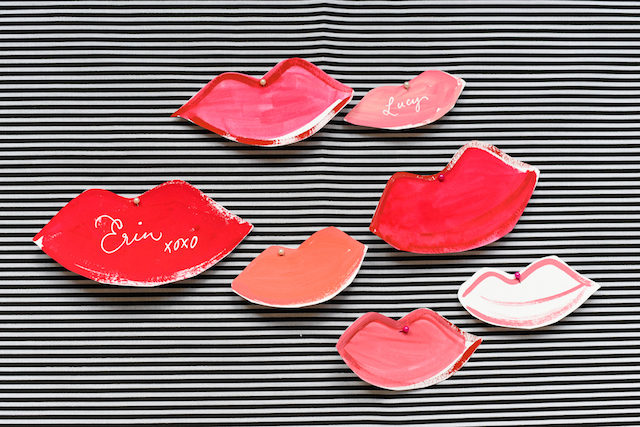
Photo Credits: Jeremy Tan / Styling by Laura Burkitt
