We’re in the middle of prepping for the National Stationery Show in May, which for us means finalizing our latest product designs and finishing the catalogs. In the process, we have been designing new art prints for our line and shop – so we definitely have wall art on the brain! Our tutorial today is a break down of how to make your very own, one-of-a-kind hand lettered wall art for your house or to give as a gift. Just find your favorite quote and get pencil to paper! –Bailey and Emma of Antiquaria
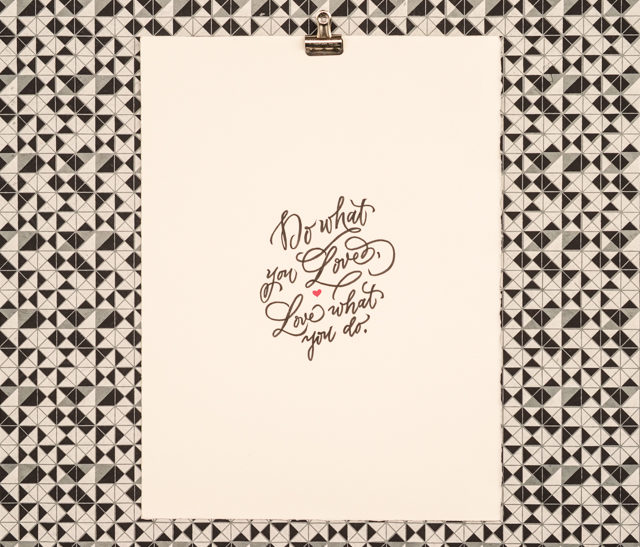
Materials
High quality archival paper, such as Arches Watercolor Paper Hot Press
Gouache (optional)
Copy Paper (to draft layout)
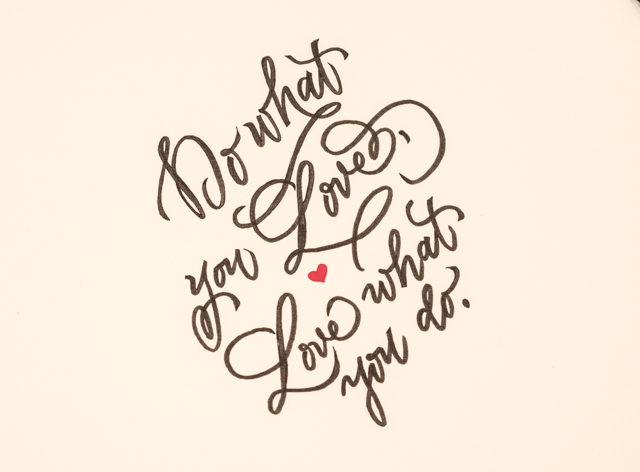
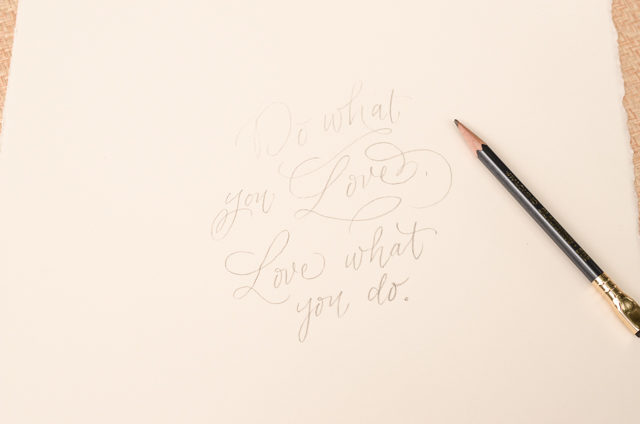
Step One: Using sheets of copy paper, sketch out your quote in a variety of different layouts/styles. Look at some of your favorite fonts for letter-shape inspiration if you feel stuck about how to make the letters go together. Once you’ve settled on a layout that you like, re-draw it on your nice archival paper. So that it pressure isn’t too high, make sure that you have a couple of sheets of the nice paper-in case you need to make a couple of drafts of the piece.
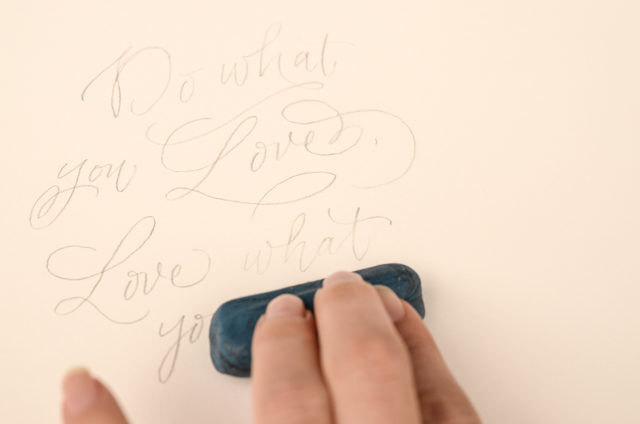
Step Two: Before putting any ink down onto your piece, you want to lift up the pencil lines so that they can act as a light guide for you but will not require heavy force once the ink is in place. A kneaded eraser does this job easily by rolling over the pencil and picking up the excess lead, as shown above.
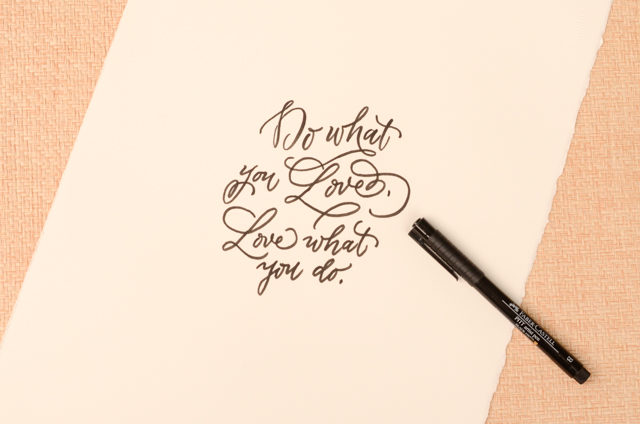
Step Three: Take a deep breath and do your lettering with ink using your very light pencil lines as a guide. You can use a brush pen as we did here, a brush and ink, a felt tipped pen or a calligraphy pen. Each of these will yield a different looking result so it’s worth figuring out what you like best (a great thing to do while your drafting your design on copy paper). We like the boldness that a brush pen gives, especially when it meant to be viewed from a distance, which it will be when hanging on the wall!
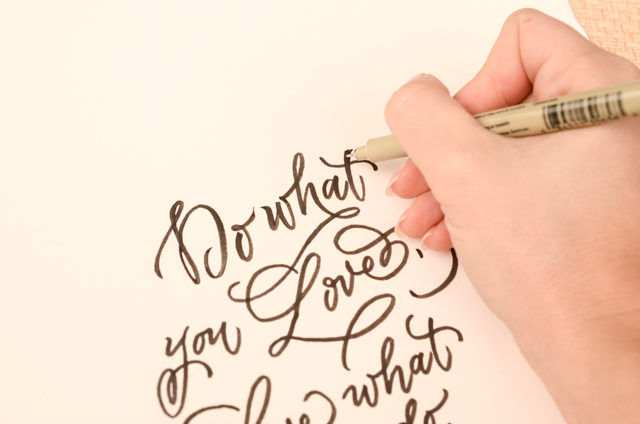
Step Four: To give some polish to the lettering, we like to go in with a fine tipped felt pen and do “touch-ups” to the outline. We typically smooth out any ending flourishes, tops of letters (like the “t”) and light areas that the brush didn’t get. The step is optional. You may achieve exactly the look you’re going for in step three! Once you’re happy with the lettering, gently erase the remaining light pencil lines.
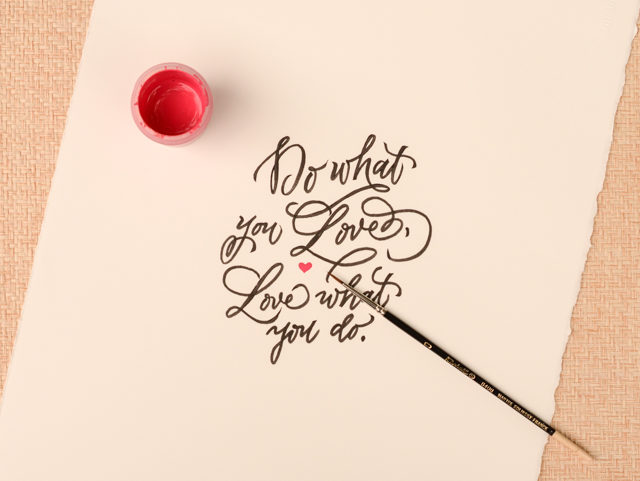
Step Five: We added a pop of color with a hot pink heart painted with gouache (opaque water color). This step is also optional and will depend on your design!
We hope that you have fun creating your own pieces and that you let your imagination run wild! If you’re new to lettering, it’s probably best to start with one word or a short phrase so that you can practice the process without the layout being too difficult. Have fun and Happy Lettering!
All artwork © 2015 Antiquaria, with DIY tutorials created exclusively for Oh So Beautiful Paper and intended for personal, non-commercial use only.
Photo Credits: Antiquaria for Oh So Beautiful Paper

Oh my gosh. Just perfect! I’m on a quest to add lettering to my art skills and your site is just PERFECTION! So happy to have found you on Instagram! Your site makes me happy ^_^