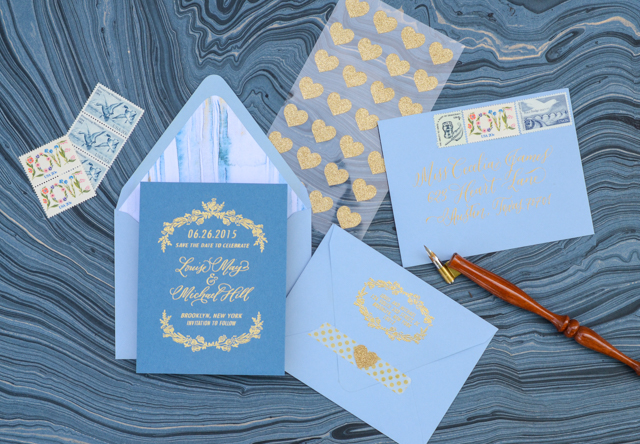
In our last DIY post, we shared a gorgeous free pattern download for envelopes liners and place cards. We thought it would be fun this week to actually use the pattern as a launching point and design an awesome save the date that utilizes it in the design. The mixed shades of blue feels fresh and spring-y and we used our favorite embossing technique to incorporate lots of gold into the design (our favorite if you haven’t noticed). The result is a stunning and custom looking suite which can all be easily accomplished on your own with a few key materials! –Bailey and Emma of Antiquaria
Materials
Laurel Wreath Save the Date Stamp
Laurel Wreath Return Address Stamp
A2 Envelopes (we used Bluebell)
Liner (free download, printed on white text weight paper)
Pencil and Scissors
Stick Glue or Double Sided Tape
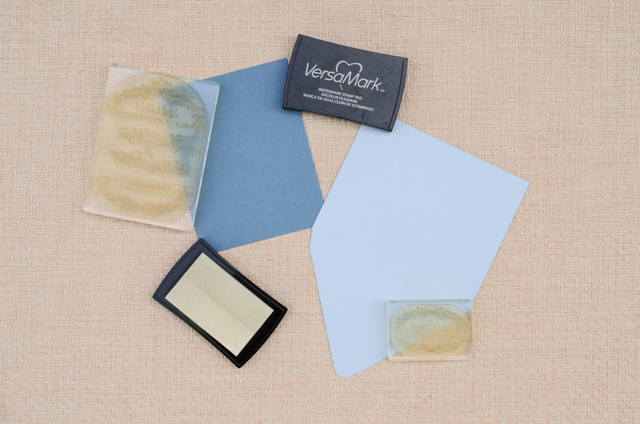
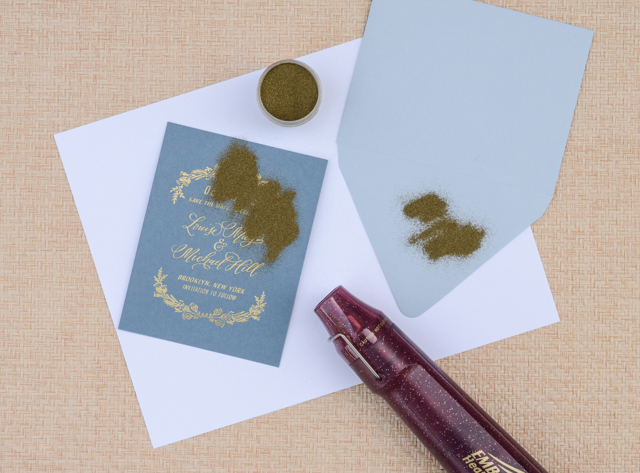
Step One: We embossed our Laurel Wreath Save the Date stamp and our Laurel Wreath Return Address Stamp for this save the date design. All of the pieces were embossed with our favorite gold embossing powder which gives lovely, fine results. Simply stamp your design on your card (Lake A2) and envelope (Bluebell A2) (either in matching ink or with Versamark glue ink, as pictured), dust the powder over it, tap off the excess, and heat set the print. For more information about how to emboss using stamps, please watch this instructional video.
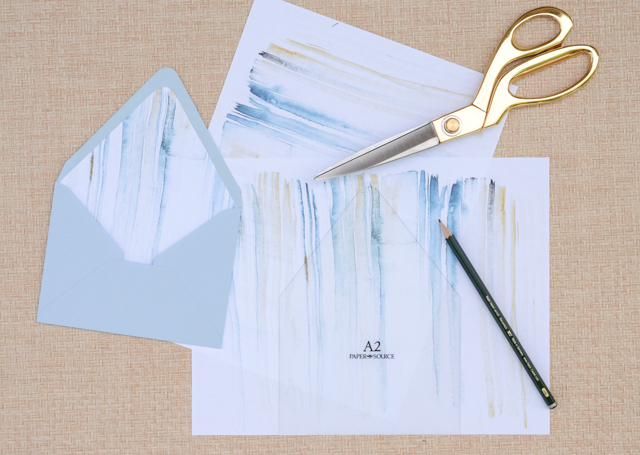
Step Two: To add personality to the design, we added an envelope liner made from our latest free pattern download. It really helps dress up the whole suite! Print the pattern out on your home printer using a high quality text weight paper, then trace the A2 envelope liner template onto the paper and cut it out with scissors. To install, simply use stick glue or double sided tape to adhere them into your envelope.
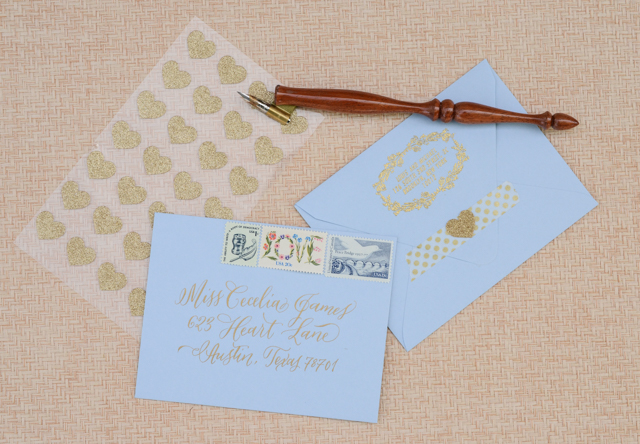
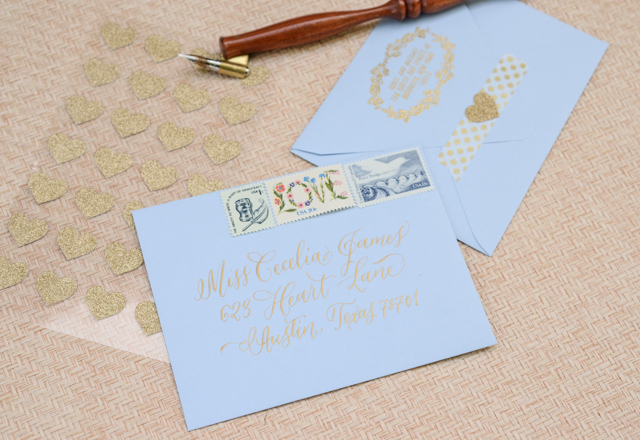
Step Three: All that’s left now is the finishing touches! We addressed them using our favorite gold calligraphy ink and a dip pen – but your could also use a gold gel pen and your prettiest cursive to achieve a similar look. We added gold polka dot washi tape, a glitter heart sticker and vintage postage to tie everything together and make the envelope just as gorgeous as the save the date.
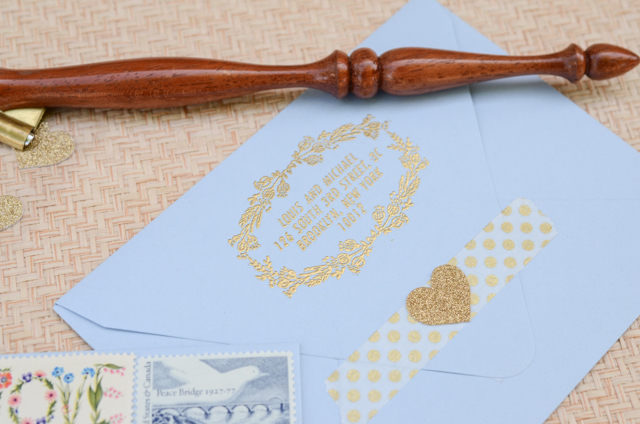
We know your guests will love getting these beauties in the mail!
All artwork © 2015 Antiquaria, with DIY tutorials created exclusively for Oh So Beautiful Paper. All artwork is made available for personal use only. AntiÂquaria is a memÂber of the Designer Rolodex – you can see more of their beauÂtiÂful work right here!
Photo Credits: Antiquaria for Oh So Beautiful Paper

One thing I’d add to this post is you’ll probably need a small round brush and to use a super fine embossing powder. Embossing powder comes in different sizes and coarser powder will not capture the details of the stamps as well. The round brush– you’ll need to brush off the excess powder otherwise you’ll get these stray little gold flecks all over the place. Tapping off the excess never quite cuts it. Hope this is helpful!